Printmaking Workshop Part III

In the Printmaking Workshop Part II, we left everyone’s linoleum block carved, stored, and ready to print.

I covered the tables with paper and handed out (with my lovely assistant Barbara Jones) printing paper, envelopes, palette paper for ink, ink, brayers, wooden spoons, paper towels, stamps, and an ink pad.

Everyone put their aprons back on and I gave an inking and printing demonstration.

Romania Day 4 (101)

The printing process just took some getting used to, but everyone did a great job! They rolled the ink on the palette paper (which next time, I would just use cardboard strips instead of palette paper because the palette paper is pretty thin and shifts a lot when rolling out the ink). They rolled the inked brayer evenly onto their carved linoleum blocks, and transferred their image using a wooden spoon (rubbing the back of the paper on top of the block using the flat of the wooden spoon).

Romania Day 4 (110) Romania Day 4 (109) Romania Day 4 (105)

Once the prints were a bit dry, they stamped inside of their cards.


I had 4 out of 12 participants finish their blocks the whole way through.

Romania Day 4 (130) Romania Day 4 (127) Romania Day 4 (125) Romania Day 4 (122)

Some of the finished prints!

Romania Day 4 (112) Romania Day 4 (111)

We took our “artist” picture together.


Romania Day 4 (140)

Photos: Courtesy of Jessica Zimmerman Belote

Printmaking Workshop Part II

I made it to Romania with my suitcase full of supplies.

20140708-103125-37885689.jpg IMG_2387

In Printmaking Workshop Part I, I talked about the supplies needed for the printmaking/artisan card making workshop. Now I had arrived, and I was ready to teach how to make prints, and had willing and eager participants. I even had some guys in my class, which was a great surprise!

10506880_10152520639762500_4163692444128566755_o 10379949_10152520637622500_5353777700624859131_o

I (and my assistant Barbara Jones) handed out everyone’s aprons (courtesy of Sara Bowyer, Stephanie Sue McDonald Baker, Beckie Sudduth, Maryann Baroody, Anita Davis, Mindy Clark, and Denise Nesbitt), drawing pencils (2b), erasers, pencil sharpeners, transfer pencils (6b), sharpie markers, drawing paper, tracing paper, linoleum blocks, and linoleum cutters.

Romania Day 2 (15) Romania Day 2 (19)

I instructed participants to draw the outline of the linoleum block and to draw an image inside of the block outline on their drawing paper. For those who were not comfortable drawing, I had some drawings made up that they could trace.

Romania Day 2 (16) Romania Day 2 (82)
Romania Day 2 (66) Romania Day 2 (59)

Once they drew their images, they transferred them to tracing paper.

Romania Day 2 (25) Romania Day 2 (39)
 Romania Day 2 (36) Romania Day 2 (45)
Romania Day 2 (67) Romania Day 2 (52)

They flipped the drawing on the tracing paper to transfer the pencil marks onto the linoleum block.

Romania Day 2 (50) 10348392_10152224685607549_7971259726329105659_n Romania Day 2 (77)

Once the image was backwards on the linoleum block, they went over their image using a sharpie marker.

Romania Day 2 (72) Romania Day 2 (81)
Romania Day 2 (144)

At this point I demonstrated the proper way to cut (away from your hand and yourself at all times). I assisted in cutting.

Romania Day 2 (140) Romania Day 2 (141)
Romania Day 2 (139) Romania Day 2 (142)
Romania Day 2 (145)
Romania Day 2 (143) Romania Day 4 (134)

Once everyone’s blocks were cut, we cleaned up our work space and stored the finished blocks for the next session (the printing).

workshop workshop2 Romania Day 2 (79)

Photos: Courtesy of Jessica Zimmerman Belote

It’s uninteresting, but is it…art?

Damien Hirst The Dream, 2008

Damien Hirst
The Dream, 2008

When one thinks too long about art, the act of writing or painting or composing for an audience, even if that audience is never manifest, the act itself assumes all of its oddity, and embodies its queer position as both foundational to existence and utterly irrelevant. There is no question that, without art’s dialogue in chronological time, life as human subject could not exist as it does. We would have no record of our language in past epochs, no idea what conflicts our ancestors faced, no appreciation for manipulation of material to make buildings, technology, or even medicine. Art has been used as a catch-all term for the things which comprise the collective consciousness of a community. Without the memory function enabled by our cultural production, then, we would be a people without a past, and because artists construct reality, without it we would be a people with no future (in the temporal, narrative-based way we understand that term).

And yet, despite art being the vehicle for “culture” in the broadest sense (of human-centric life), the individual instances of art can appear so arbitrary, non-sensical, and even boring to most people who don’t know or care to know what it is. Indeed, even to someone literate in one of cultural production’s many artistic dialogues, if presented with an unfamiliar work out of context, may find it uninteresting, silly, and worthless.

I recently overheard two adolescents on a first date debate whether women should be allowed to wear baseball caps. Art can sound like that. Not every conversation is relevant or mature. Additionally, an academic once spent 45 minutes explaining to me Deleuze’s concept of the rhizomatic. Not every conversation is necessary. We can fool ourselves into thinking certain topics are important, but they quickly become dated. Not every pop song endures. It depends on the power of expression, and the relevance of the articulation.

These problems of art are metonym for the awkward, and even humiliating, position of human life: Can we honestly say that our culture, which is foundational to human existence, is worthwhile? Is it worth the time and effort it takes to preserve and perpetuate it?

Take a look around at the people today. Not the ones you hear about or idolize, but the ones you know intimately. Consider the things they do—make money and spend it, like things on facebook, take pictures of food at restaurants, throw plastic into the ocean, yell at customer service representatives, play games on their phones, buy dogs with smushed faces, protest at abortion clinics, sign petitions for legislation, wear make-up, get hair cuts, try on clothes, get tattoos, drink beer, visit monuments, comment on YouTube, and talk about people they know. Consider all of it and more: humanity as it is, of the things they spend time on, what they talk about, murders they commit and reasons they give for committing them. Think of yourself living with them, and take stock of all the ways you spend your time. After long contemplation, which person would like to tell me humanity—not in the abstract, but in its everyday actions—is indispensible or important? Who wants to bleat at me that our culture is worthy of preservation, perhaps so we can enjoy its excellent shopping?

If you aspire to more than present humanity can give, you must work for it. Not just in art, but within specific and local communities, engaging the people in your everyday life.

For let’s not pretend that art can do more than the culture it arises from. Human beings are condition and will, and though the will is strong, it cannot completely dismiss its surroundings. If art appears silly, it could be that you are looking at the expressive equivalent of the adolescent debating women in baseball caps. But, equally, it could be that you are that adolescent, and maturity will make the object in question more meaningful.

Matt Siemer
Contributor

Printmaking Workshop Part I

I am leaving for 10 days on a trip to Mures, Romania. I am going with a group from Grace Church to serve the orphans at Livada.

While there, I will be working as a summer camp group leader helping to create new and happy memories with the kids from the state group homes. We will be visiting the kids that are at risk of abandonment who live in the nearby Gypsy villages.

I also have an amazing opportunity to teach a printmaking – artisan card making – workshop (with the assistance of a translator) to a group of 10 girls over 16 years old. The girls often send out cards to their sponsors and to help with fundraising, so I will teach them to make their own cards!

To prepare for this trip, I ordered and packed the following supplies.

workshop6 workshop5 workshop3

Supply List
Block Printing Supplies
14 Block Print Ink – Black (1lb) all other colors  (1.25 oz) – silver, violet, turquoise blue, white, yellow, green, brown, gold, magenta, orange, blue, and red.
5 Linocutterset (comes with 2 handles and 6 cutters)
5 Soft Rubber Brayers 3inch
4 Artist Working Knife (for spreading and mixing ink)
2 Palette Pads 9×12 50 sheets
14 Mounted Linoleum Block 5×7
4 Mounted Linoleum 4×6
10 wooden spoons (for printing)
1 pack of cardstock (for printing on cards)
1 pack of envelopes
trash bags
hand cleaner – soap
small plastic cups (for water and clean up)
papertowels
working aprons (hand sewn and donated by friends in my community)
stamp letters and ink pad (for message inside the card)

Drawing and Transfer Supplies
10 Pencil Sharpeners
20 Drawing Pencils (10 of each 2 b and 6b)
2 derwent Inktense Pencil Black
10 White Plastic Erasers
5 Sharpie Black
1 Stainless Steel Ruler 18in (for taring paper)
2 Newsprint Pad 9×12 50 sheets
2 Drawing Pad 9×12 80lb 50 sheets
1 Tracing Pad 9×12 25lb 50 sheets
1 package of white card stock paper 110lbs
1 box of 6 9 envelopes

I am bringing also a sample block already carved and some print samples.

workshop1 workshop4

I have packed the workshop in a suitcase a little under 50 pounds.

When I return, I will blog about the specifics of the printmaking – artisan card making – workshop, and any art, music, or writing experiences I have along the journey!

Hanging Art with Ephraim

When the wall is bare, and you have lovely and thought provoking  art. Why not hang your lovely and thought provoking art piece in this bare wall space?

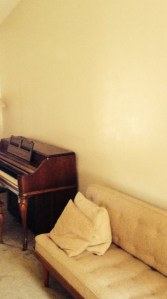
This WAS the bare wall.

piano

The following post is about my friend Ephraim McNair hanging lovely and though provoking art.

Ephraim is a graphic and collage artist who worked in a gallery for a stint. He worked in the exhibitions offices of University of Arkansas at Little Rock (UALR), and his alma mater, Western Michigan University. At UALR he enjoyed helping Nathan Larson manage and install pieces from the permanent collection in offices across campus. At Western, his favorite job was lighting exhibits from 30′ up on the air on the scissor lift.

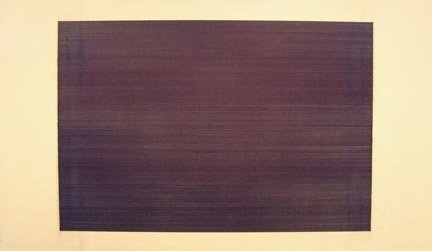
We met through his wife Marita, whom I worked with at UALR. He initially hung the lovely and thought provoking art piece  “Orthodoxy” by artist Curt Bozif, in our home office.

Orthodoxy

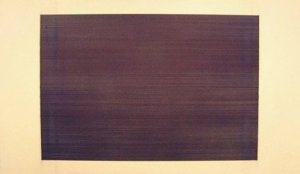
“Orthodoxy” by Curt Bozif

This was when my art studio took over the entire front room.

IMG_2971

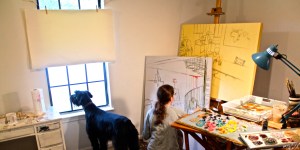
Once we moved my studio, we wanted to move  “Orthodoxy” as well – so it wouldn’t get any paint splatters on it. Ephraim so graciously worked with us again – by hanging “Orthodoxy” as well as wrote for Paper Opera about this experience. The following is by Ephraim McNair:

Art hanging, June 1, 2014

The piece of art is 48″ tall x 96″ wide x 4“ deep canvas on masonite. It is solidly built, with vertical bracing on the back reinforcing the masonite, and perimeter framing to which the canvas is attached.

There are many ways this piece could be hung but the artist did not attach any wires or D rings to the back. Instead of installing our own, we took advantage of the structural soundness of the piece and hung it on some vertical rails mounted to the wall.

hangingpainting5

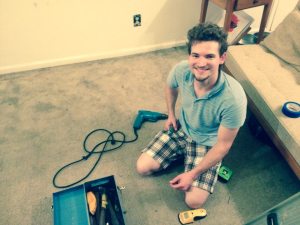
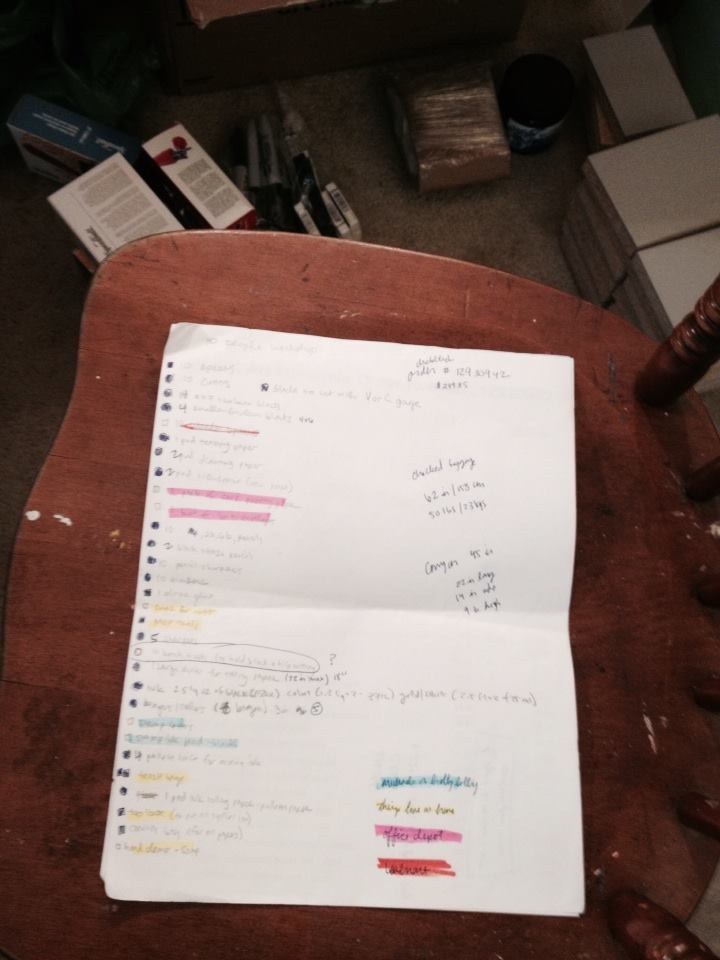
I brought a pretty basic tool box with me for the installation. Here is what we ended up using:
Drill bits
3″ drywall screws
Power drill with 2-headed apex (a phillips and slotted head on the same bit, these are super useful)
Tape measure
36″ Level
Pencil
Stud finder
Masking tape

The first thing to do was determine position. We knew it should go behind the couch but how high above it? Micah took a seat and we measured a comfortable distance above his head from the floor. To that measurement we added the height of the painting, extended the tape measure and held it against the wall.

Waaay too high. From the ceiling there was only a few inches to where the top of the painting would be. While it made room to sit on the couch comfortably, the resulting proportion above and below the piece would have been rather unbalanced. Instead we opted to set the piece about level with the top of the piano and put enough room between the couch and art so sitters wouldn’t feel like they should lean their head on the painting.

There was a good deal more measuring that went on which informed the final decision but I won’t bore you with the details. Personally, I rather enjoy examining a space numerically before working it and discovering spatial relationships.

Once we knew where we wanted the painting, I got out the stud finder and ran some masking tape along the width of the area where the painting would end up. The tape provides a surface for the stud finder to run on without marring the paint as well as a medium for marking the location of found studs.

After we found the studs, we prepared the rails for installation. Micah drilled pilot holes several inches from both ends and drilled in the screws so that the points of each were just poking through. The rails are 1-by-2’s and in order to maximize support for the depth of the painting, we put the screws in so the 2″ length would be perpendicular to the wall. Then we marked one L(eft), the other R(ight) and indicated which end we intended to use as the top.

Once the rails were prepped we marked the location of the top of the rails on the wall at our chosen support studs. This is the most important step in regards to the levelness of the painting; “Measure once cut twice” definitely applies here.

Calculating the location of the top of the rails was very straightforward. We simply measured the height of the (p)iano, added to that the (h)eight of the painting and then removed 1″ from the total for the width of the wood forming the painting’s structure. This can be expressed with the equation p + h – 1″ = measure for top of rail.

L.K. and Micah’s carpet is the comfortable squishy residential kind so I measured from the top of the toe board, which wasn’t that high, to eliminate any variance in rug density. On the wall, I penciled a T with the top bar at the measure, and, after re-measuring both marks, asked for the level.

Holding the level and the rail together, we put the top of the rail at the top of the T and plumbed the rail before pushing the screw points into the the wall. We circled the resulting marks and drilled pilot holes at those points.

At one of the marks the drill went right into the wall with no resistance after the first quarter inch of drywall. A clear indication that we had missed the stud! We checked the stud position and adjusted our rail, re-measured and re-marked its top, plumbed it and then tried again. Resistance all the way through! We had hit the stud.

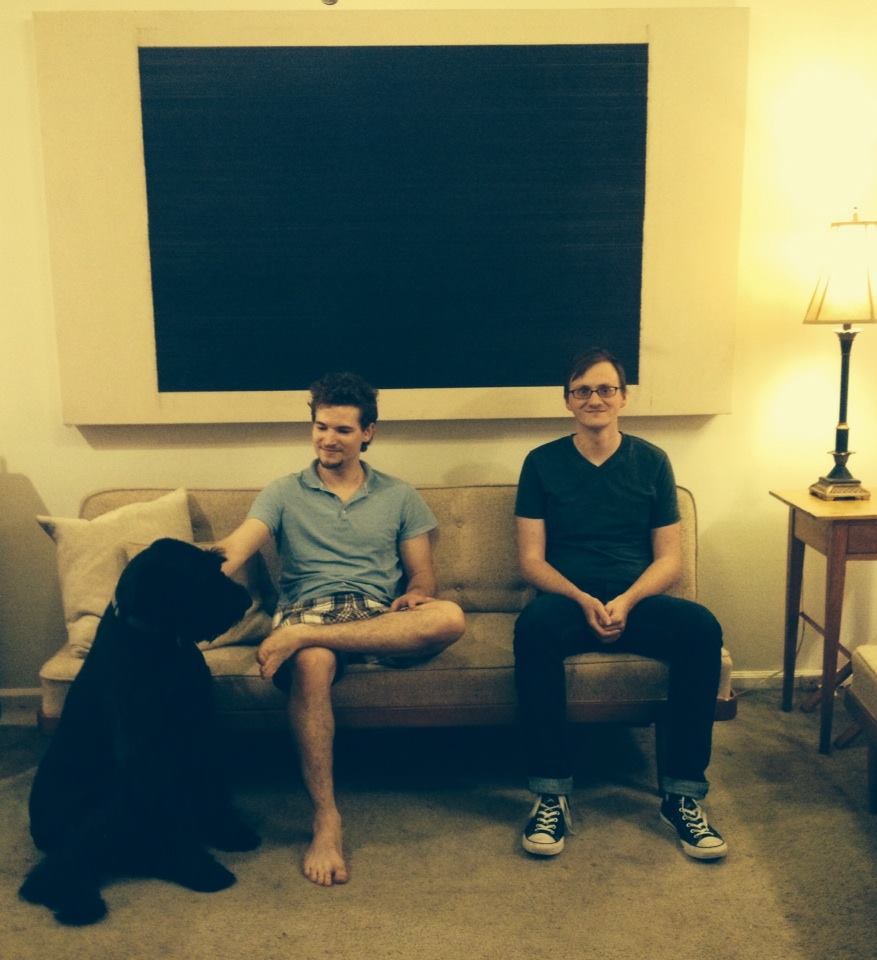
With the pilot holes drilled, we screwed the rails to the wall,  lifted the painting into place and stepped back to admire our handiwork. Since we were confident in the position of our rails we didn’t even bother checking that the painting was level.

With the painting up, the finishing touches revolved around organizing the room and justifying it to established focal points and the wonderful painting which had finally found its home.

hangingpainting4

“It makes a certain kind of sense to put the largest painting in ones collection in the largest room of the house,” Micah said.