A Wedding Song

The Damsels in Distress were asked to play a song at the Lockehart wedding at Grace Church. M and I decided to play  “Mr. and Mrs.”, from album, “Spinning Plates.”

photo 1

photo 3

“Mr. and Mrs.” was originally titled “Mr. and Mrs. Epperson.” We wrote the song in response to being asked to play a song at the Epperson wedding. We later shortened the title to “Mr. and Mrs.” so that it could be used in a more general sense for many wedding lovers.

“Mr. and Mrs.” is about the wedding and the marriage of two lovers.

Mr. and Mrs.
Your lovely heart’s bold
To love someone like me
Who sees this life in the only way to be free.
“I do” forever.

We’ll make the changes.
We’ll say what needs to be said.
And then we’ll do them in our hearts and our heads.

With this ring, I thee wed to be true love to be true.
To be true.

So would you join me?
Soon our flesh will be one.
We’ll live together forever and forever.

“I do” forever.


Our friends Doug and Sue Mary from Family Life took this video and sent to us. Thanks Doug and Sue!


Printmaking Workshop Part III

In the Printmaking Workshop Part II, we left everyone’s linoleum block carved, stored, and ready to print.

I covered the tables with paper and handed out (with my lovely assistant Barbara Jones) printing paper, envelopes, palette paper for ink, ink, brayers, wooden spoons, paper towels, stamps, and an ink pad.

Everyone put their aprons back on and I gave an inking and printing demonstration.

Romania Day 4 (101)

The printing process just took some getting used to, but everyone did a great job! They rolled the ink on the palette paper (which next time, I would just use cardboard strips instead of palette paper because the palette paper is pretty thin and shifts a lot when rolling out the ink). They rolled the inked brayer evenly onto their carved linoleum blocks, and transferred their image using a wooden spoon (rubbing the back of the paper on top of the block using the flat of the wooden spoon).

Romania Day 4 (110) Romania Day 4 (109) Romania Day 4 (105)

Once the prints were a bit dry, they stamped inside of their cards.


I had 4 out of 12 participants finish their blocks the whole way through.

Romania Day 4 (130) Romania Day 4 (127) Romania Day 4 (125) Romania Day 4 (122)

Some of the finished prints!

Romania Day 4 (112) Romania Day 4 (111)

We took our “artist” picture together.


Romania Day 4 (140)

Photos: Courtesy of Jessica Zimmerman Belote

Printmaking Workshop Part I

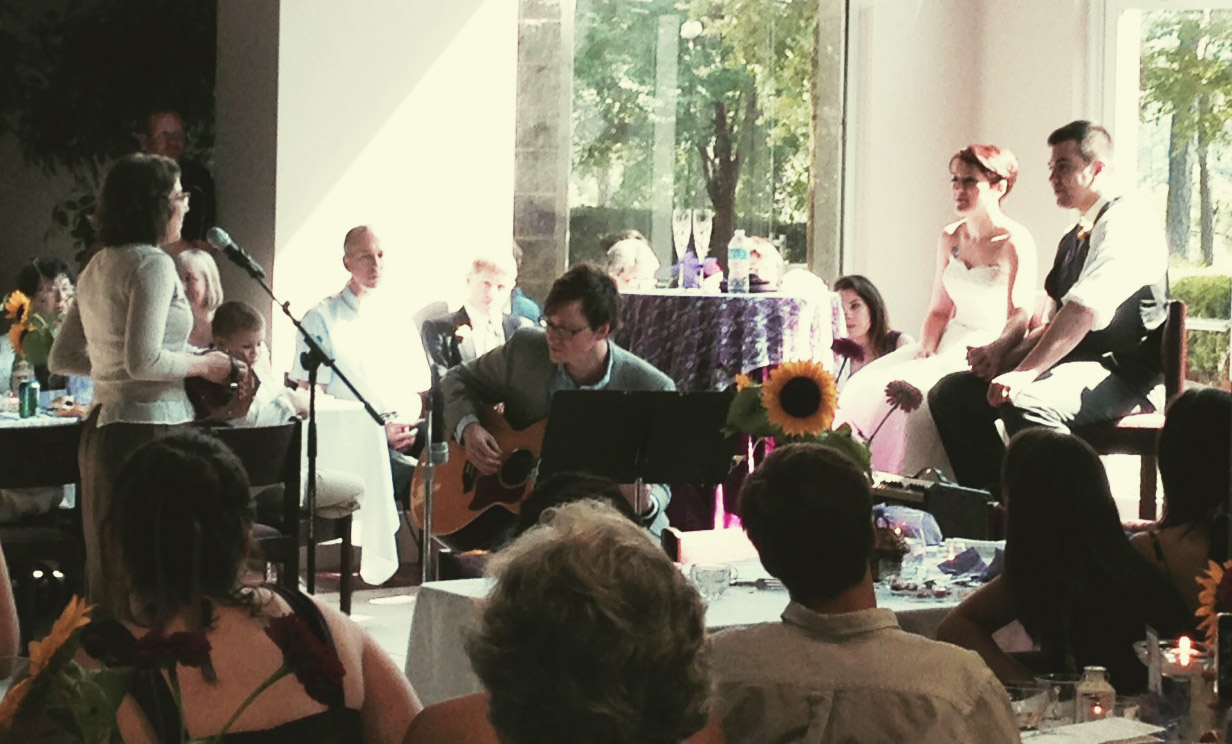
I am leaving for 10 days on a trip to Mures, Romania. I am going with a group from Grace Church to serve the orphans at Livada.

While there, I will be working as a summer camp group leader helping to create new and happy memories with the kids from the state group homes. We will be visiting the kids that are at risk of abandonment who live in the nearby Gypsy villages.

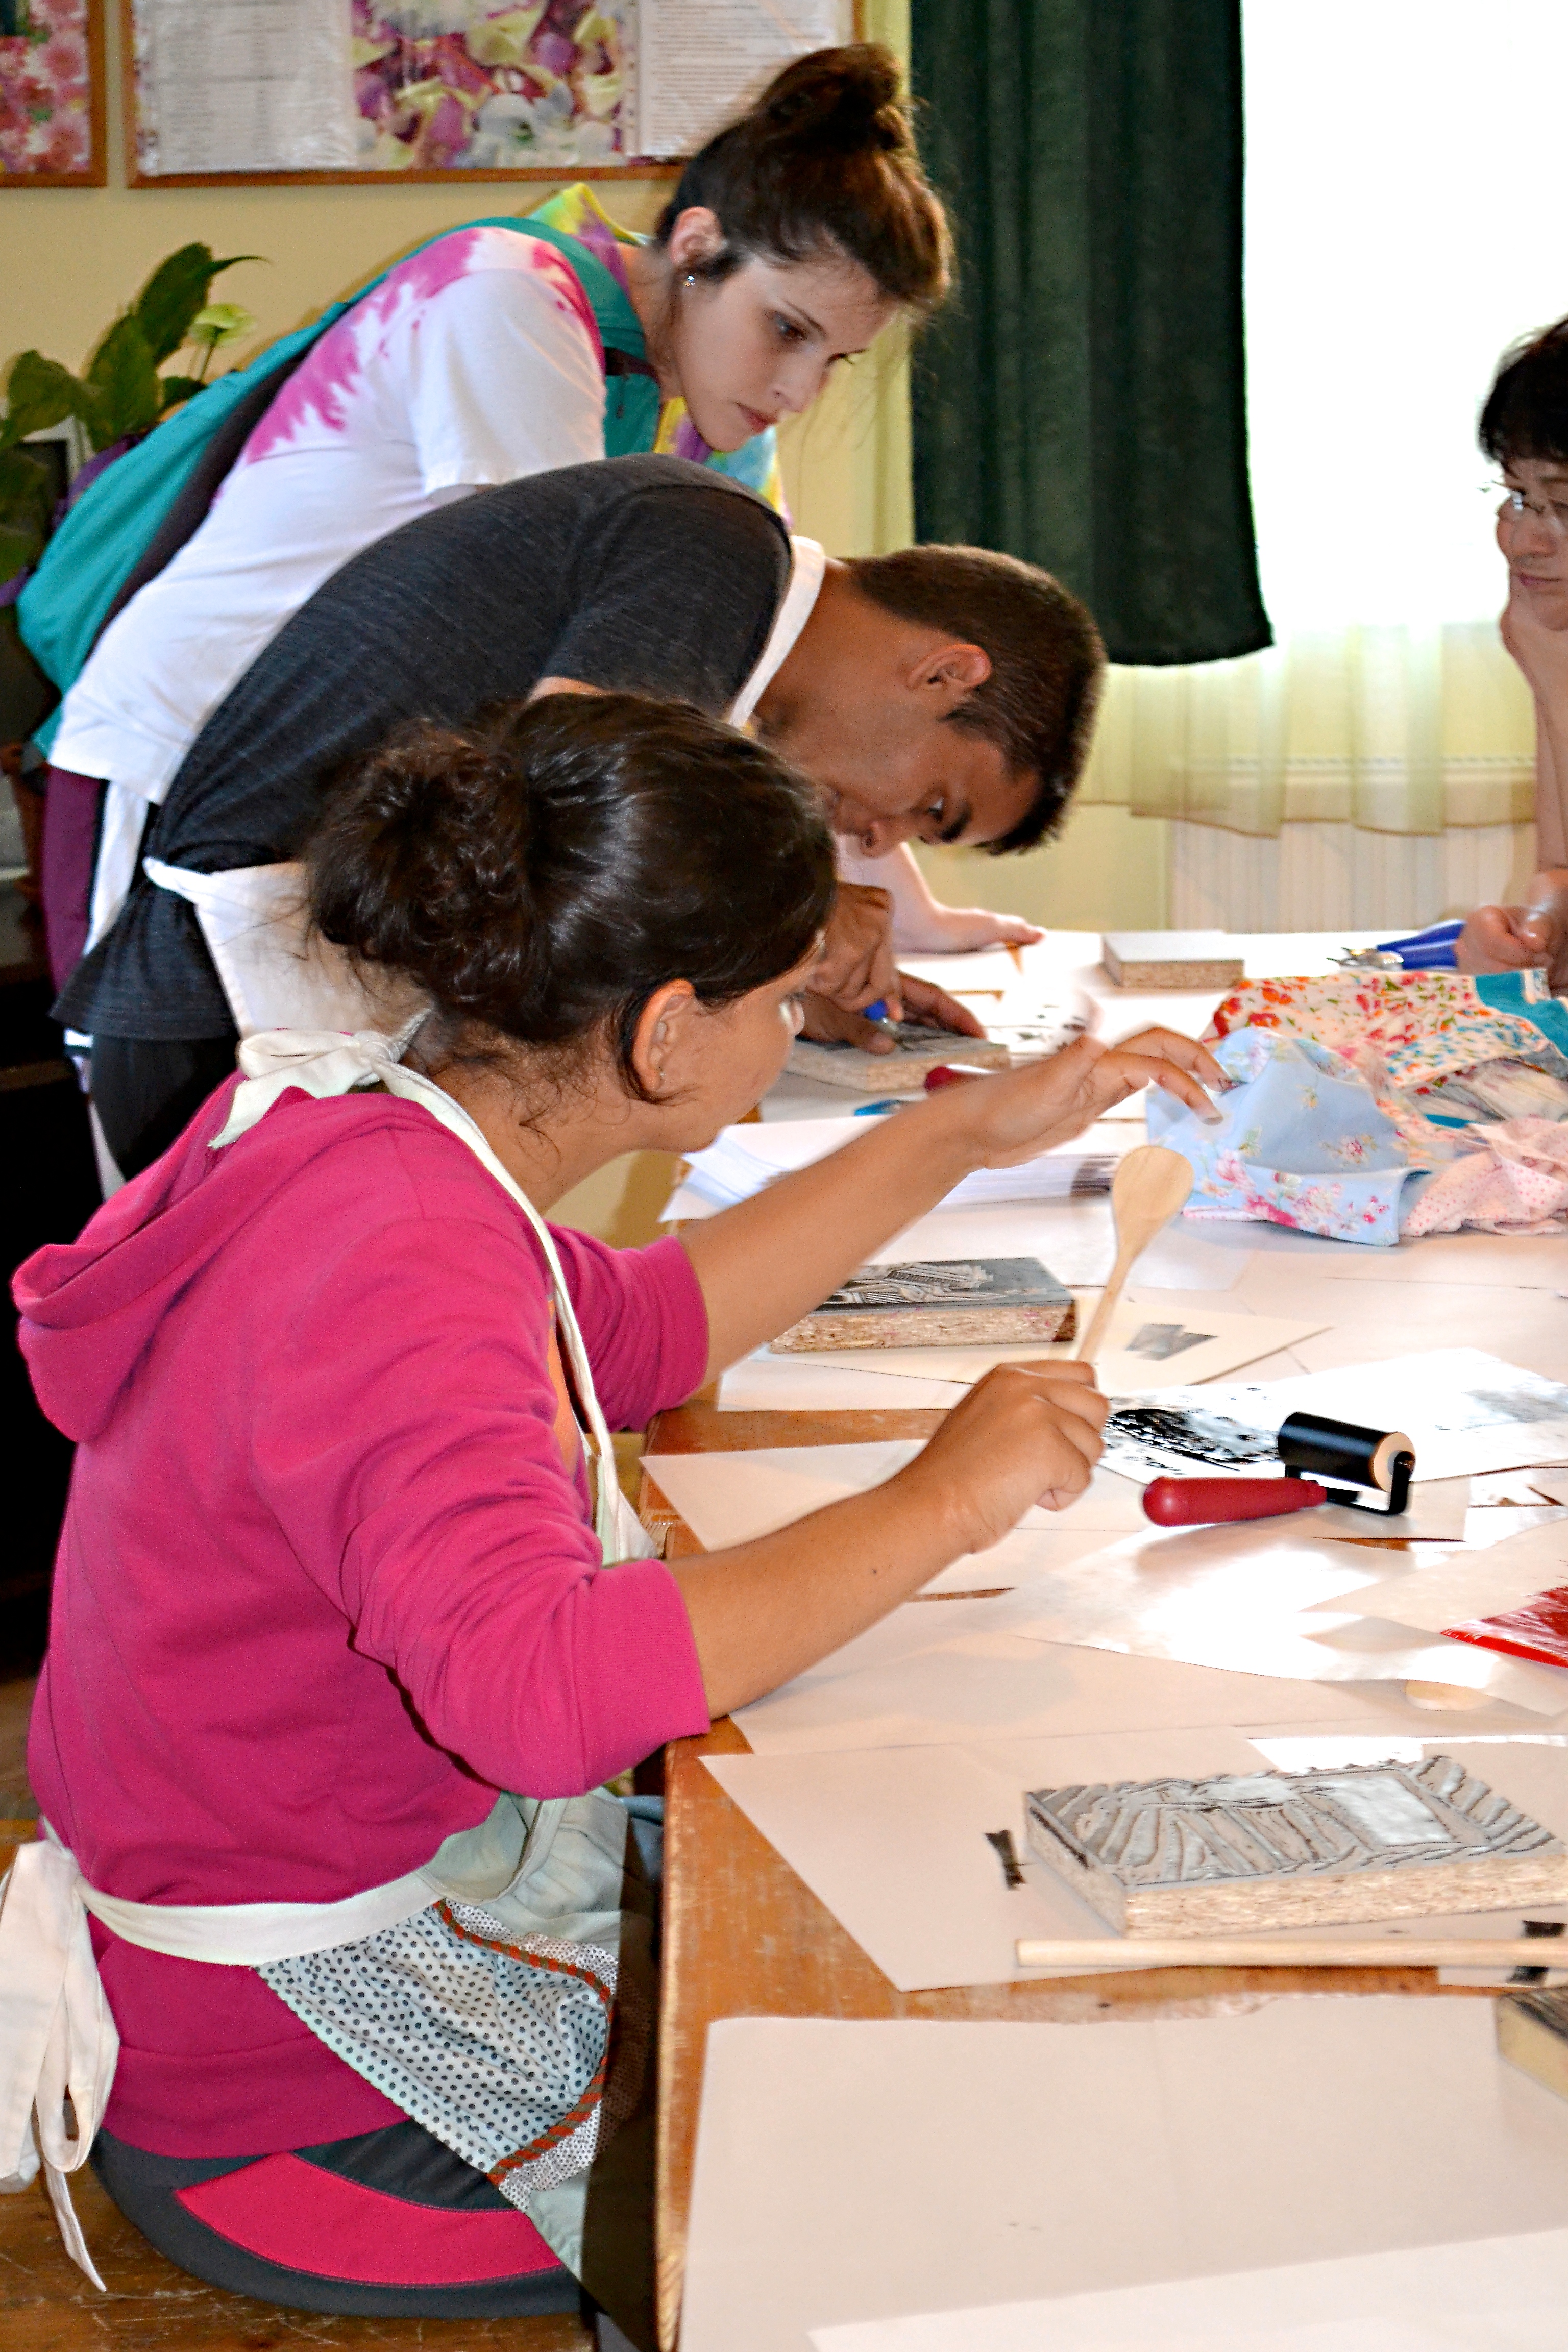
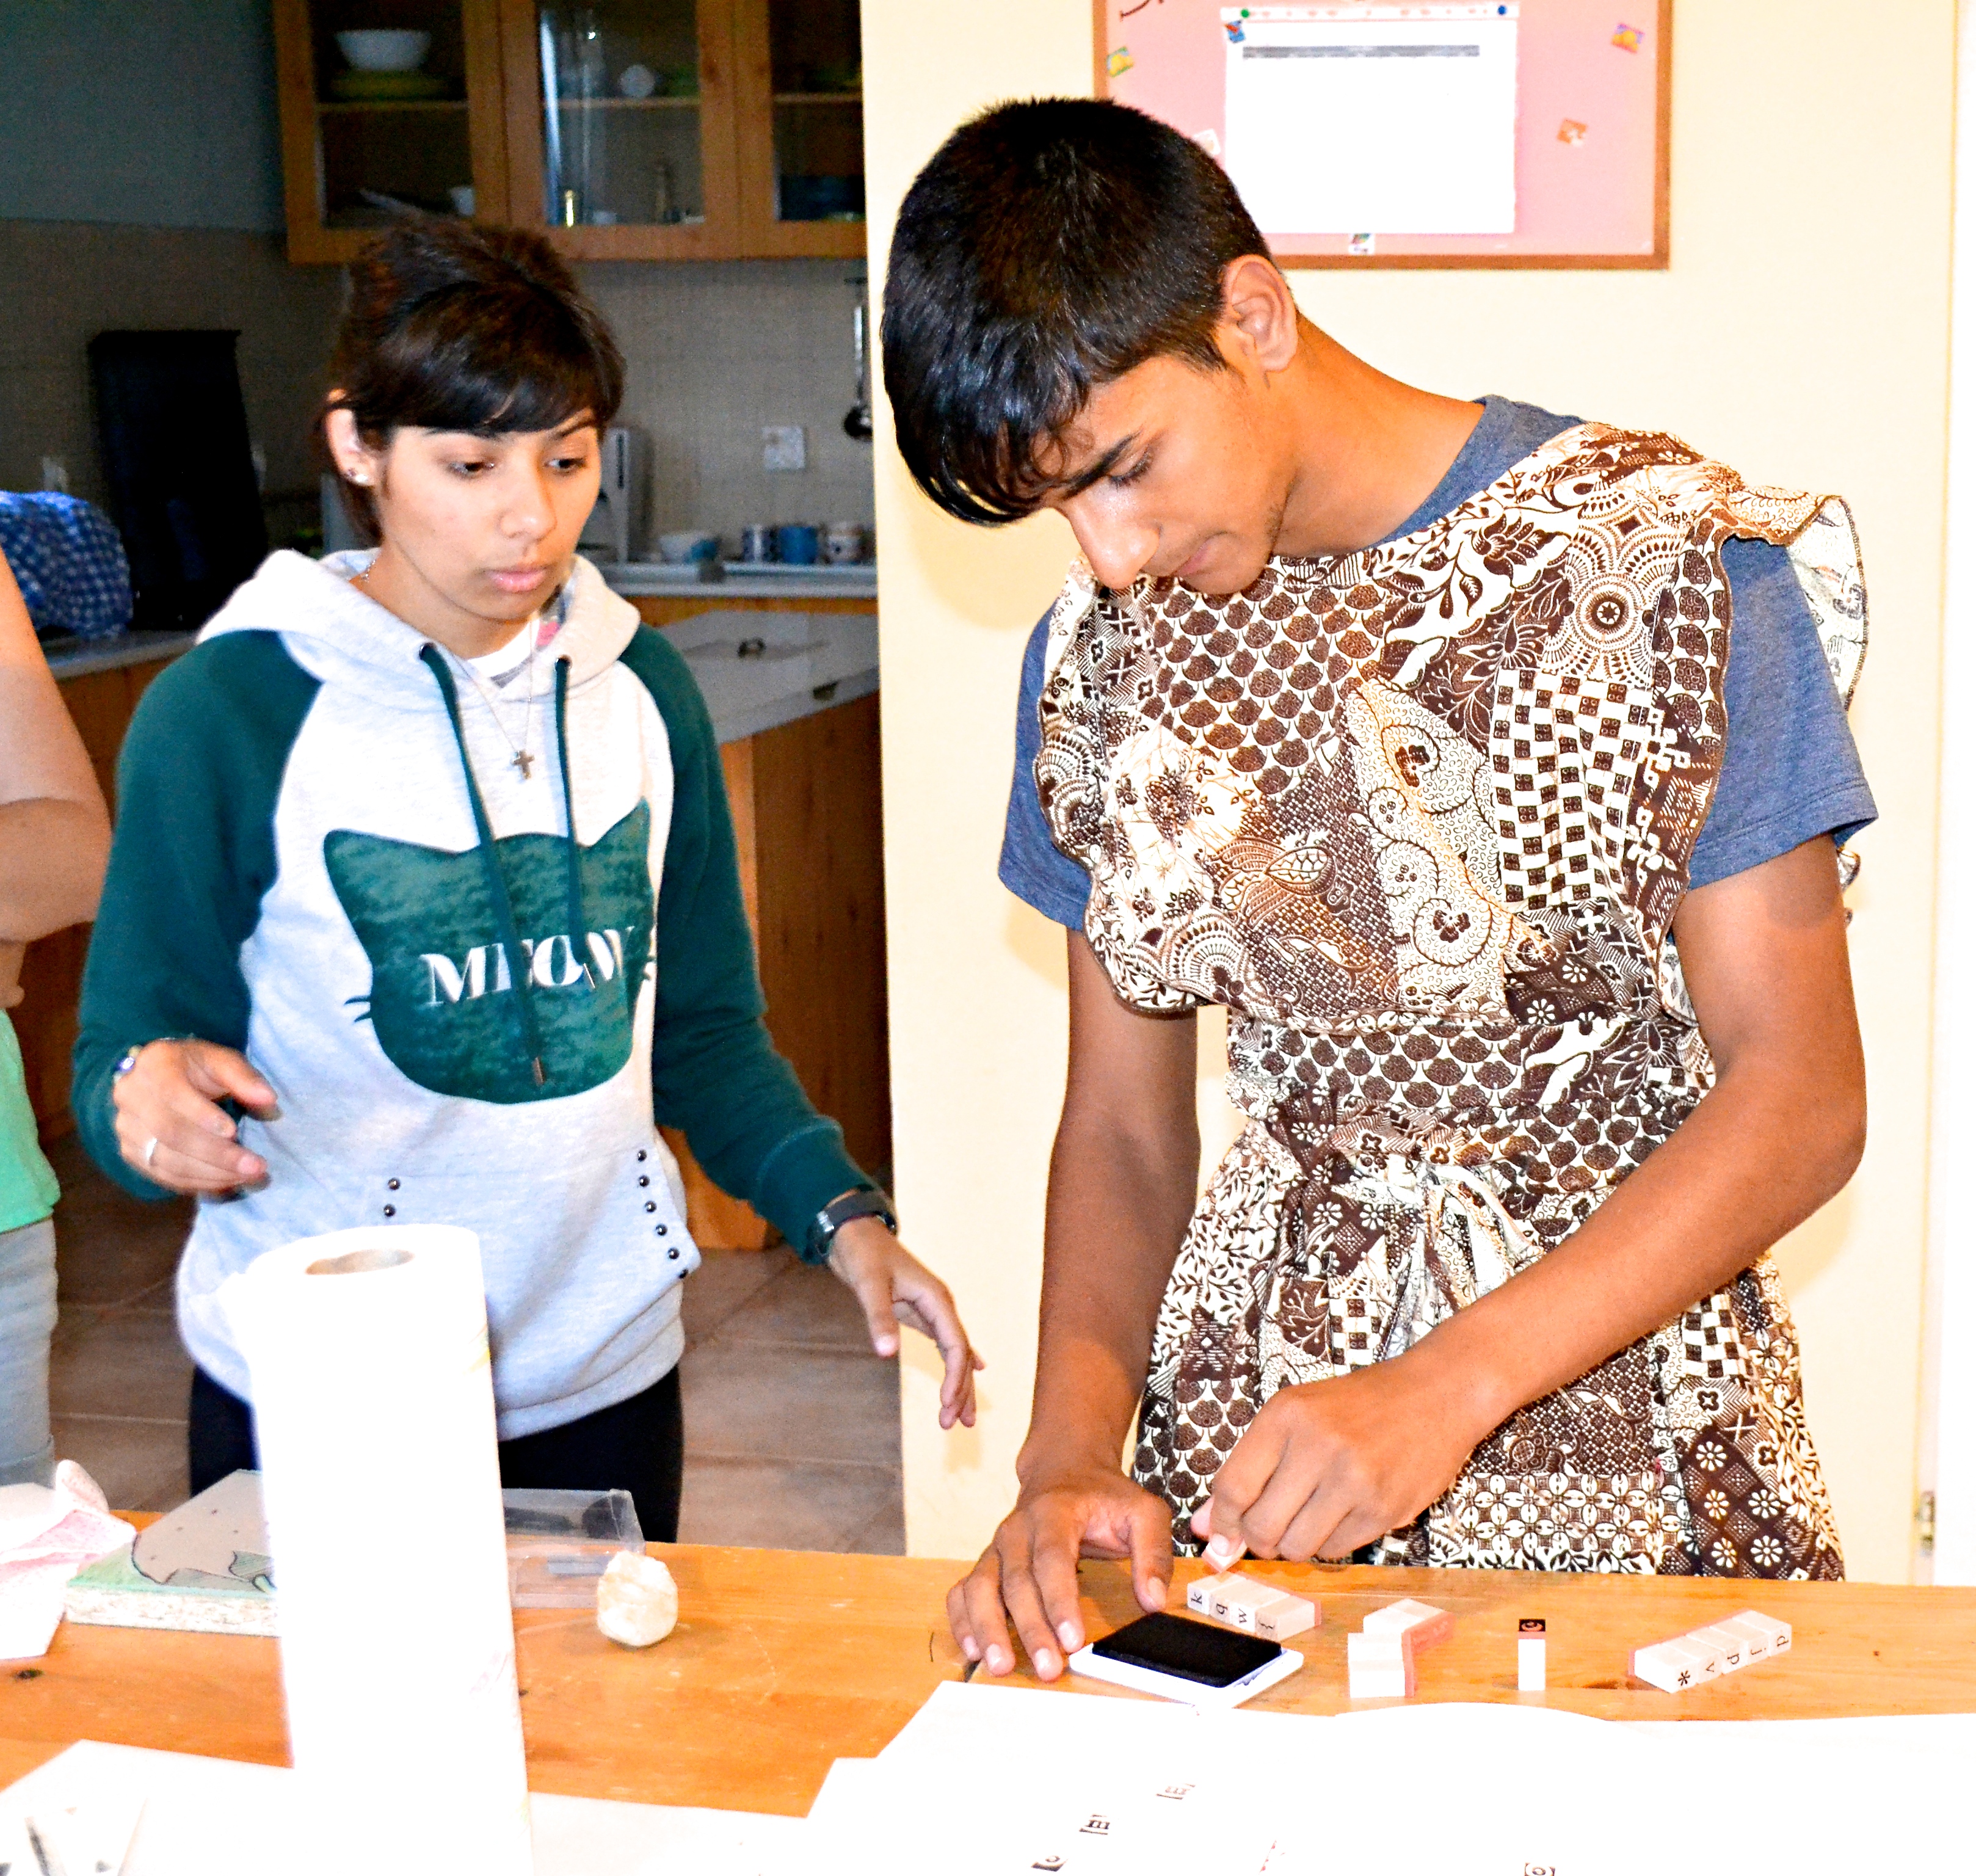
I also have an amazing opportunity to teach a printmaking – artisan card making – workshop (with the assistance of a translator) to a group of 10 girls over 16 years old. The girls often send out cards to their sponsors and to help with fundraising, so I will teach them to make their own cards!

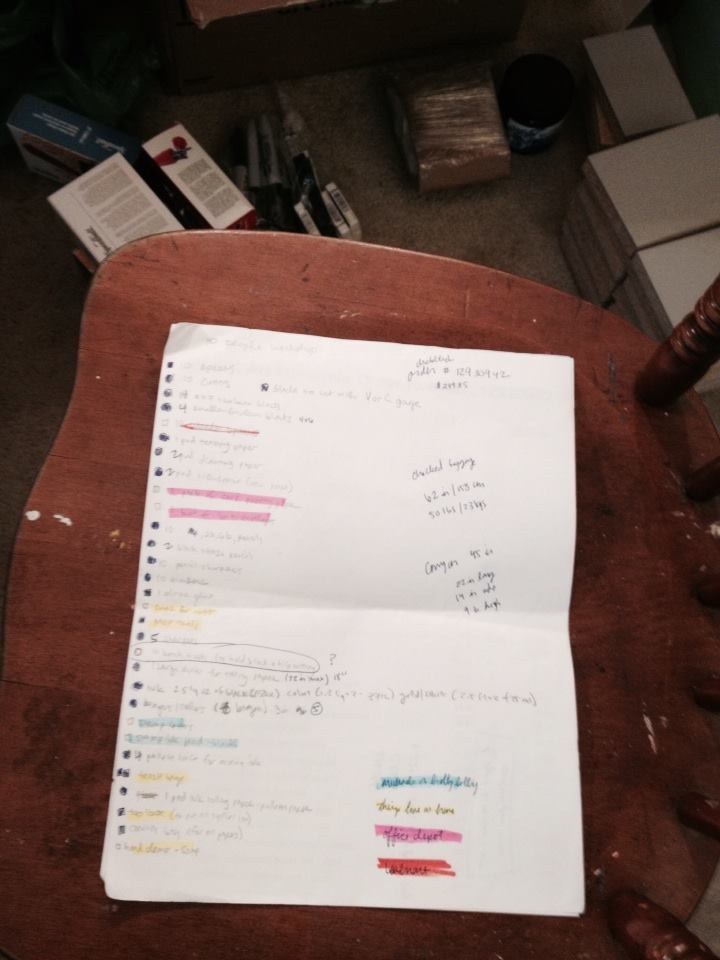
To prepare for this trip, I ordered and packed the following supplies.

workshop6 workshop5 workshop3

Supply List
Block Printing Supplies
14 Block Print Ink – Black (1lb) all other colors  (1.25 oz) – silver, violet, turquoise blue, white, yellow, green, brown, gold, magenta, orange, blue, and red.
5 Linocutterset (comes with 2 handles and 6 cutters)
5 Soft Rubber Brayers 3inch
4 Artist Working Knife (for spreading and mixing ink)
2 Palette Pads 9×12 50 sheets
14 Mounted Linoleum Block 5×7
4 Mounted Linoleum 4×6
10 wooden spoons (for printing)
1 pack of cardstock (for printing on cards)
1 pack of envelopes
trash bags
hand cleaner – soap
small plastic cups (for water and clean up)
papertowels
working aprons (hand sewn and donated by friends in my community)
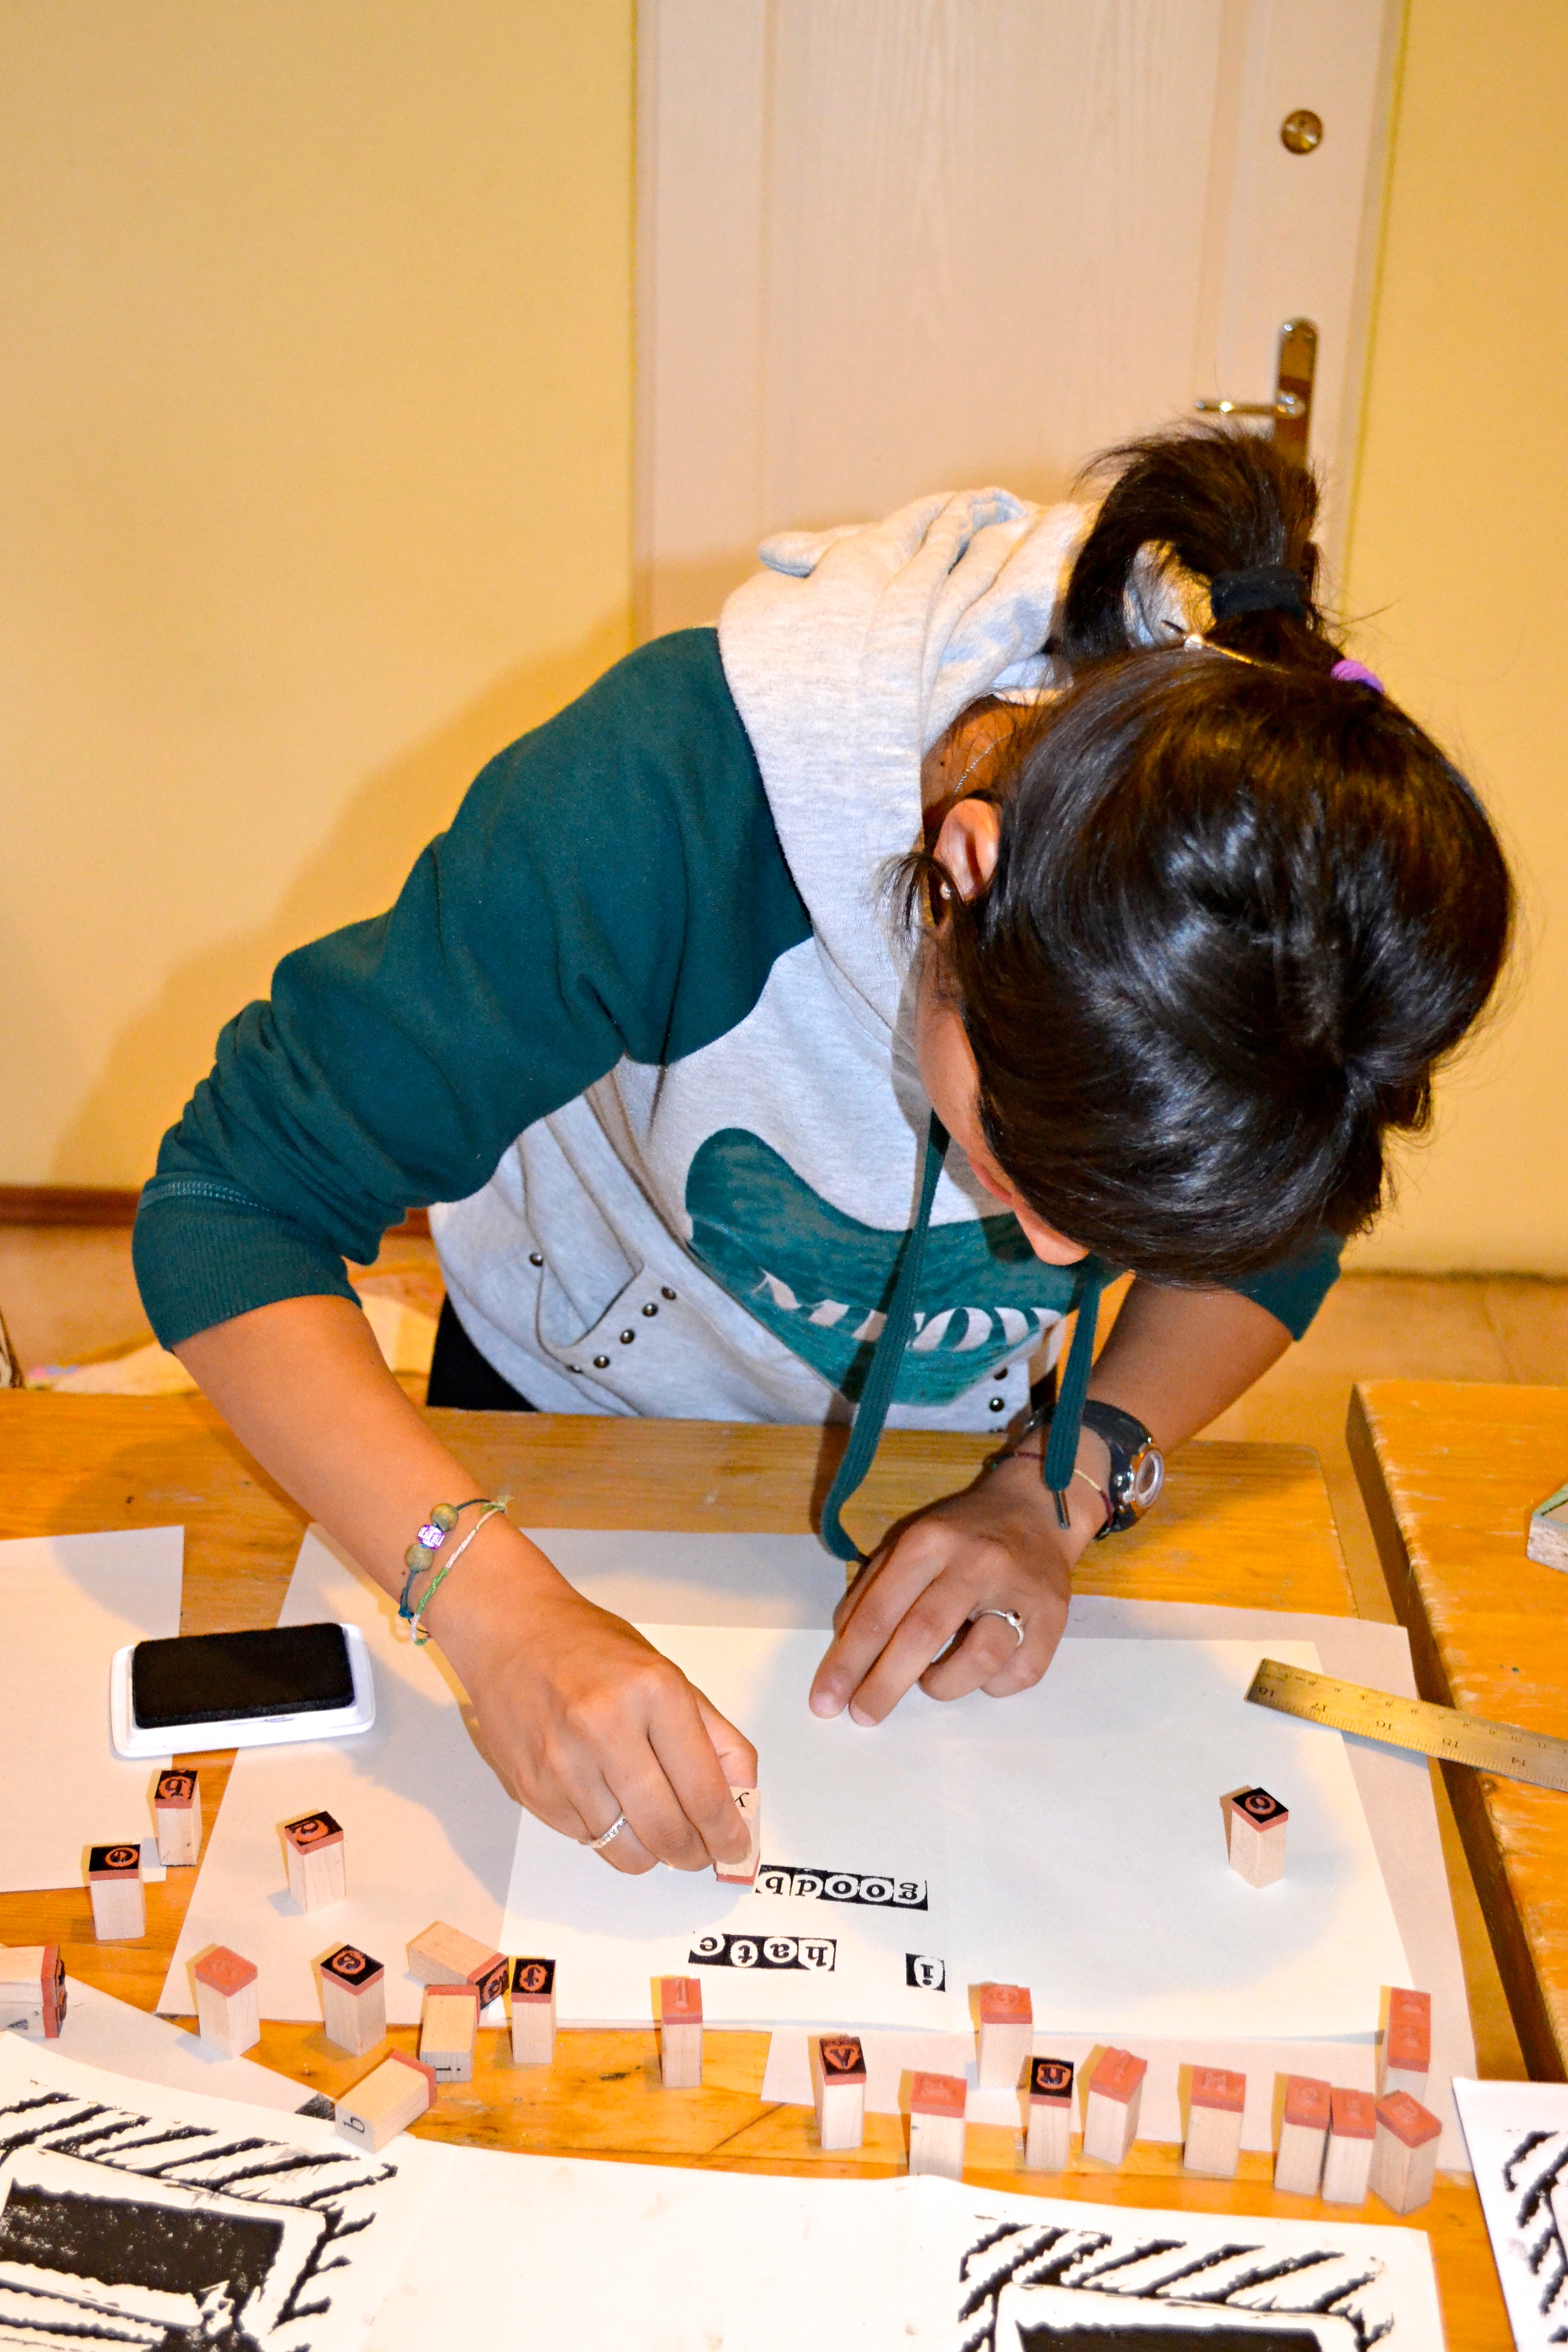
stamp letters and ink pad (for message inside the card)

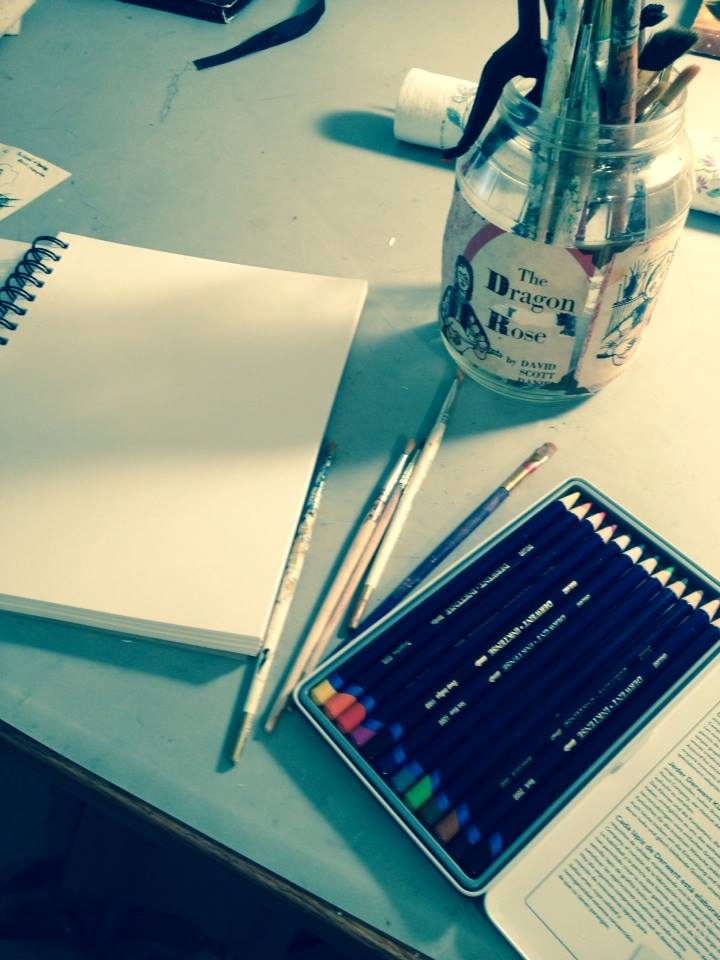
Drawing and Transfer Supplies
10 Pencil Sharpeners
20 Drawing Pencils (10 of each 2 b and 6b)
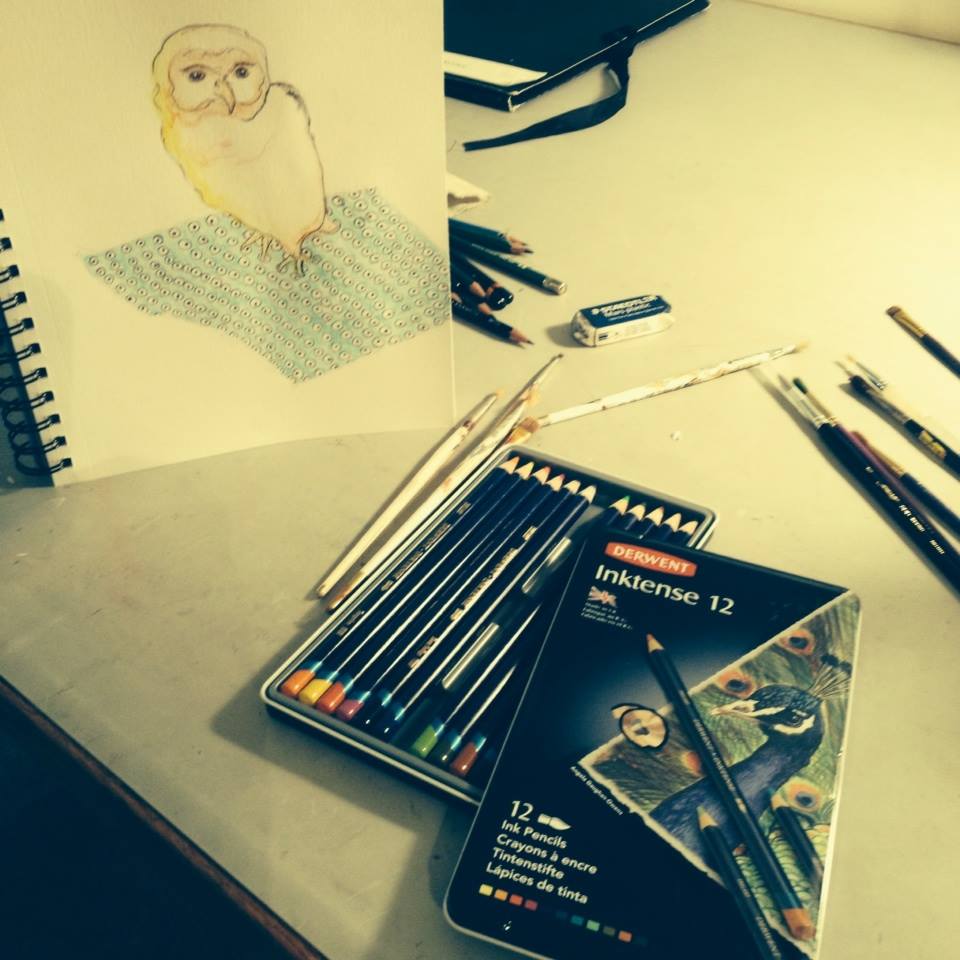
2 derwent Inktense Pencil Black
10 White Plastic Erasers
5 Sharpie Black
1 Stainless Steel Ruler 18in (for taring paper)
2 Newsprint Pad 9×12 50 sheets
2 Drawing Pad 9×12 80lb 50 sheets
1 Tracing Pad 9×12 25lb 50 sheets
1 package of white card stock paper 110lbs
1 box of 6 9 envelopes

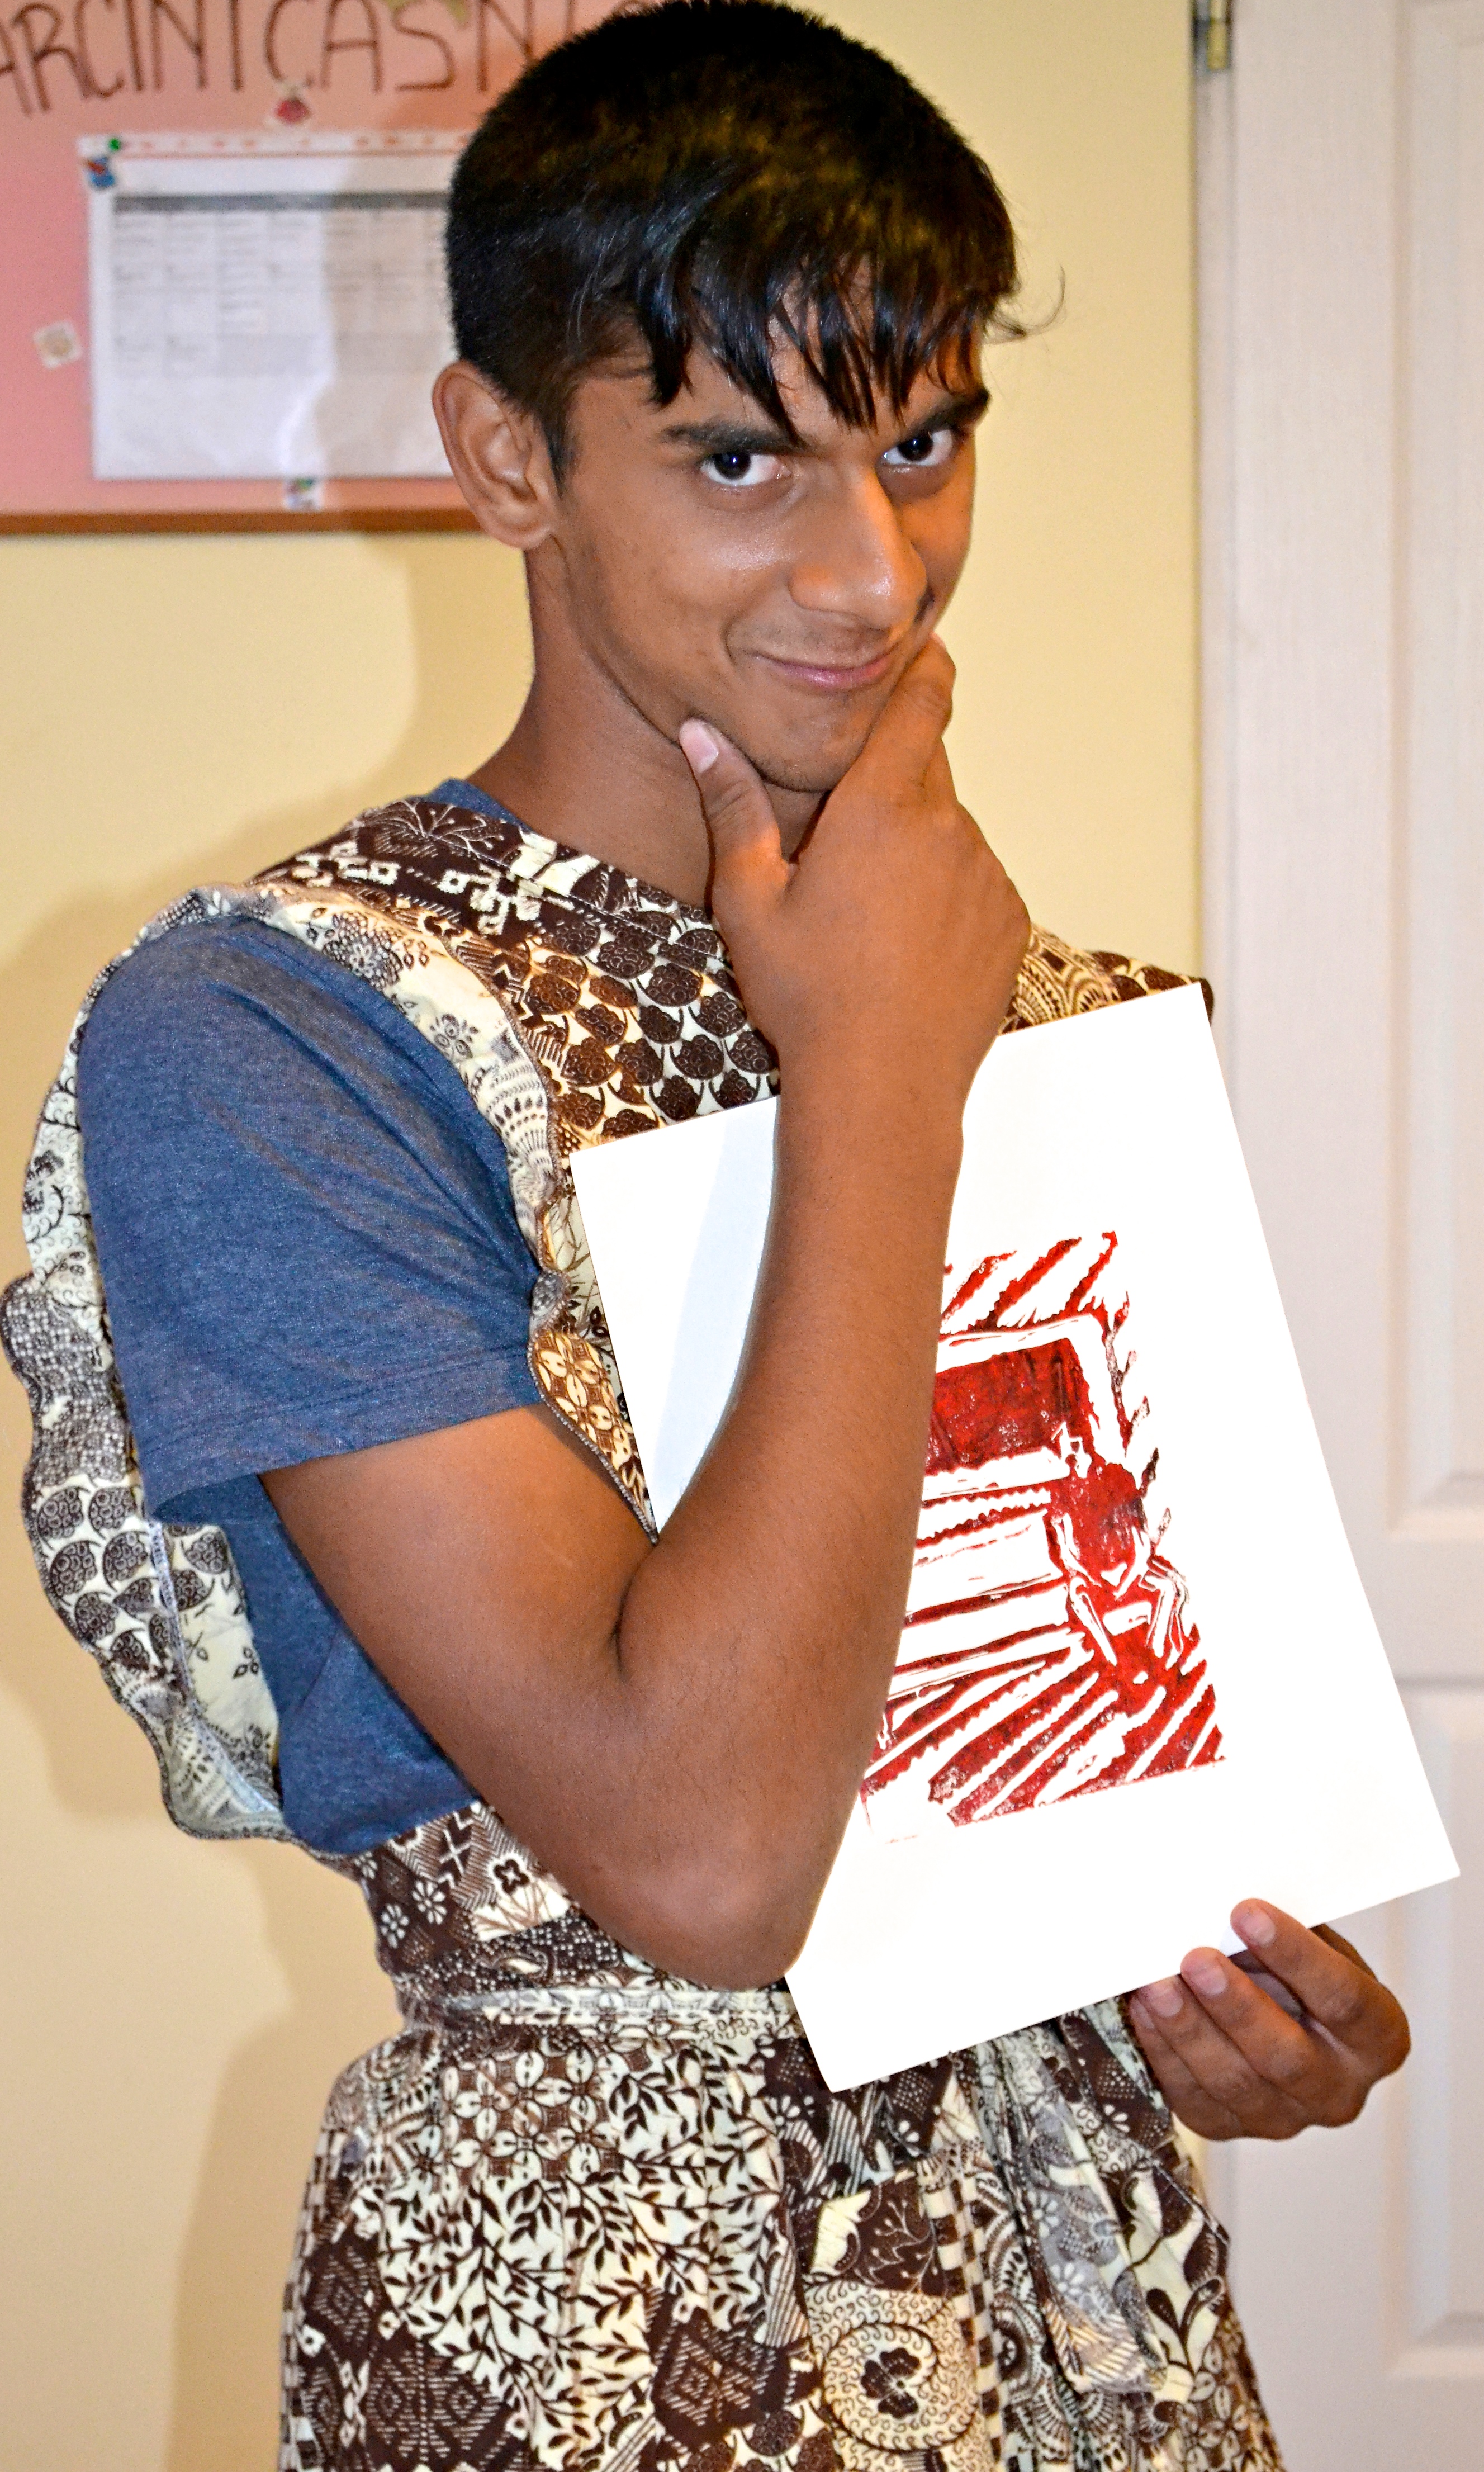
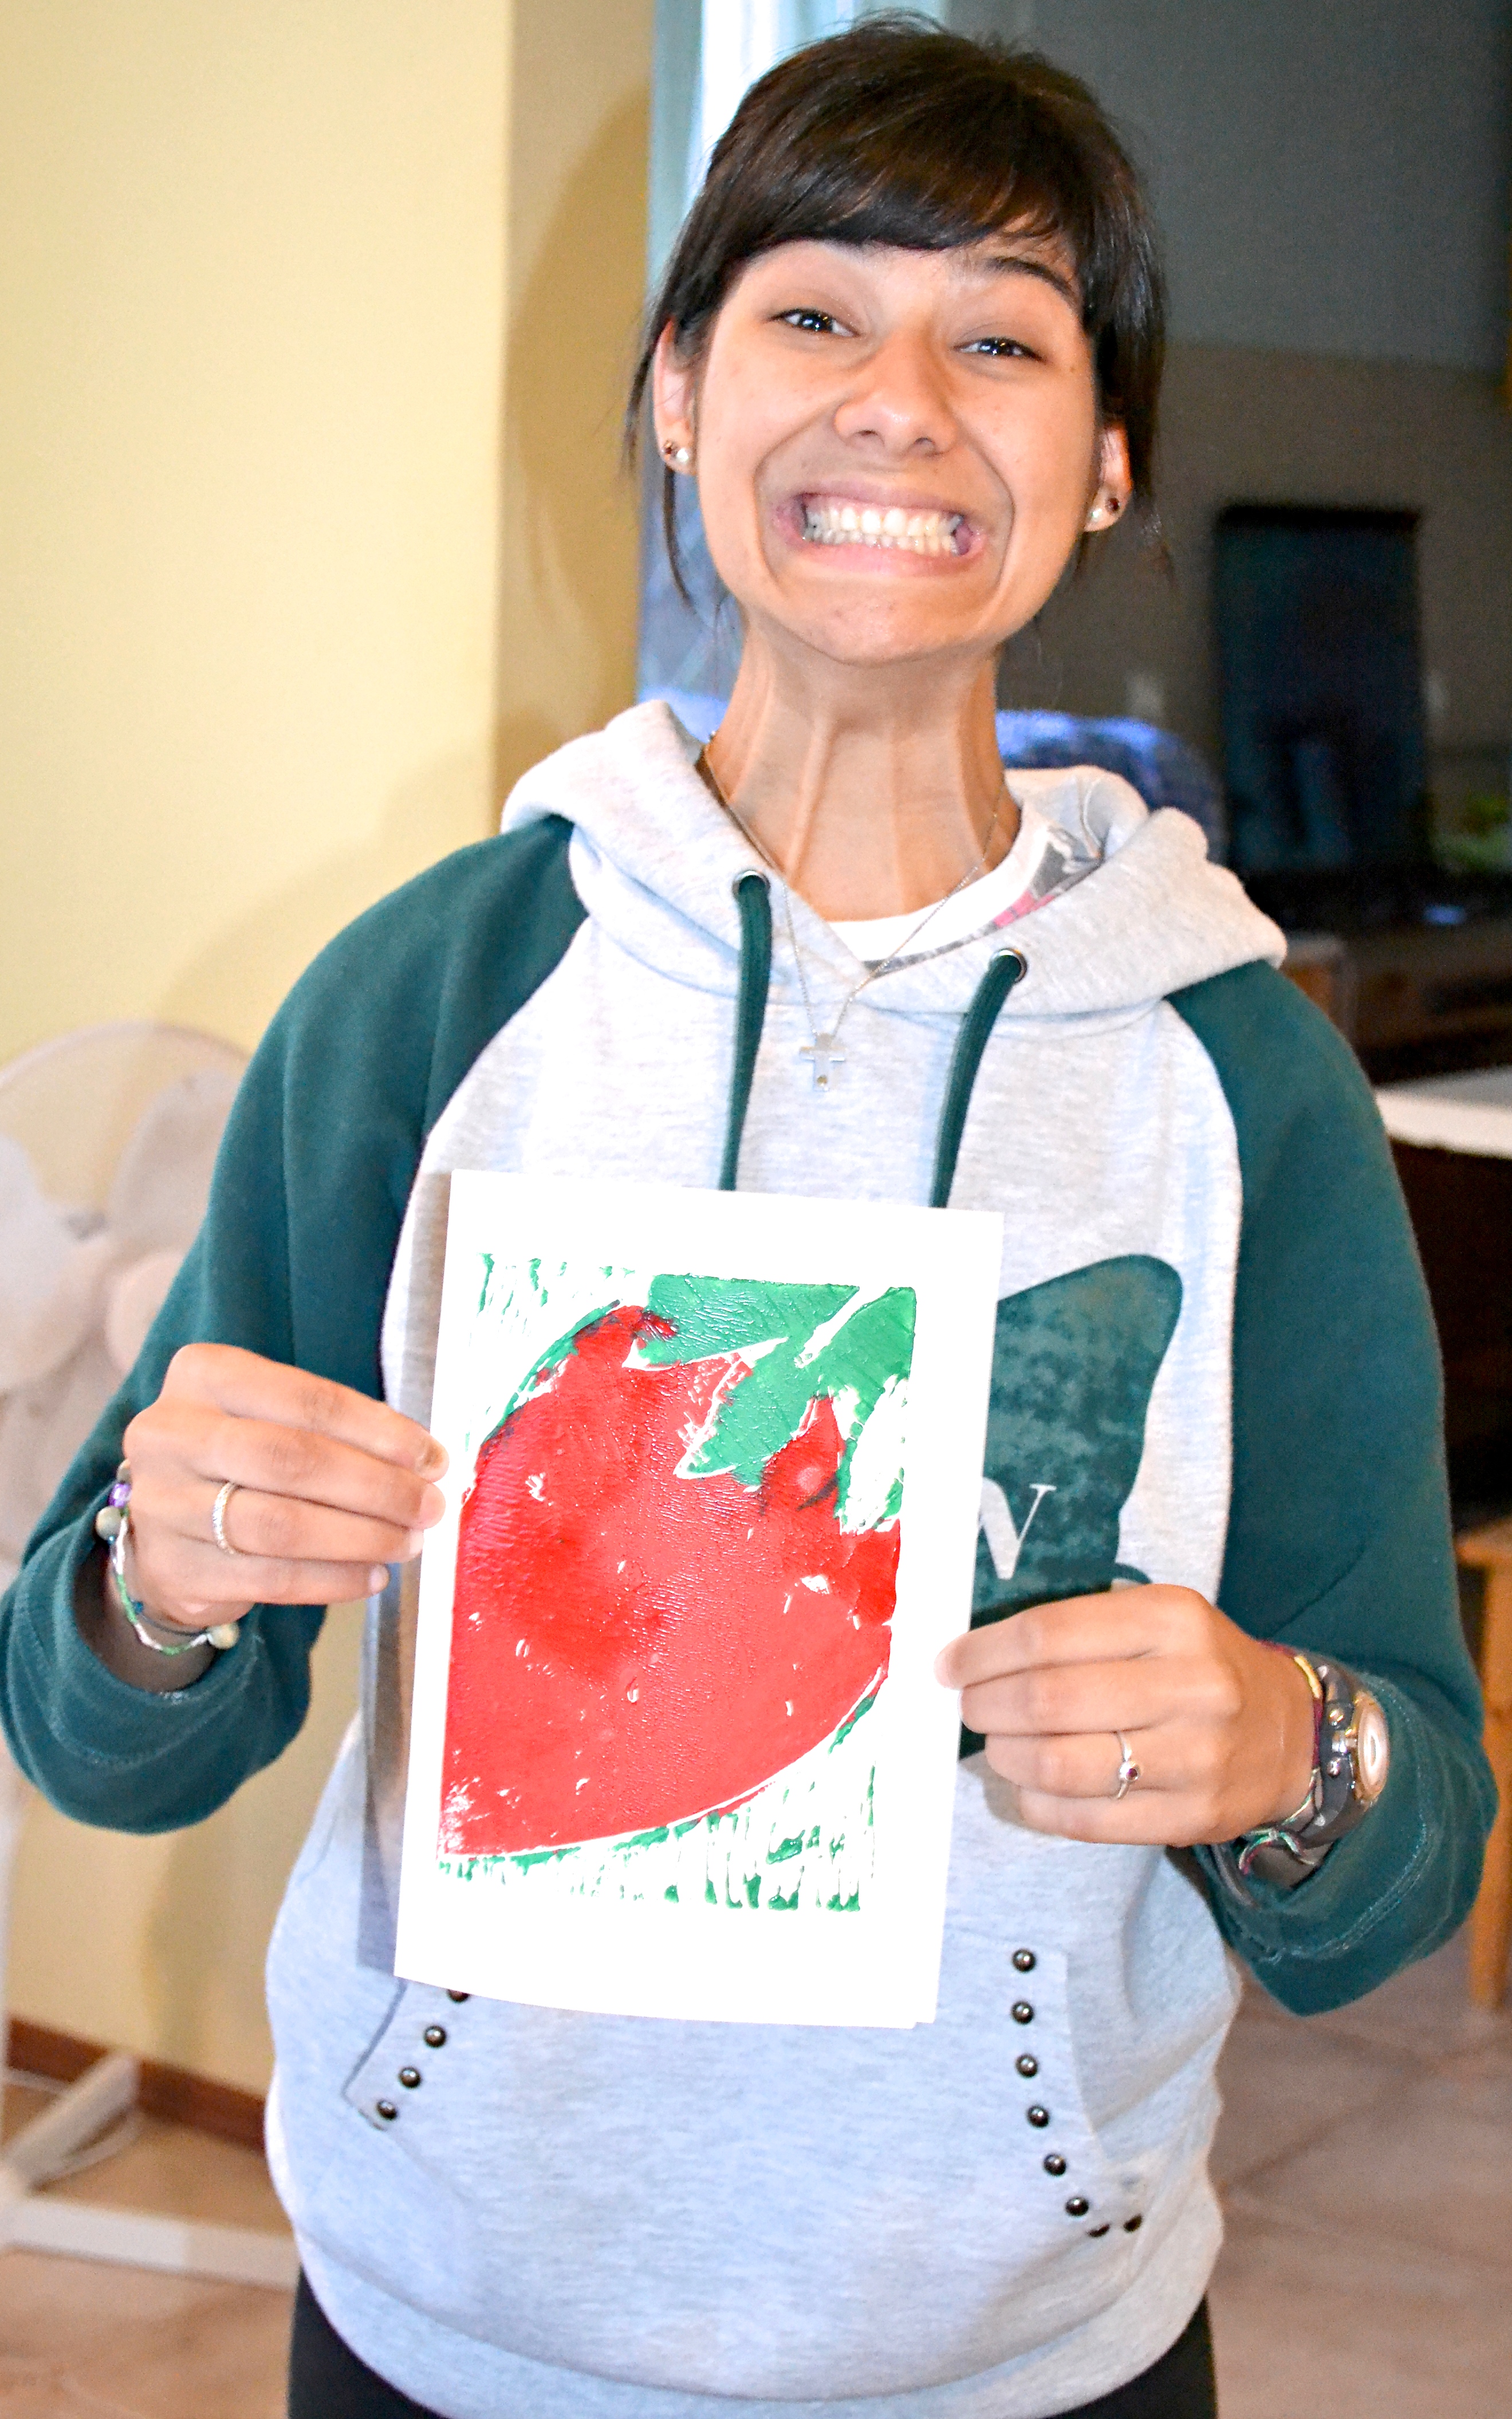
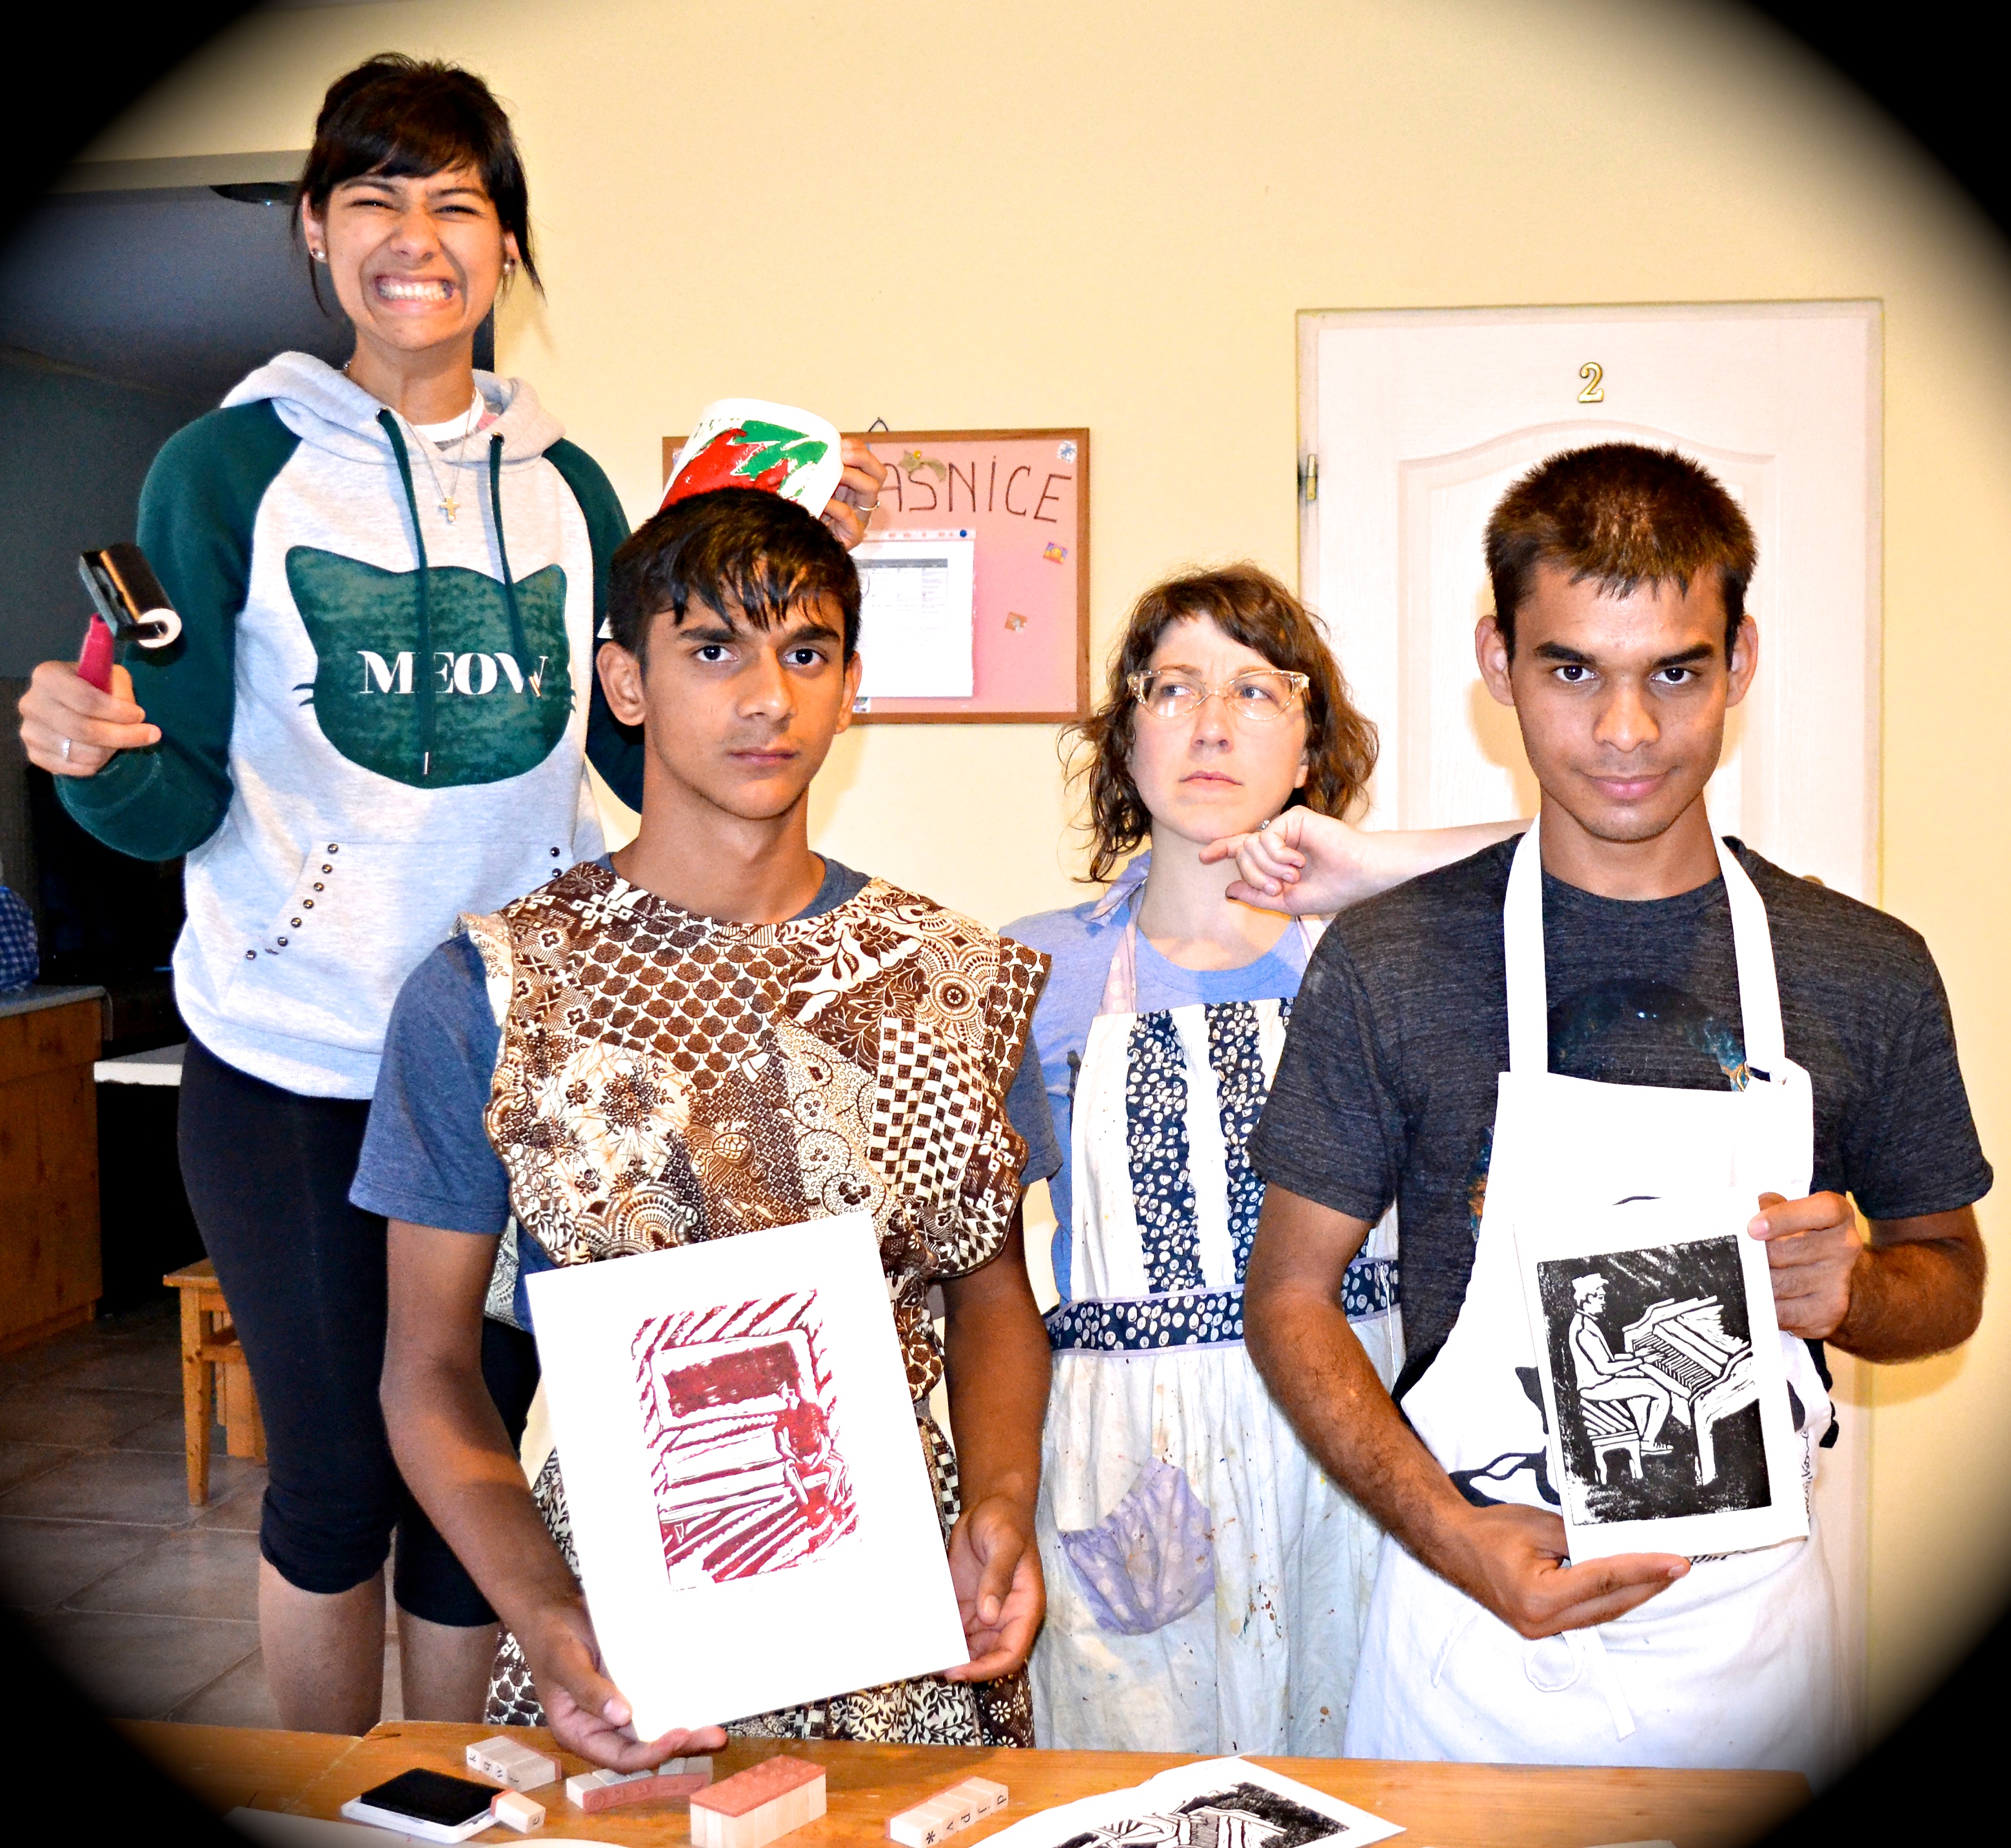
I am bringing also a sample block already carved and some print samples.

workshop1 workshop4

I have packed the workshop in a suitcase a little under 50 pounds.

When I return, I will blog about the specifics of the printmaking – artisan card making – workshop, and any art, music, or writing experiences I have along the journey!

Art Romance

What do you think of when I say “hot date night” or “a night out on the town?”

M took me out for one of these. We went and looked at rows and rows – touching every corner of smooth and toothy – cream, white, and toned – thick and thin – pages of sketchbook paper.

M bought me a Canson Sketchbook – 7 x 10 – 98lb and a 12 pack of Derwent Inktense pencils. $$$$

canson       inktense

Well, I did say it was a date!

Of course when we got home, I immediately went to my studio to see what these Inktense pencils were all about. Which is probably the downside for M of taking me on an art date.

inktense10 inktense3

The Inktense pencils are ink based, so after applying water, the ink dries and another layer of ink pencil can be added. Something else I think is really great about the Inktense pencils – and this is for the printmakers out there –  the inktense pencils blend well when working with water based ink. This means that if you print and some parts of your print comes out grainy, you can cover that up with the Inktense pencils.

Pretty cool stuff!

inktense5 inktense

I sketched an owl because I have been looking at the owls from Raptor Rehab of Central Arkansas.

inktense4

I have been drawing this circle pattern for weeks now at work meetings and at Grace Church on Sundays – so I put it in with the owl sketch.

inktensepattern