15 Illustrations: Walking at Two Rivers

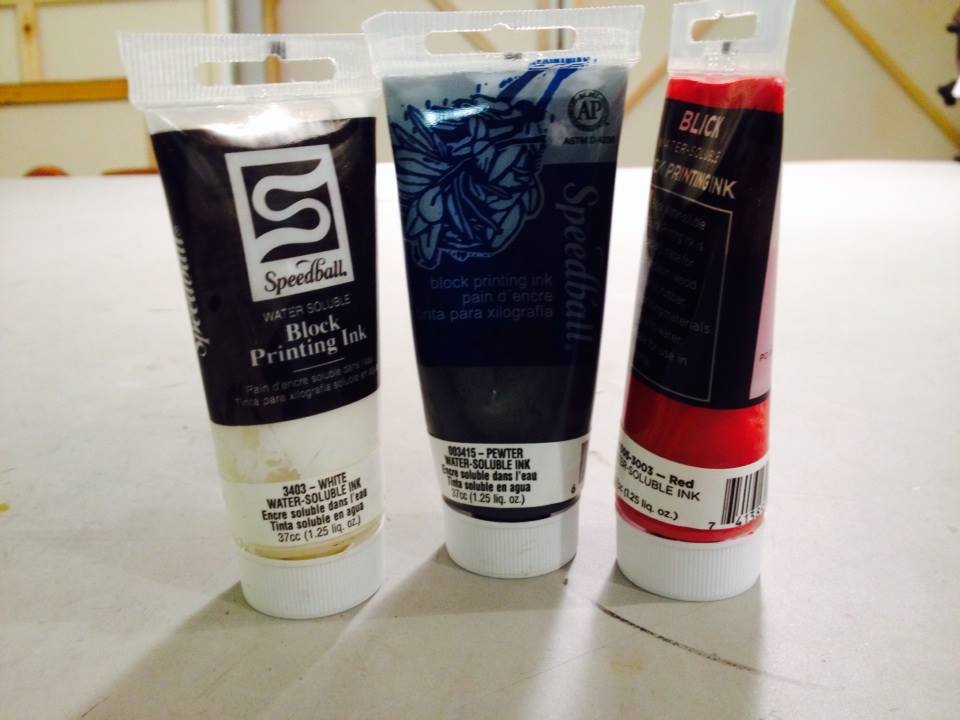
This series is called 15 illustrations because that’s how many pages is in my awesome art pad gift – a Canson 11×14″ Illustration art pad 150lb. I am using a blend of inktense pencils and micron ink pens size .005, .01, .03, .05, .07, and .08. This series is inspired by my family and all of the fun and interesting things we do together.

IMG_2299 Derwent-Inktense-Pencil-12-350

“Walking at Two Rivers” is pretty self explanatory. The Two Rivers Park Bridge is in Little Rock, Arkansas. It is a pedestrian and bike bridge connected to Two Rivers Park. It is open 24 hours a day, seven days a week. The bridge is 1,368 feet long. It opened to the public July 23, 2011. We moved to Little Rock November 2008, so when this park opened a couple of years later, we were pretty happy to have a great place like this to walk. My favorite part of this trail is going through a forest of large trees. I used a blend of inktense pencils leaf green and teal green for the forest.

IMG_9111

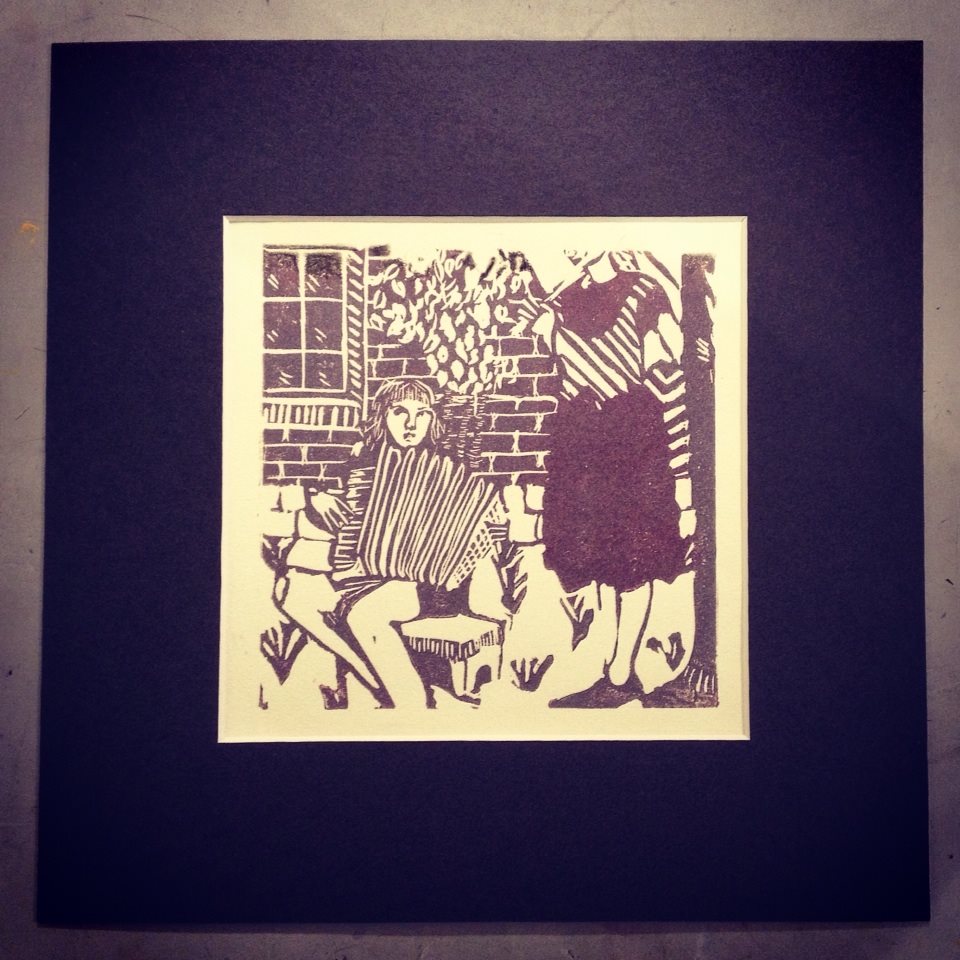
My favorite parts of this drawing are the trees and leaves,

IMG_3107 IMG_3106

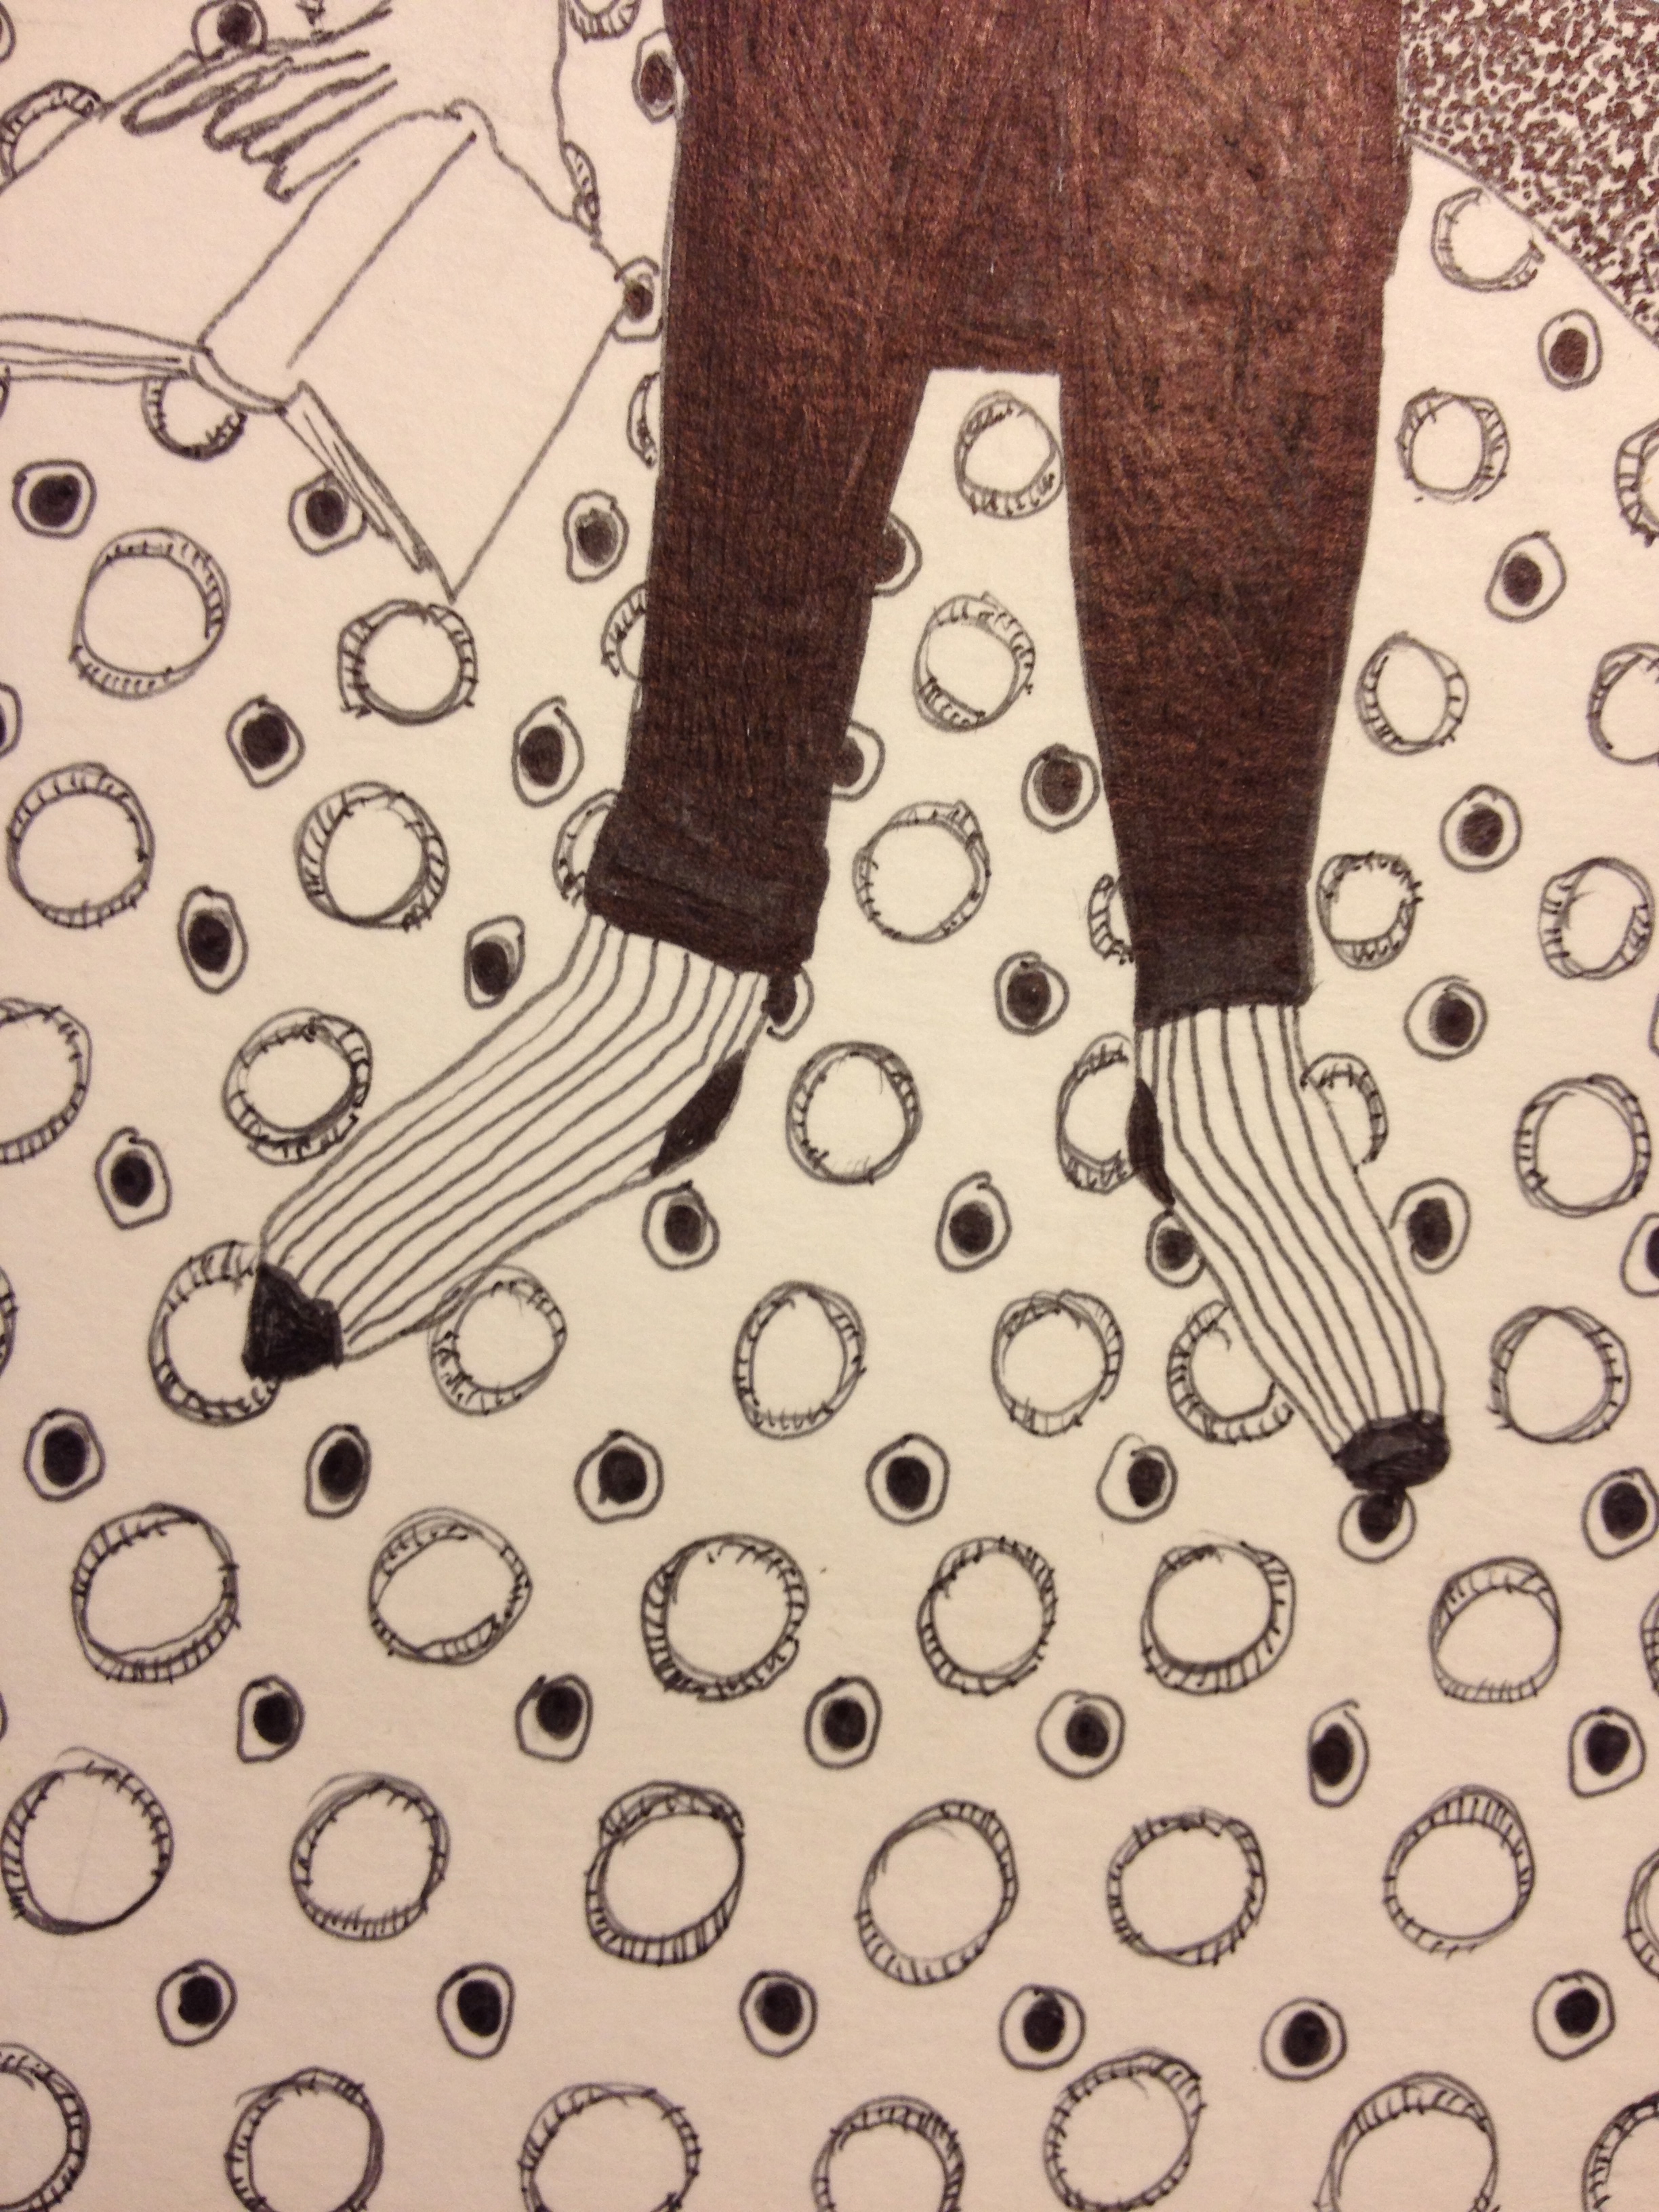
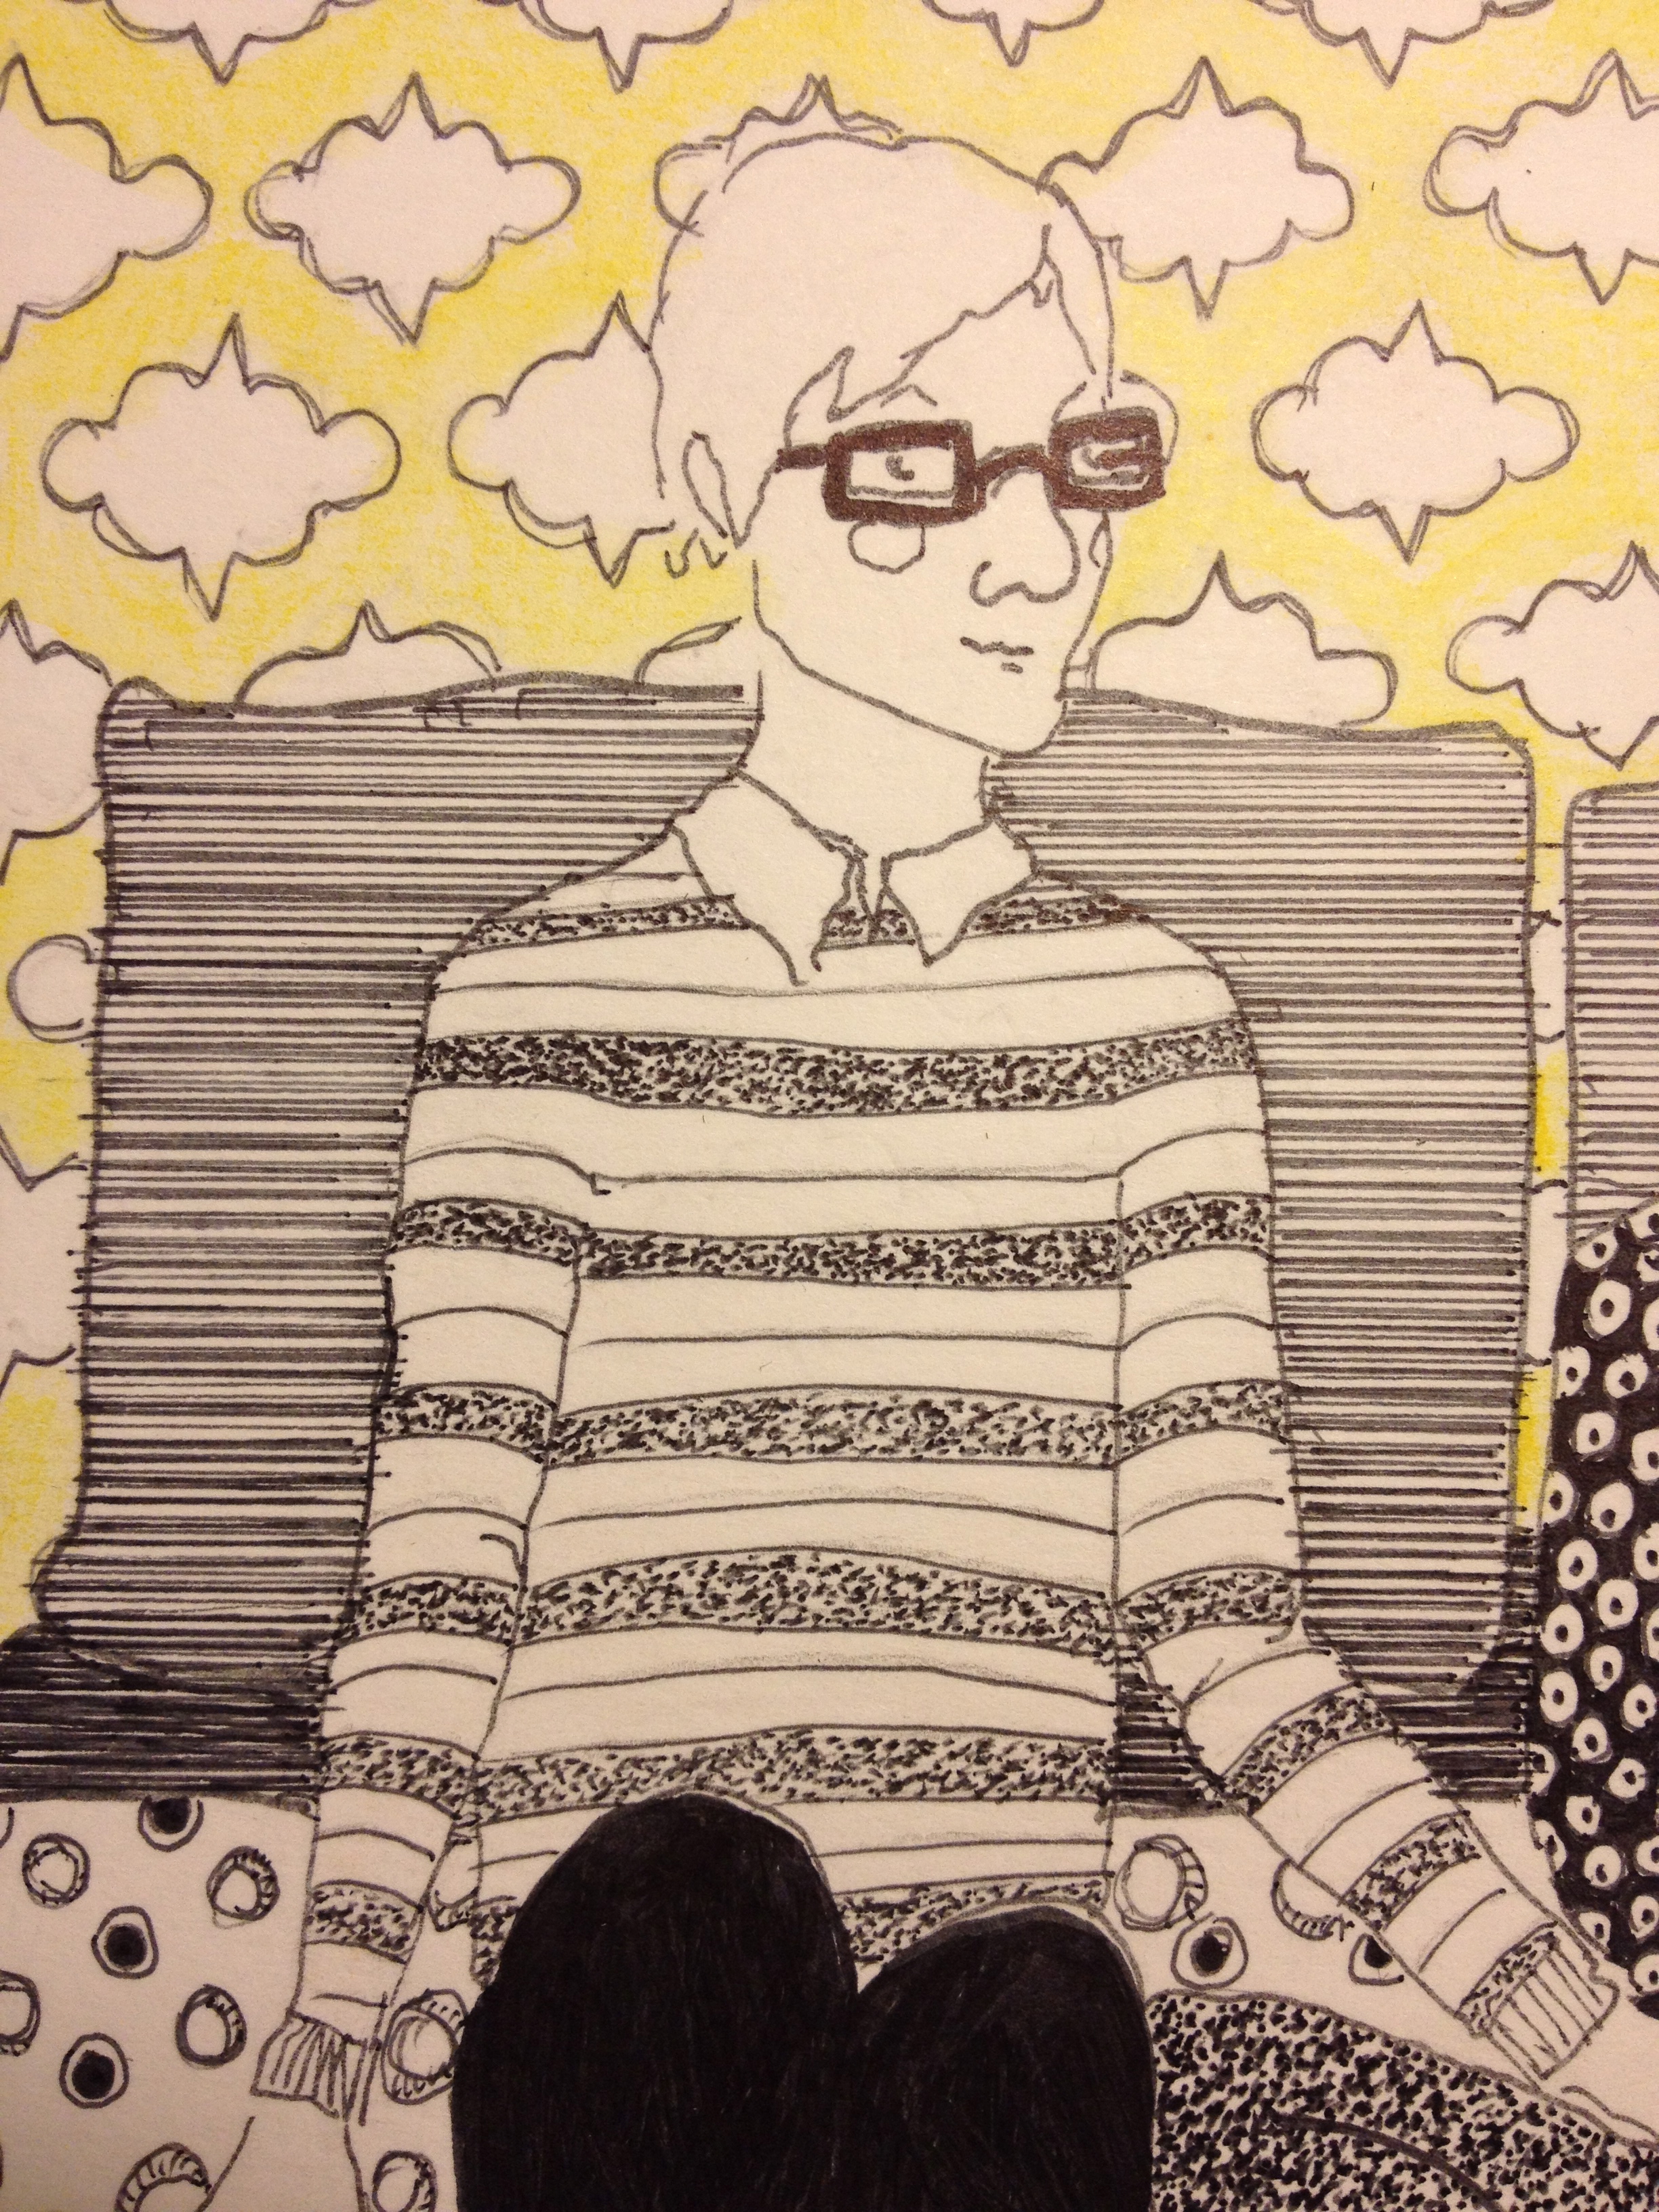
the baby in the stroller, striped pants, and M’s face.

IMG_3100 IMG_3103 IMG_3104

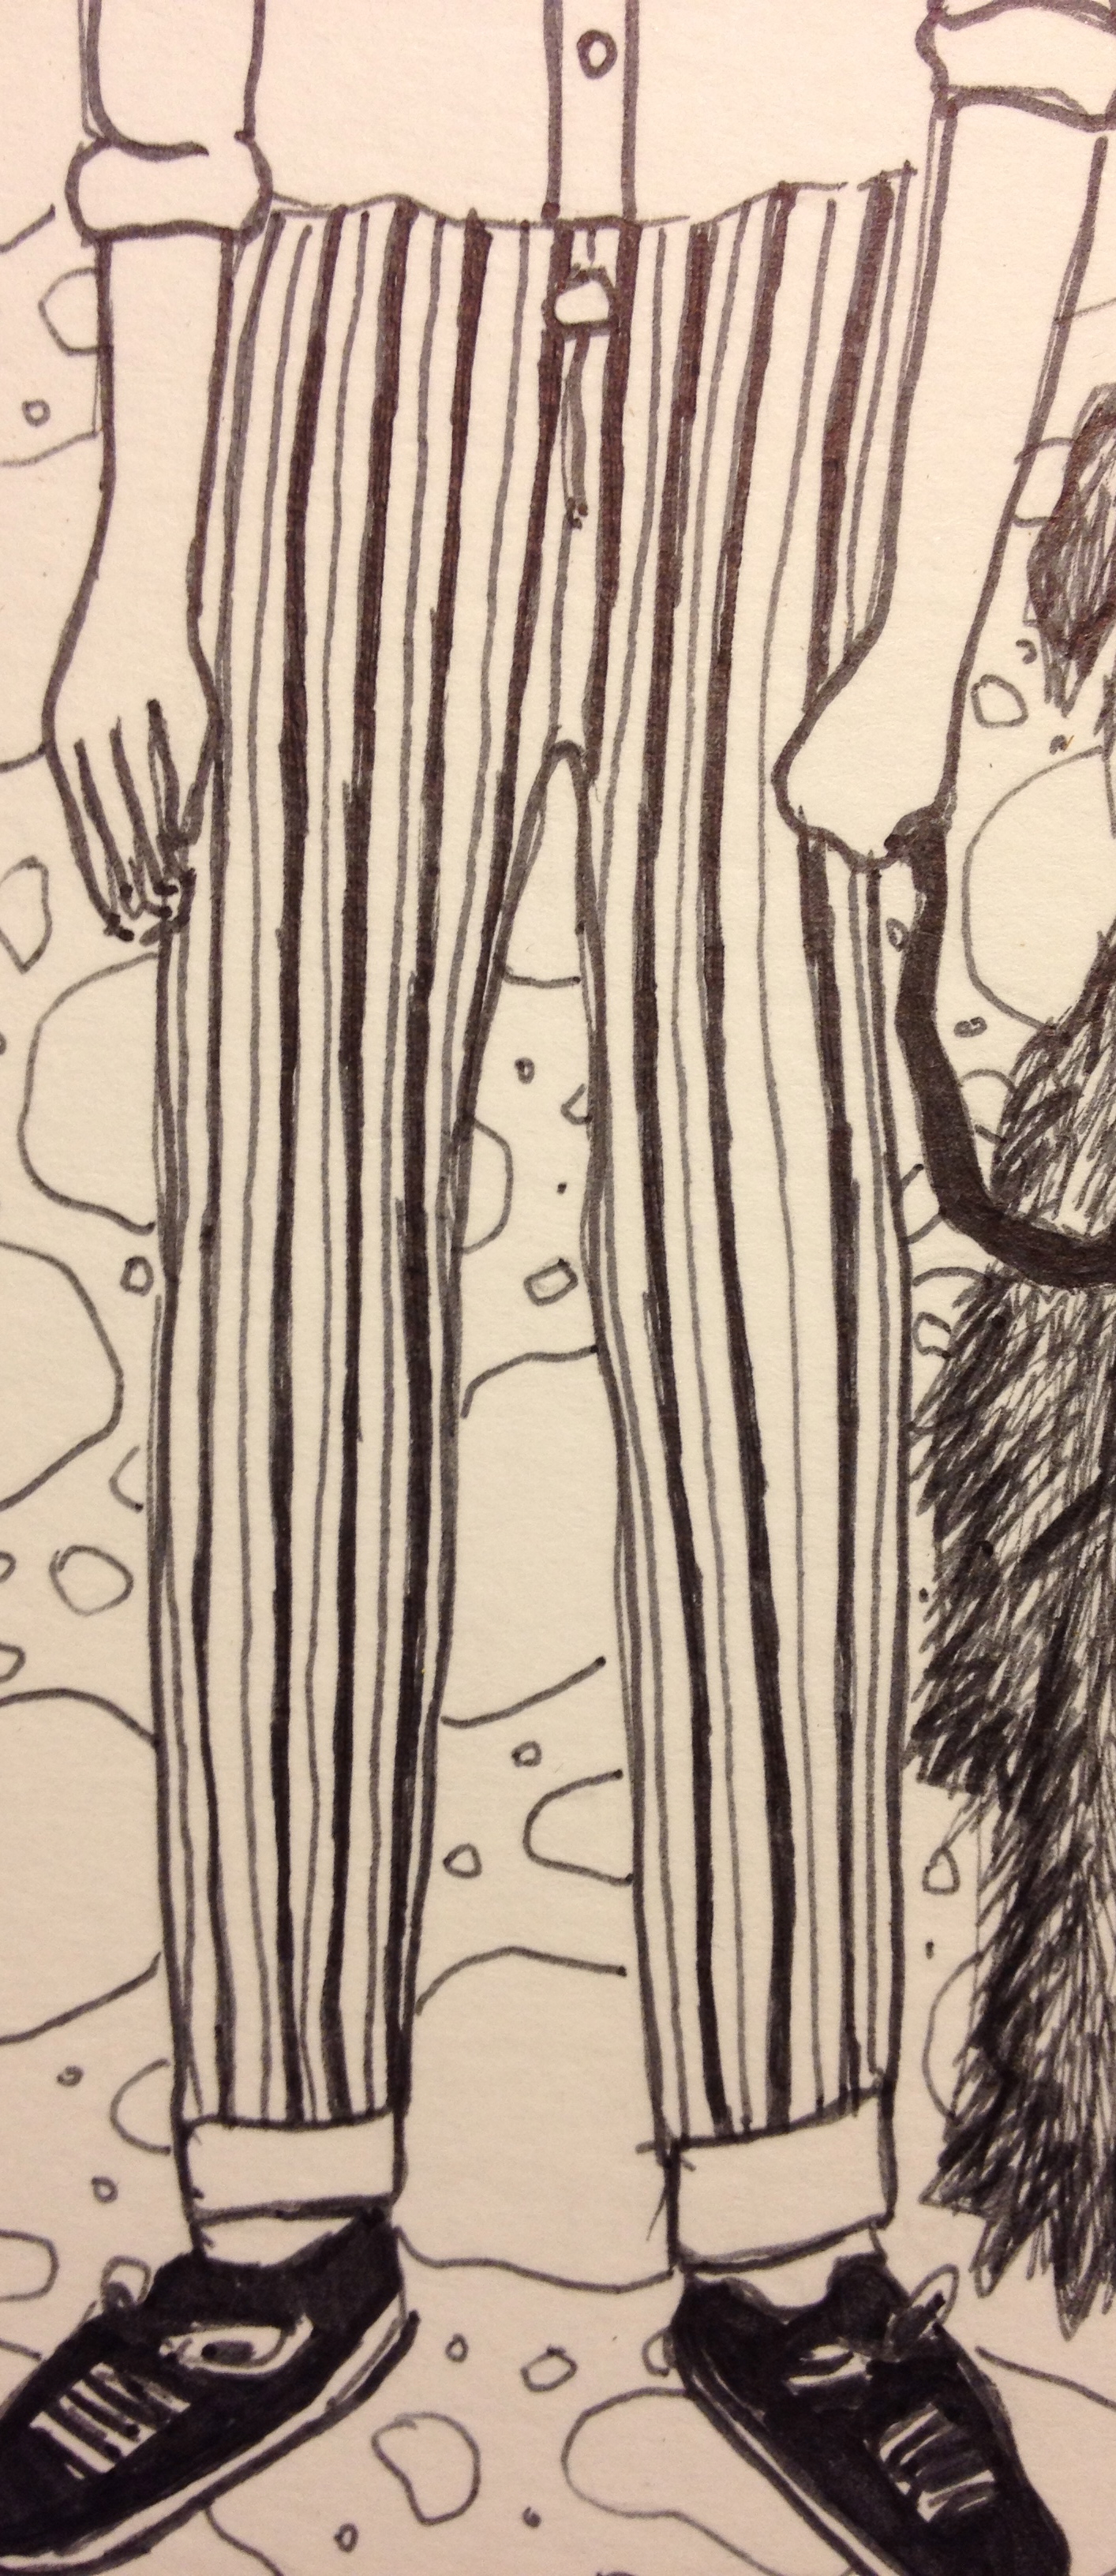
Although the path is asphalt, I really wanted to make it a rock path.

IMG_3109

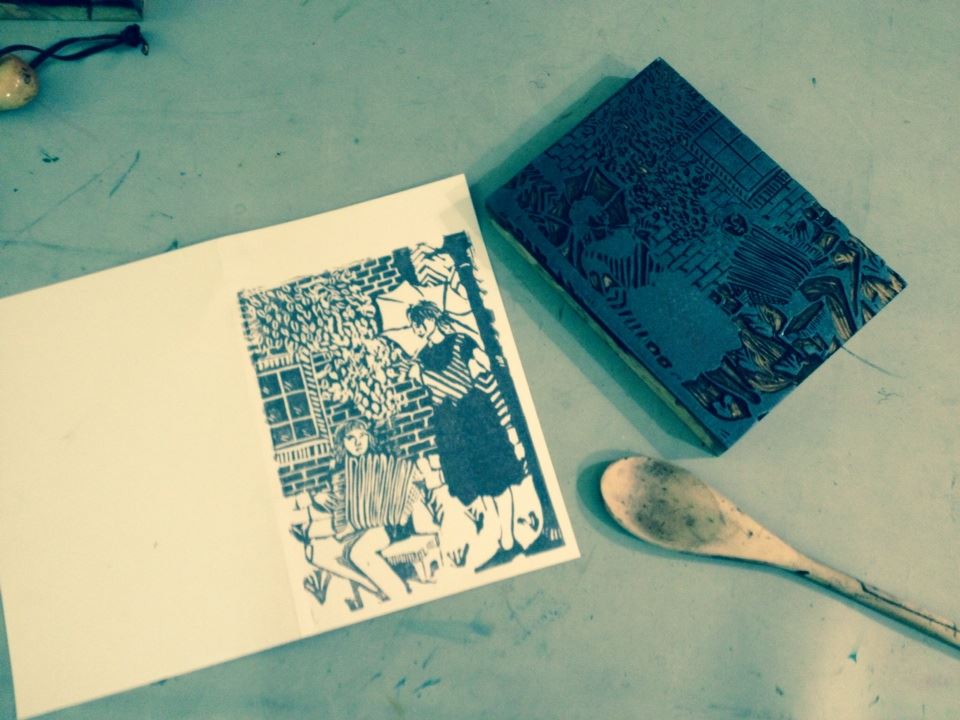
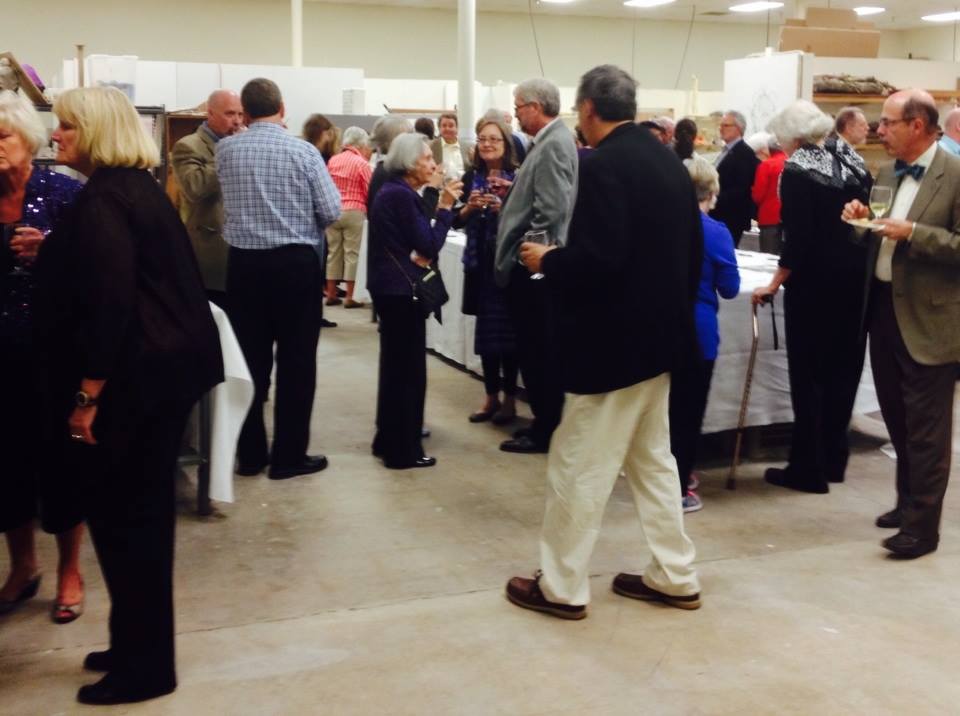
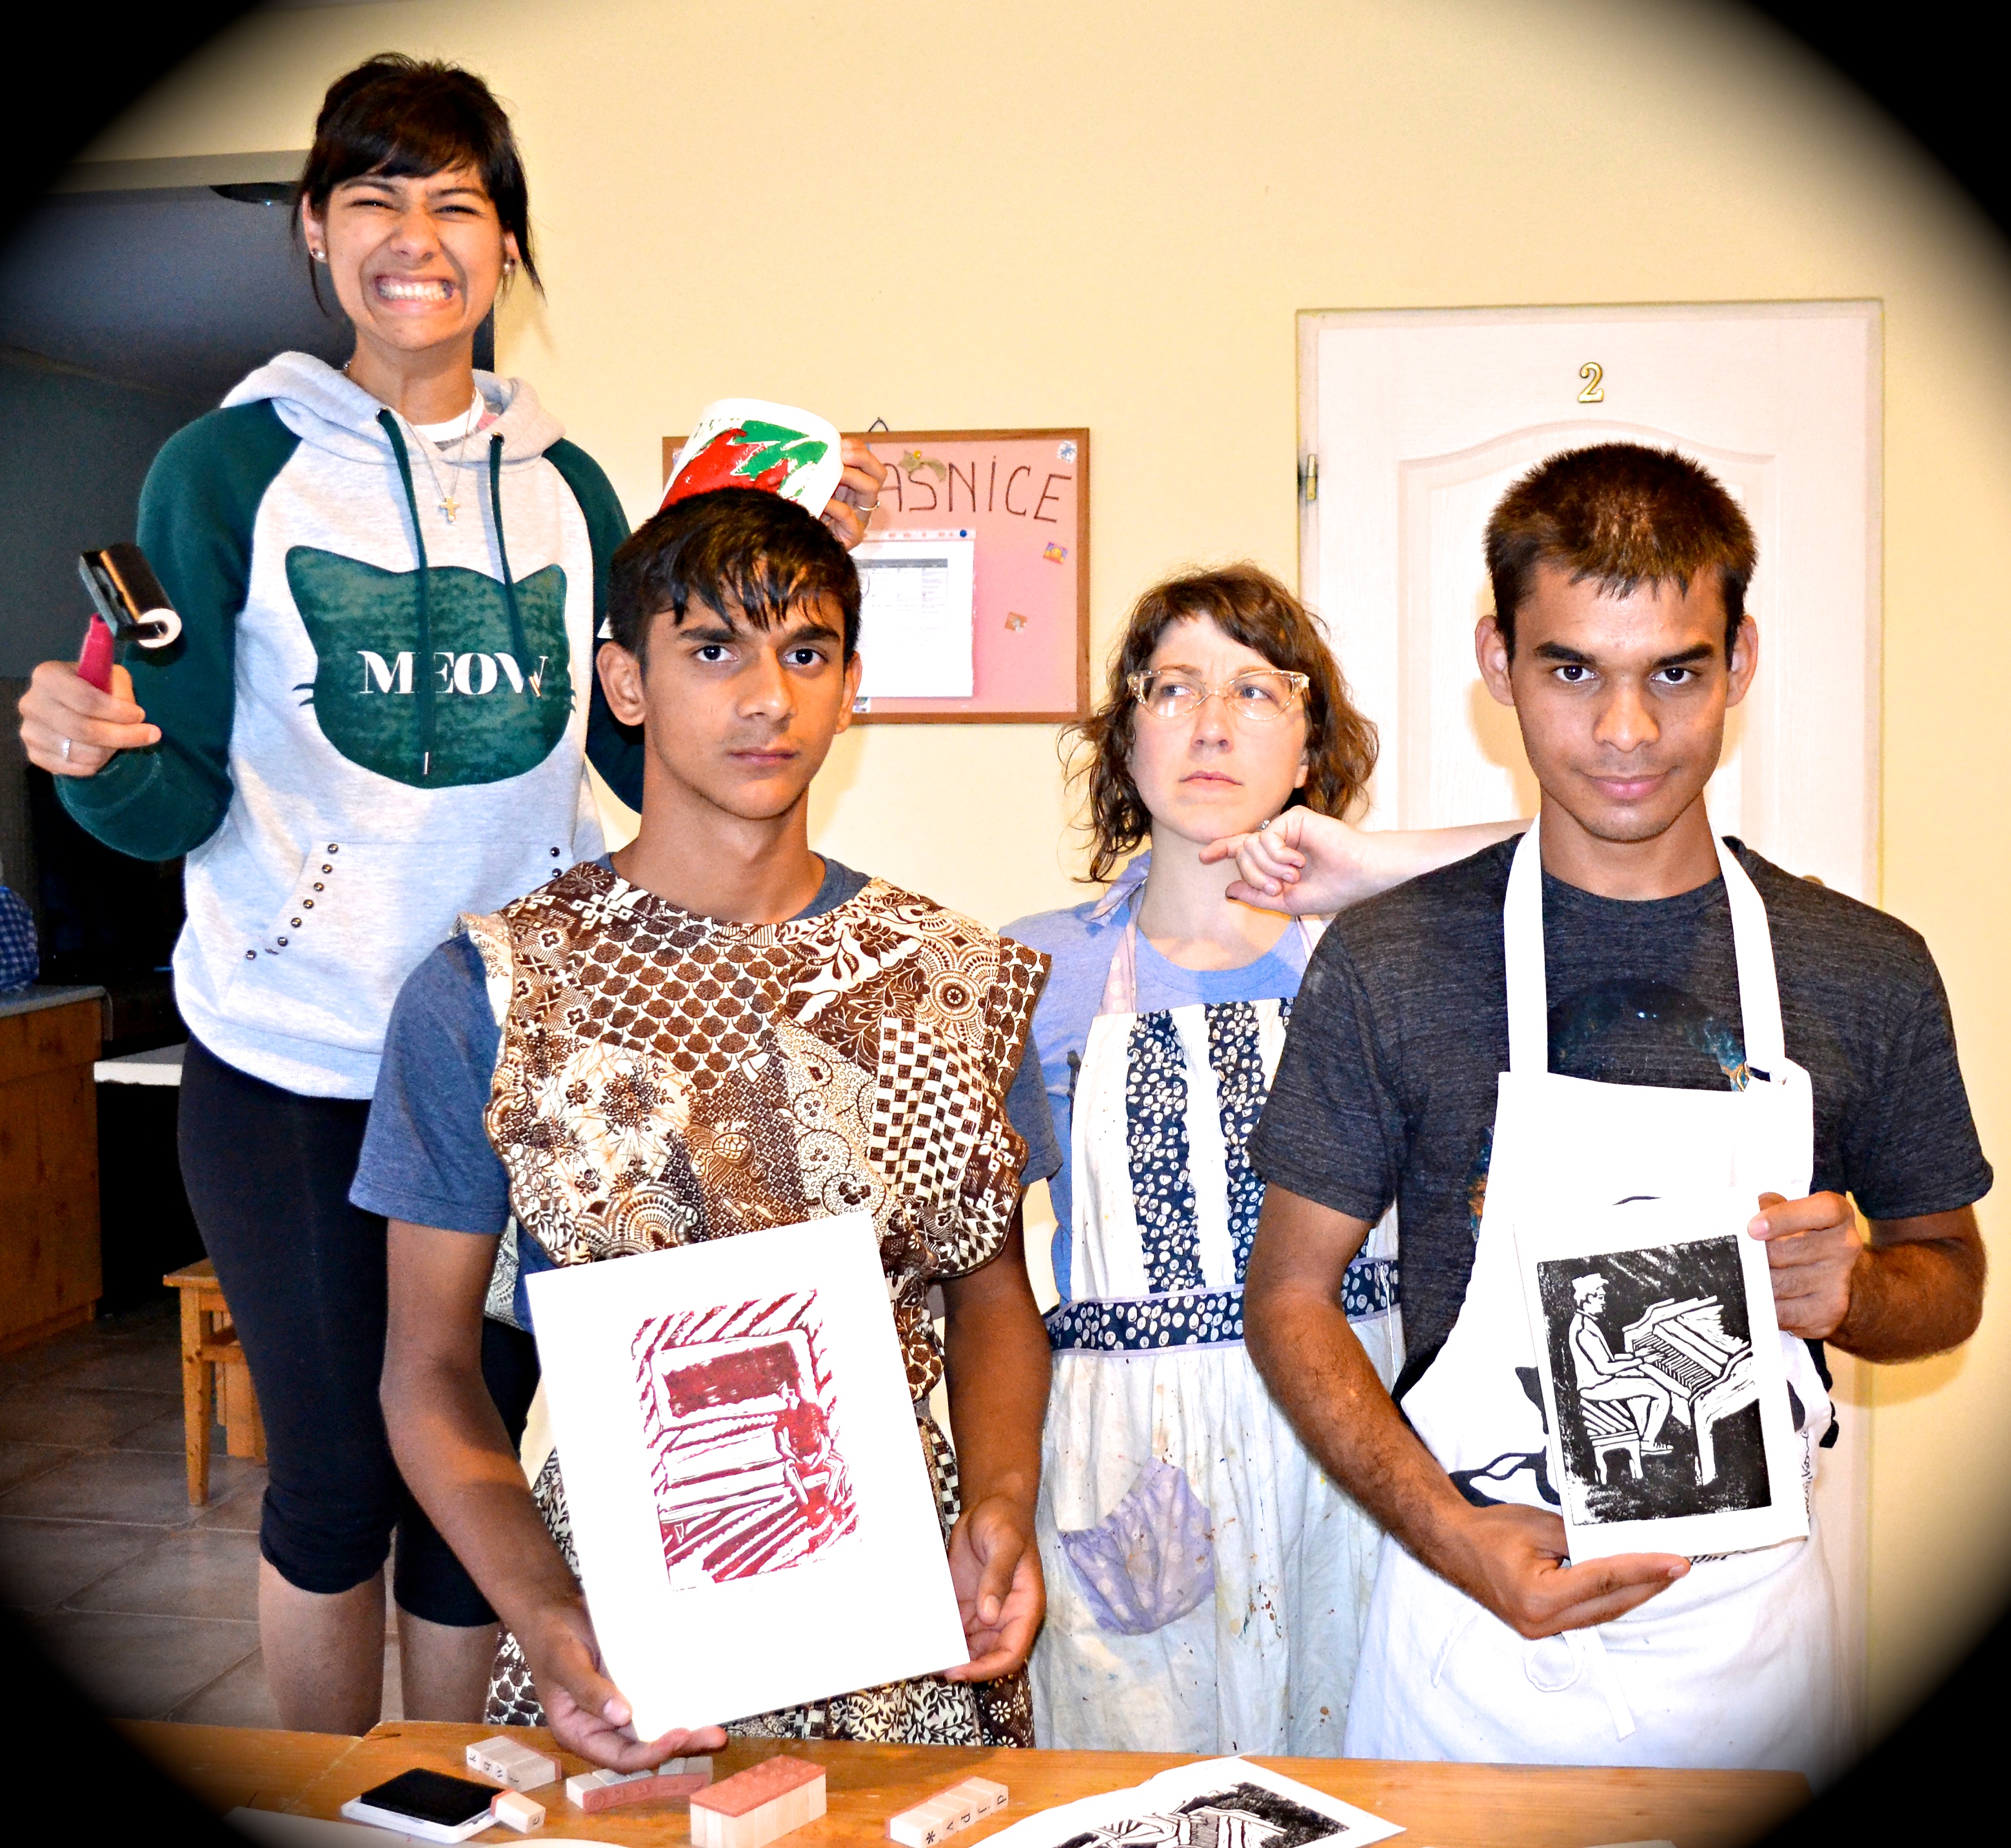
My inspirations for this drawing!

IMG_1279 two-rivers-park4.jpg

15 Illustrations: Family Time in Bed

I received some art supplies at Christmas this year – a Canson 11×14″ Illustration art pad 150lb with 15 sheets – and a set of prismacolor ink pens size .005, .01, .03, .05, and .08. This series is inspired by my family and all of the fun and interesting things we do together.

IMG_2299 IMG_0899

“Family Time” portrays a family get together in a big bed (the family dog being beside and not on the bed) with an inktense pencil sun yellow patterned wall in the background. I thought it would be fun to add one color (monochrome element) to this series using a different color for each piece. The coolest thing about this series is that I can work as little as 15 minutes a day and see quite a bit of progress. I mostly work on these while E.K. sleeps.

IMG_2292

Some details I like about this piece: the yellow patterned wall in the background and the patterned blanket

IMG_3089 IMG_3096

Striped socks and striped sweater

IMG_3091 IMG_3092

patterned shirt and baby onesie and the dog’s pig nose

IMG_3093 IMG_3094 IMG_3095

UALR 6×6 Event

It all started when…

Emily Wood Facebook messaged me – “Interested in donating to the UALR 6×6 event?” – or something like that.

Six by Six Invitation

All pieces entered are 6×6 inches – hence the “6×6” title. I decided that prints would be the best way to go, so I tore some paper and mixed some ink (pewter, red, and white). I did test prints first to make sure the cropped images were strong compositions.


ualr6x6 21 

This was a happy accident from rolling out the red ink.

Once everything was printed, I stopped by Hobby Lobby on the way home from work the next day and got the pieces matted – which felt like a complete rip off at $5 per mat! They didn’t even let me keep the matboard scraps they cut from. Yikes was I mad about that.

“The Dancer”

   ualr6x6 16
ualr6x6 17 ualr6x6 4

“The Lady and the Musician”

SONY DSC ualr6x6 24
ualr6x6 3

“Dinner Guests” (which is its actual size)

ualr6x6 6

I put the Paper Opera stamp on the back and signed the print.

ualr6x6 9 ualr6x6 11 ualr6x6 13

M and I went to the UALR 6×6 event and had a nice time! It was a silent auction – where all of the pieces are placed on the tables and people walk around and bid on them.

ualr6x6artist ualr6x6 bidding

I was happy because all of my pieces got bids.

ualr6x6bids2 ualr6x6bids

At the end of the event, there were speeches and thank you’s and lots of clapping.

ualr6x6speeches

Romania Paintings for Livada

When I was on the missions trip with Grace Church serving the Livada Orphan Care ministry in Romania, the beauty of the country inspired me.

15. Romania Poppy Field and Hillside 9. Romania Hillside

During one of my morning quiet times with God, I felt like He gave me the idea to paint scenes from Romania to raise money for orphan child sponsorship. It would serve a double purpose to paint the scenes. On one hand, someone would purchase the painting for the suggested donation price or fundraiser auction. On the back end, when the said person looks at the painting, they are encouraged to pray for Livada and the orphans in Romania.

I was originally going to purchase a large canvas roll and stretchers and stretch my own canvas. Though time consuming, stretching canvas is much cheaper than purchasing pre-stretched canvas…unless there is some sort of deal.

On a random day of the week as I was driving home from work, I had  a God moment and turned into Michaels. They did indeed have one of these “deals.” There was buy 3 canvas for the price of 1, so I got 15 canvas for the price of 5, which was around $50.

I mixed gesso with acrylic paint and covered each of the canvas. I like to add a color to the white gesso to create a light or mid-tone, so that when I paint I can add lights and darks.

Romania Romania4
Romania5 Romania2

After the canvases dried, I sketched (from photographs) each of the images using willow charcoal. Because I am working with so many images and mostly landscapes I had to have a way of organizing them. I created a list numbering and naming each piece with the canvas size. I put the names on the back of the canvas on the stretcher bar and also on the photograph source.

RomaniaSketch1 RomaniaSketch2 RomaniaSketch3
Romanian woman with cane sketchRomaniaSketch4 RomaniaSketch5
RomaniaSketch6 RomaniaSketch7 RomaniaSketch8
RomaniaSketch9 RomaniaSketch10 RomaniaSketch11
RomaniaSketch12 RomaniaSketch13 RomaniaSketch14

I mixed my color palette based on all photographs.

Romania6 Romania7
Romania8 Romania11

Printmaking Workshop Part III

In the Printmaking Workshop Part II, we left everyone’s linoleum block carved, stored, and ready to print.

I covered the tables with paper and handed out (with my lovely assistant Barbara Jones) printing paper, envelopes, palette paper for ink, ink, brayers, wooden spoons, paper towels, stamps, and an ink pad.

Everyone put their aprons back on and I gave an inking and printing demonstration.

Romania Day 4 (101)

The printing process just took some getting used to, but everyone did a great job! They rolled the ink on the palette paper (which next time, I would just use cardboard strips instead of palette paper because the palette paper is pretty thin and shifts a lot when rolling out the ink). They rolled the inked brayer evenly onto their carved linoleum blocks, and transferred their image using a wooden spoon (rubbing the back of the paper on top of the block using the flat of the wooden spoon).

Romania Day 4 (110) Romania Day 4 (109) Romania Day 4 (105)

Once the prints were a bit dry, they stamped inside of their cards.


I had 4 out of 12 participants finish their blocks the whole way through.

Romania Day 4 (130) Romania Day 4 (127) Romania Day 4 (125) Romania Day 4 (122)

Some of the finished prints!

Romania Day 4 (112) Romania Day 4 (111)

We took our “artist” picture together.


Romania Day 4 (140)

Photos: Courtesy of Jessica Zimmerman Belote