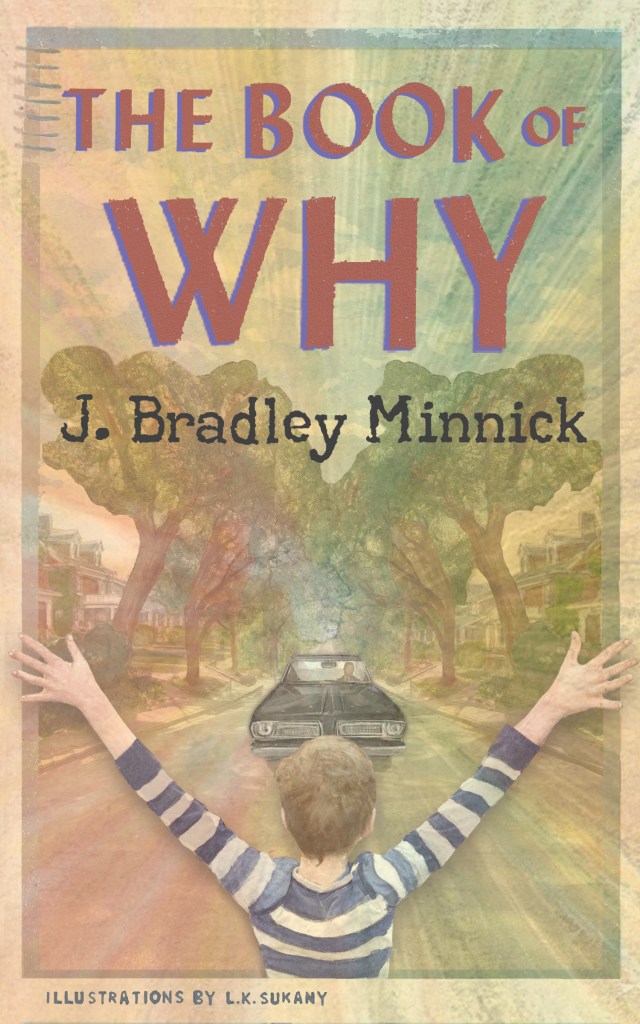
The Book of Why by J. Bradley Minnick has been published by Silent Clamor Press! You can buy a copy through Amazon, Barnes & Noble, or Bookshop.org.
The book is a compilation of short stories following Jason Why through his last summer of boyhood in the 1960s.
Overview:
I collaborated with John Jarrett, the editor for Silent Clamor Press and author J. Bradley Minnick. I worked on the cover and five illustrations including “A Man’s Reach Should Exceed His Grasp,” “The World Had Come For Us,” “Swimming for Fossils,” “The Pleasures of Sudden Wonder,” and “Fini.” I will show you a small bit of my process on each story, and I hope you enjoy.
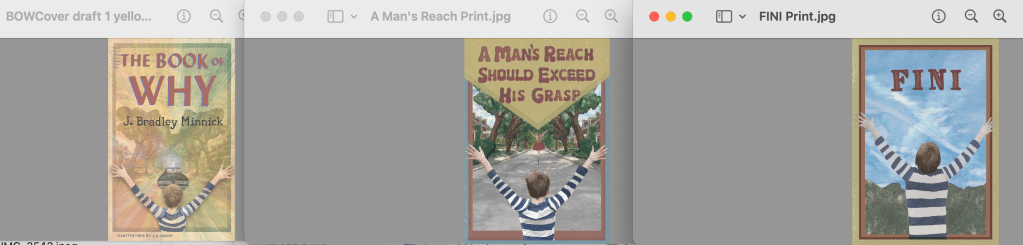
“The Book of Why Cover,” “A Man’s Reach Should Exceed His Grasp,” and “Finis“
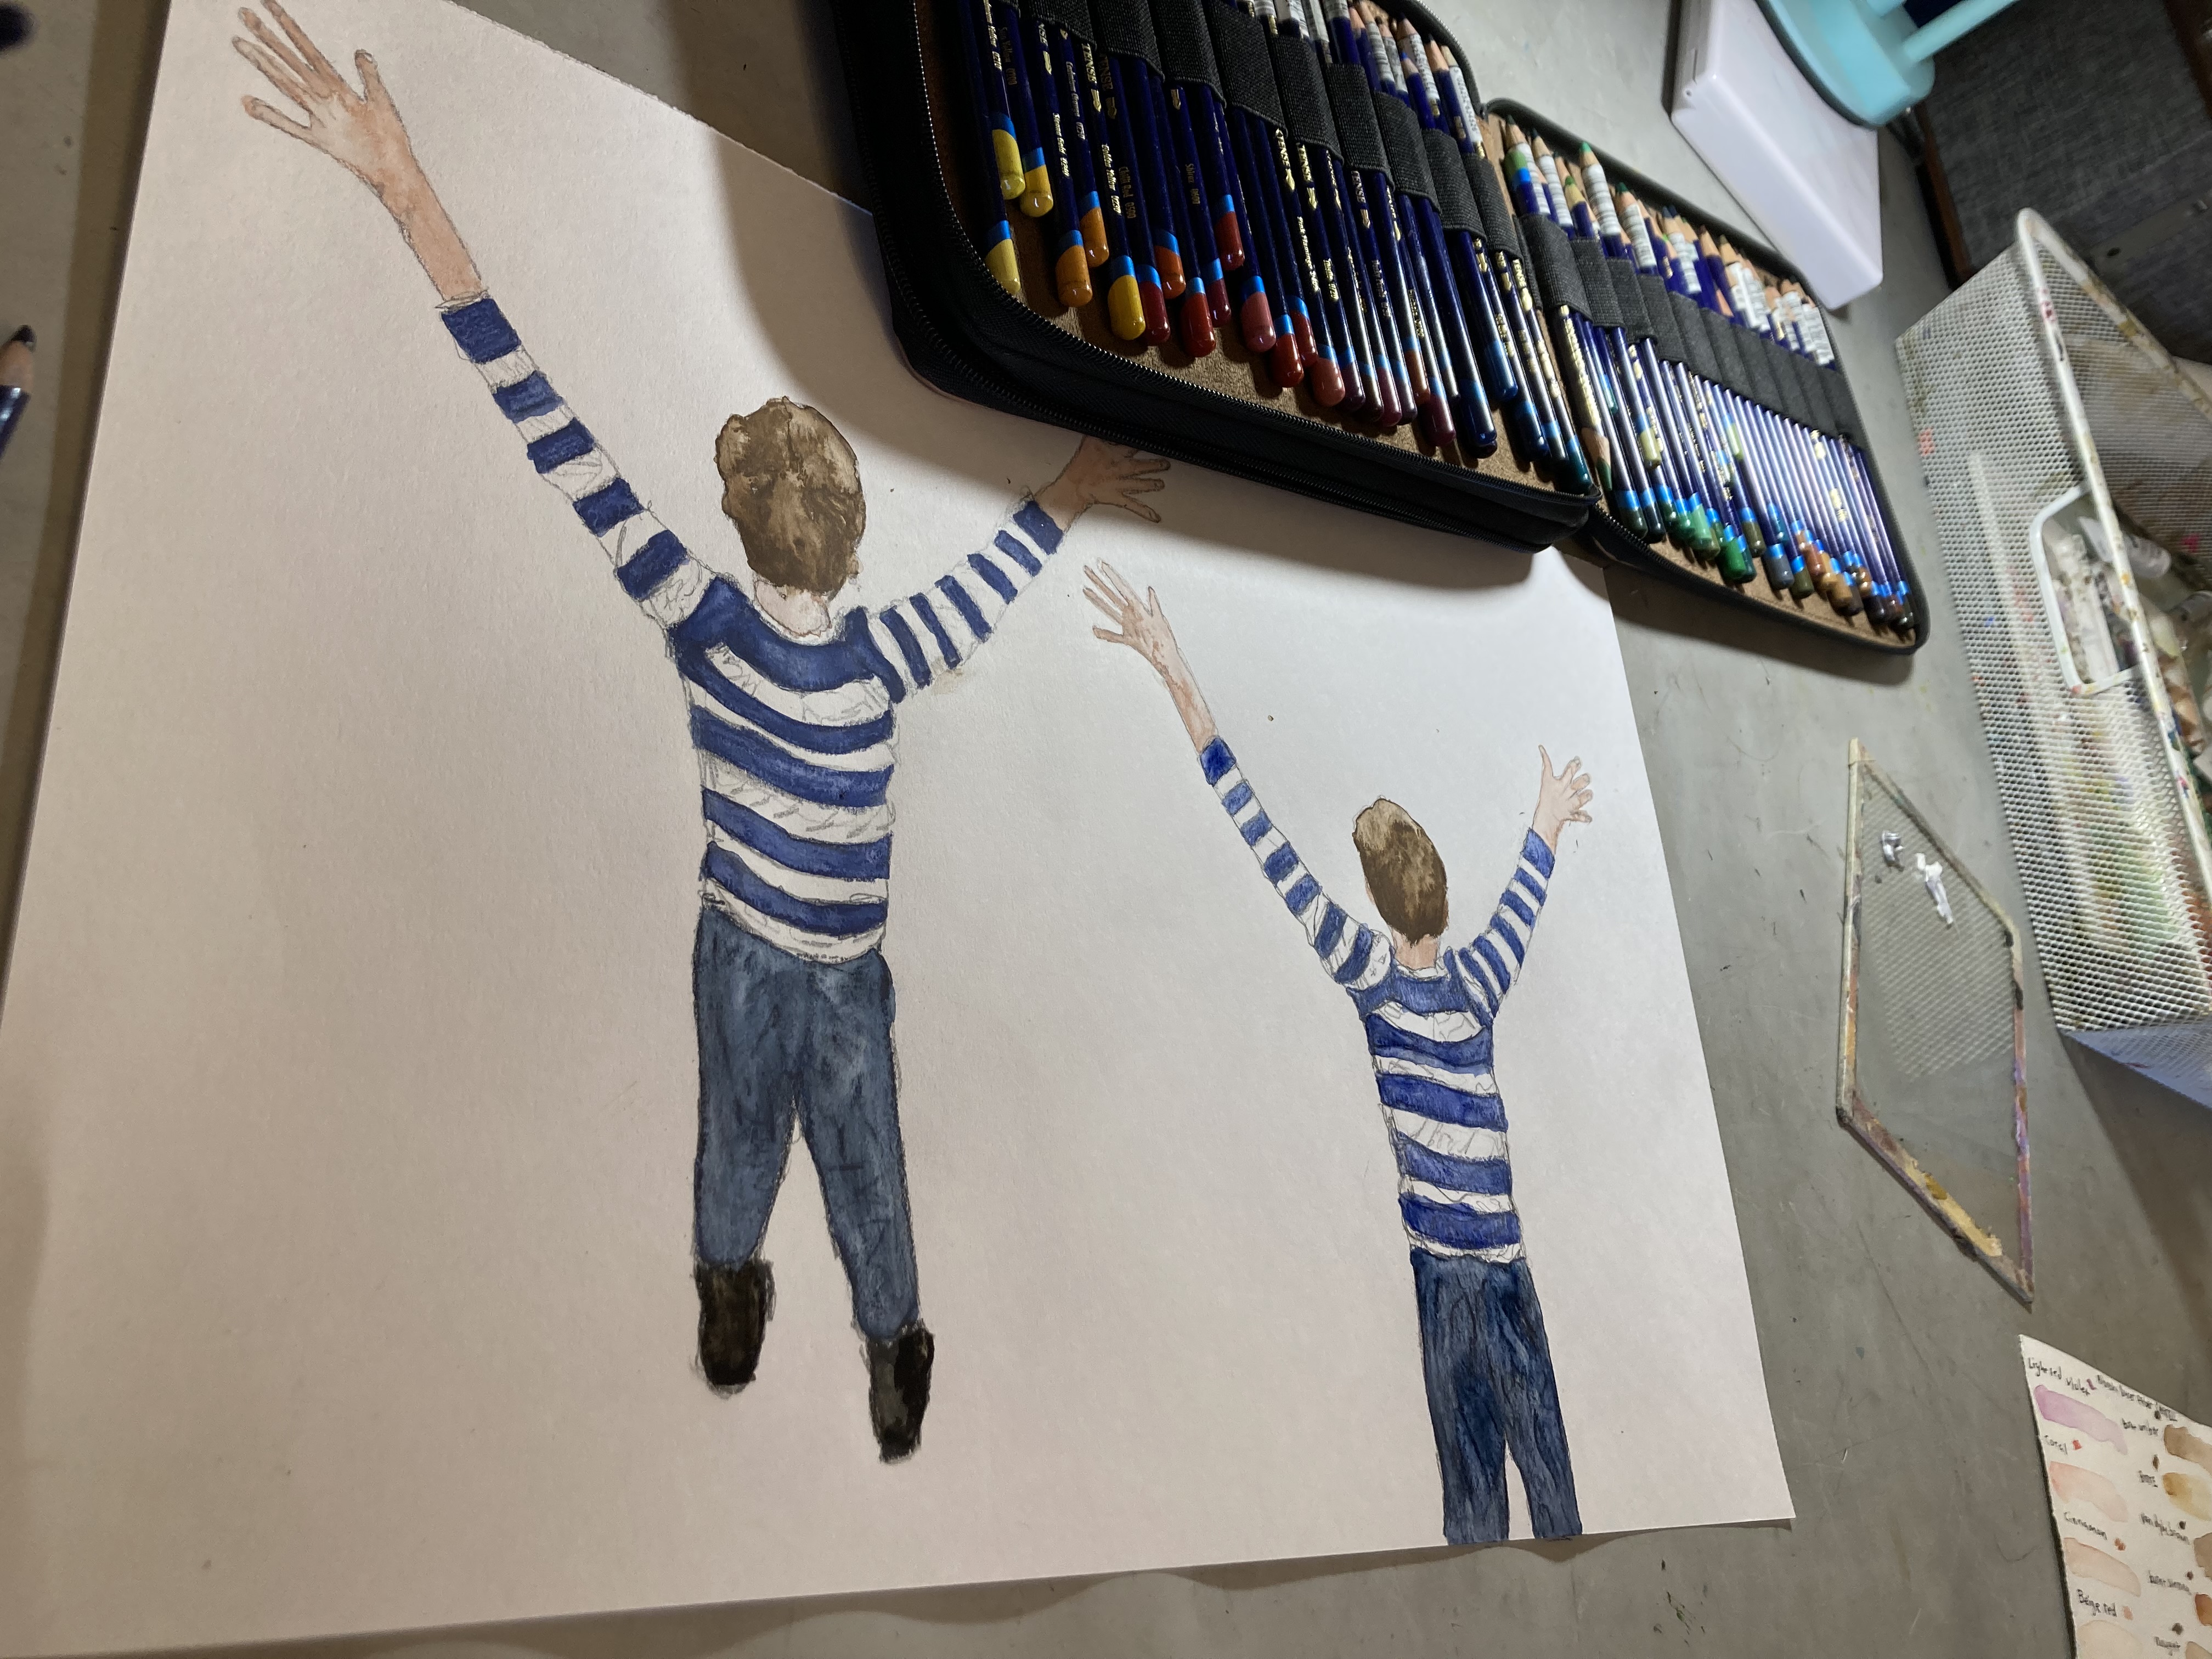
These three pieces are all variations of the same composition. The idea started from the thumbnail sketch, which was inspired by the top of the hill ending scene from “A Man’s Reach Should Exceed His Grasp.”
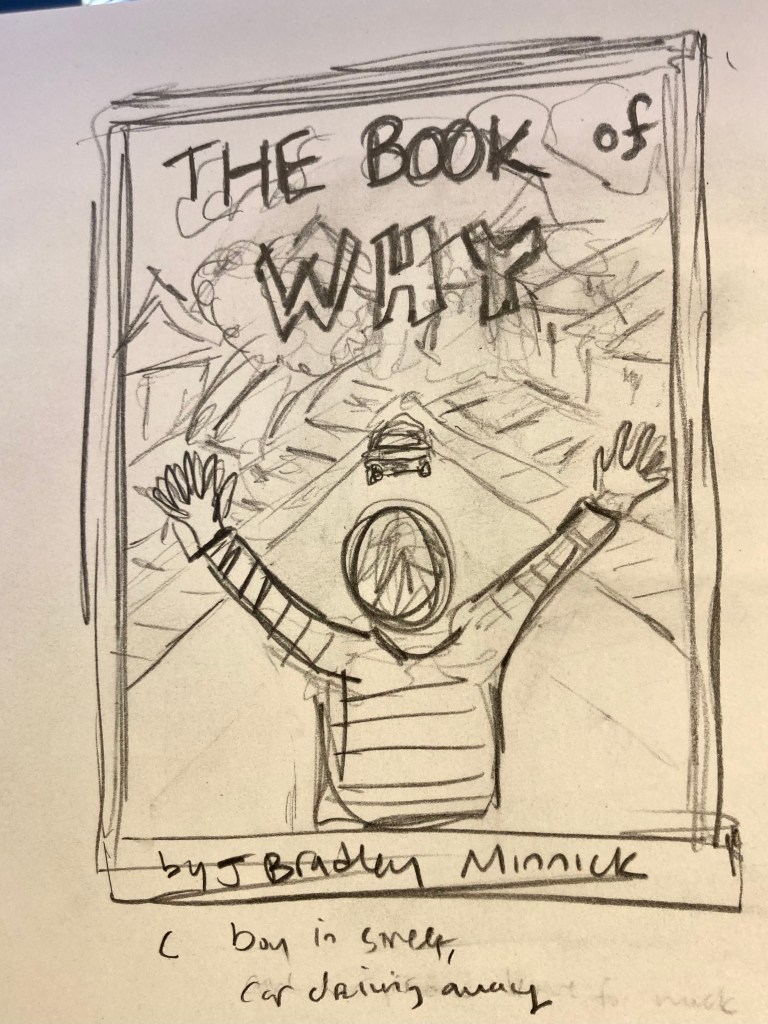
As we were discussing this sketch that was to be the cover, J. Bradley Minnick had the idea for me to create variations of this sketch as a series of images that would appear throughout the book, and suggest the idea of a flip book – same image, small changes.
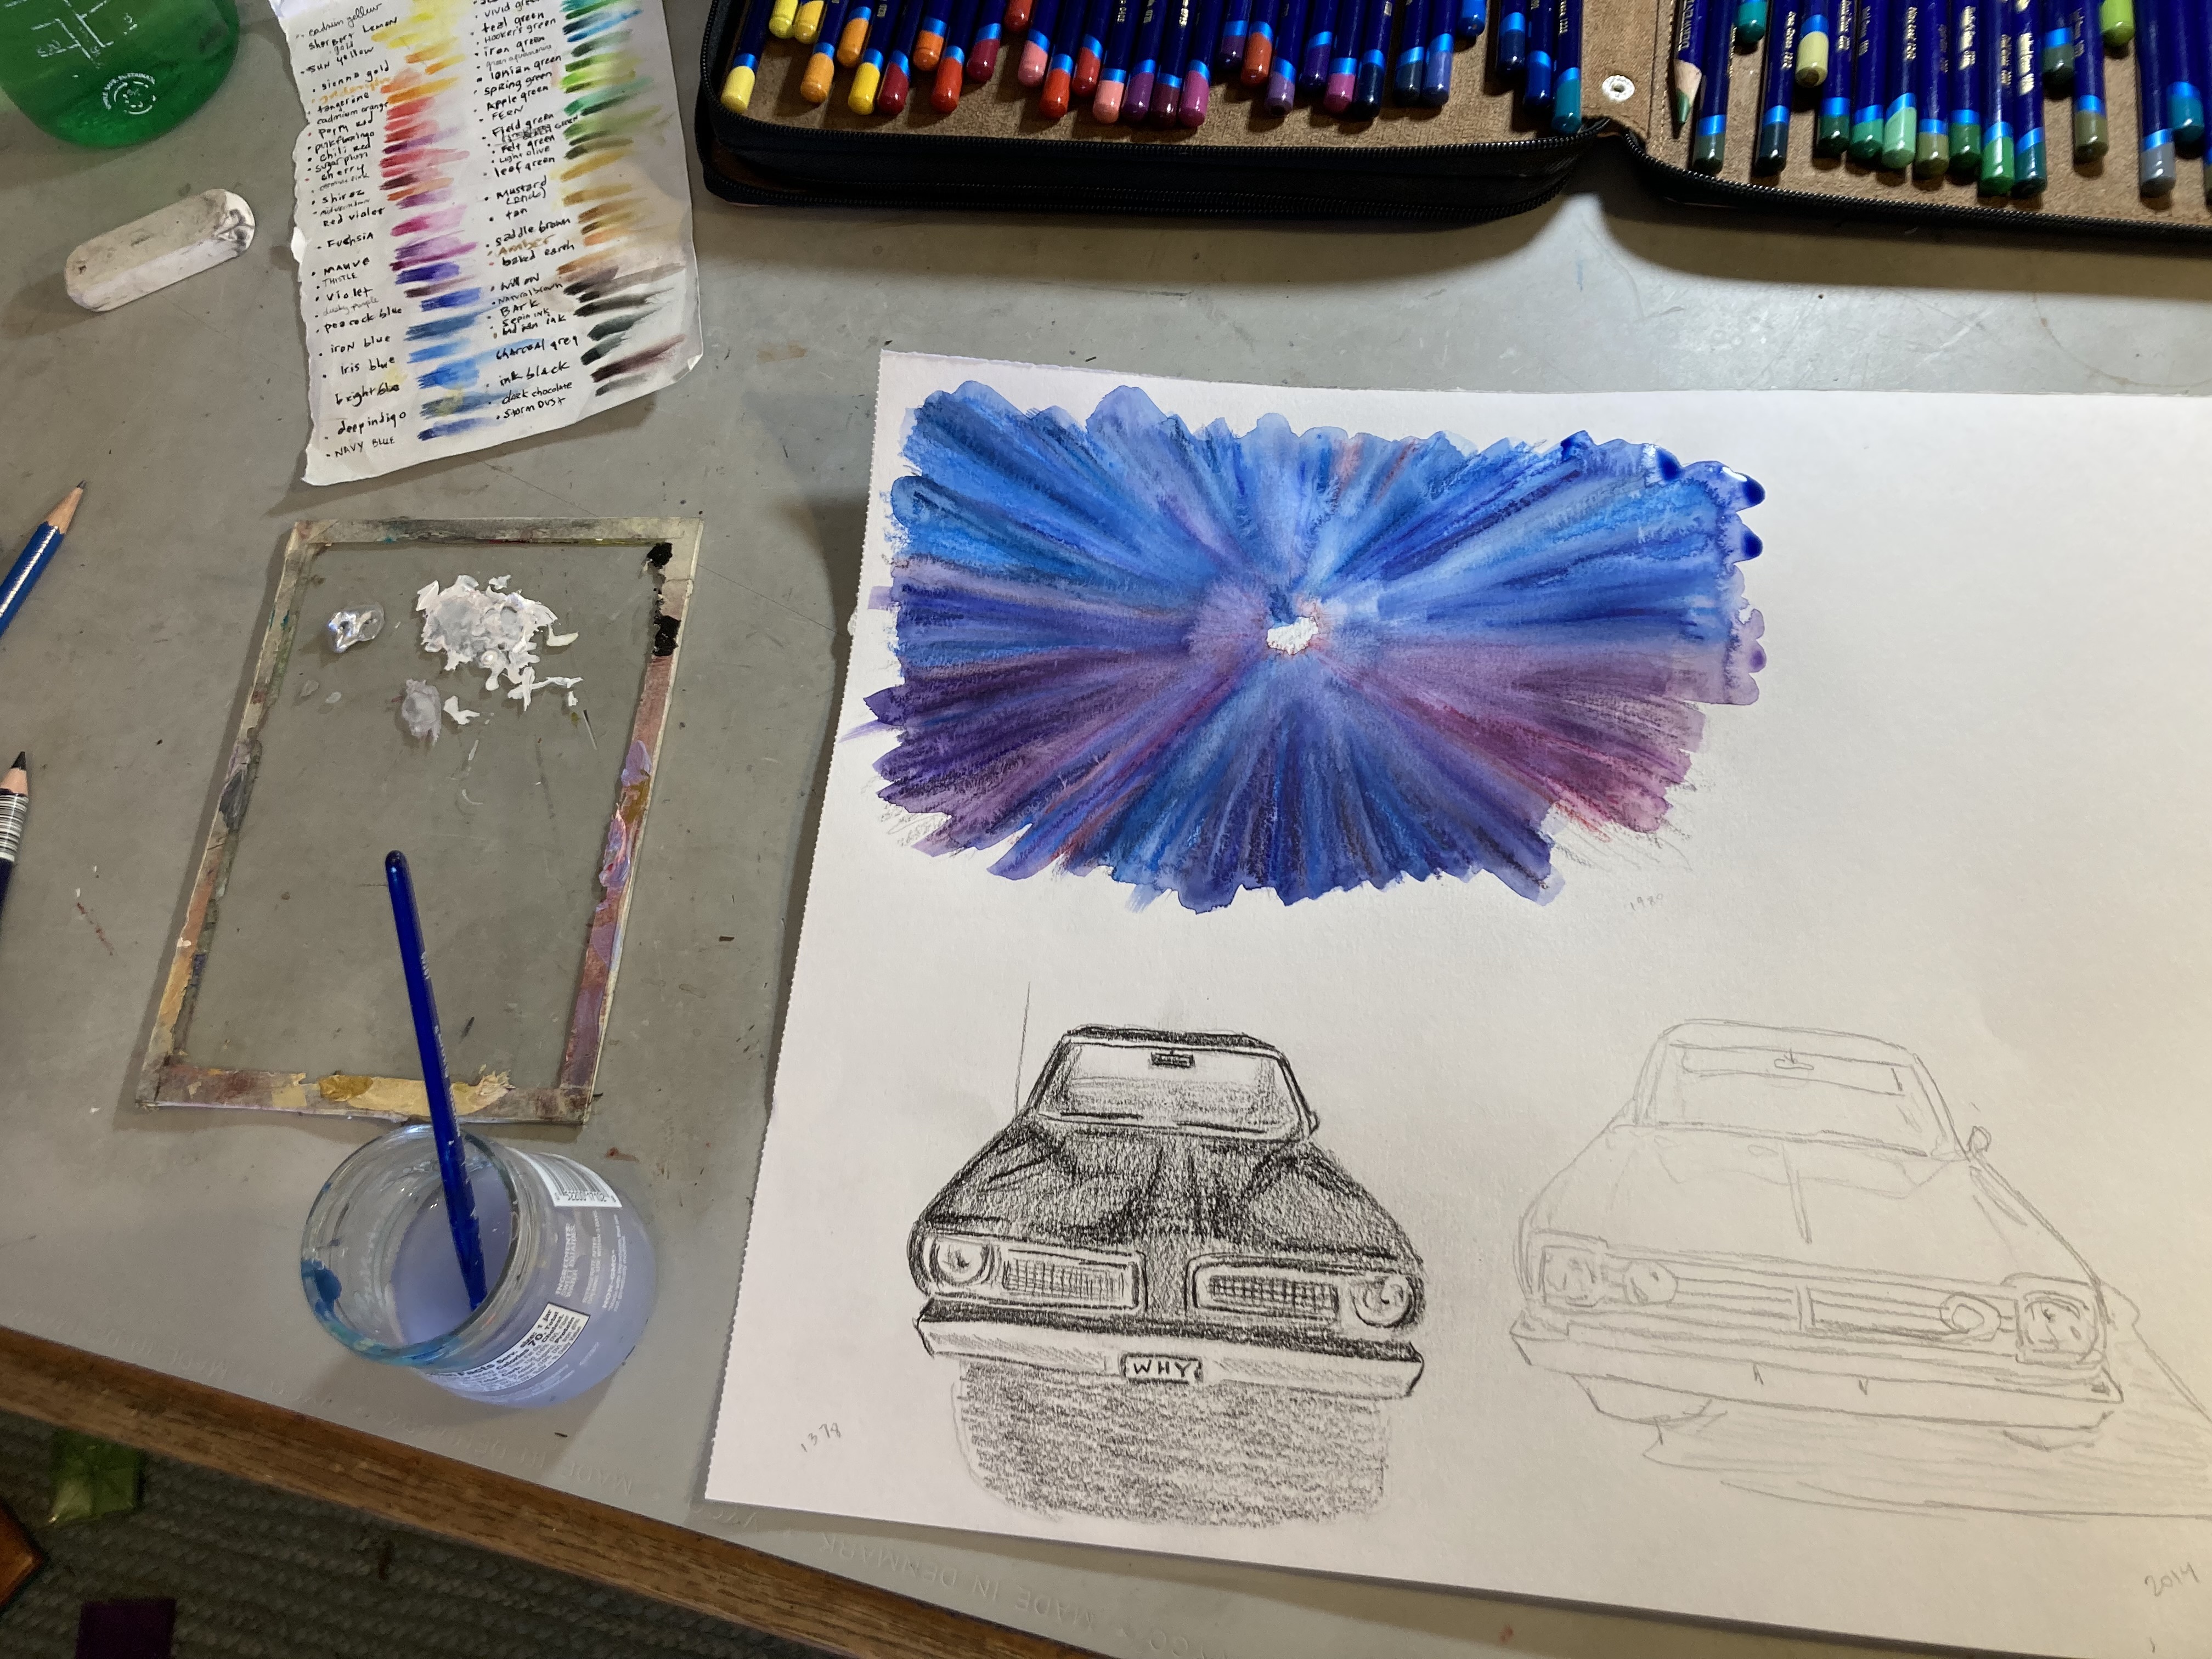
- “BOW Cover” – The perspective is from the top above the boy (think a grown up looking down), showing the boy’s upper back. The boy is looking straight ahead. The car is in front of the boy is coming towards him.
- “A Man’s Reach” – The perspective is slightly above the boy (think an older kid looking ahead), showing midway of the boy’s back. The boy is looking upward and in front of him at the girl on the bicycle, who is going away from him.
- “Fini” – The perspective is from below (think a dog), showing the entirety of the boy’s back. The boy is looking straight up at the sky, which is featured as the background with the top of the trees.
The frame colors also change each composition.
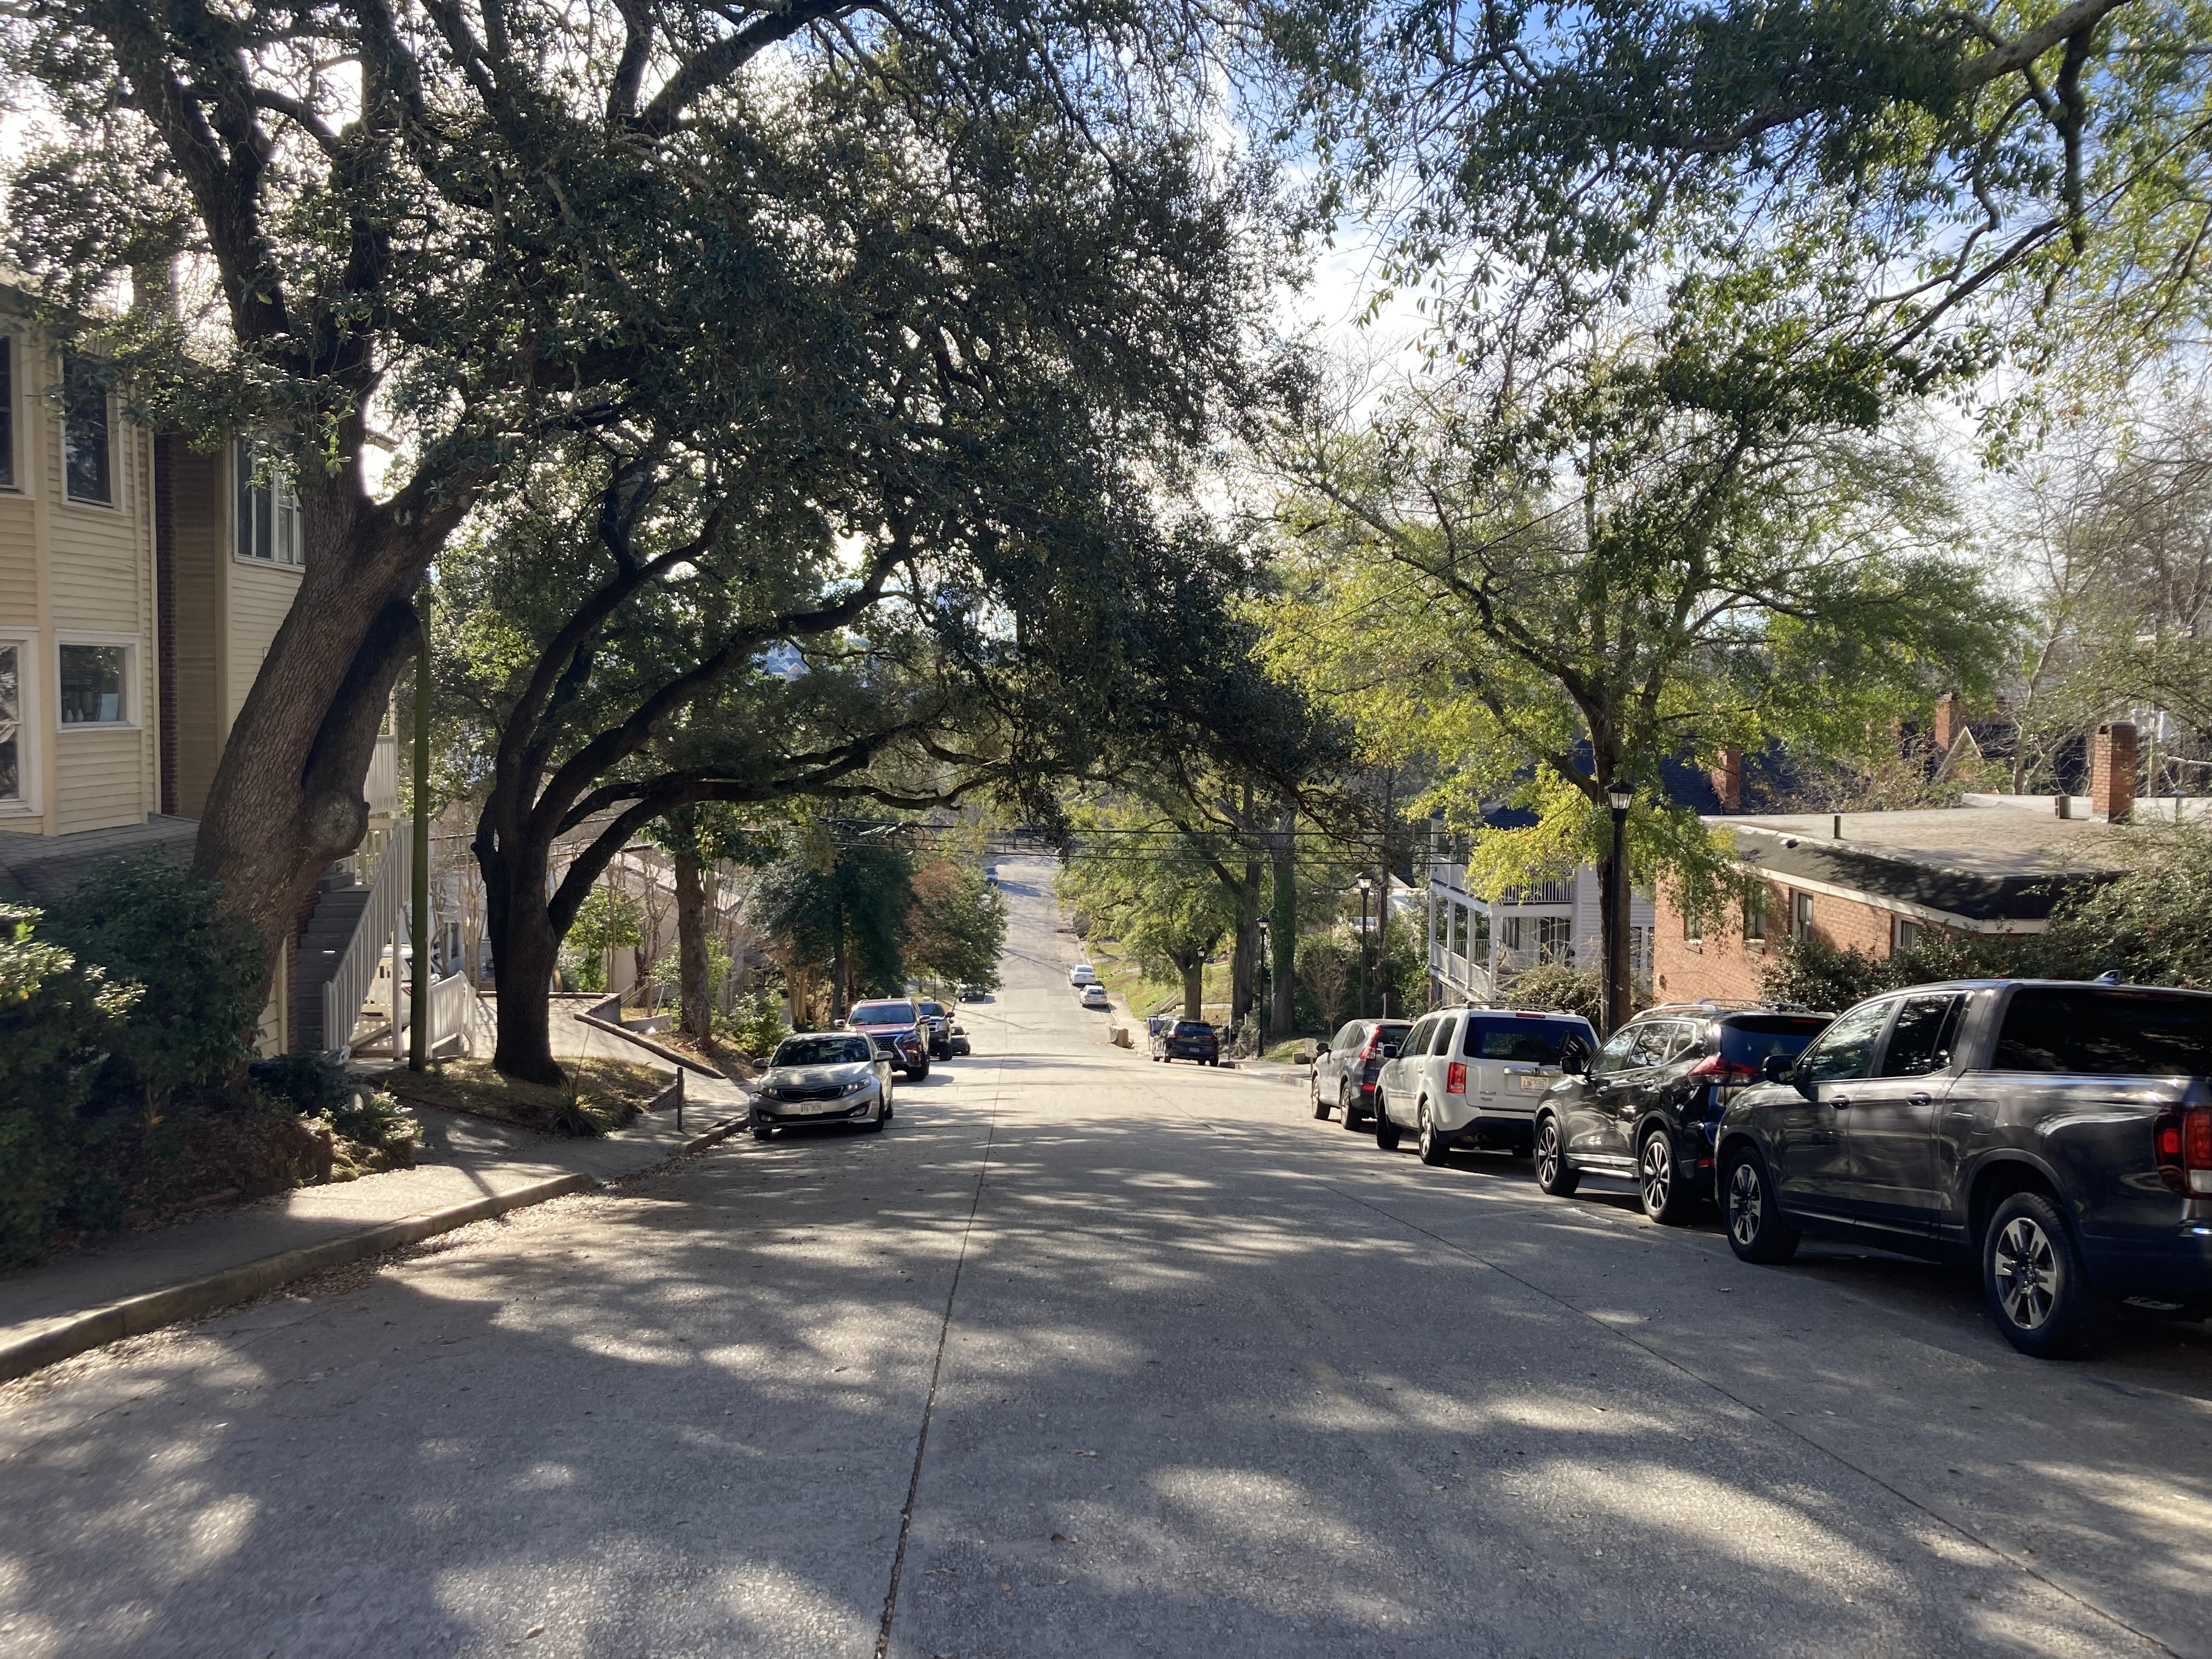
It was easy enough to make the thumbnail sketch, but I could not figure out the correct perspective of this made-up hill. After looking at a few hills, I realized that if the boy is standing at the top of a hill, it would actually have to be an incredibly steep and long hill in order to see the bottom. Also, the bottom would have to show in order for it to look like a hill in the drawing. So, we went on an artist adventure to find just the right hill!
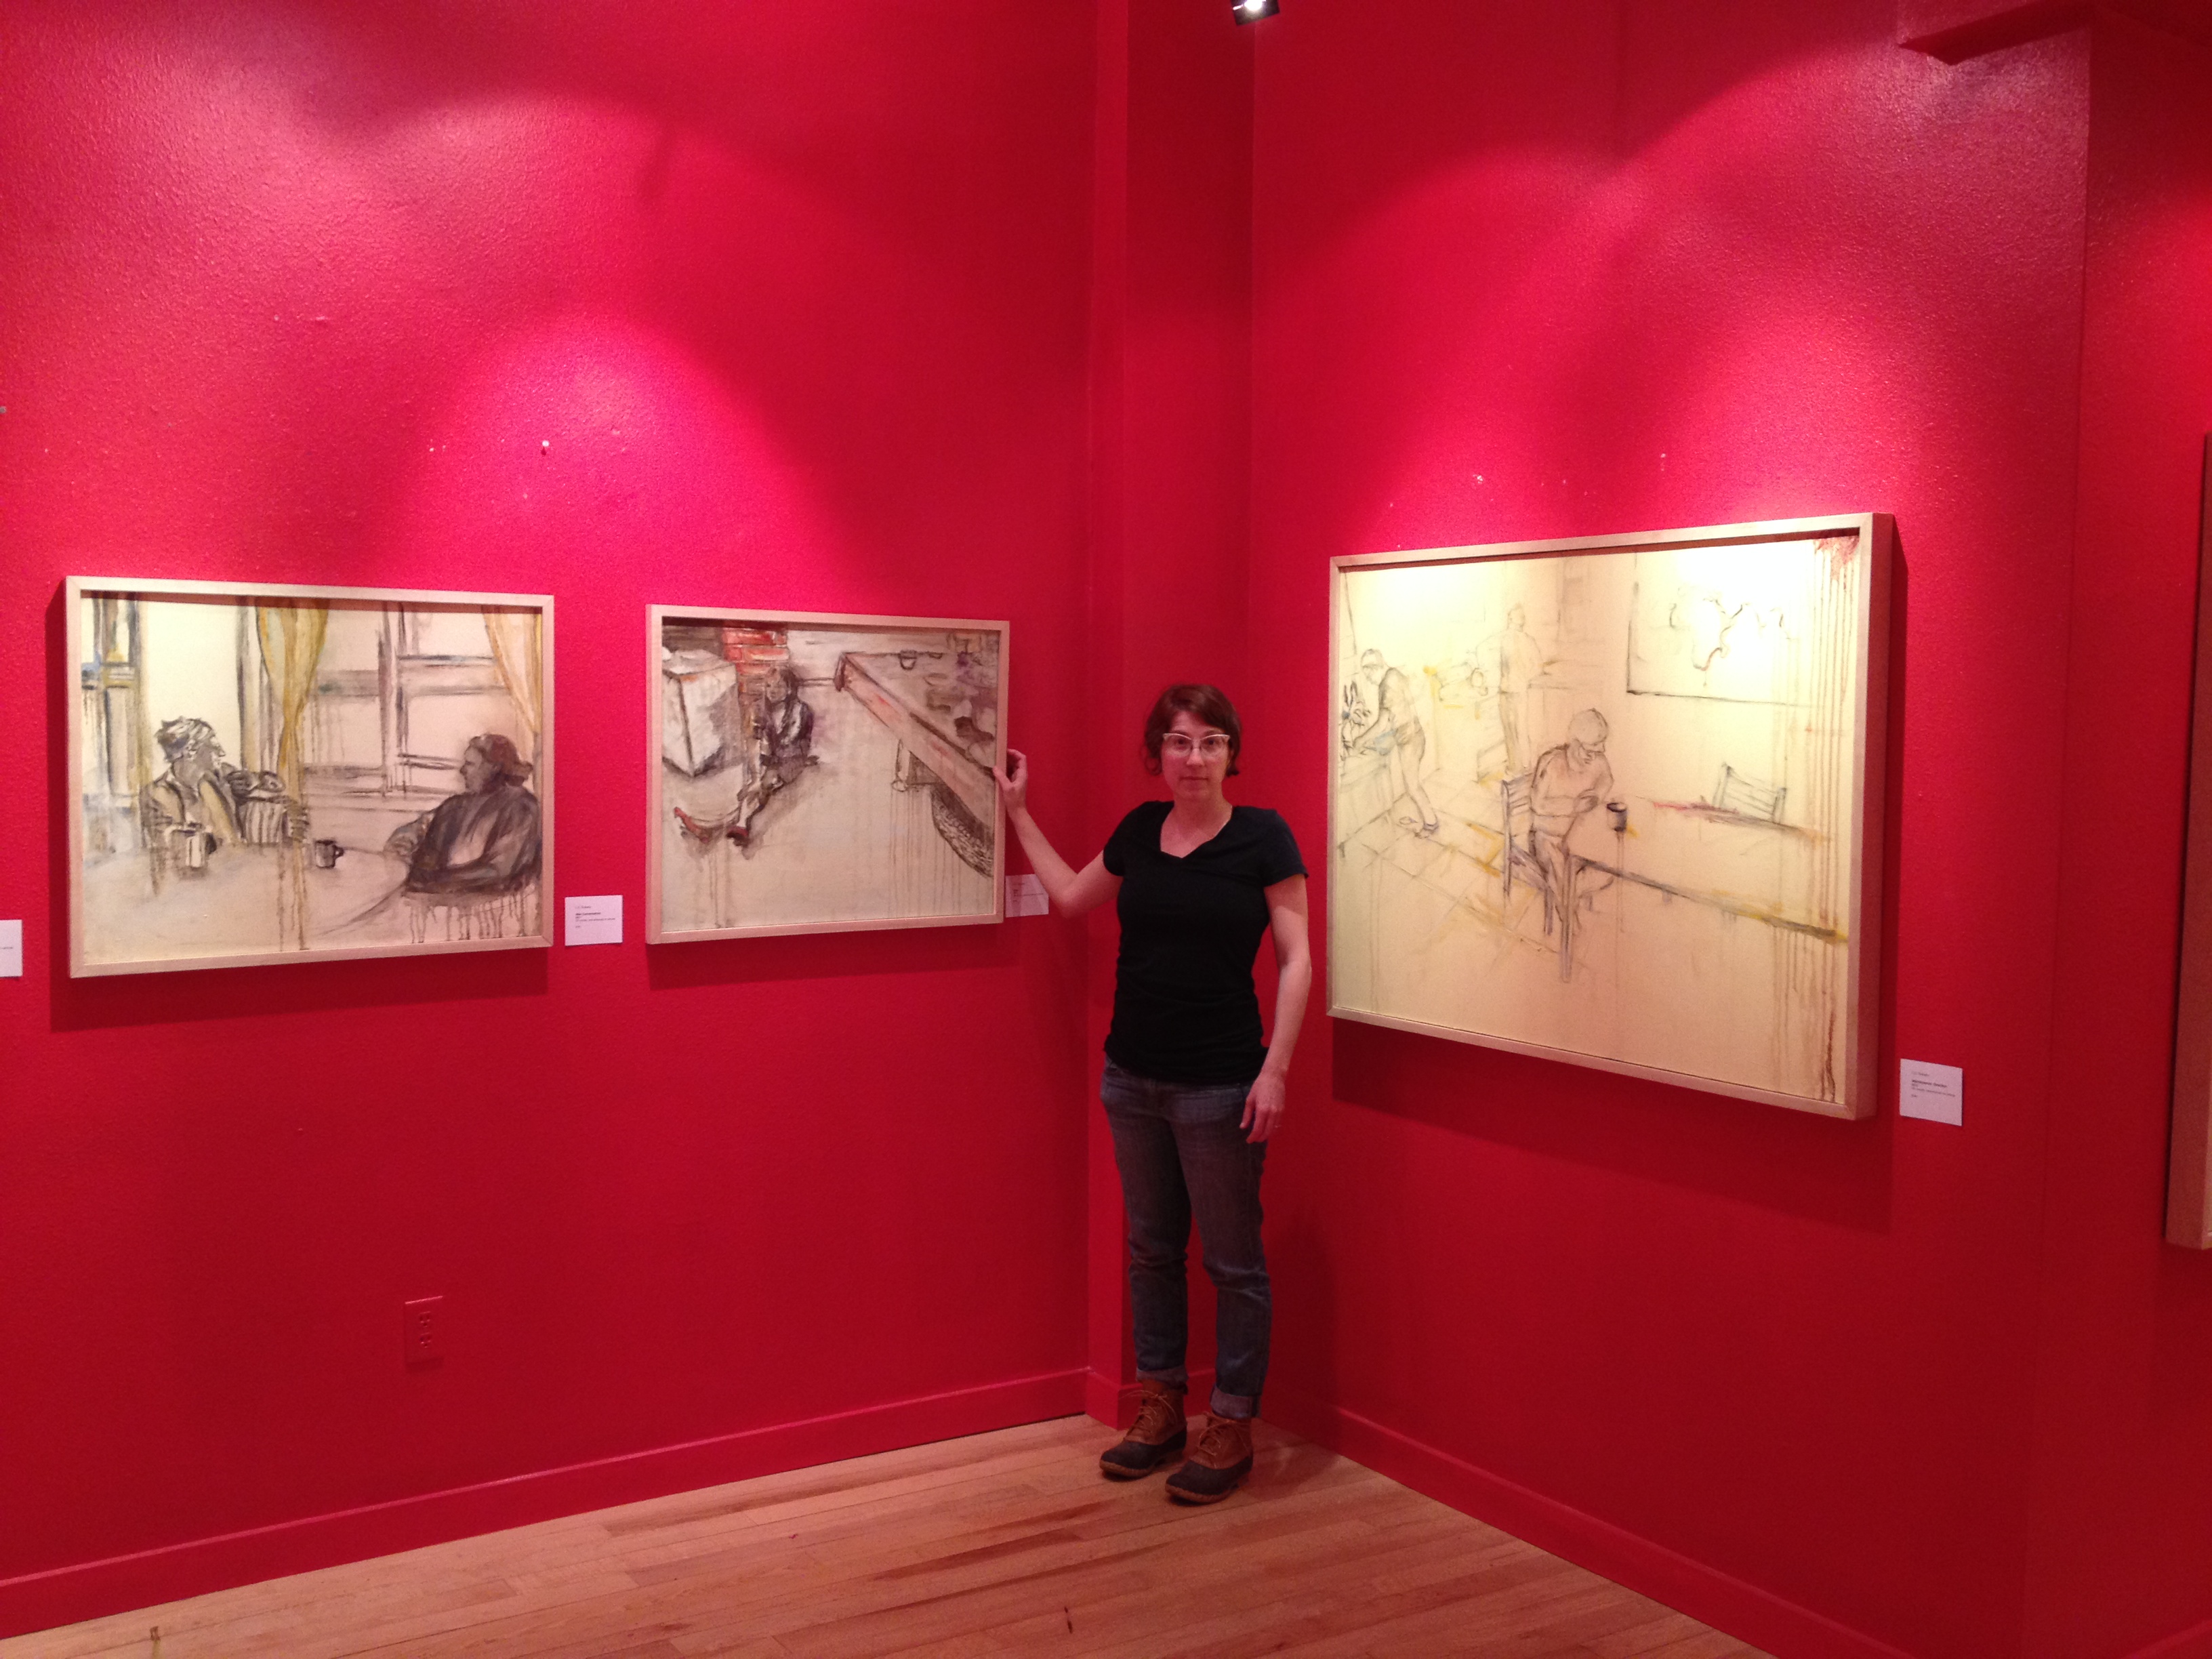
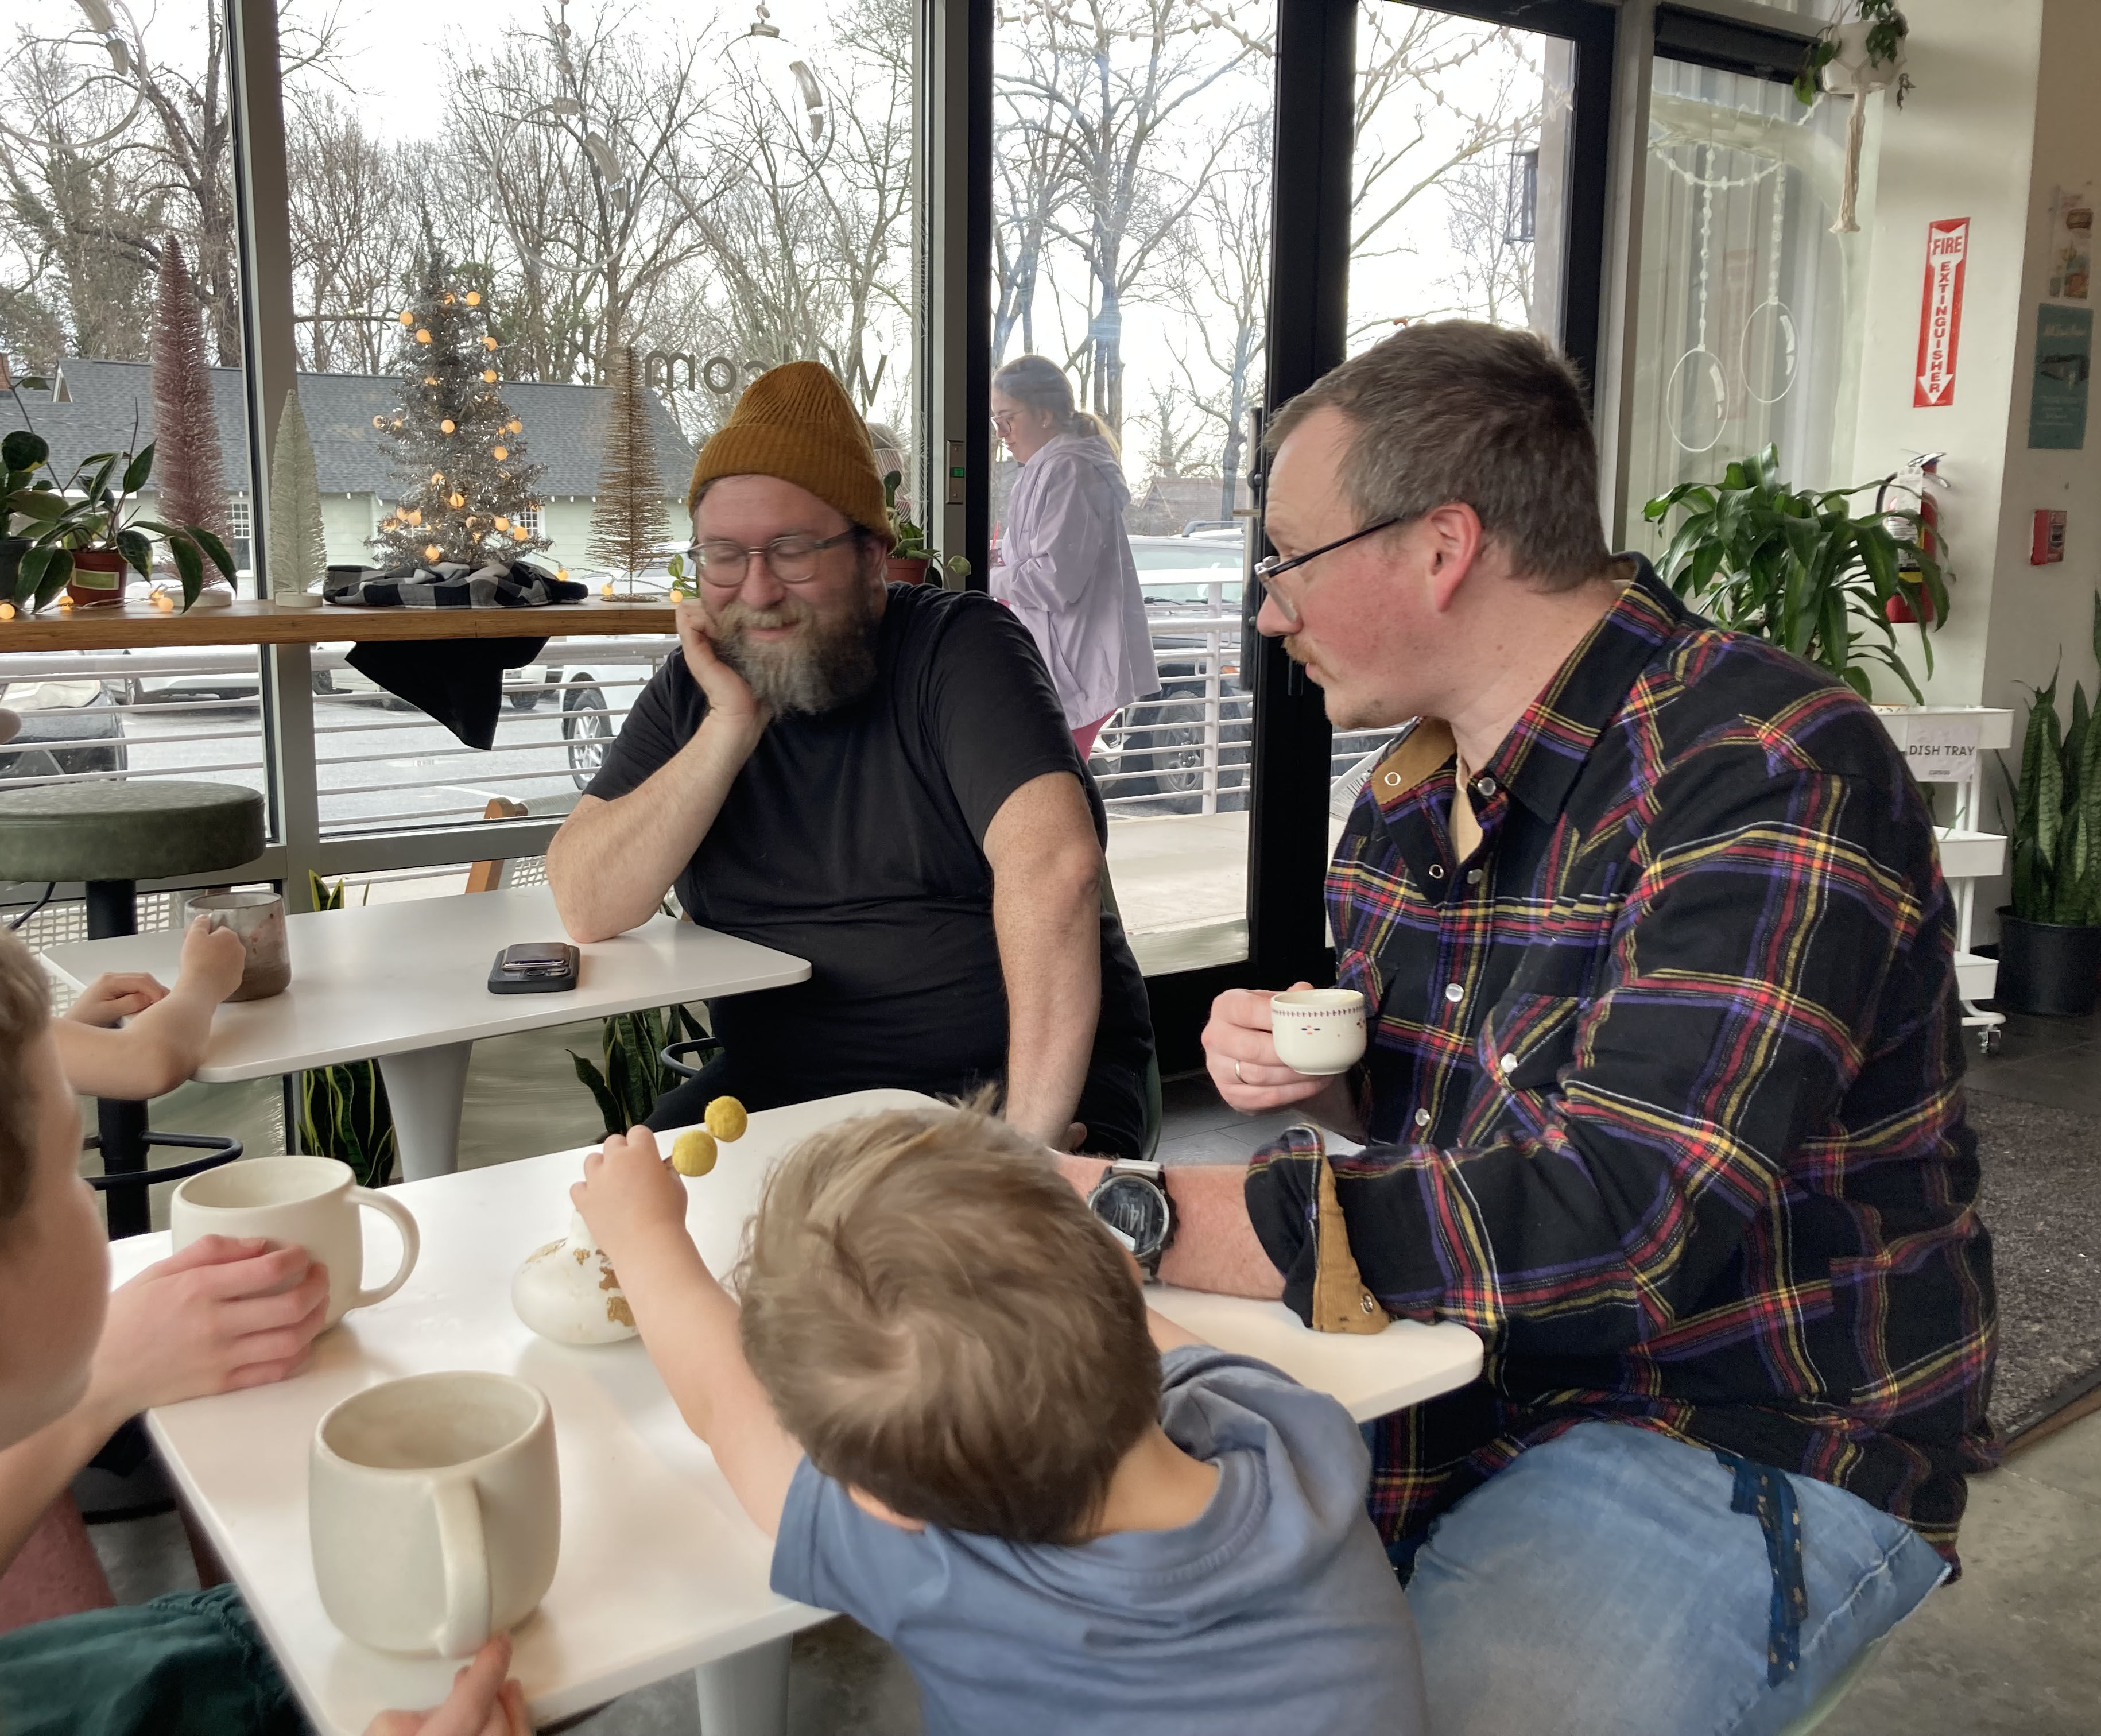
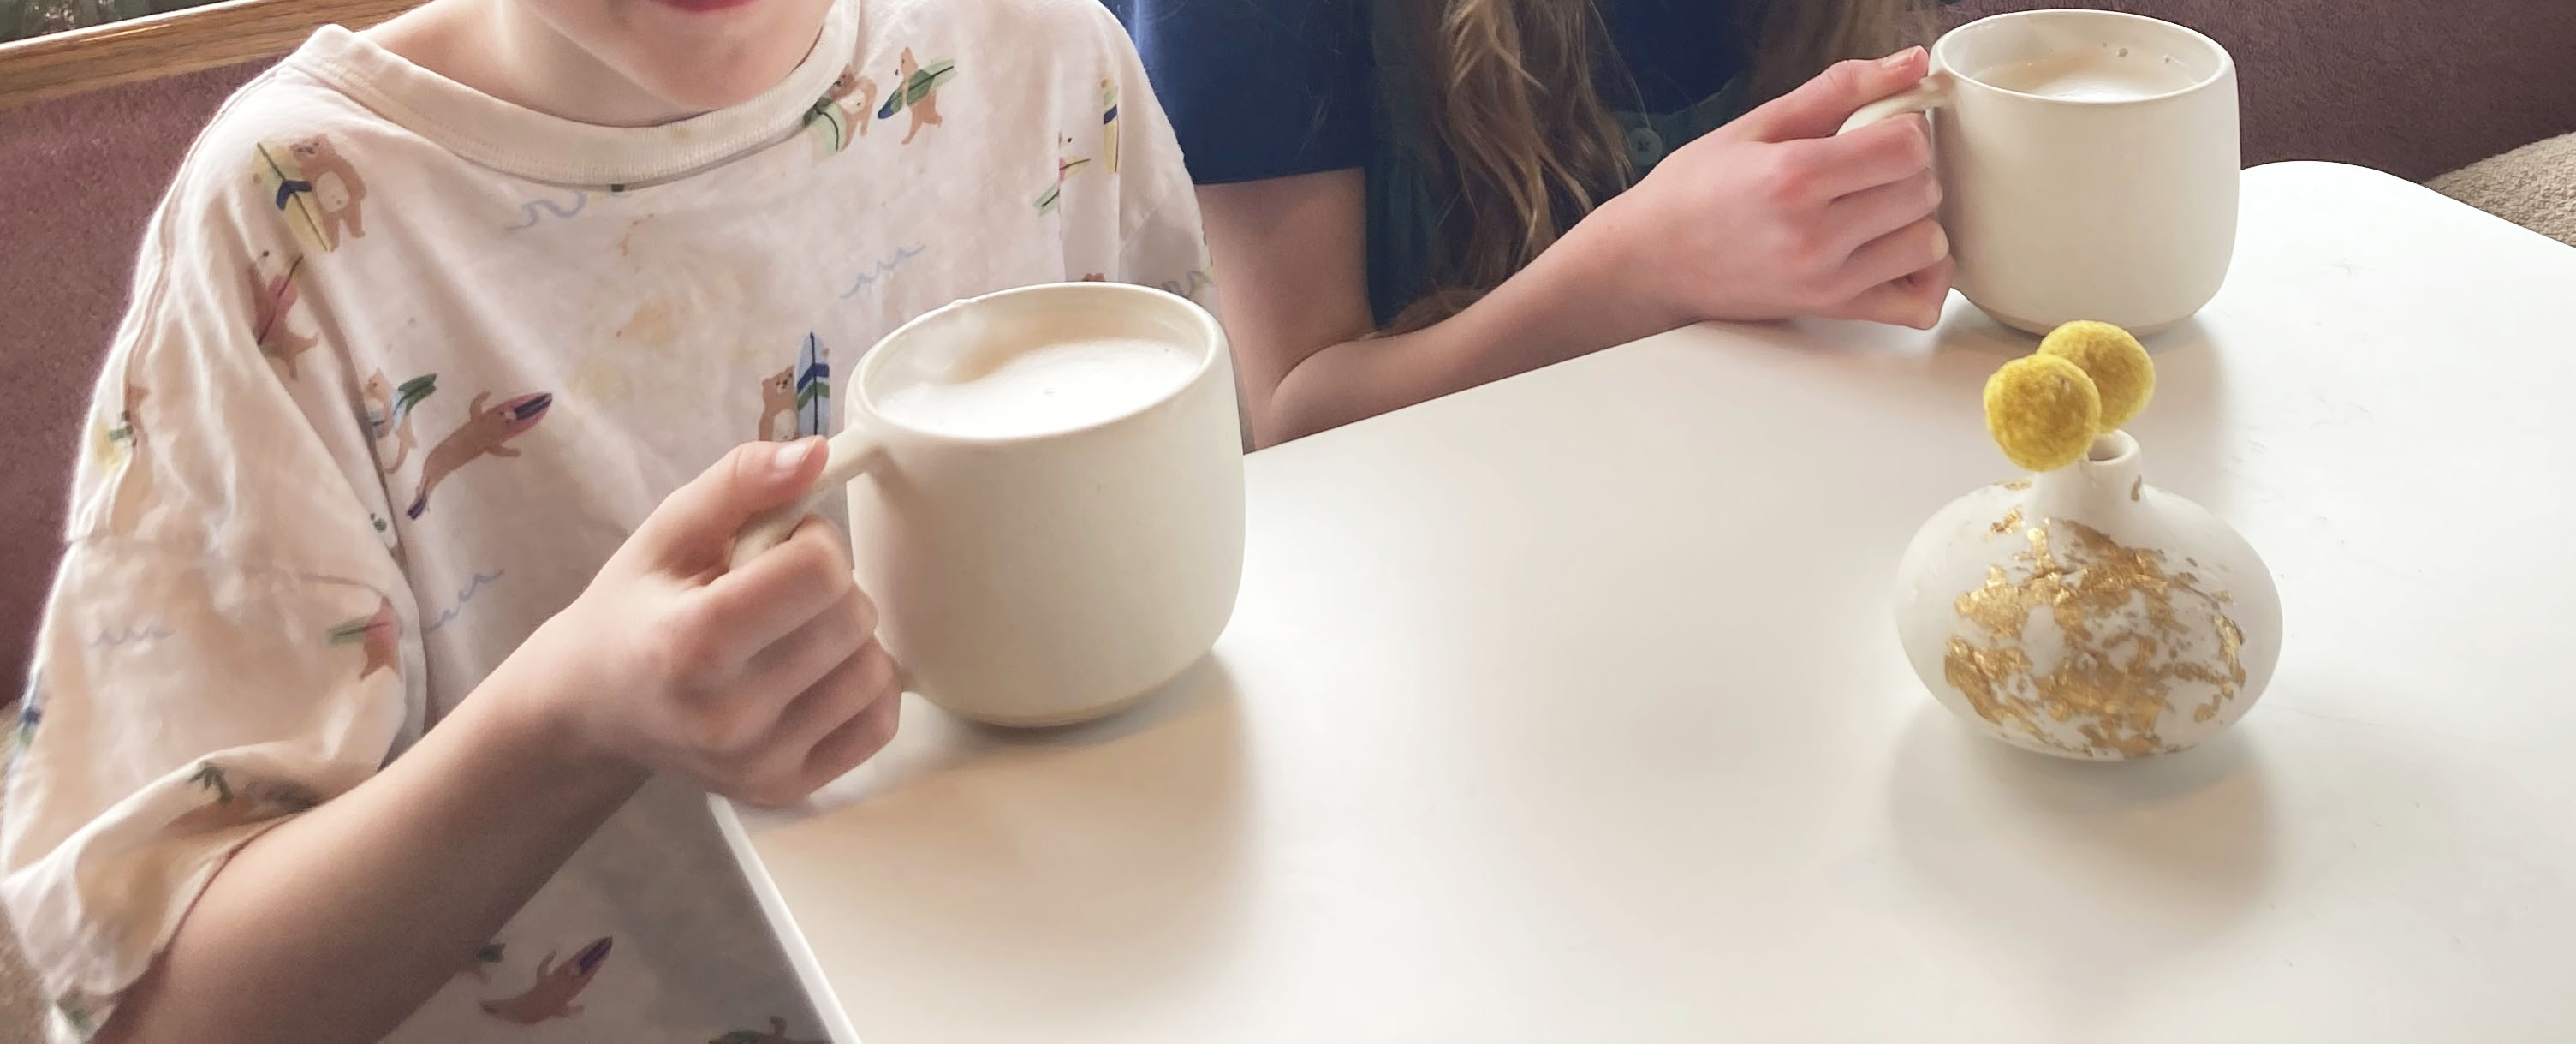
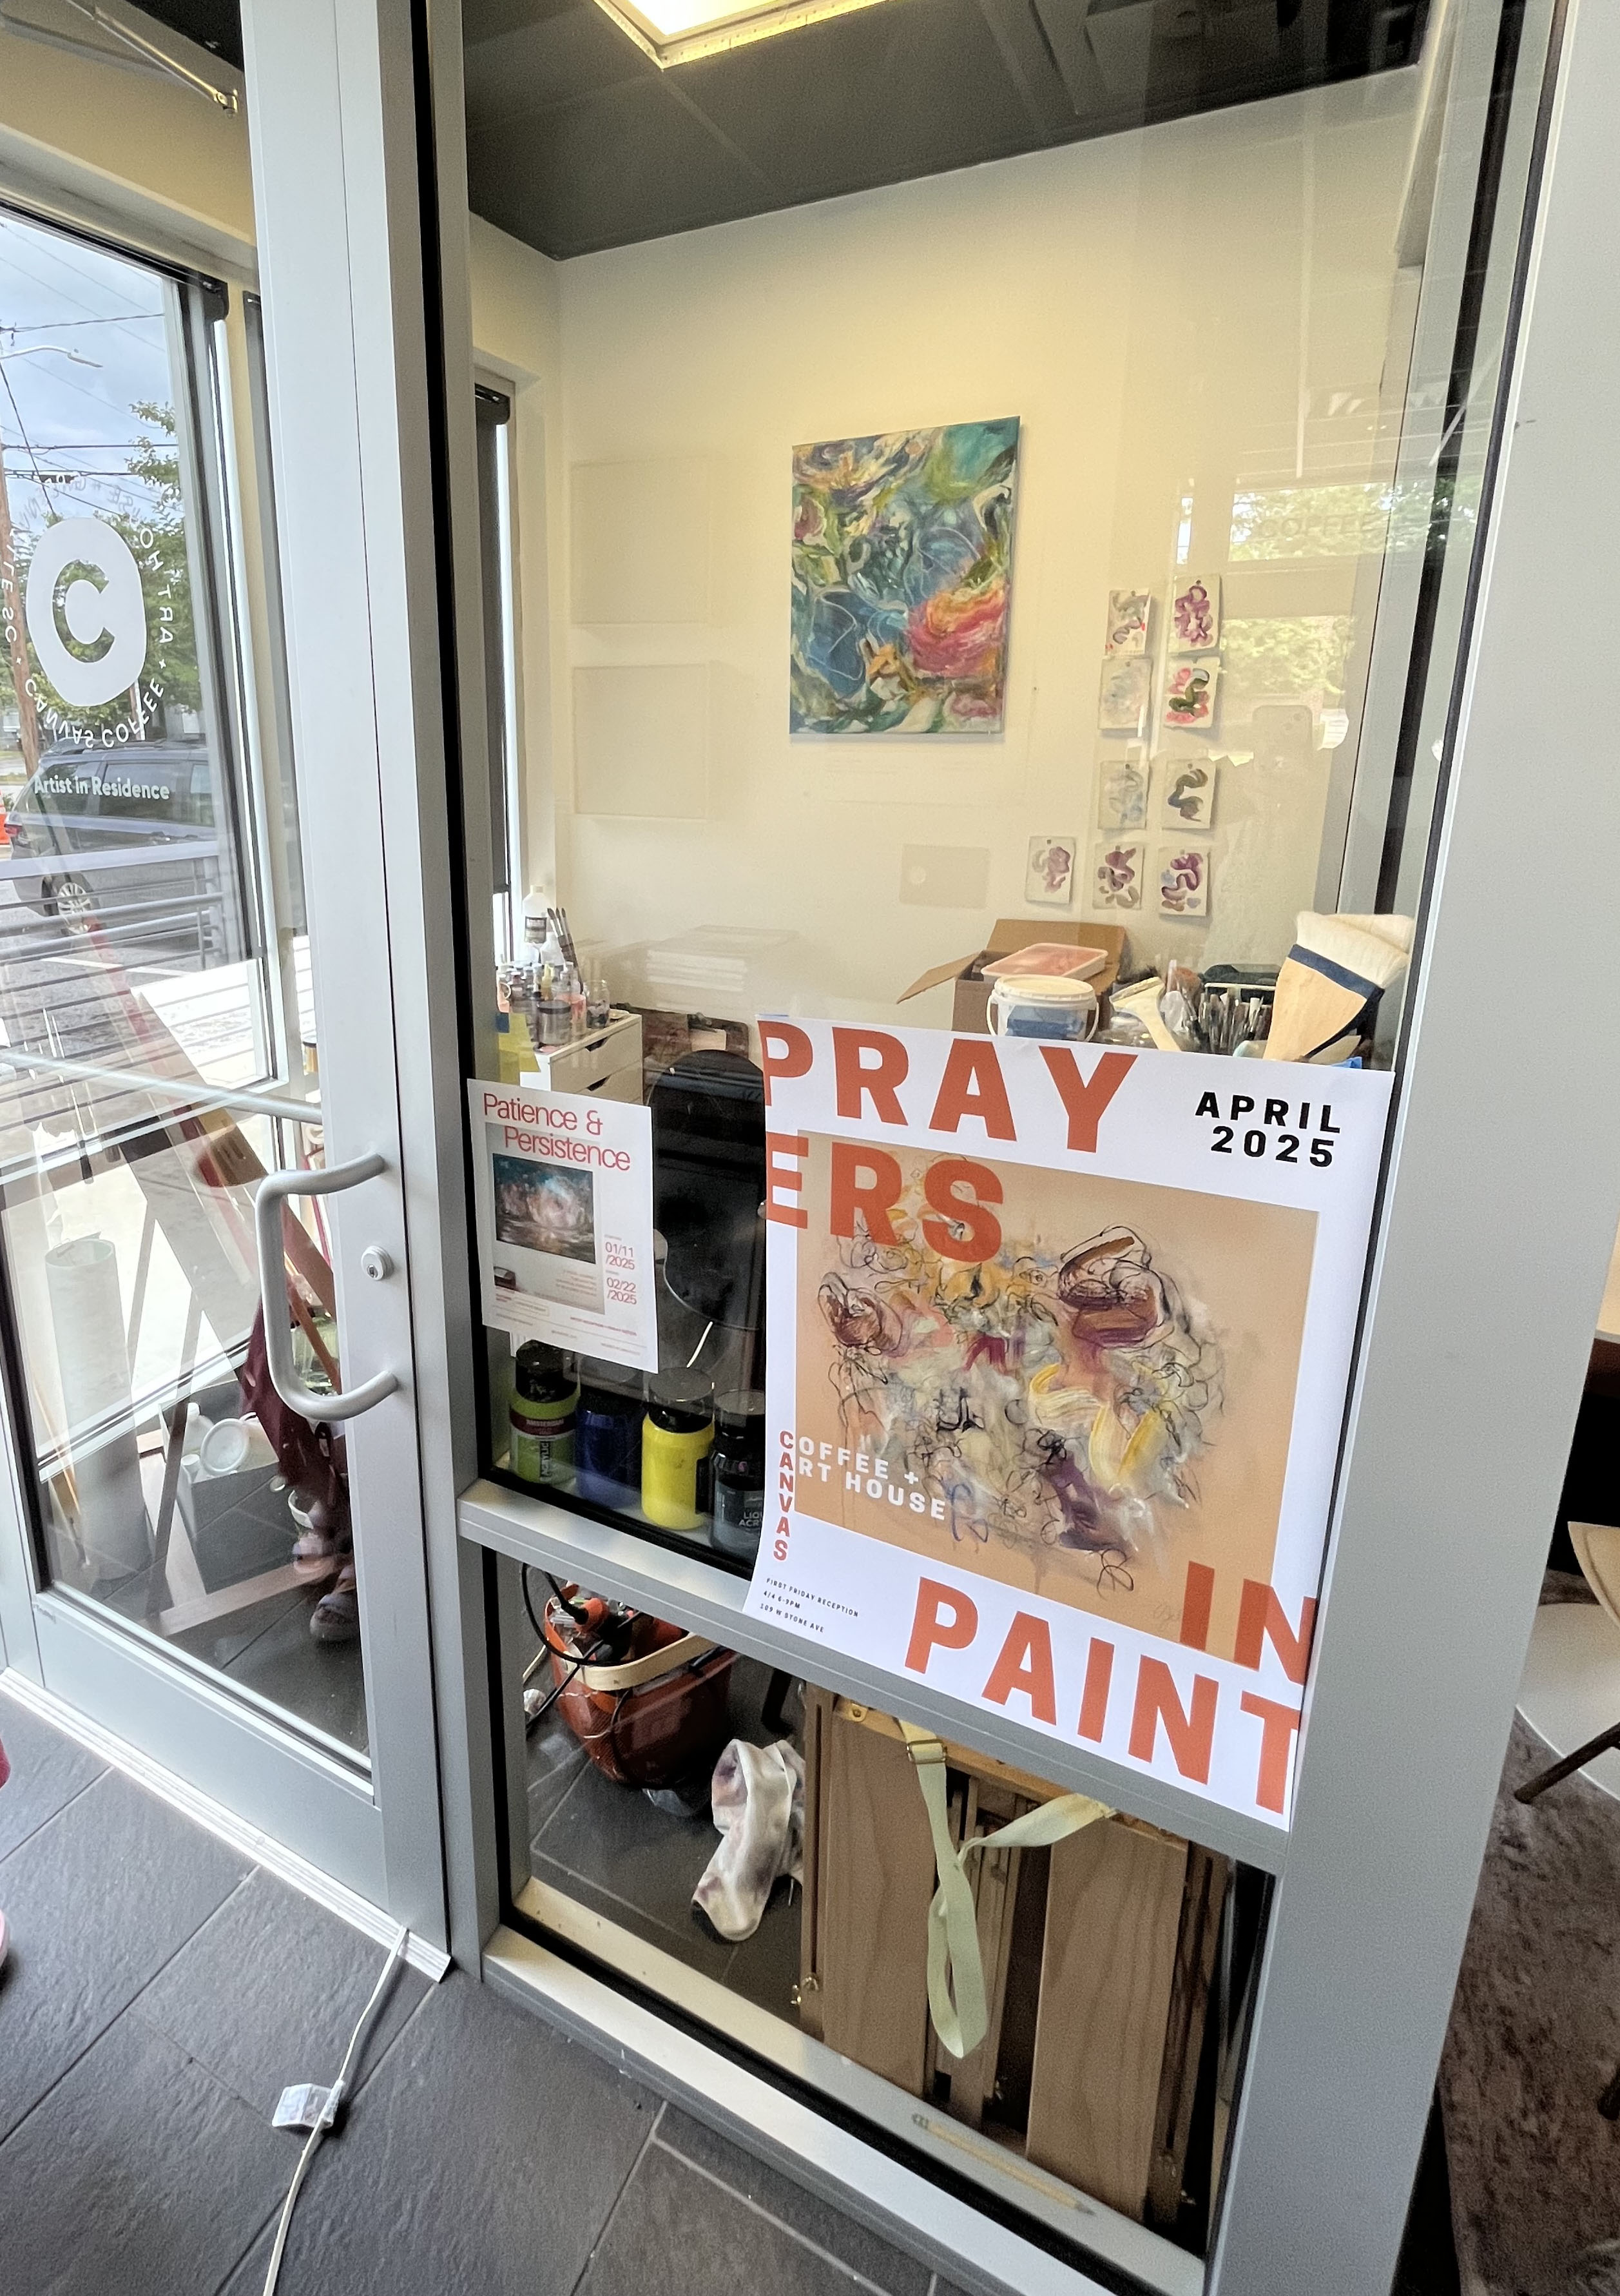
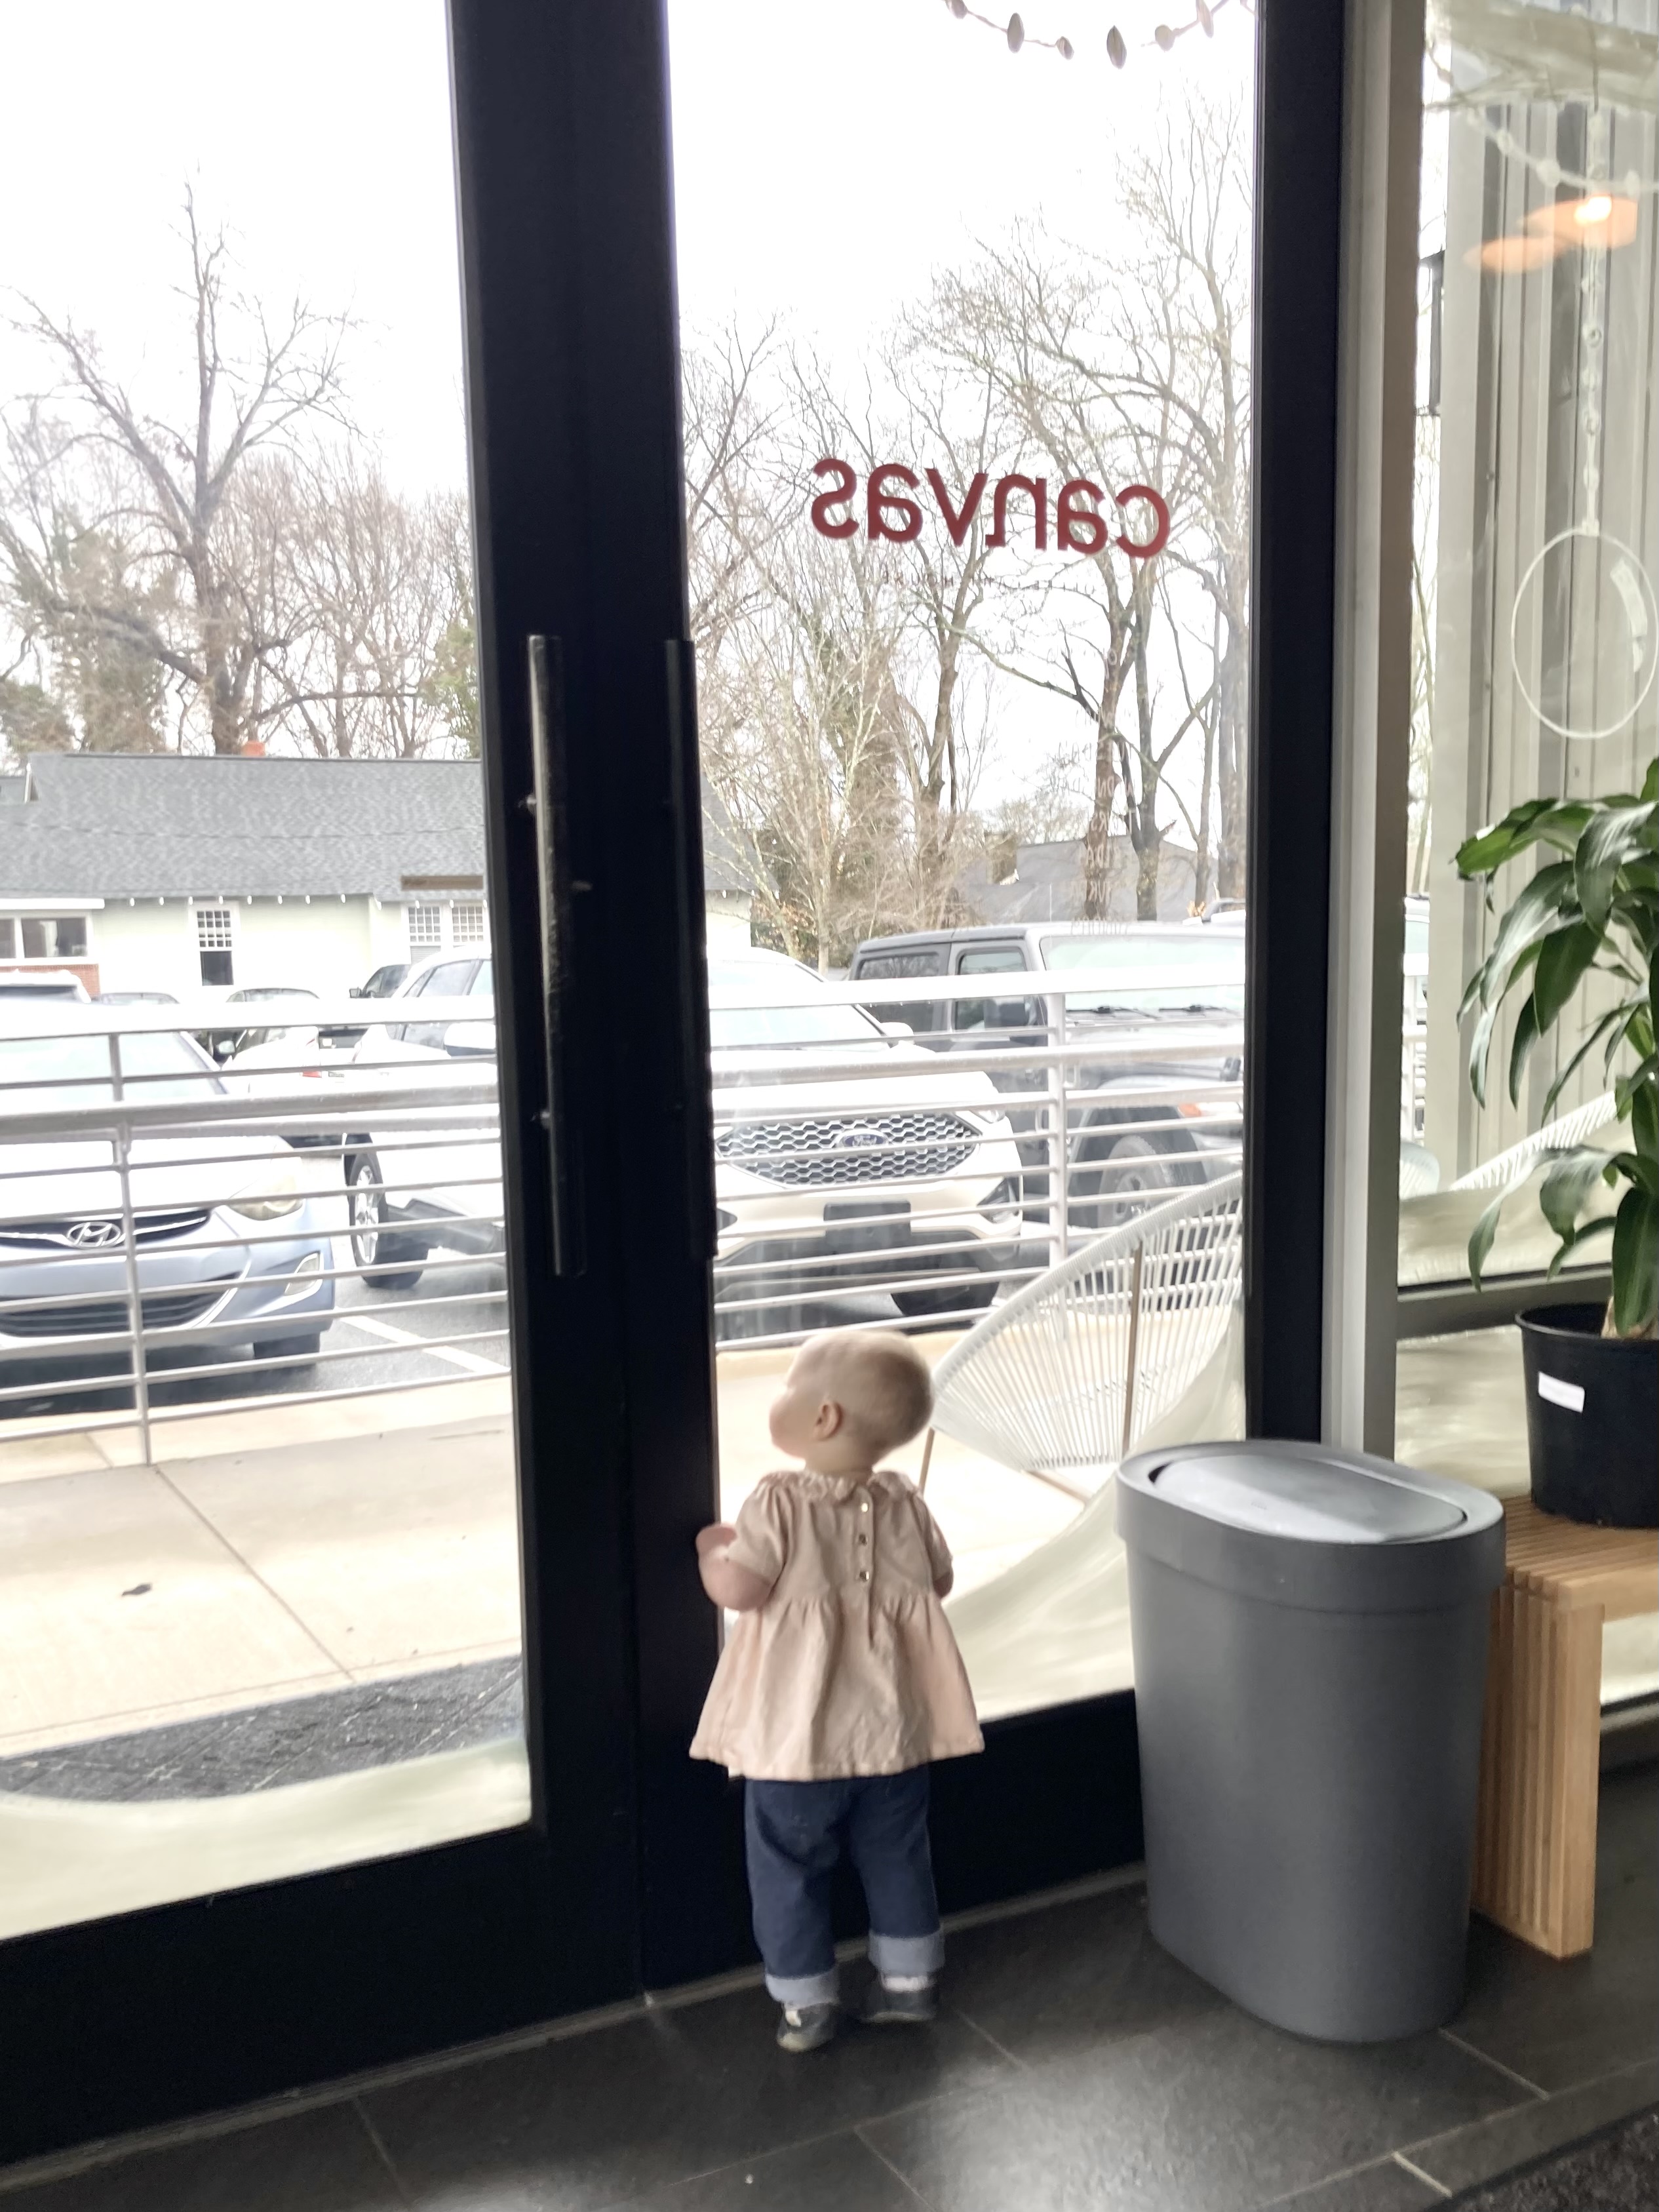
One idea we had was that it may be in the old neighborhoods in Greenville. We found some hills, but none were steep or long enough. While there, we also stopped by Arin and Genavieve Gilbert’s coffee shop Canvas Coffee and Art House. The kids enjoyed some steamers and we got to see old friends, drink the best coffee roasted by Mr. Gilbert, and look at the fine art. It was fantastic. We also went to the art museum and the public library.


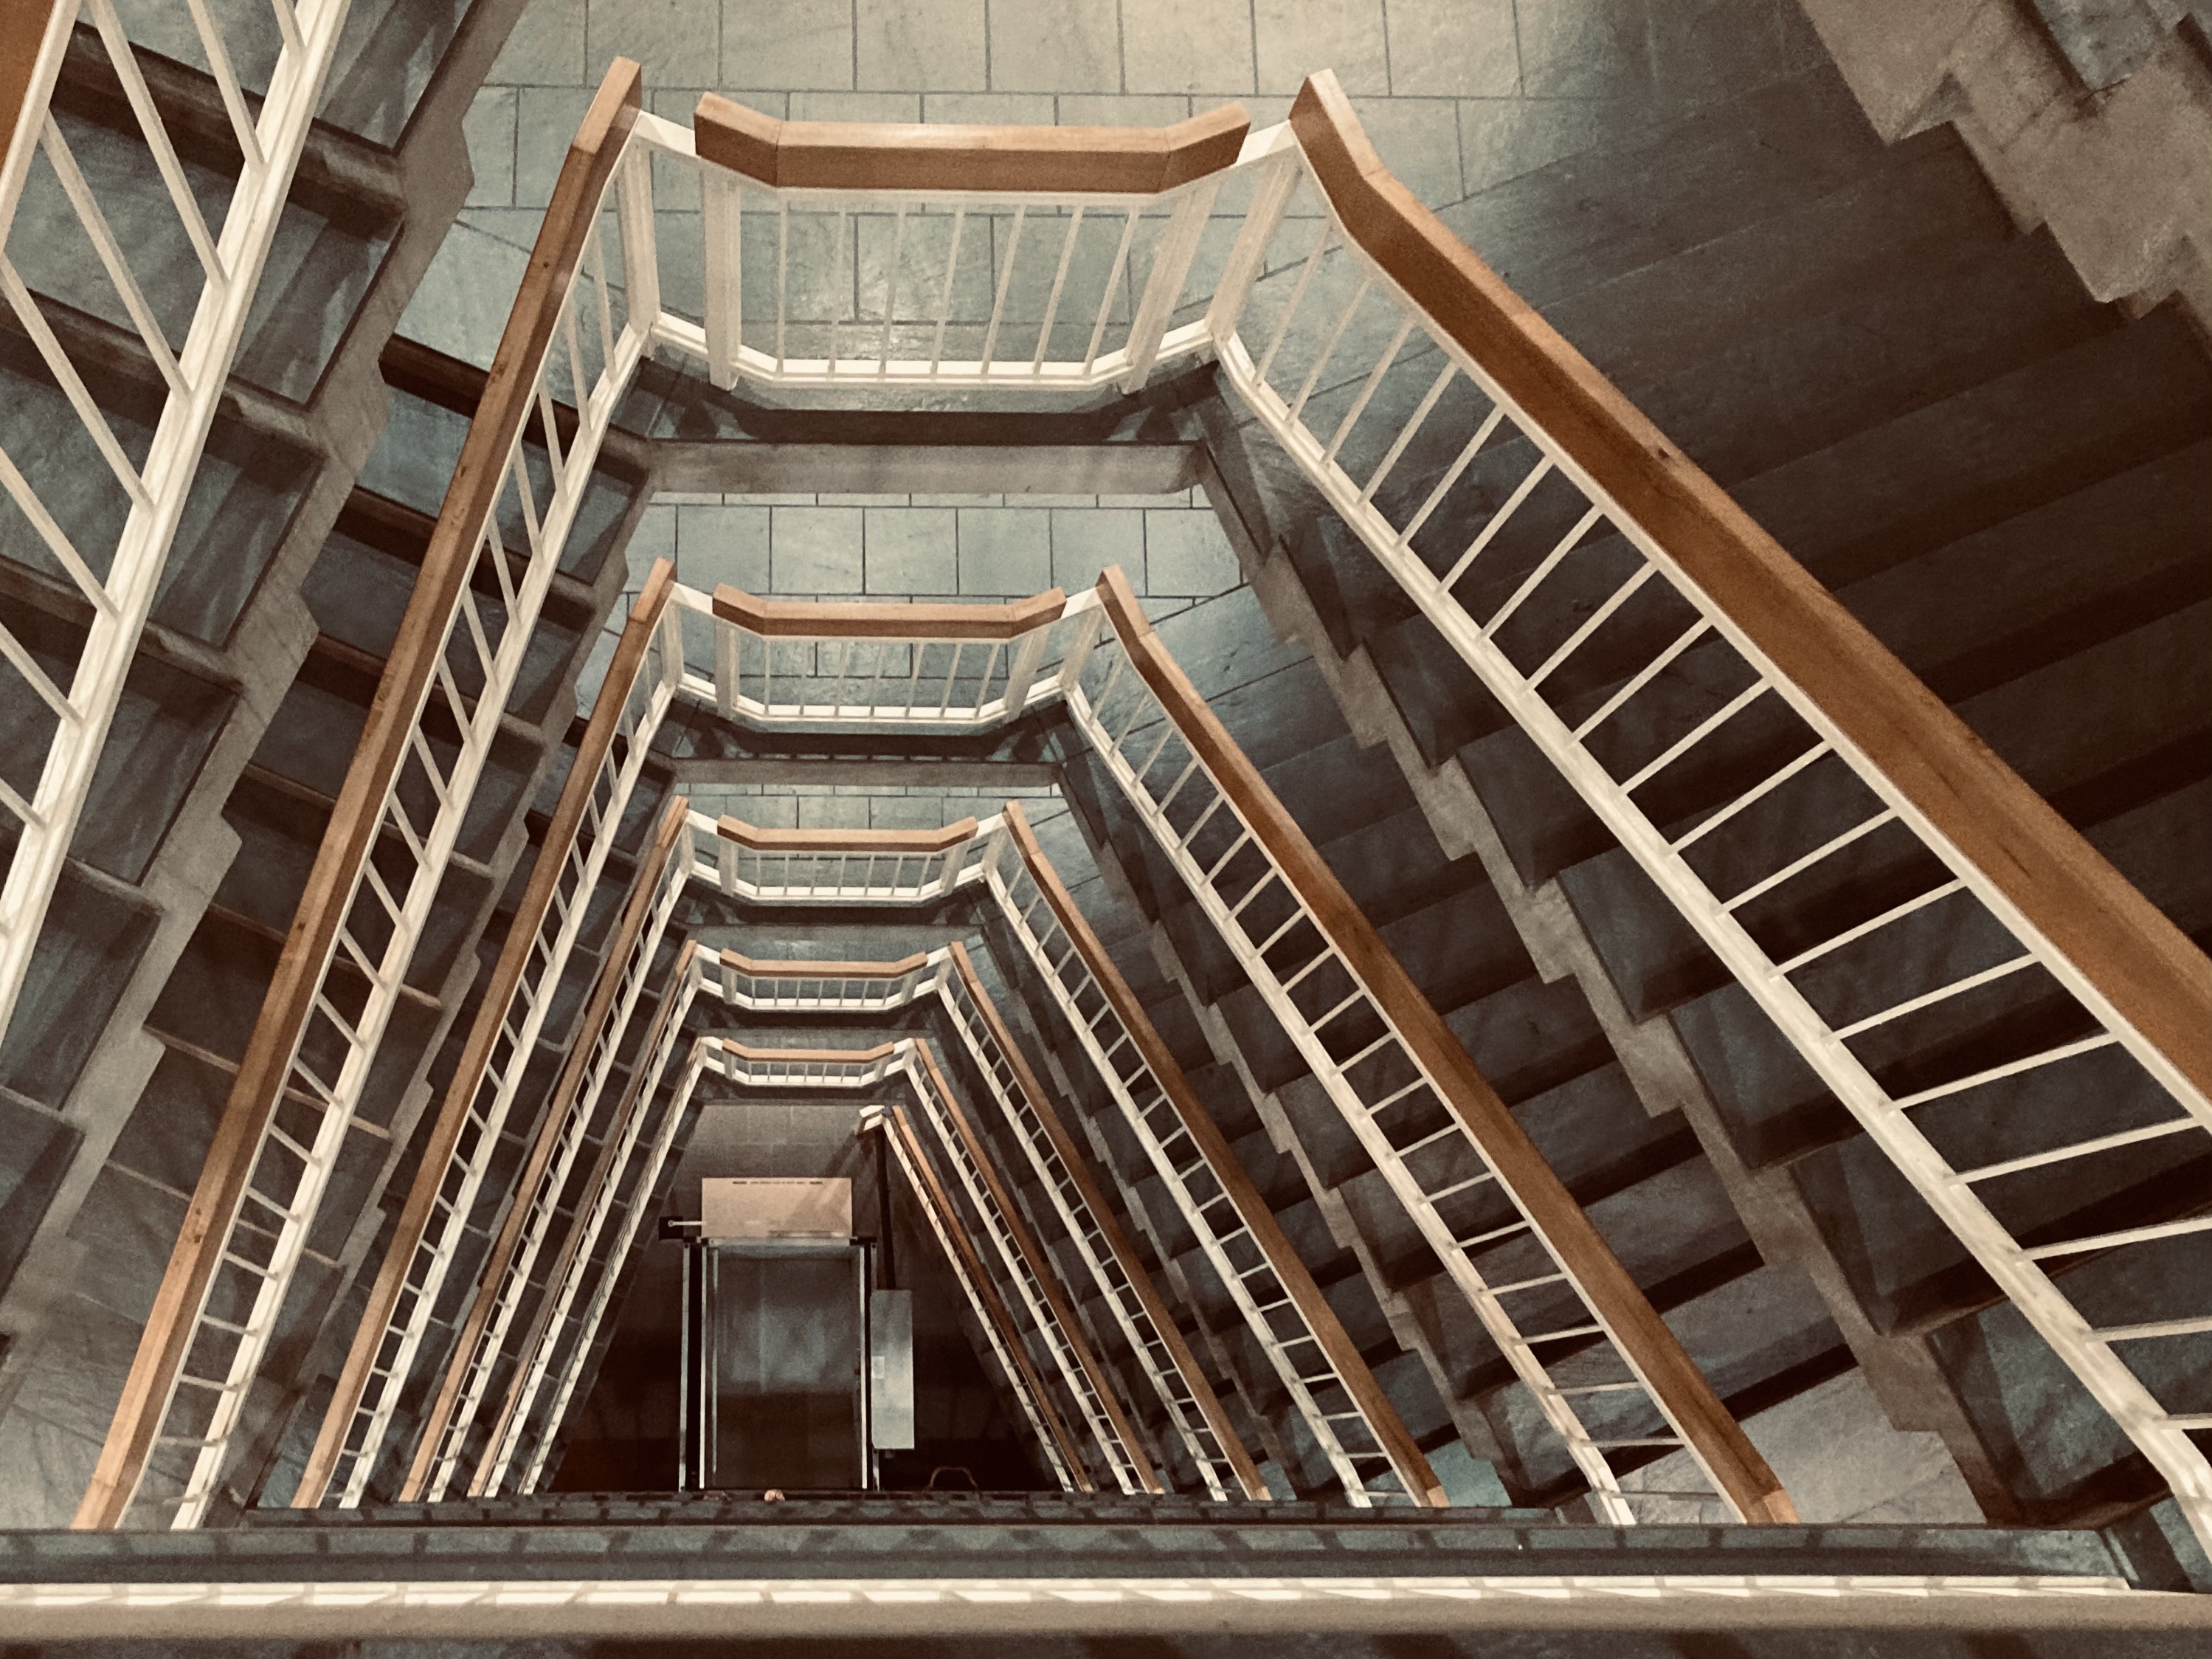
Another idea was the old neighborhoods downtown Columbia, and we did find THE hill near the University. This is an incredibly steep and long hill, and it actually works because of the long stretch at the end. Finding that hill was the end of this art adventure, but the beginning of the studio work.

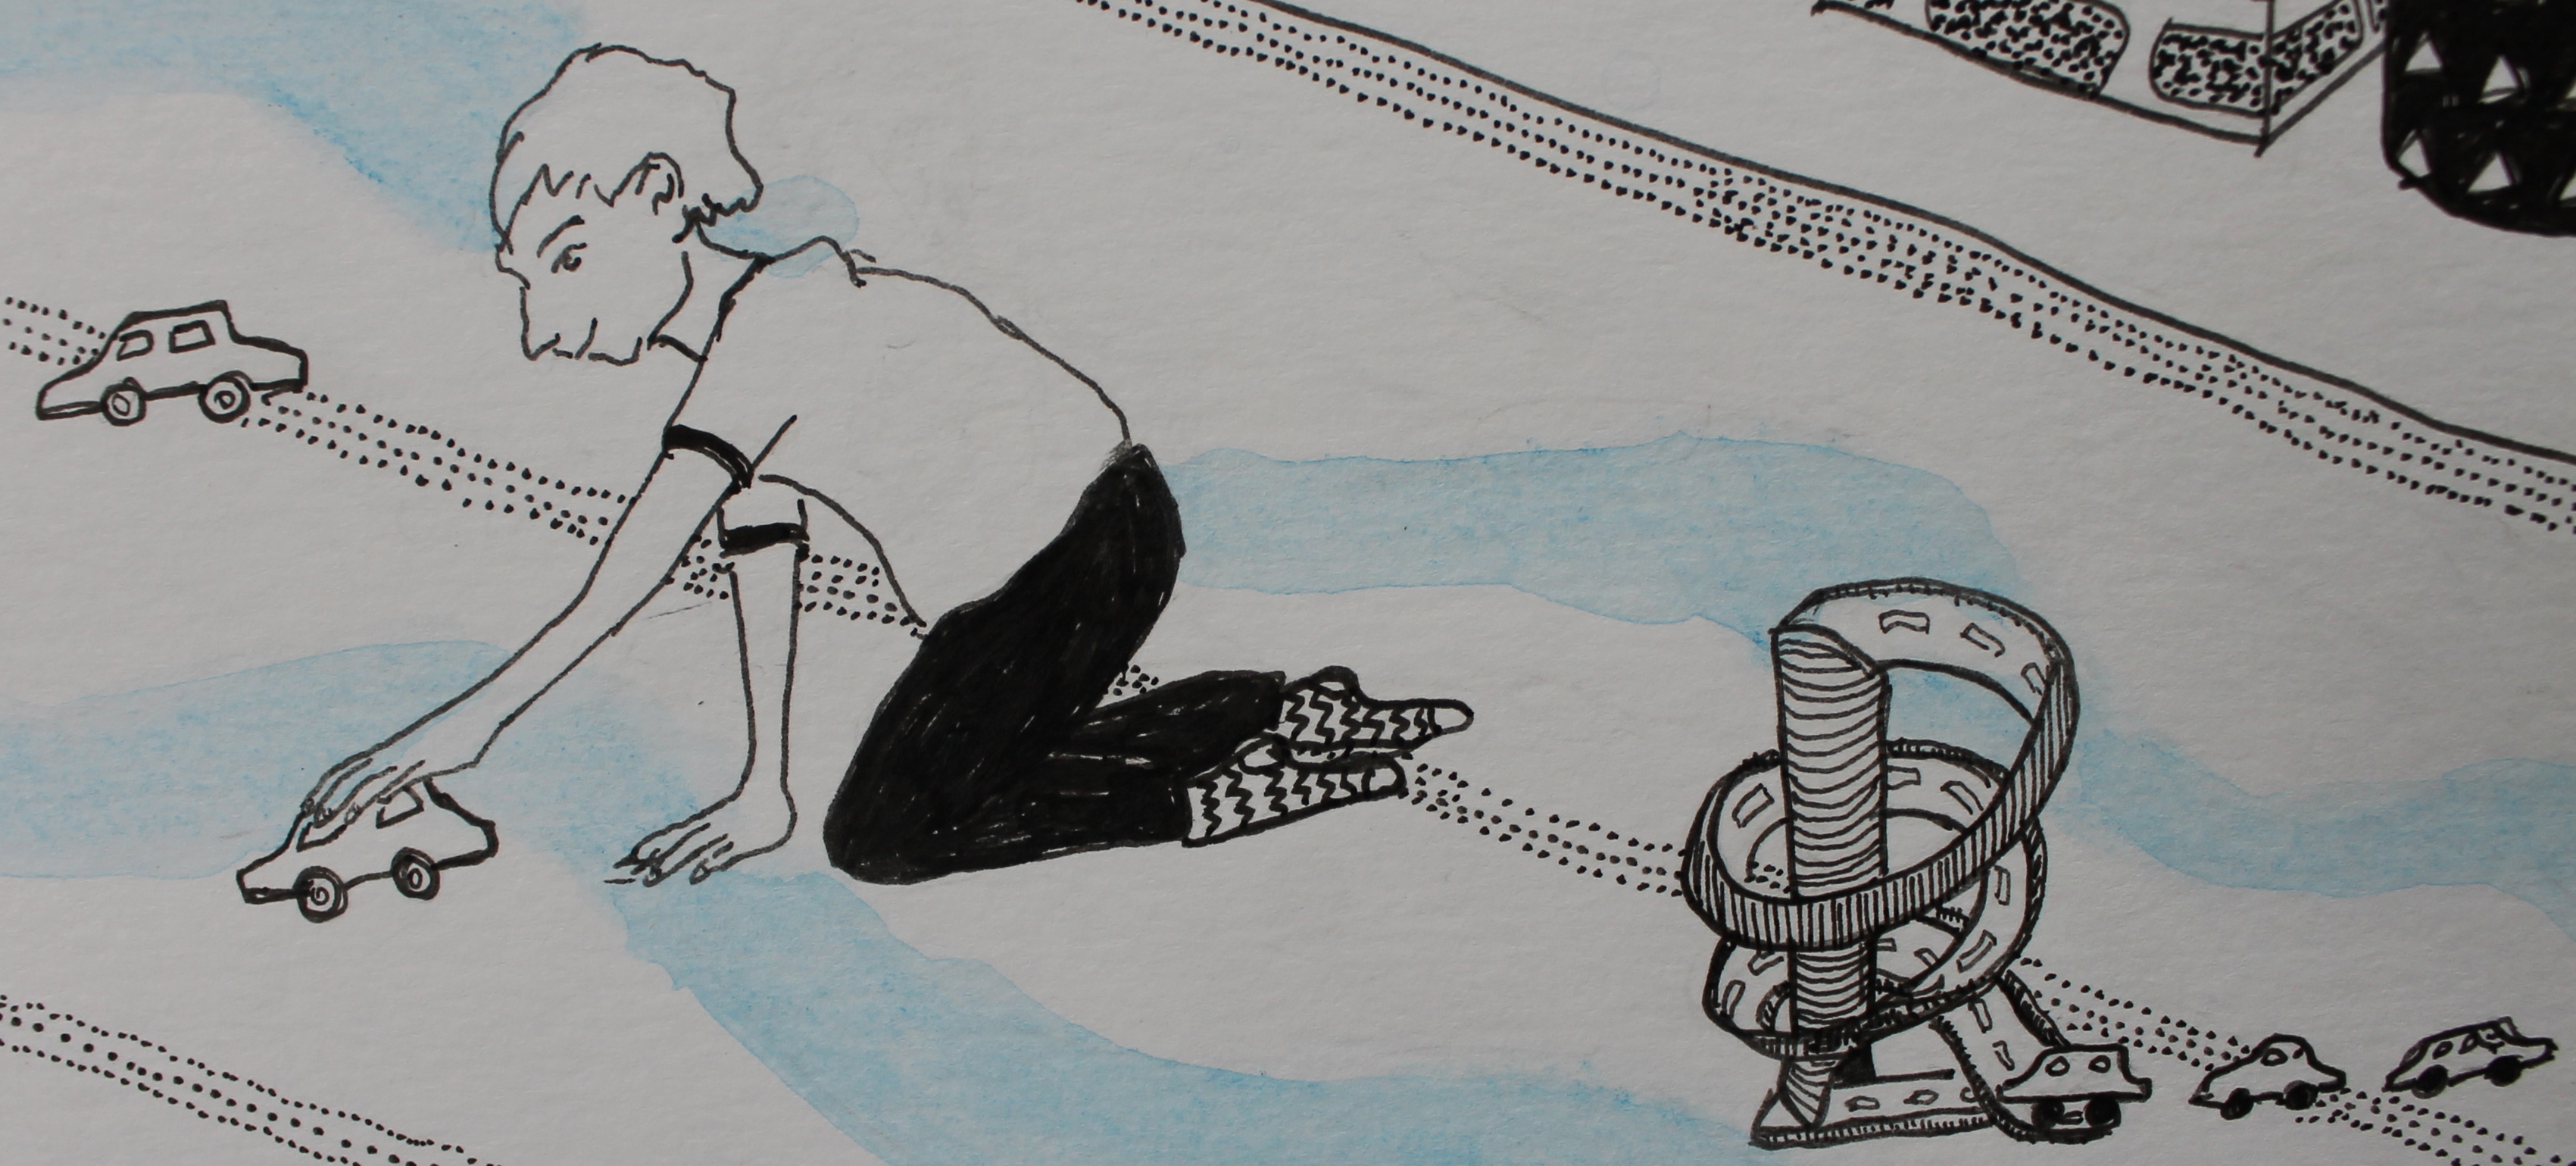
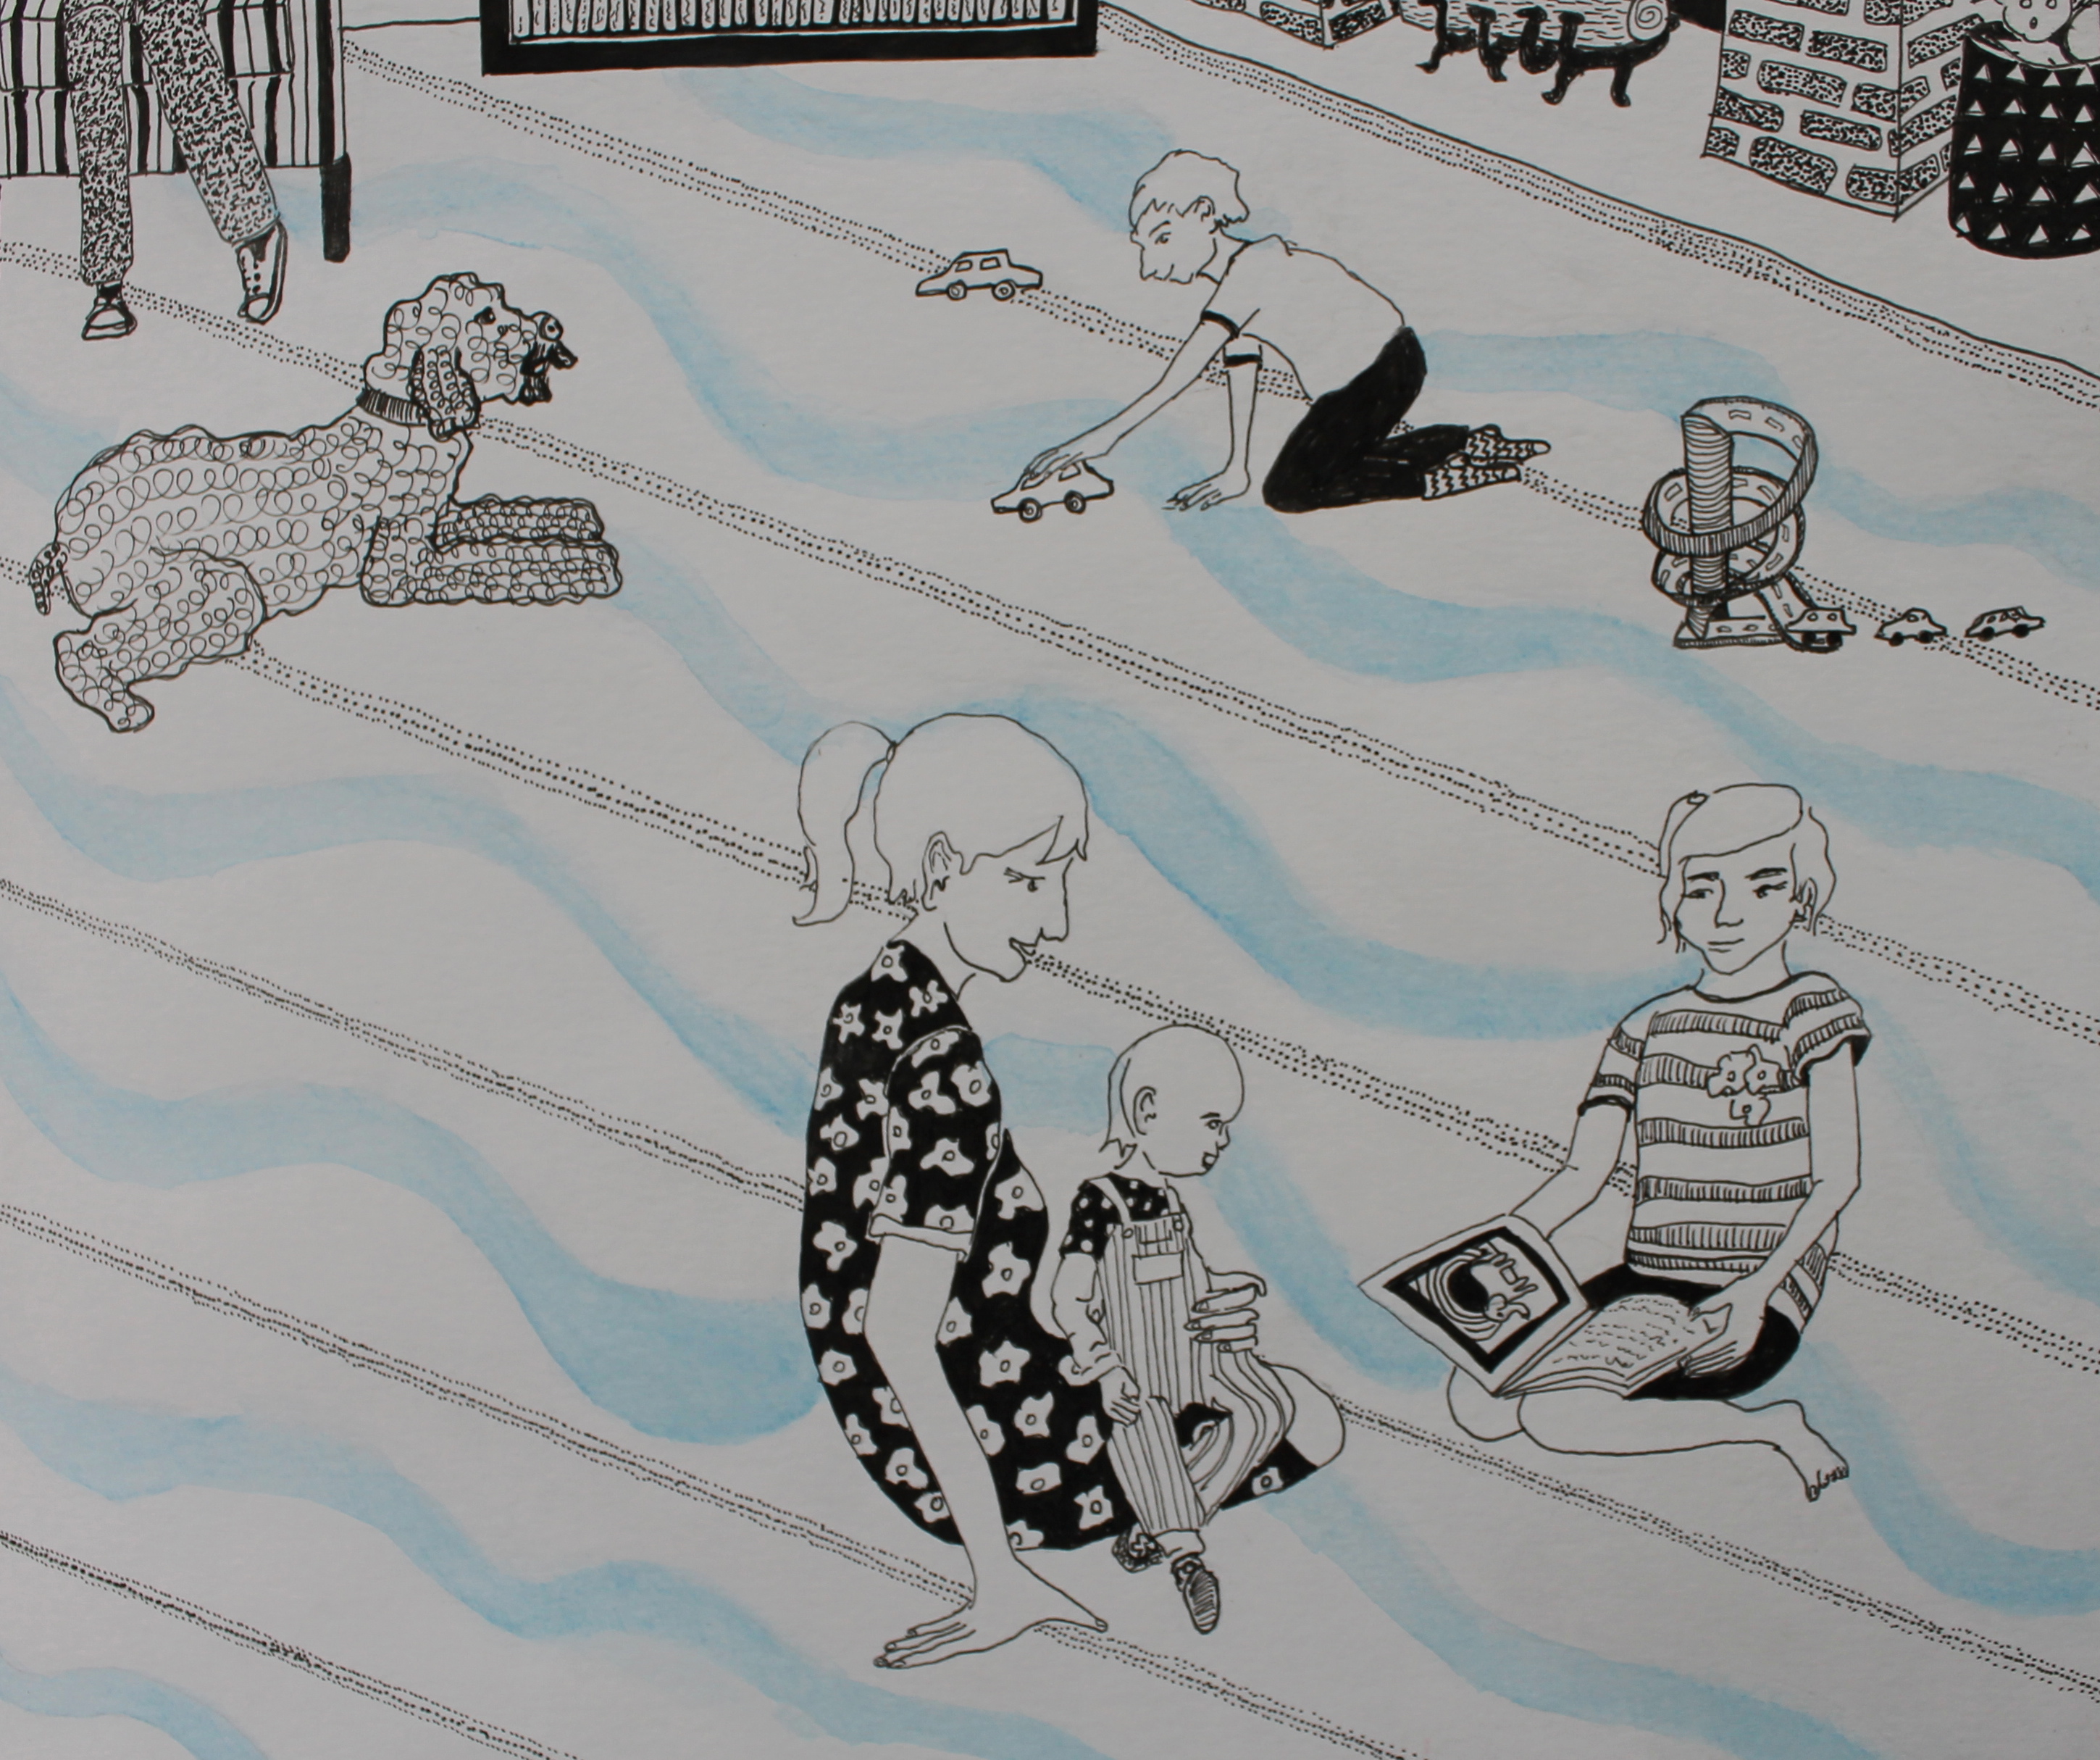
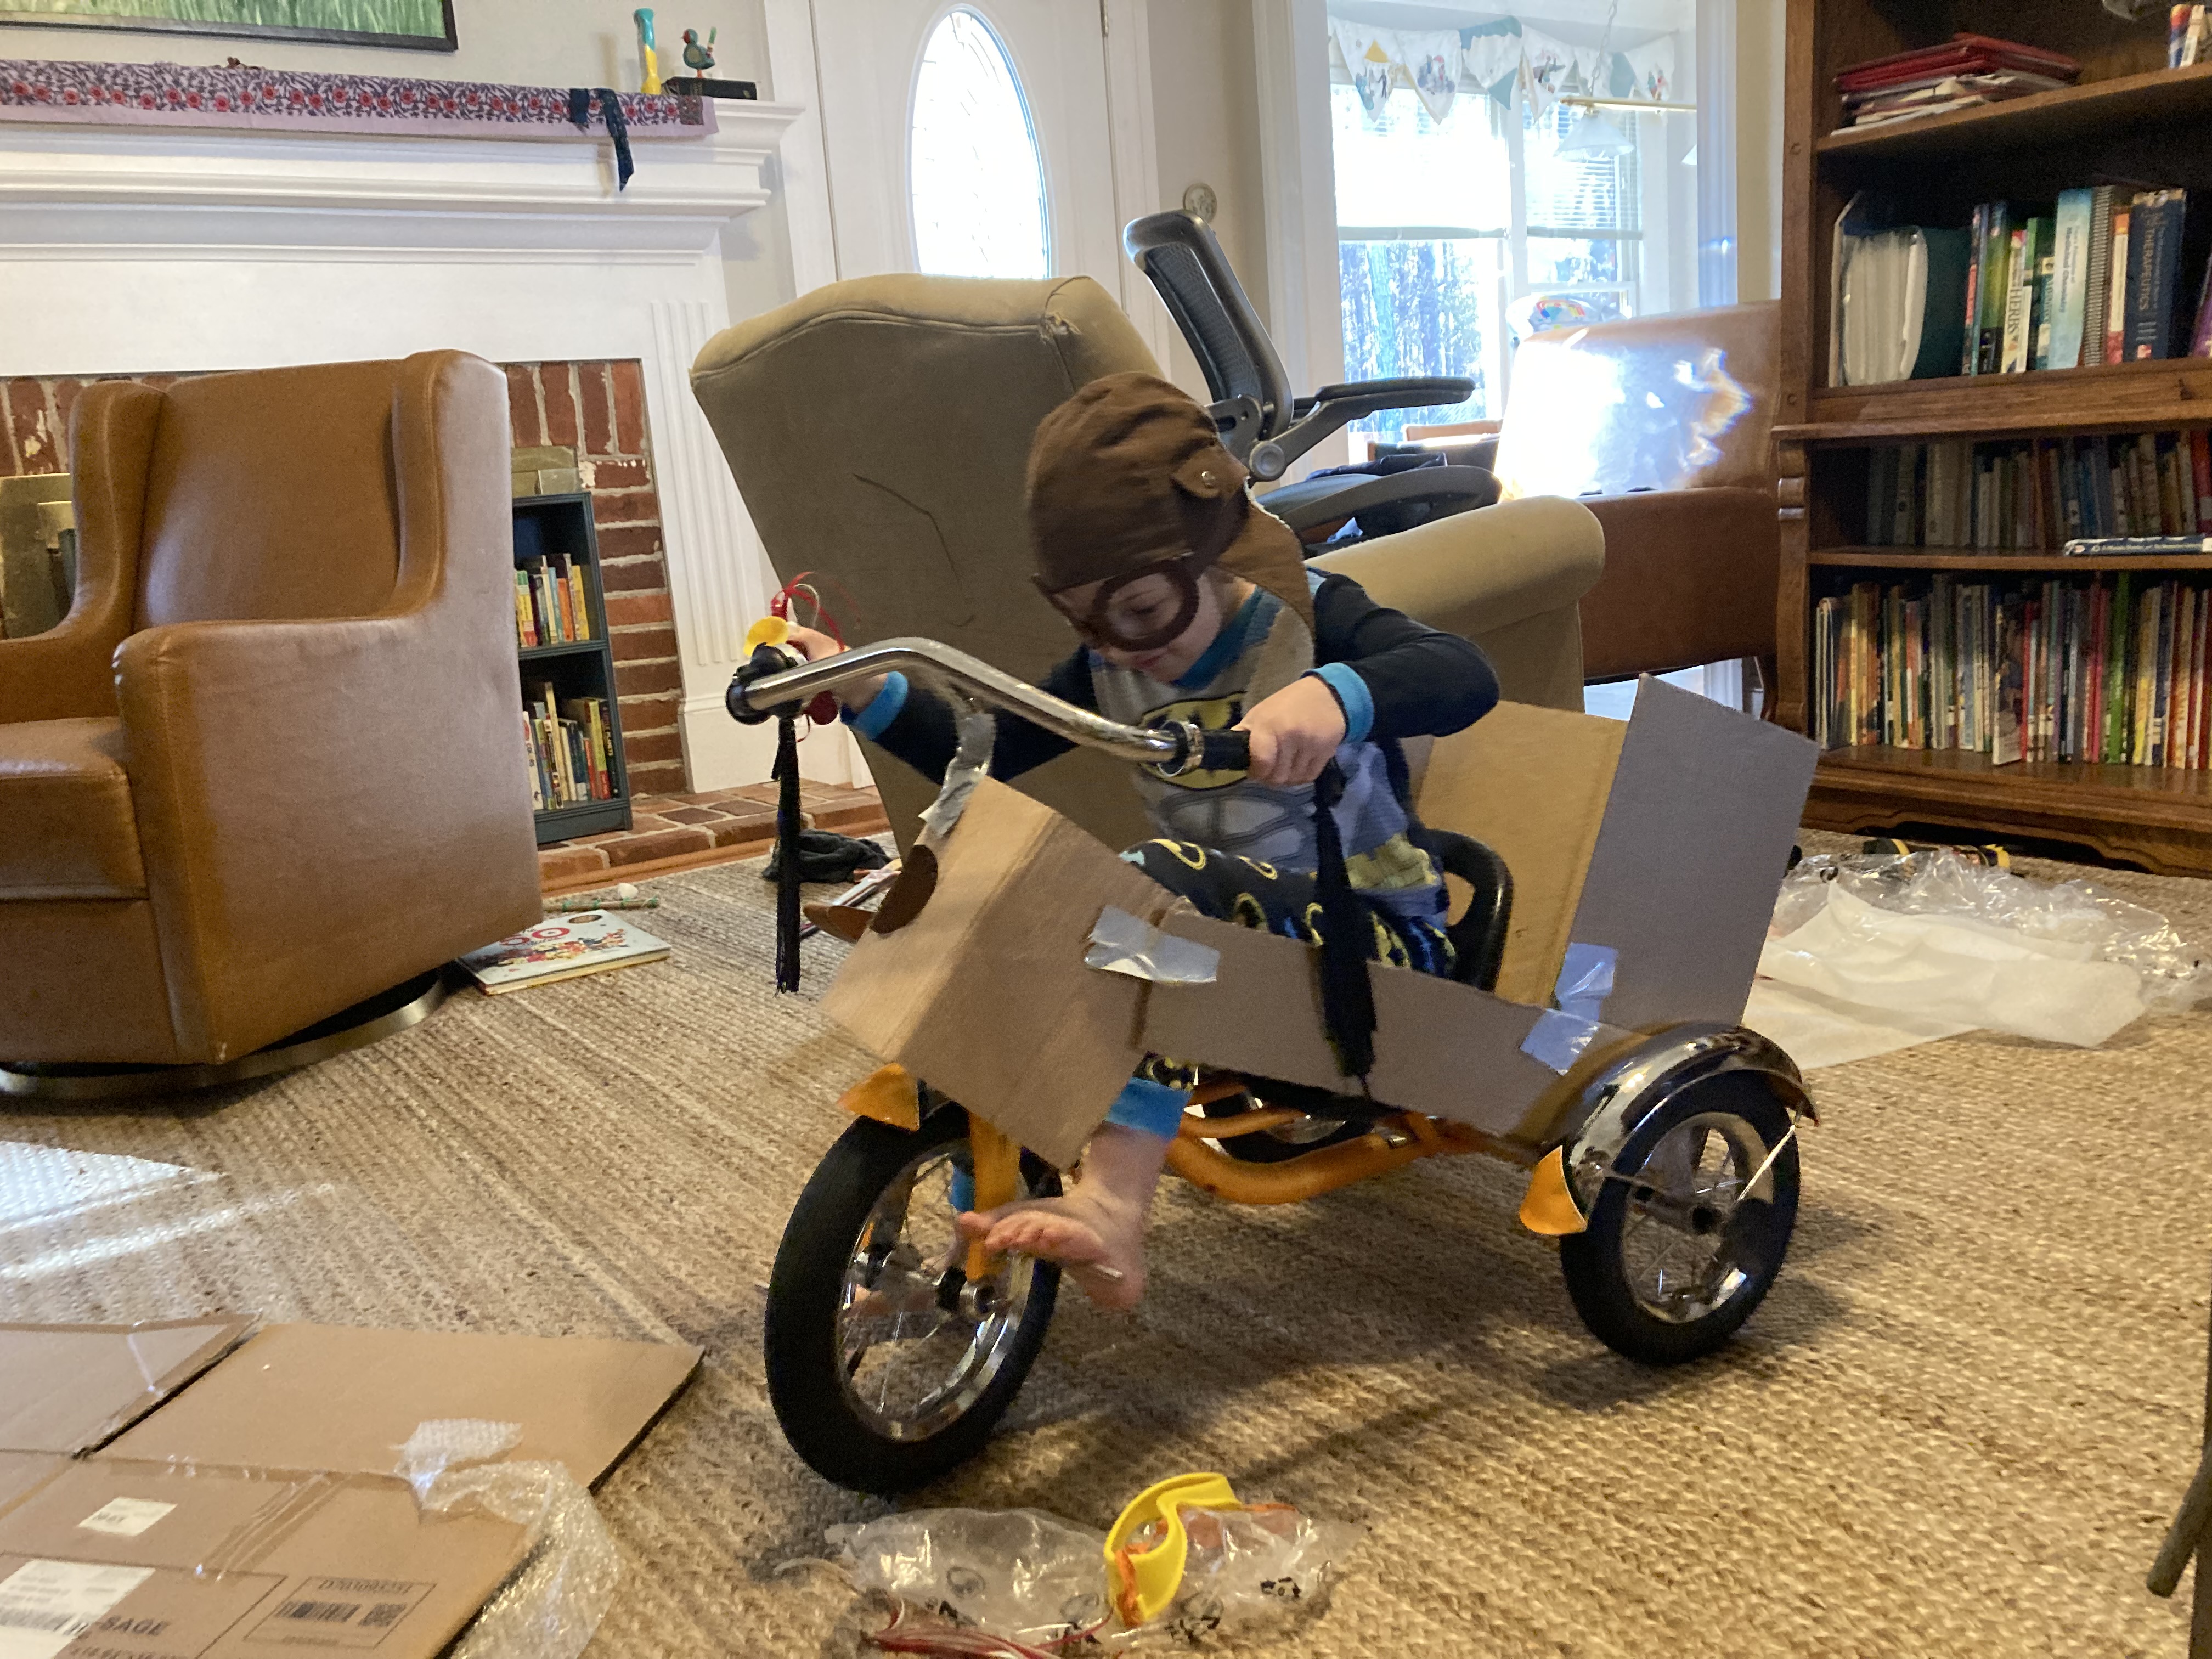
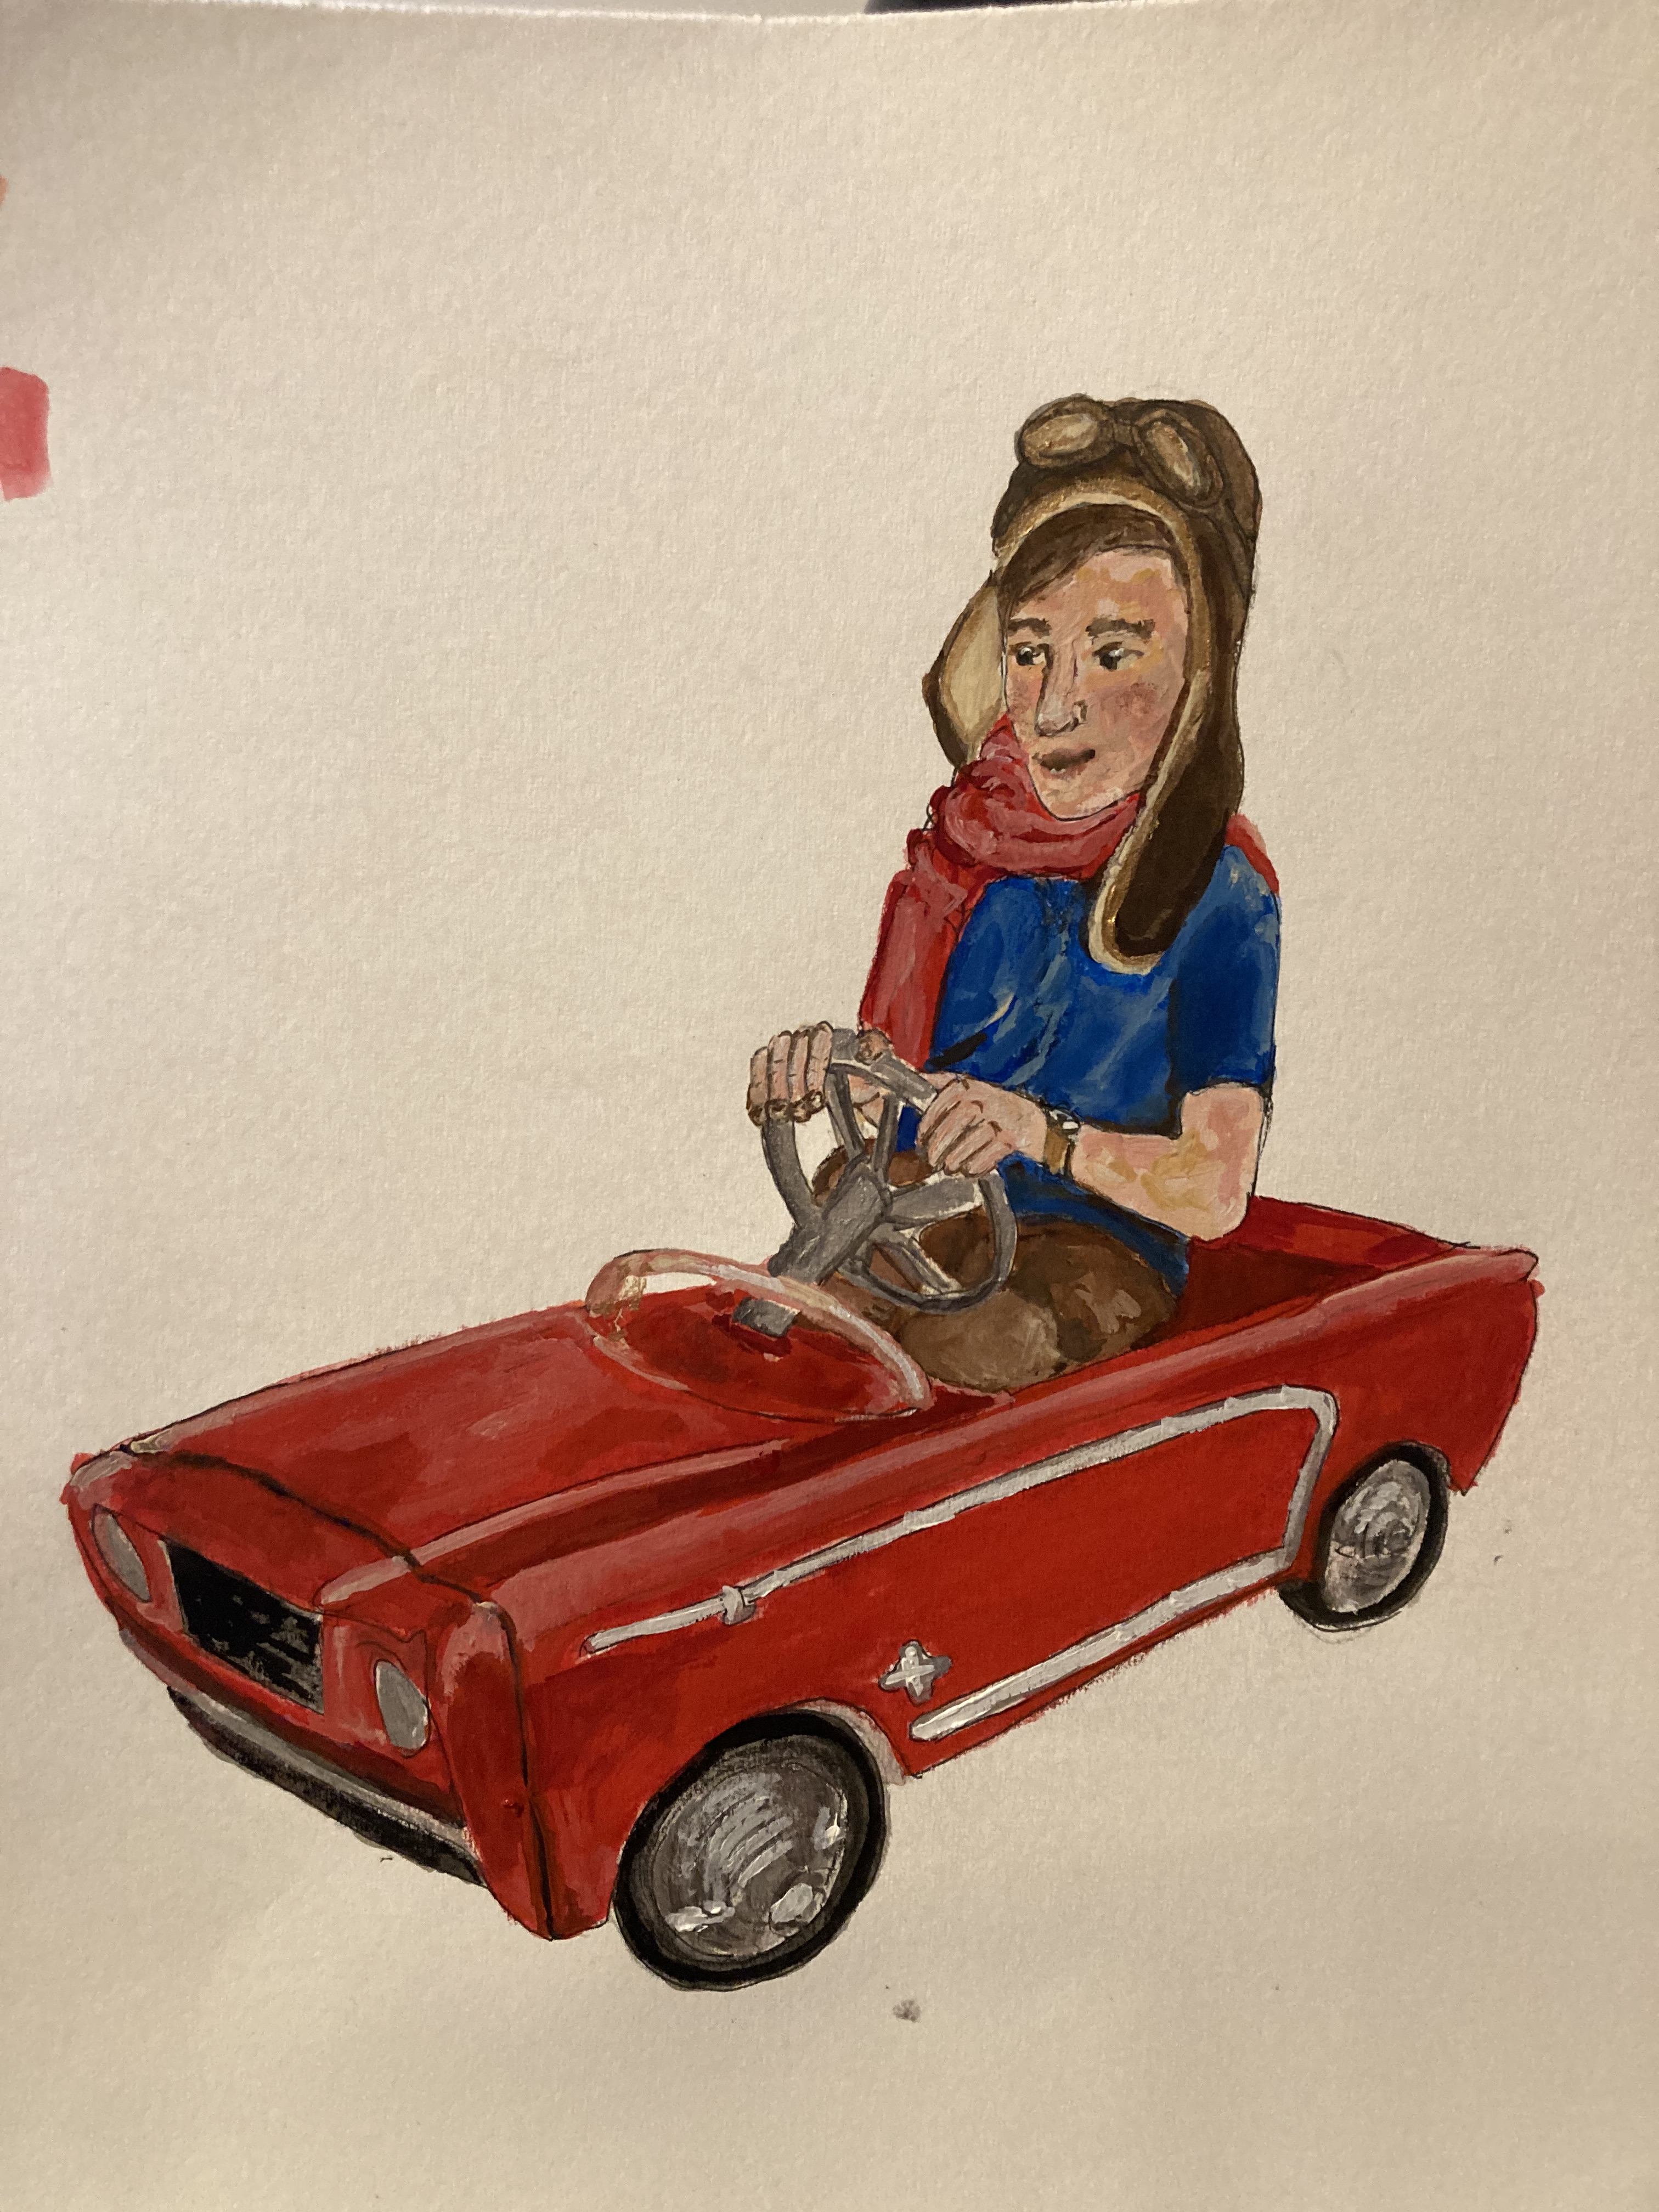
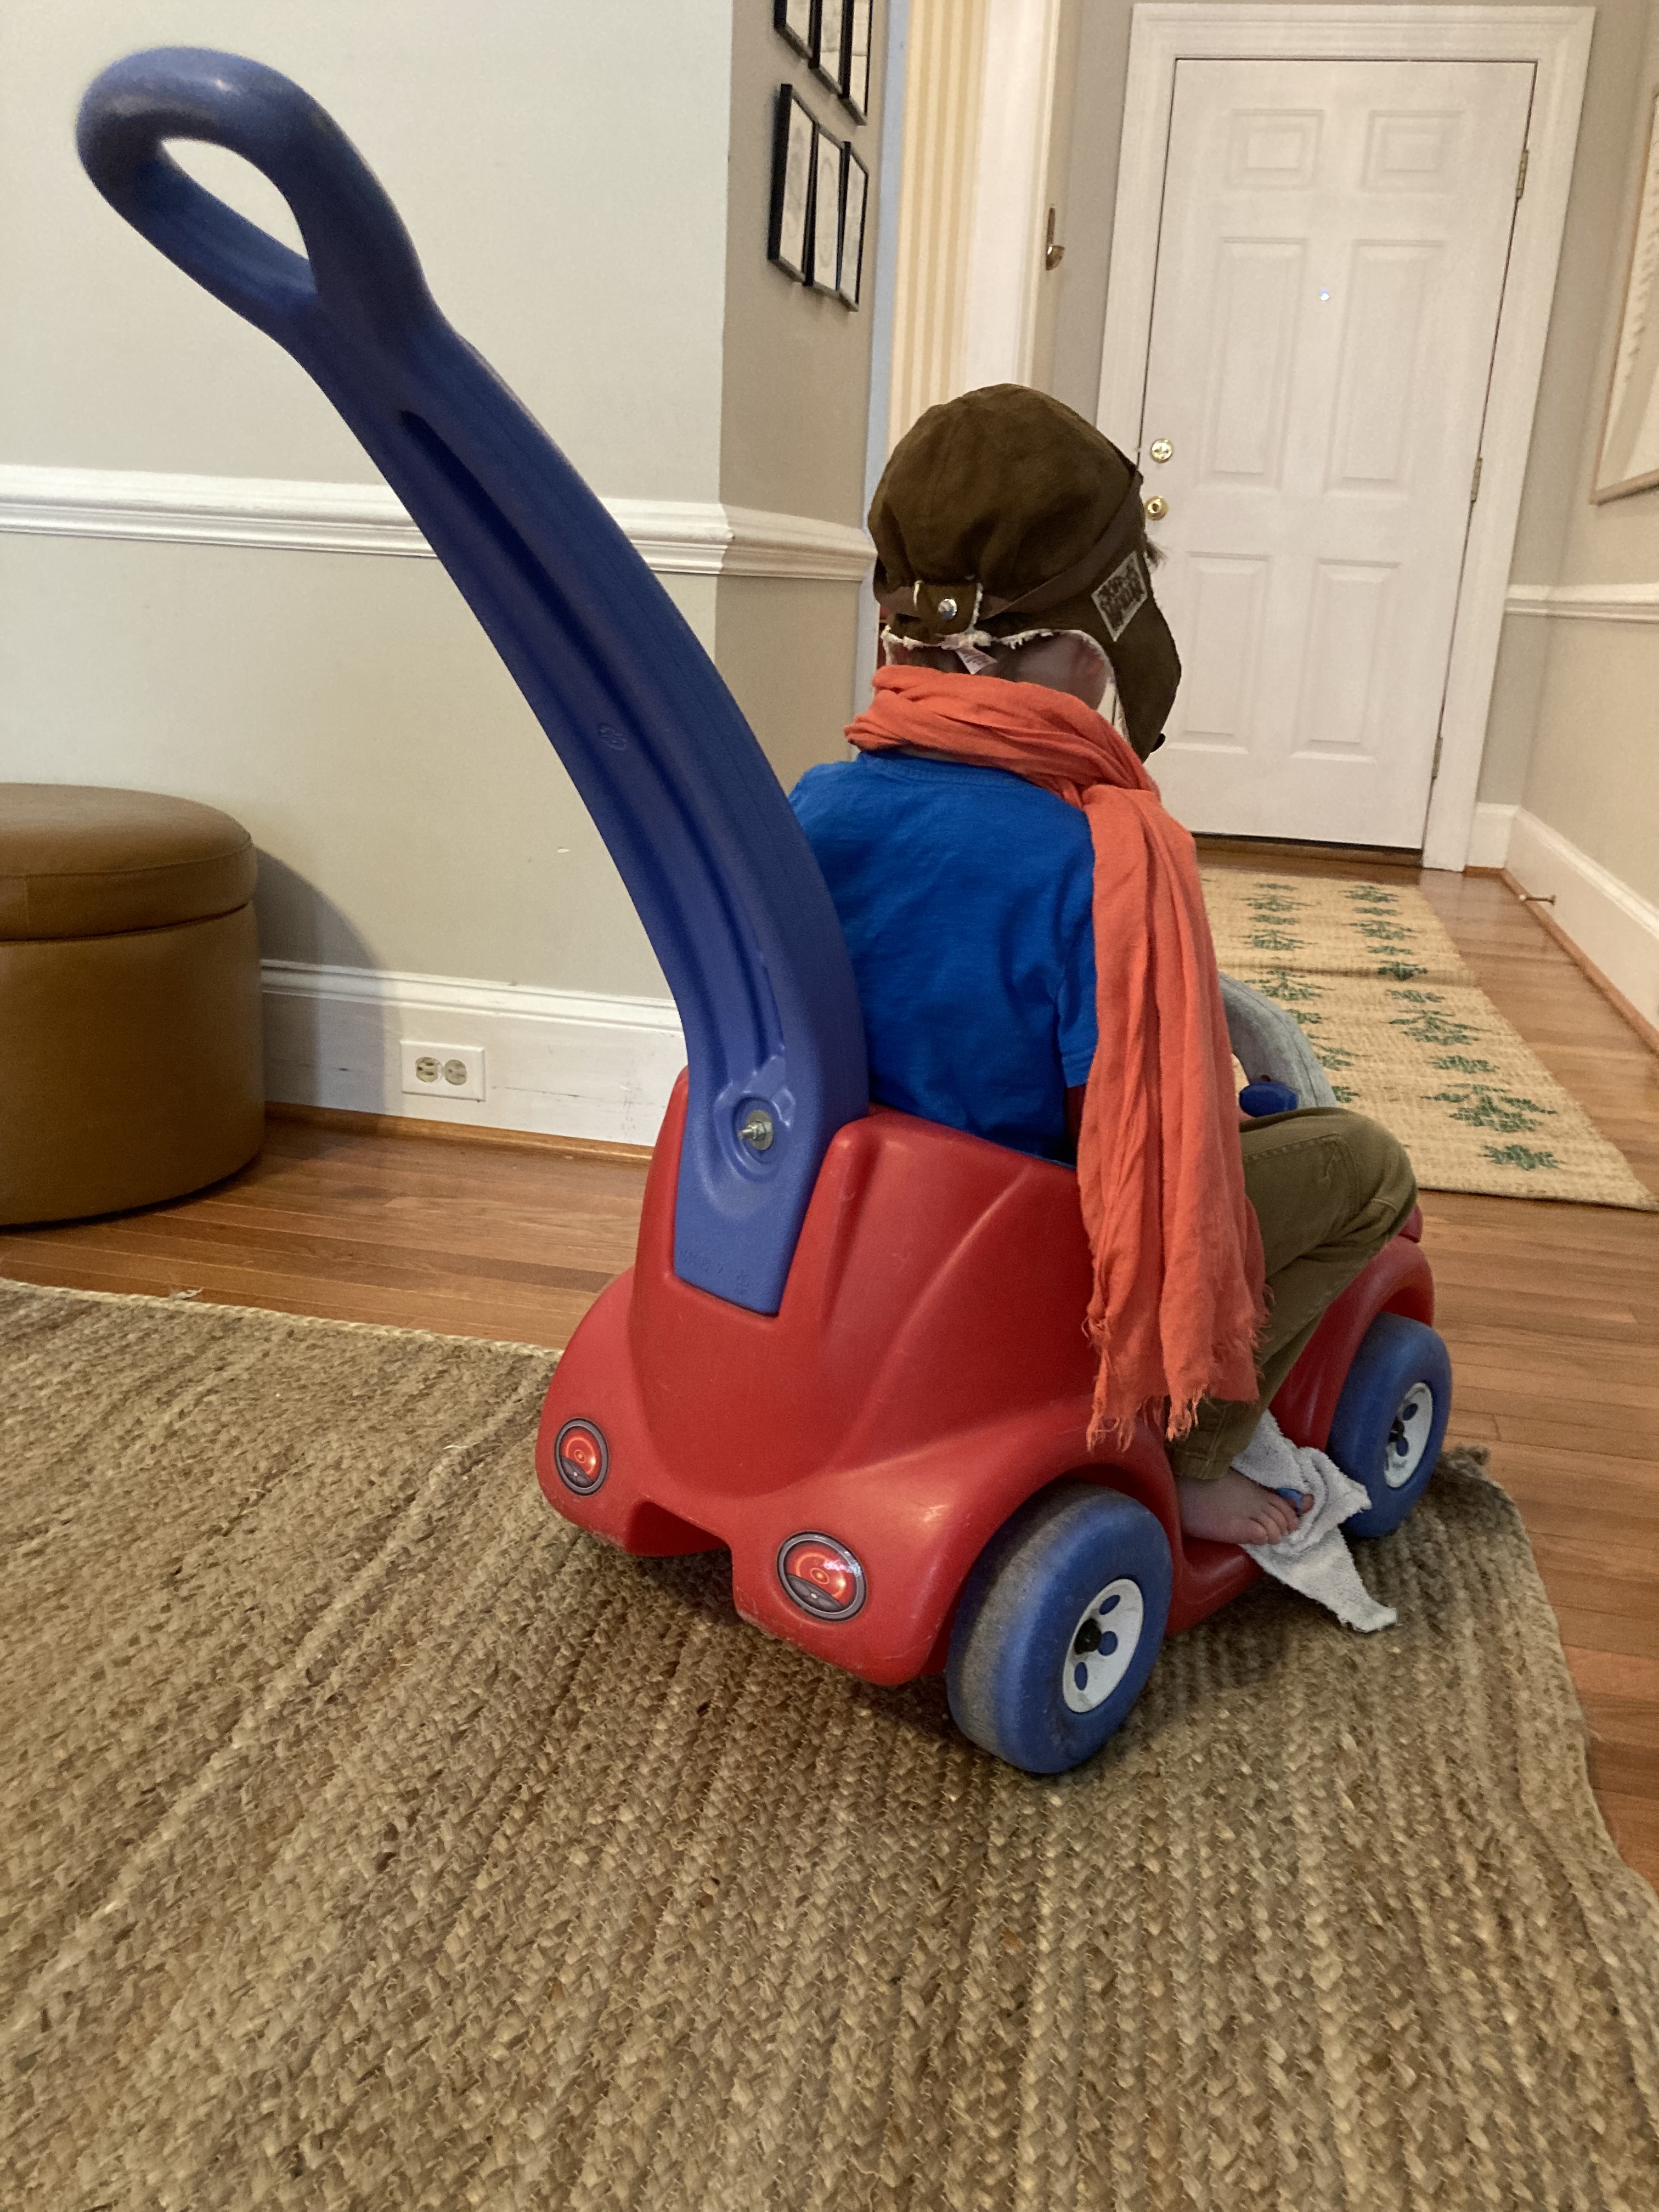
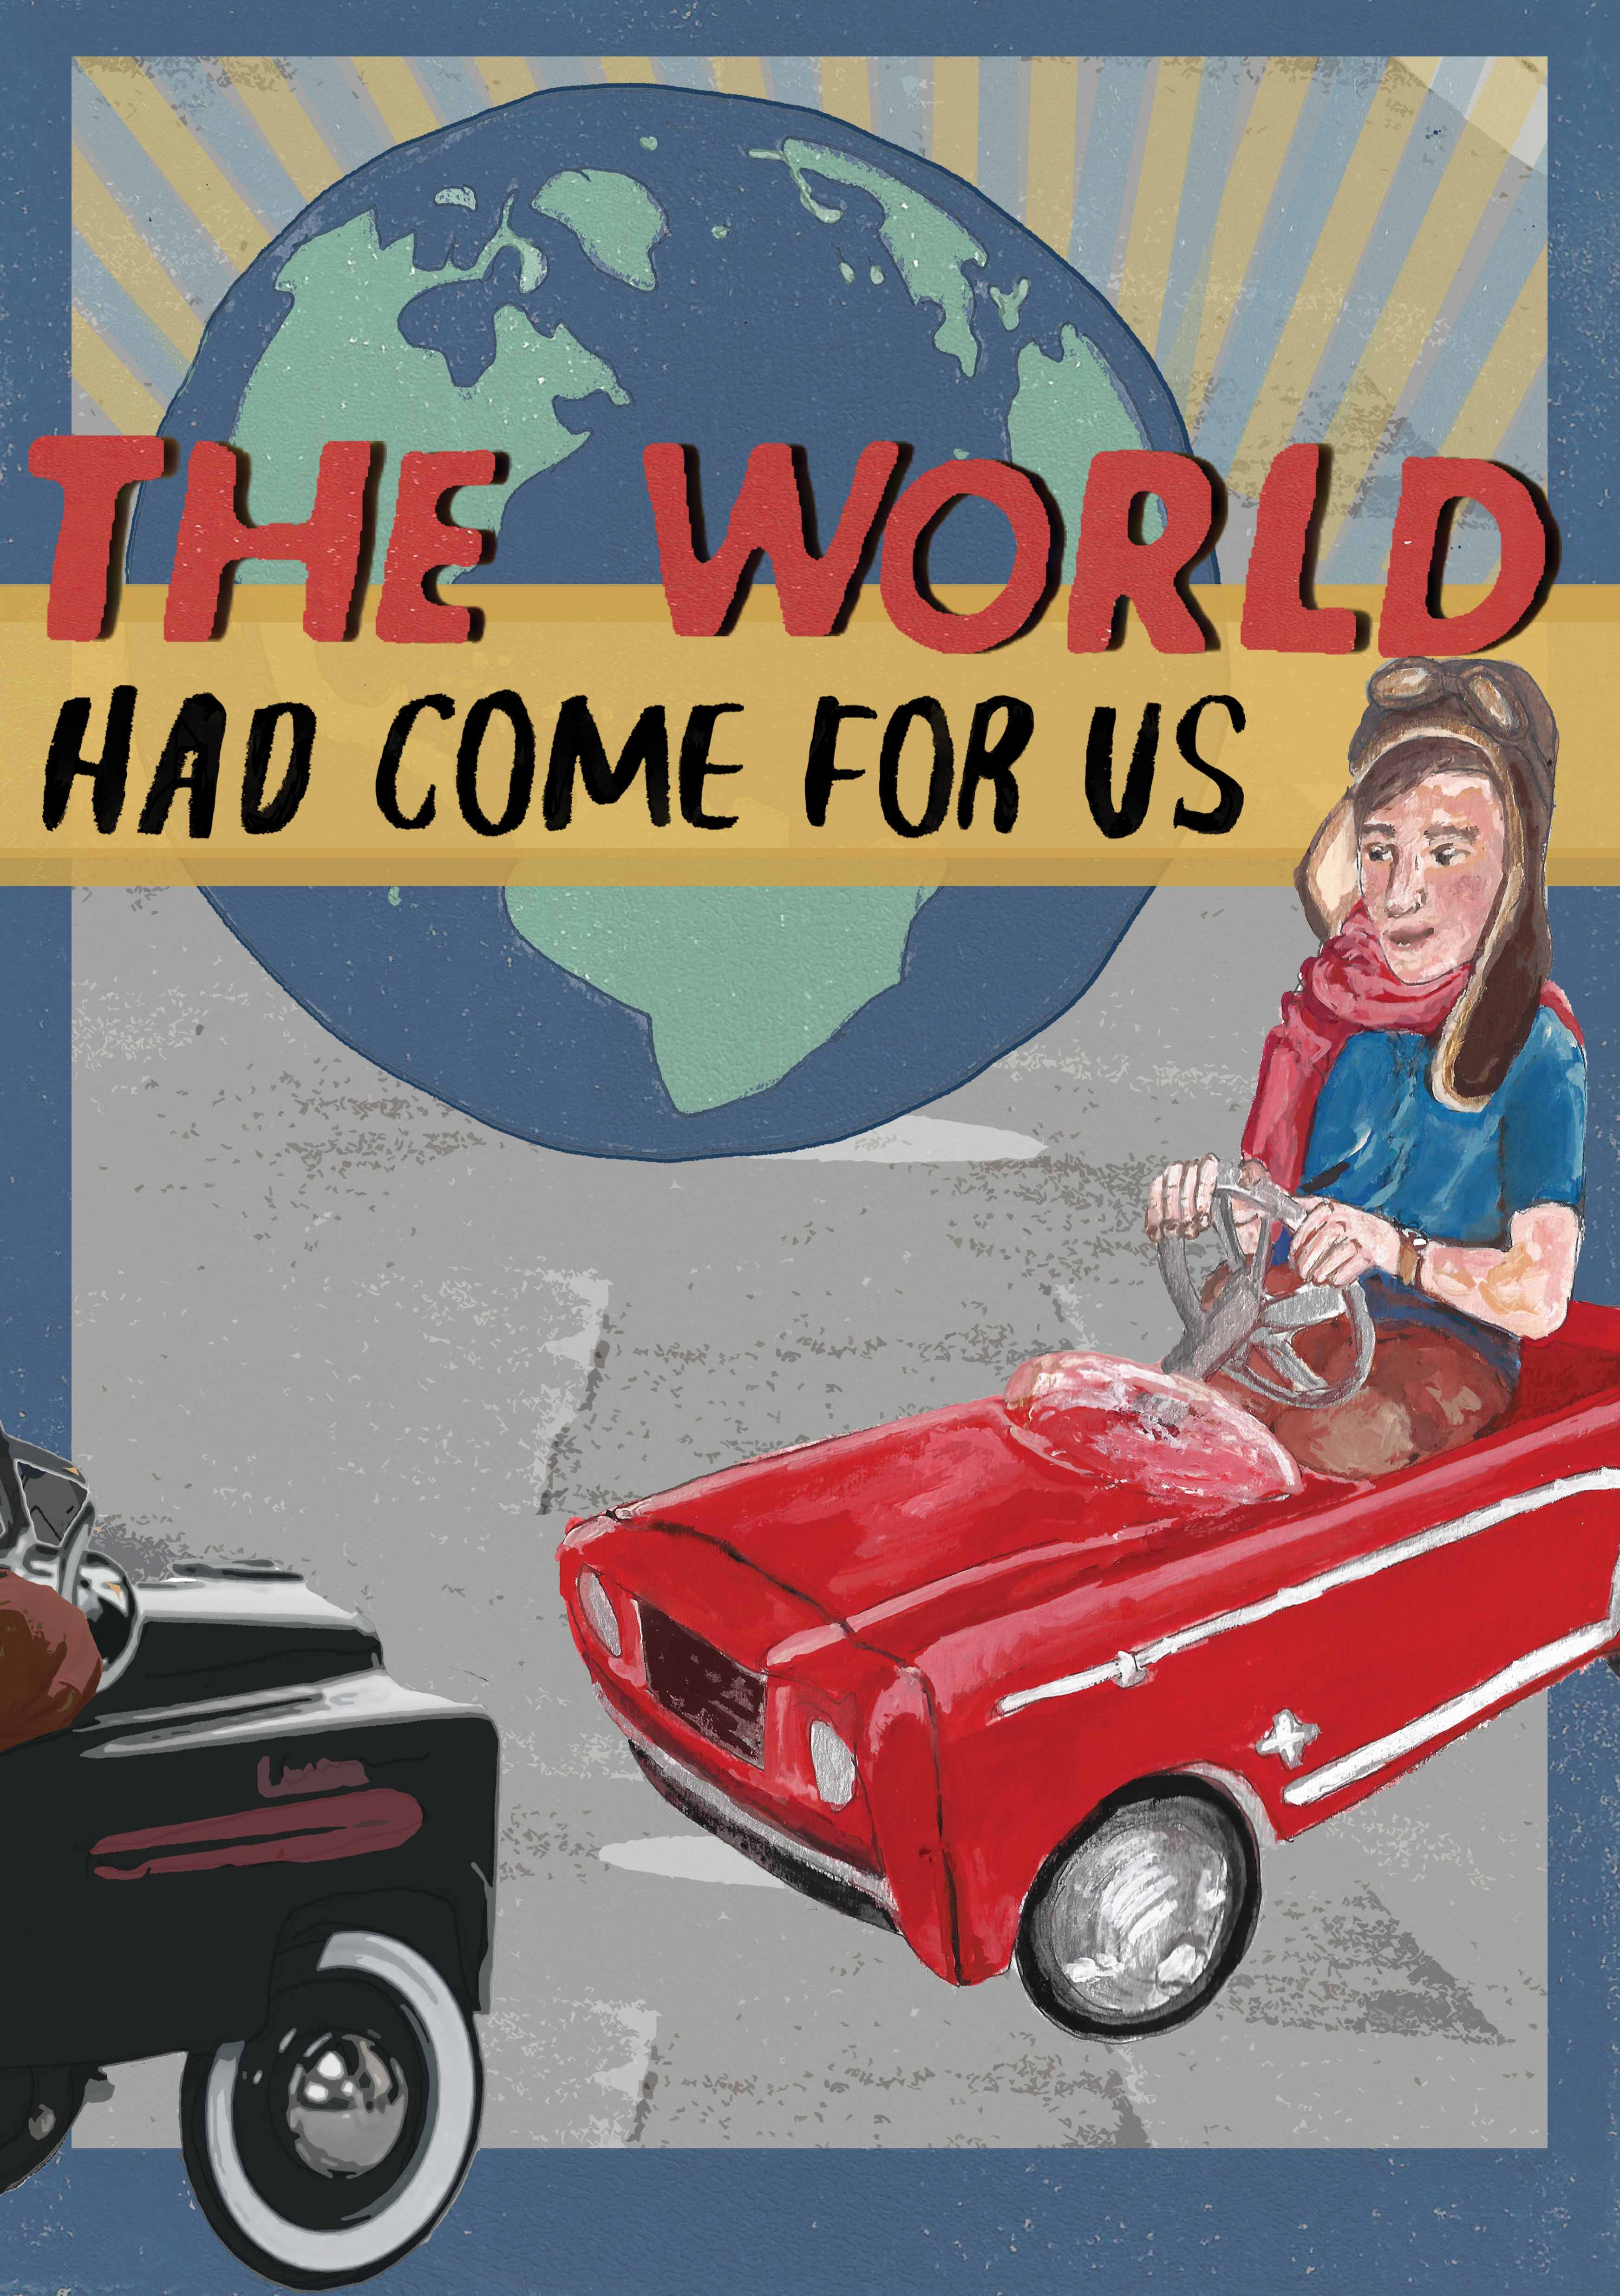
“The World Had Comes For Us“
This piece was done over a year ago before this book – it was a single story to be published for east of the web, a short stories website. I was still working out this illustration style that would end up being used for both The Bankrupt Circus and Other Misadventures and The Book of Why.
We had a fun time trying to build our own car for the composition, but it didn’t really work. The boys were begging me to purchase them an actual peddle car, but we ended up using a small plastic car we found at a garage sale for $5.
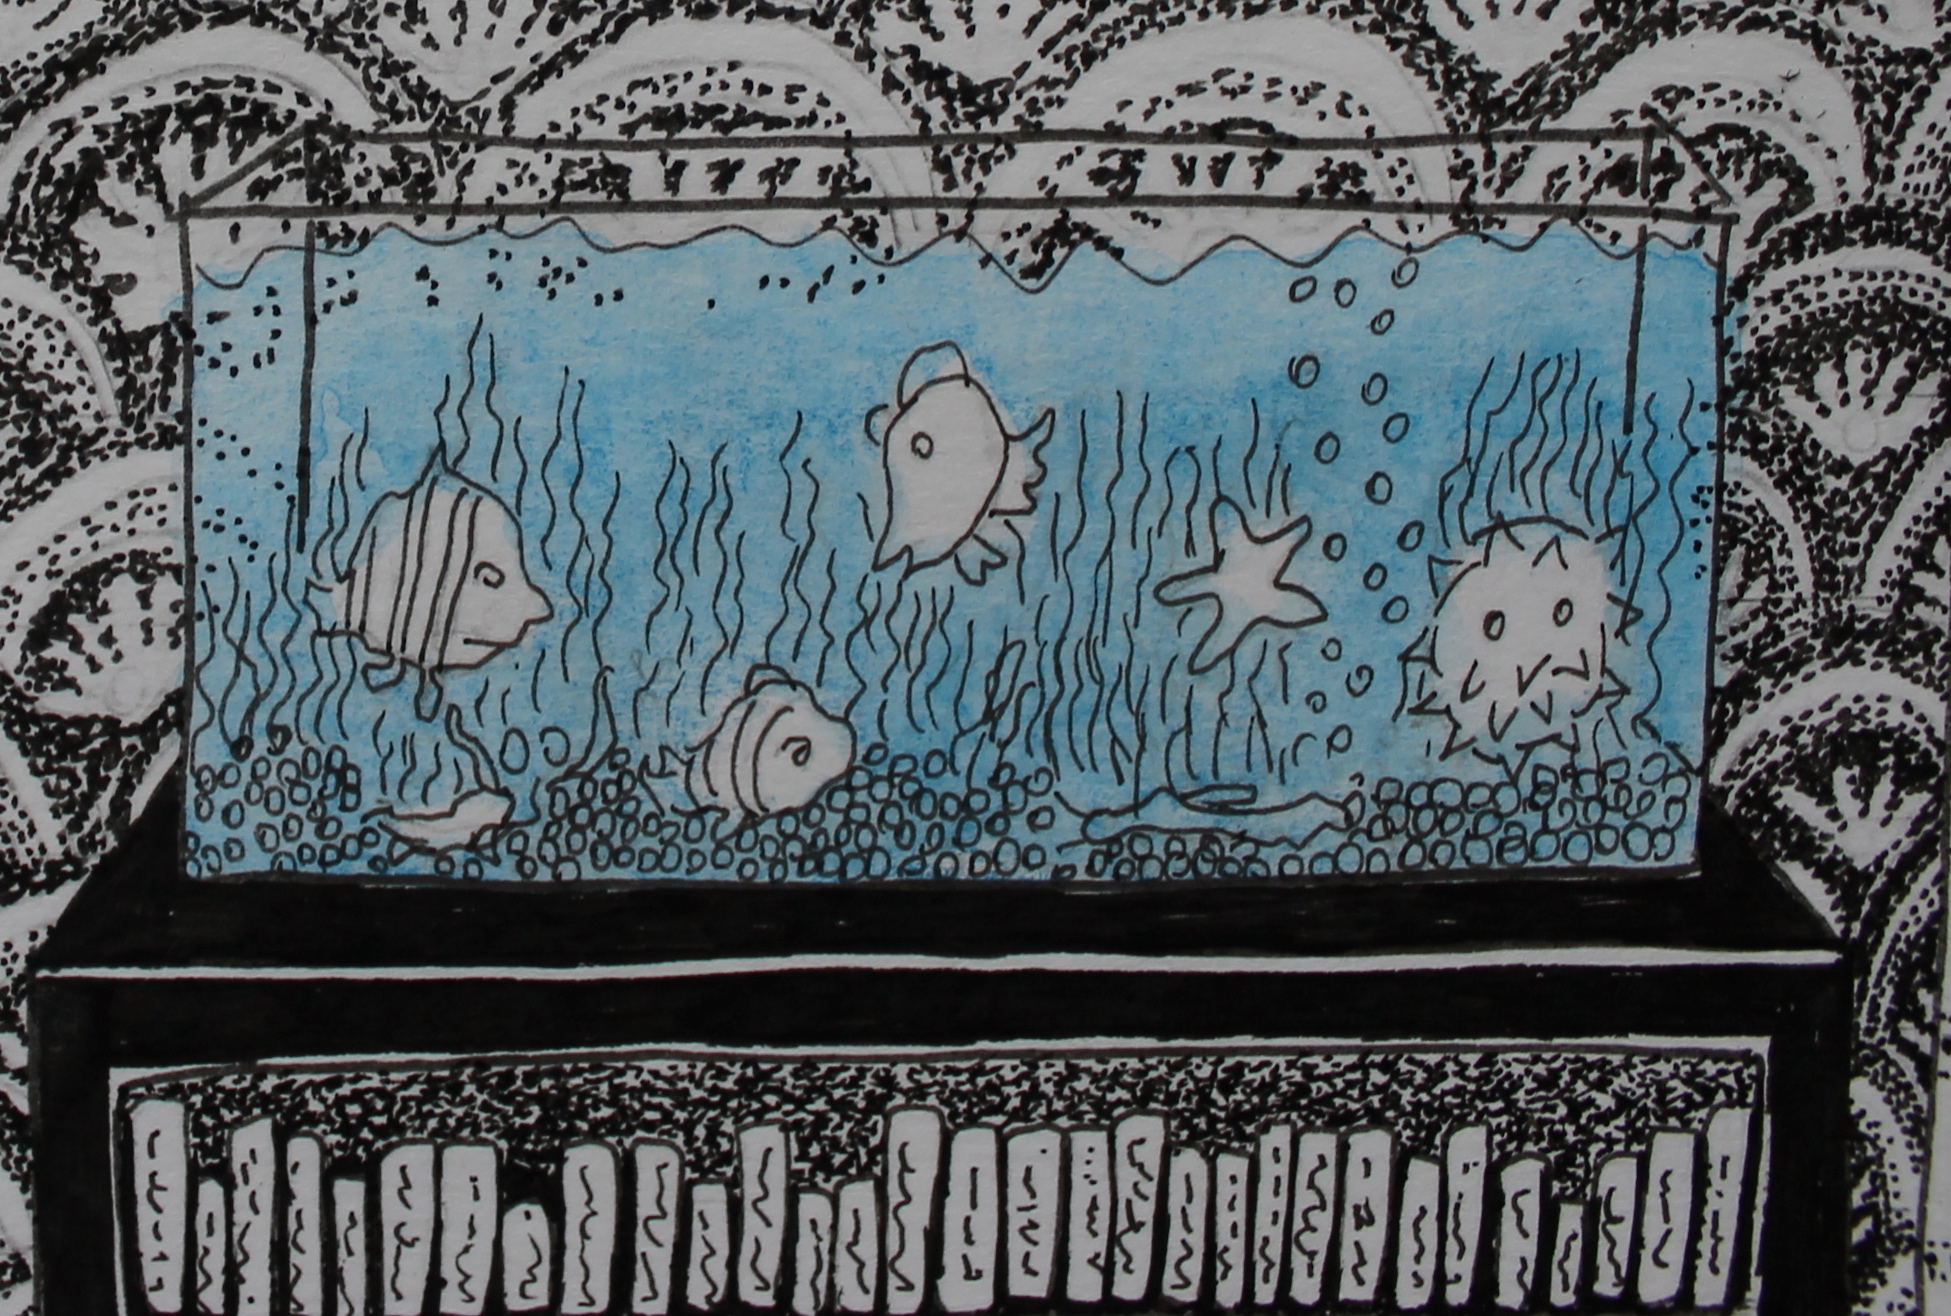
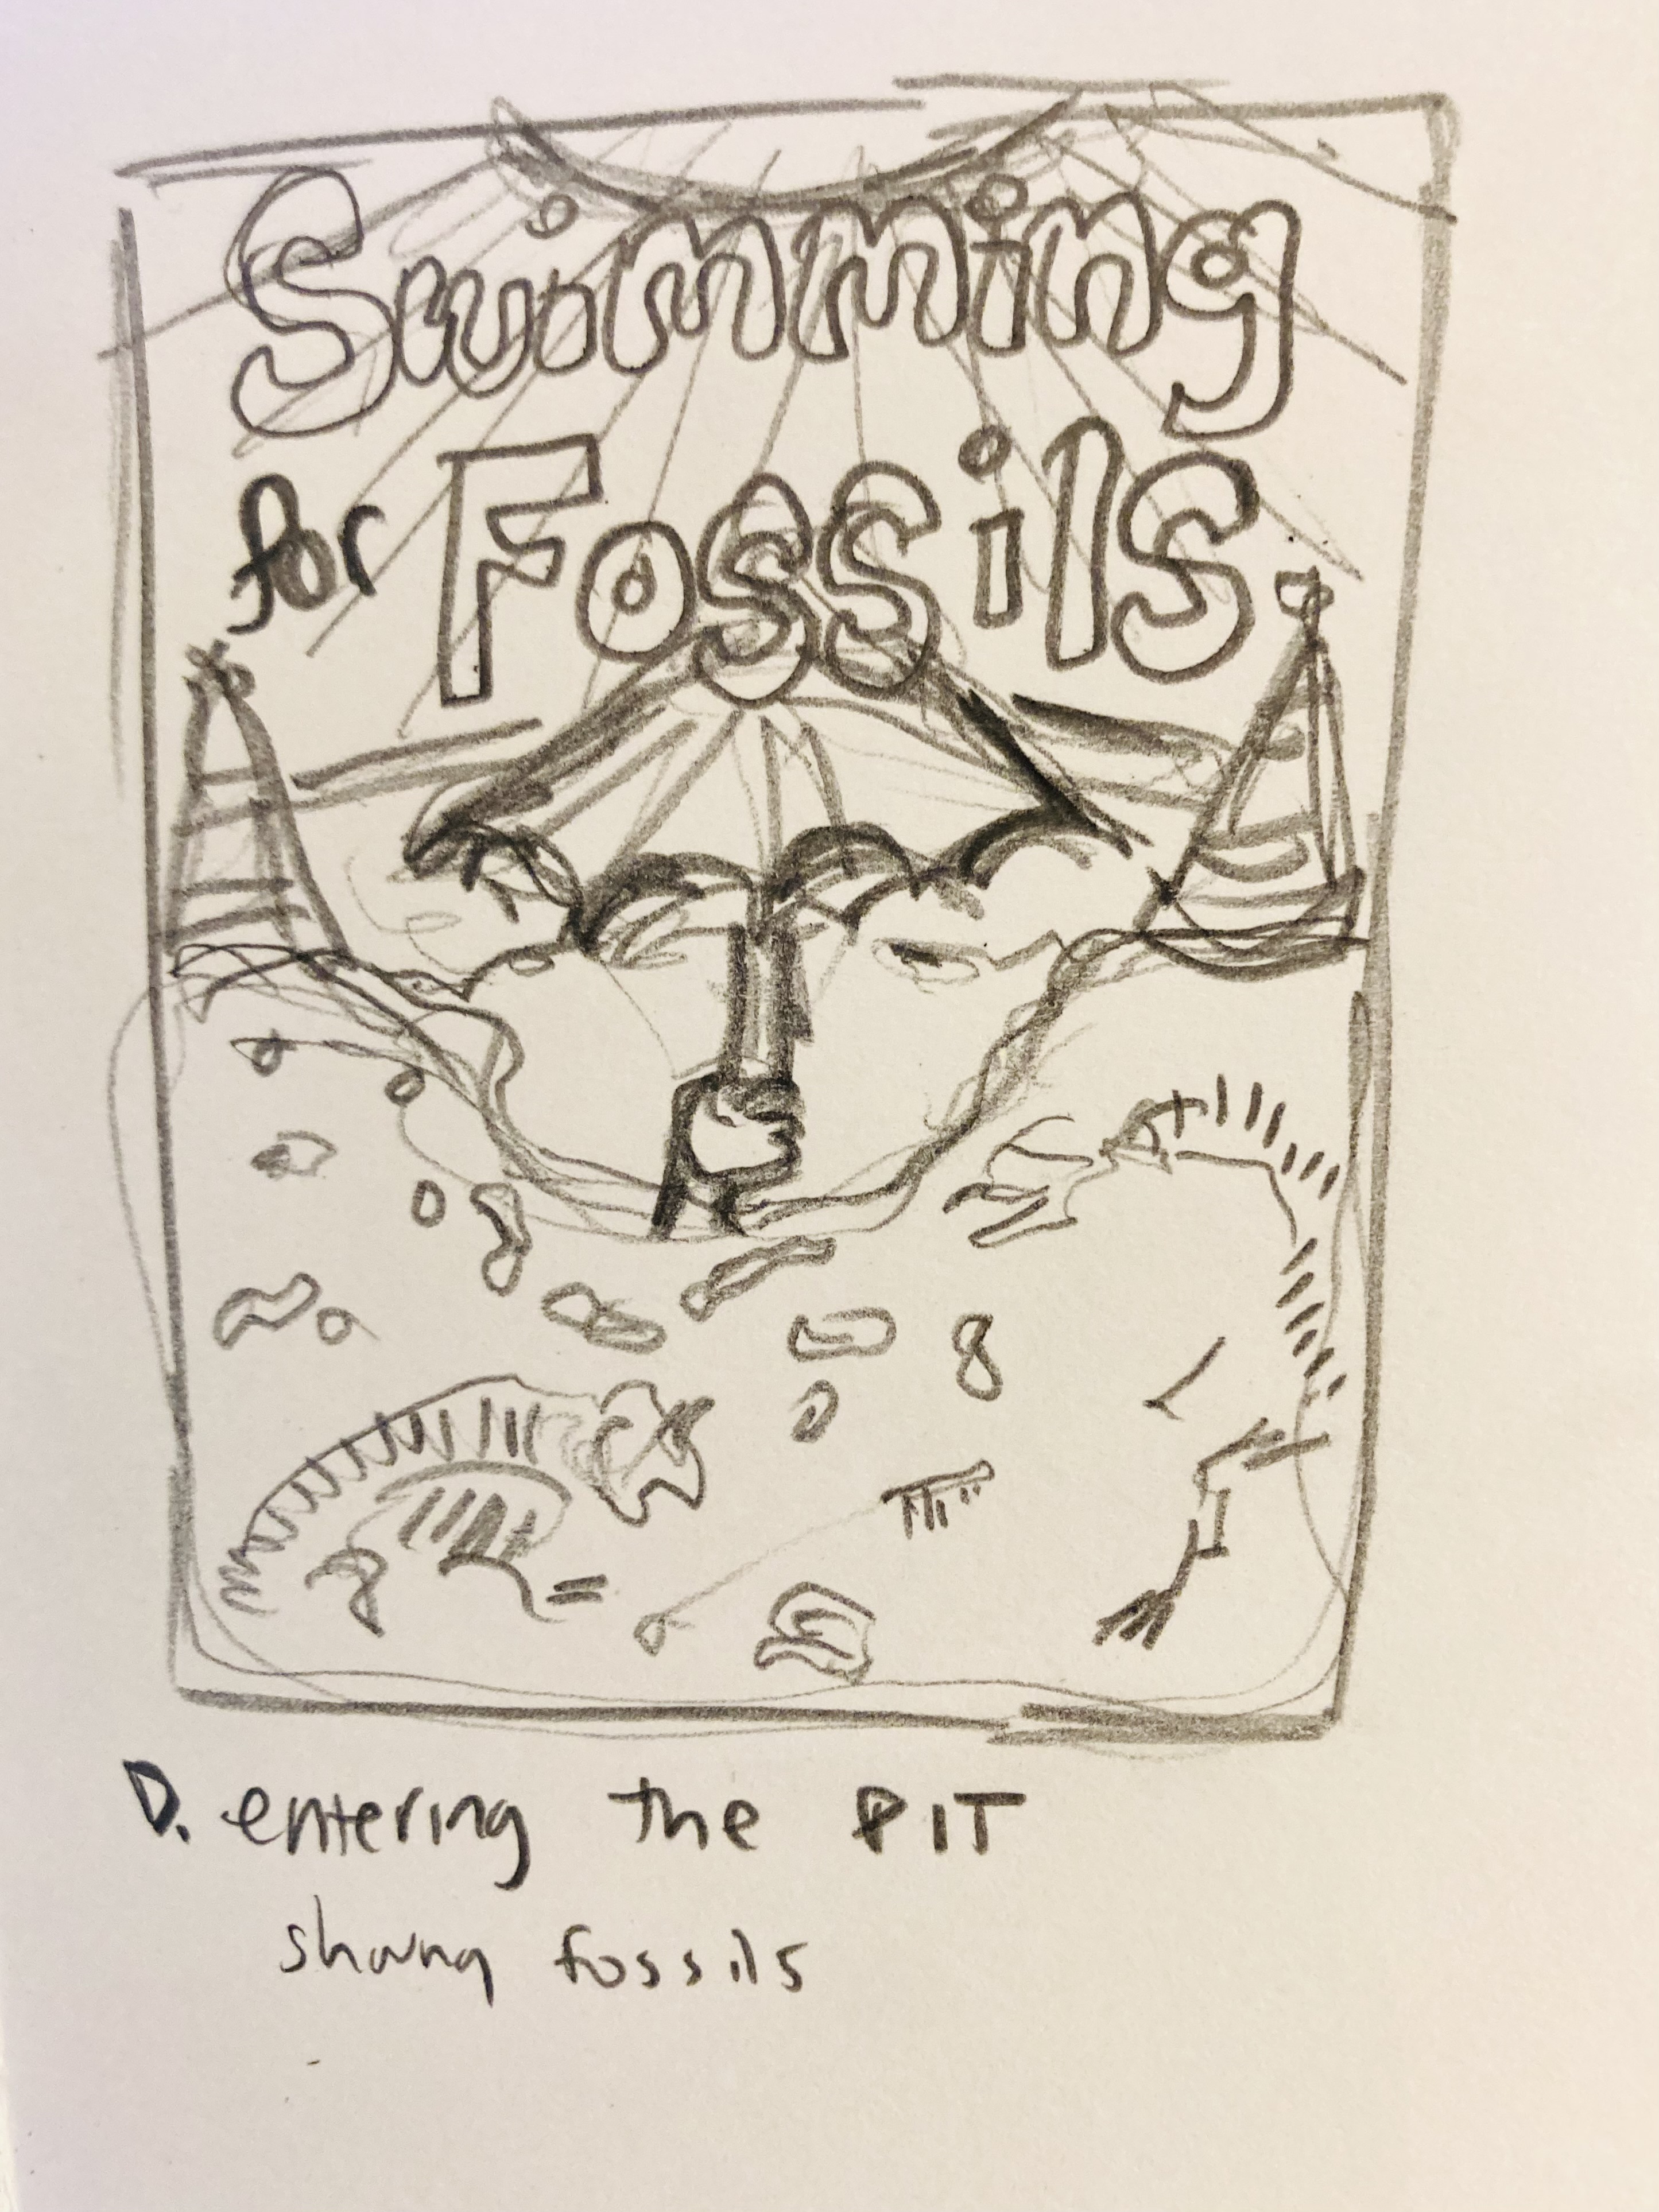
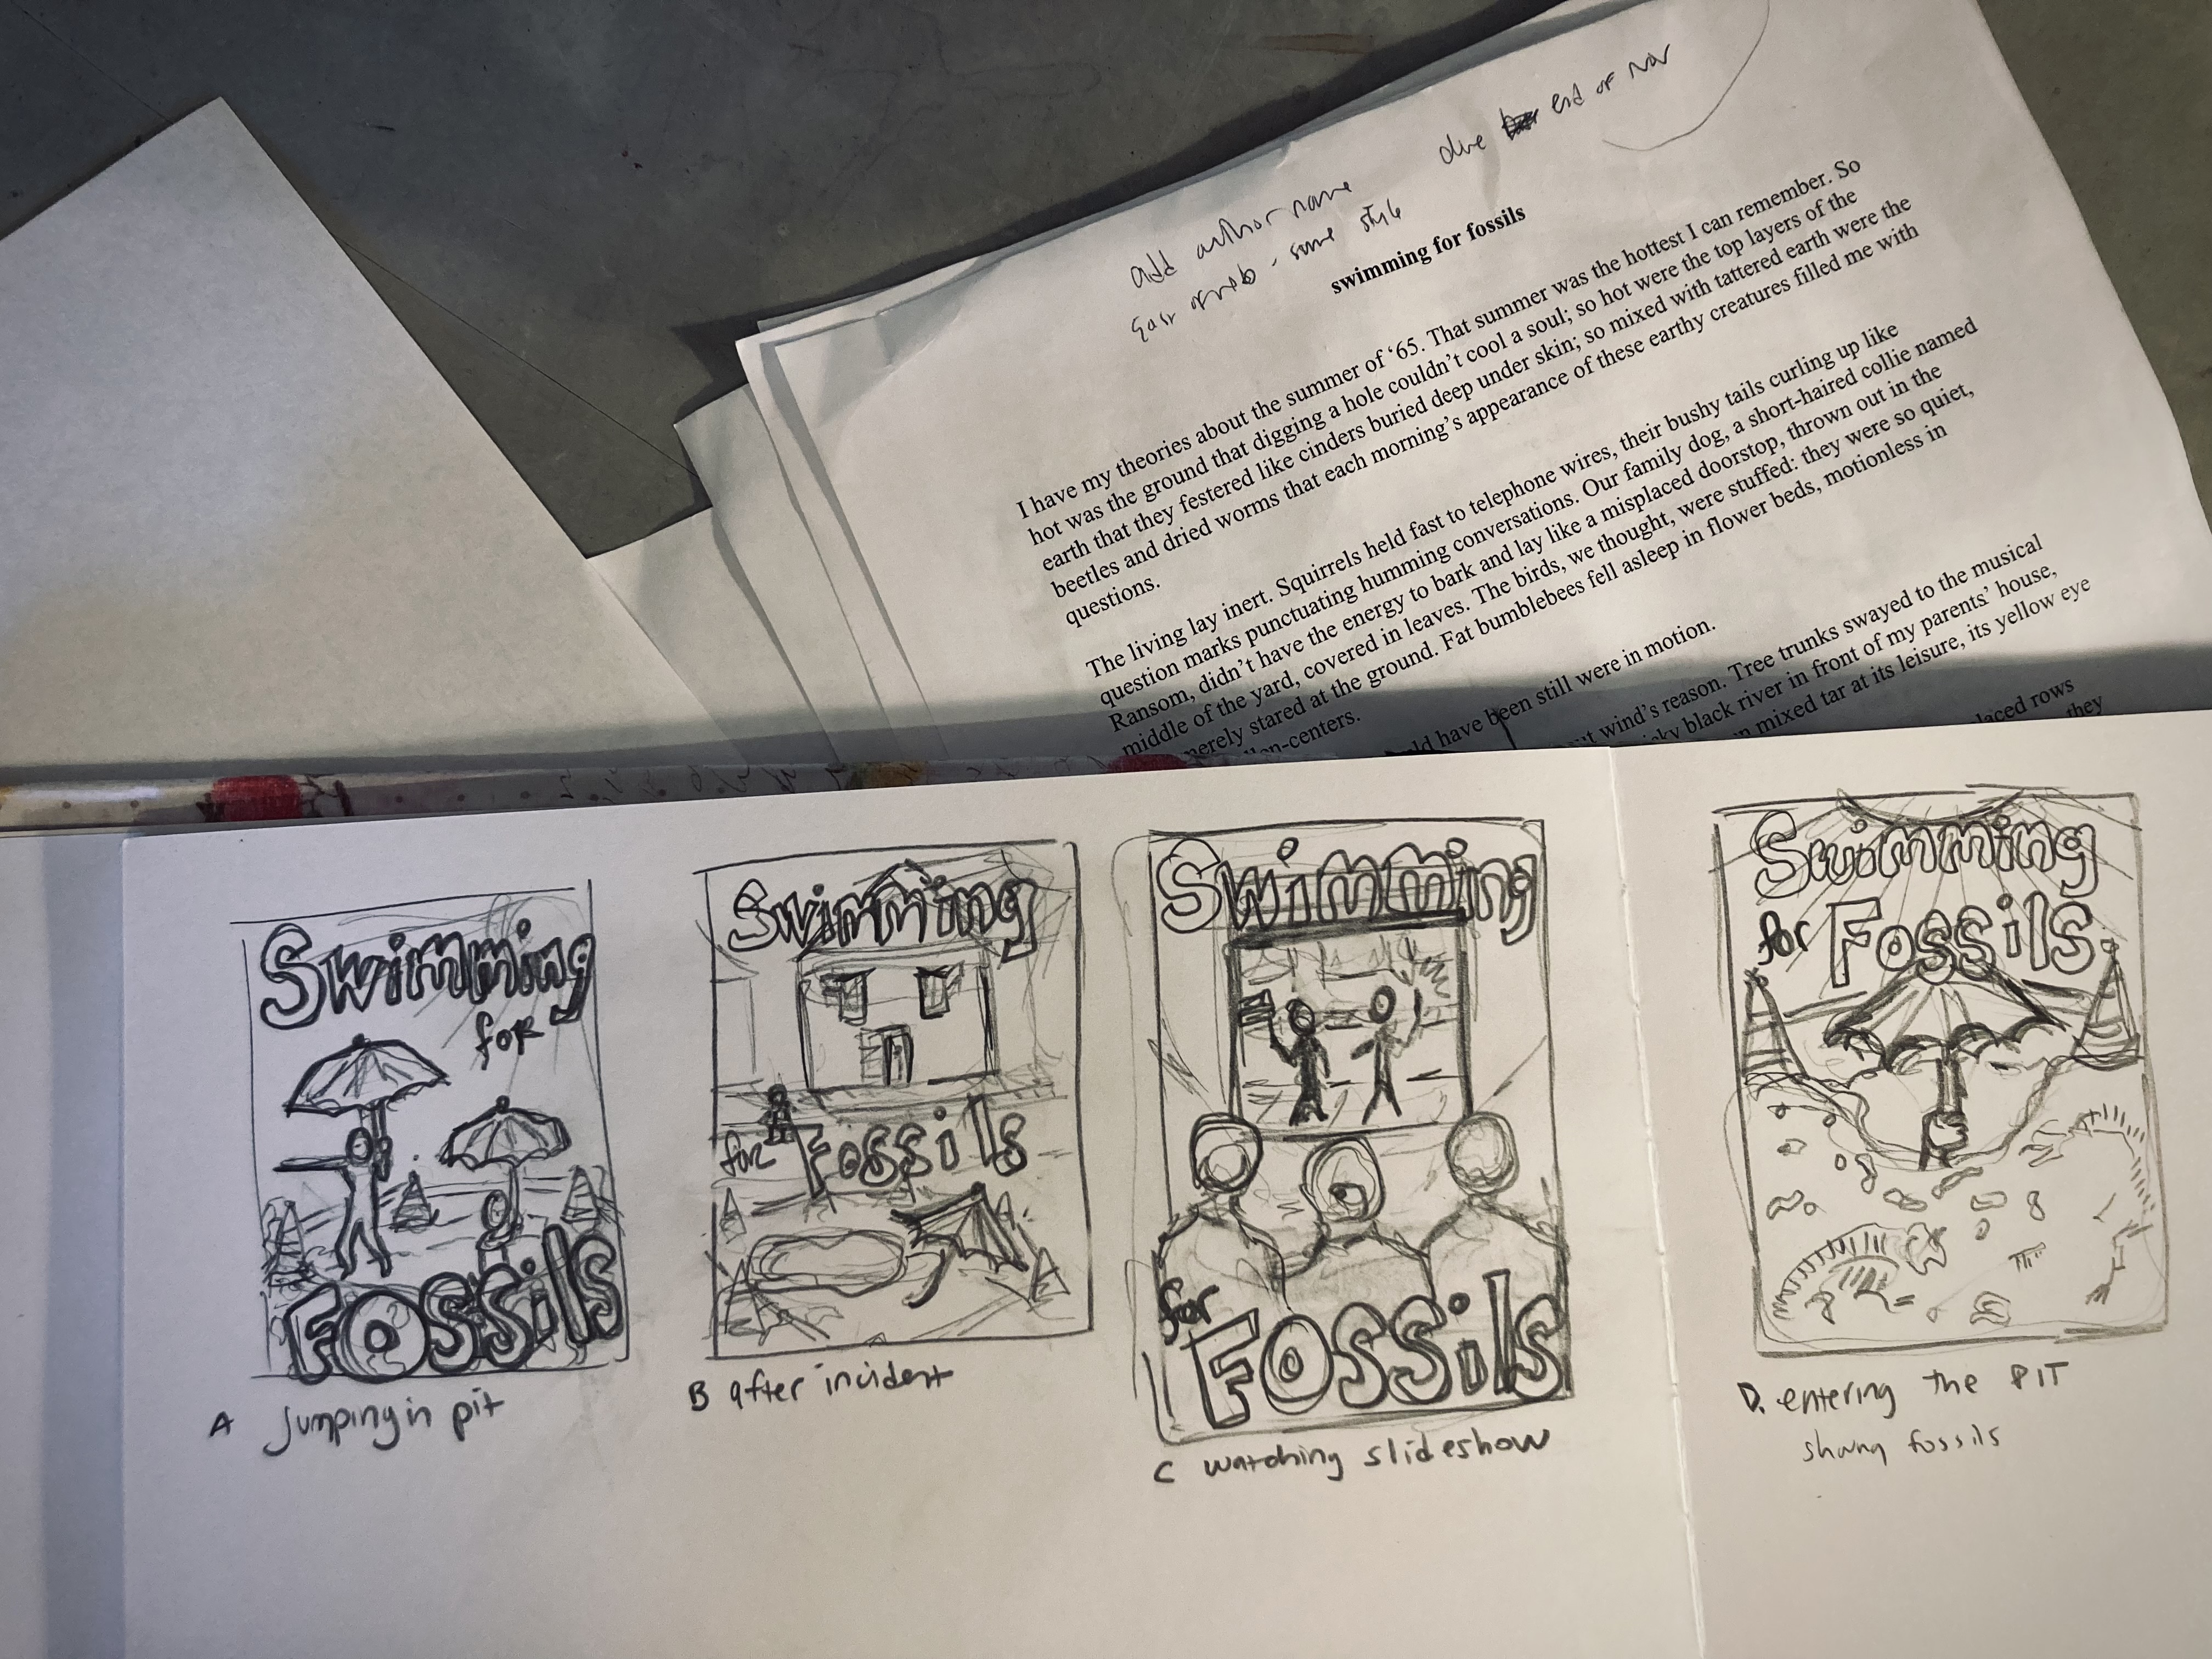
Swimming For Fossils
This story is about two neighborhood boys who secretly play in a tar pit. They “float” down using their umbrellas. I created some sketches, and sketch D was chosen. I ended up putting it on an old projector screen from sketch C idea because it compositionally worked better.
This story reminded me of the old times in my own neighborhood growing up when we used to go under the sewers. I’m not sure why we went under there. Maybe it was just to prove to each other we weren’t afraid. I remember the last time I went under there, my head got stuck, and I pretty much freaked out, yes, with everyone watching. In the end, I scraped it through, and never went down there again. At some point I saw the “It” movie with the demon clown, a film completely made for youngsters. After that, I would run by the open sewer grates terrified a clown hand would snap out and grab my leg pulling me under into hell. But I digress…
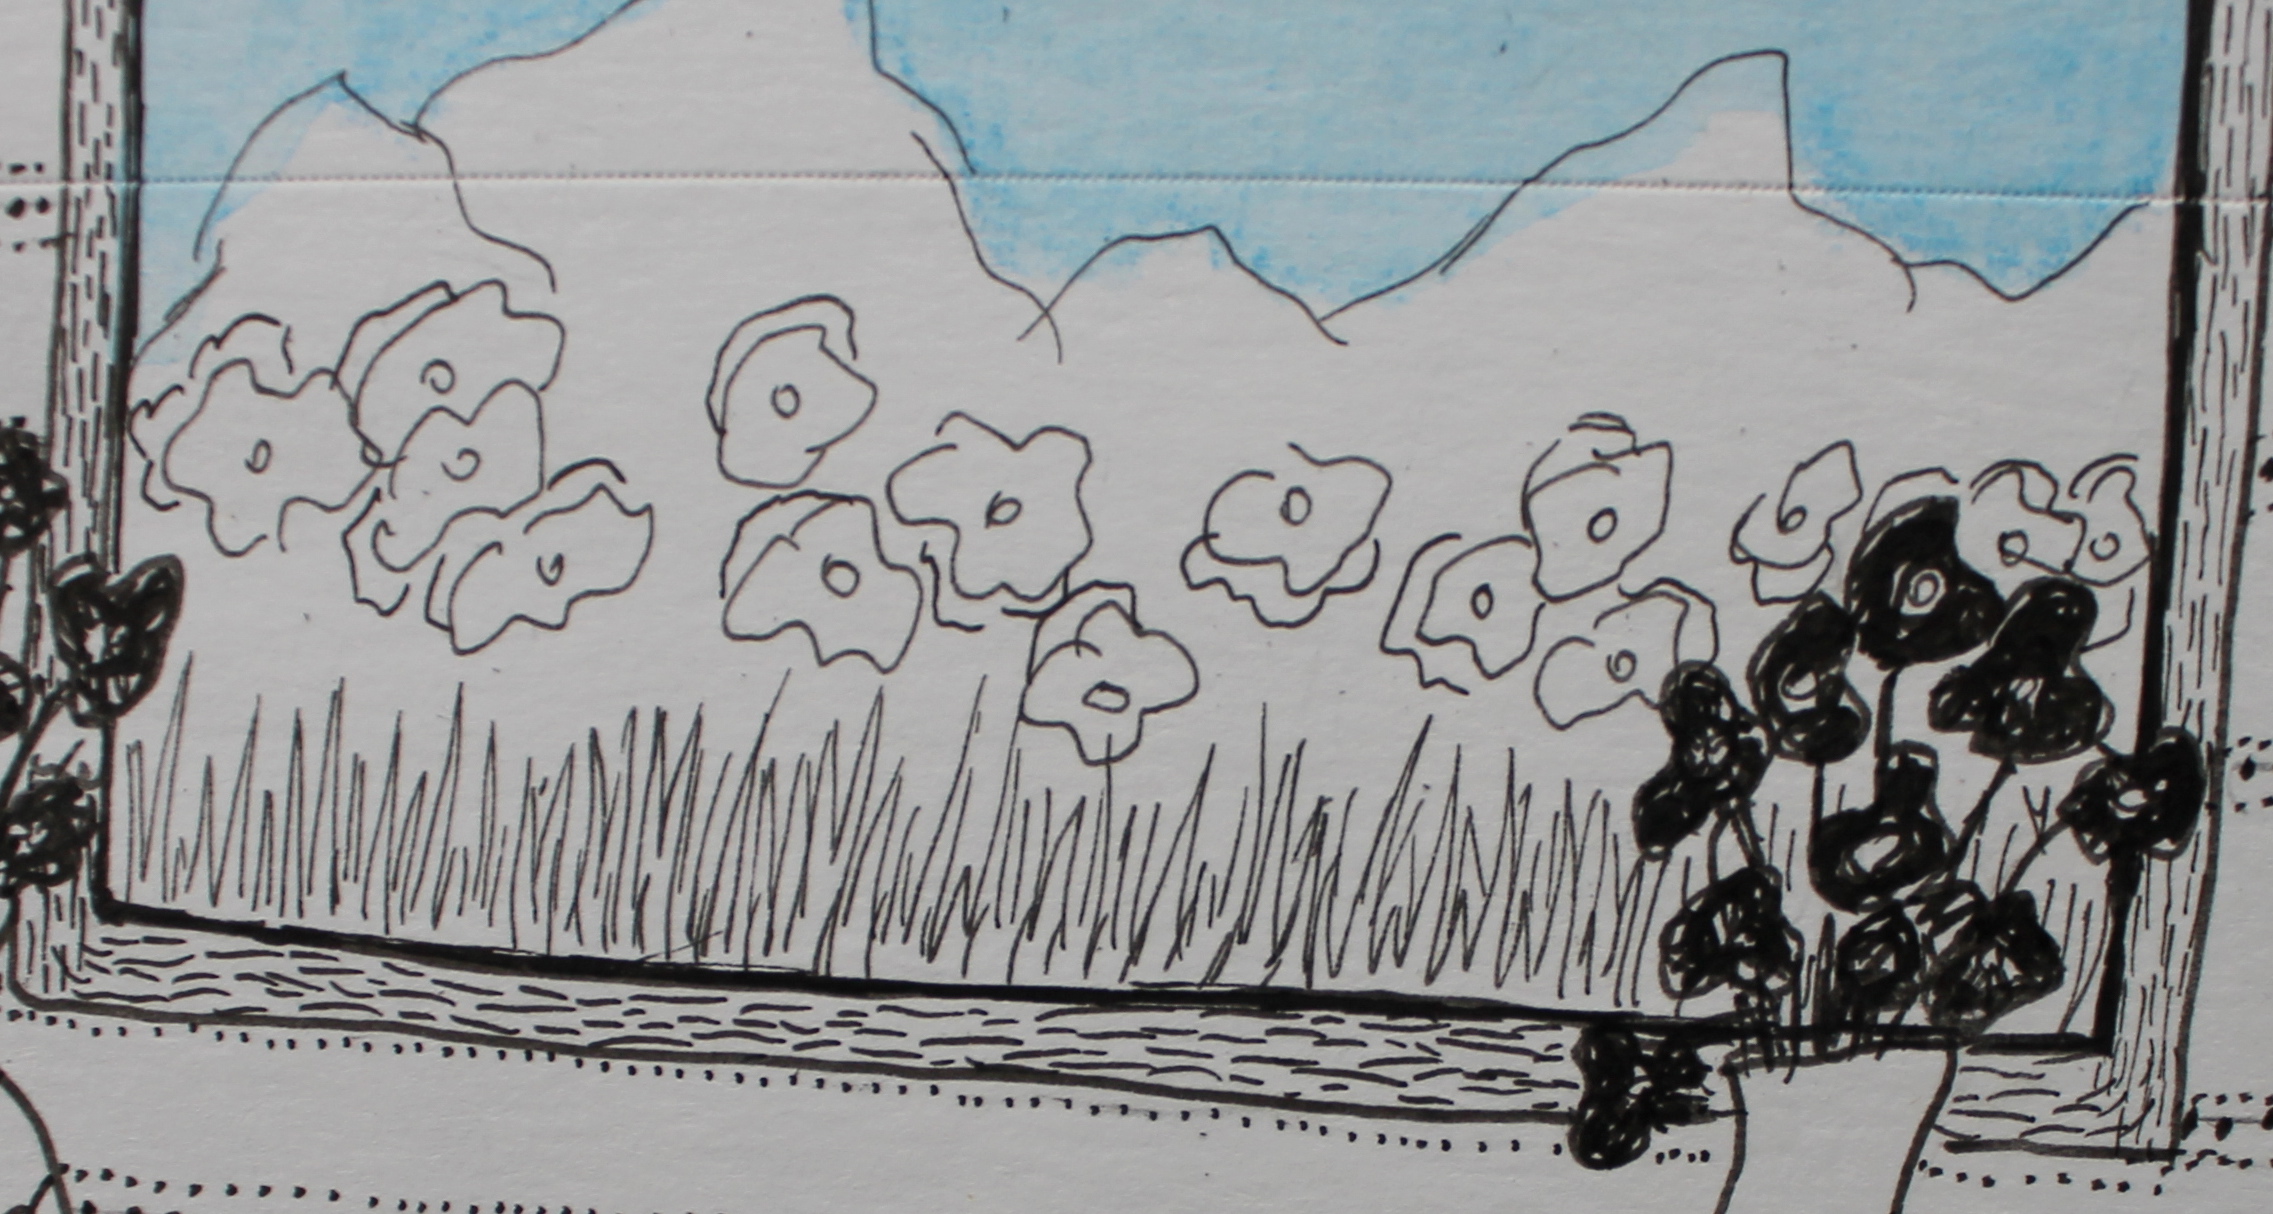
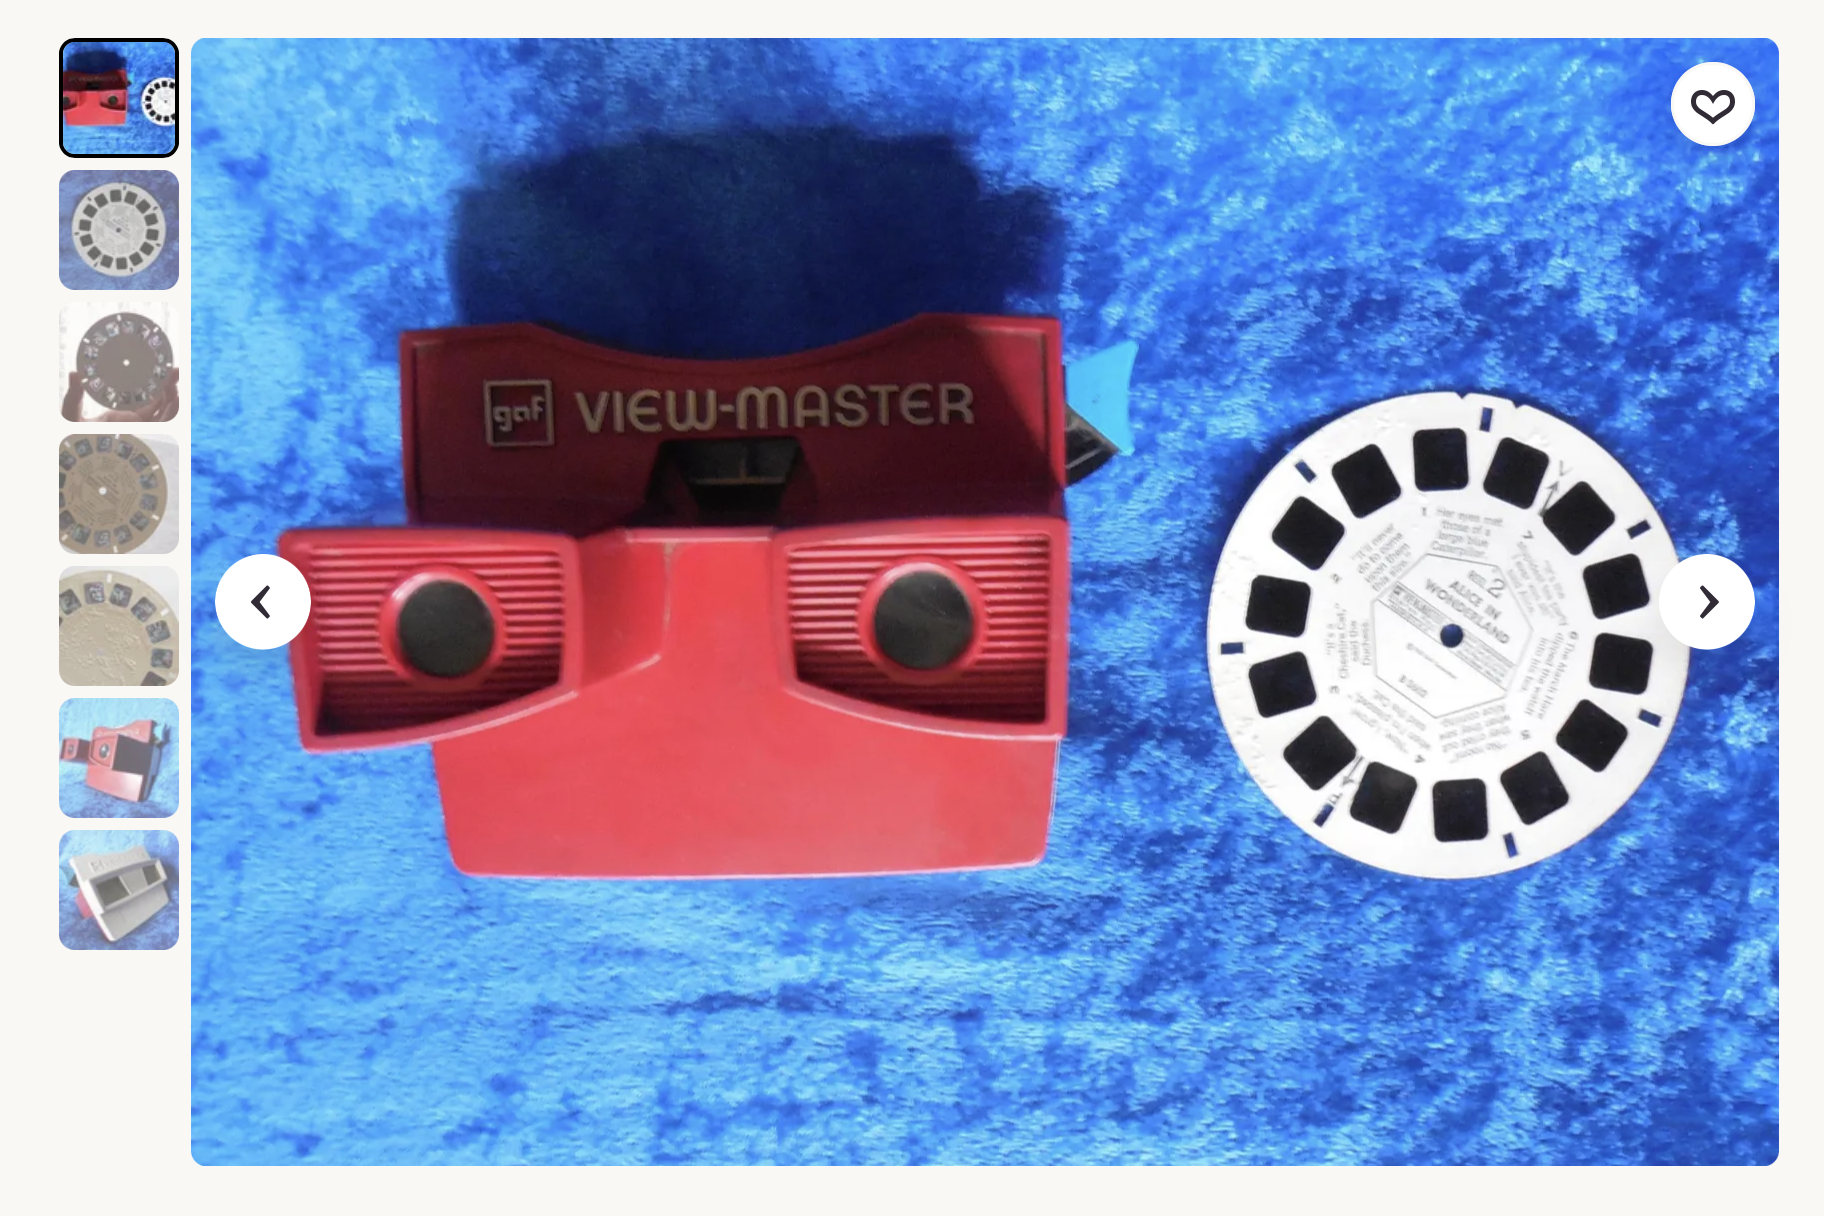
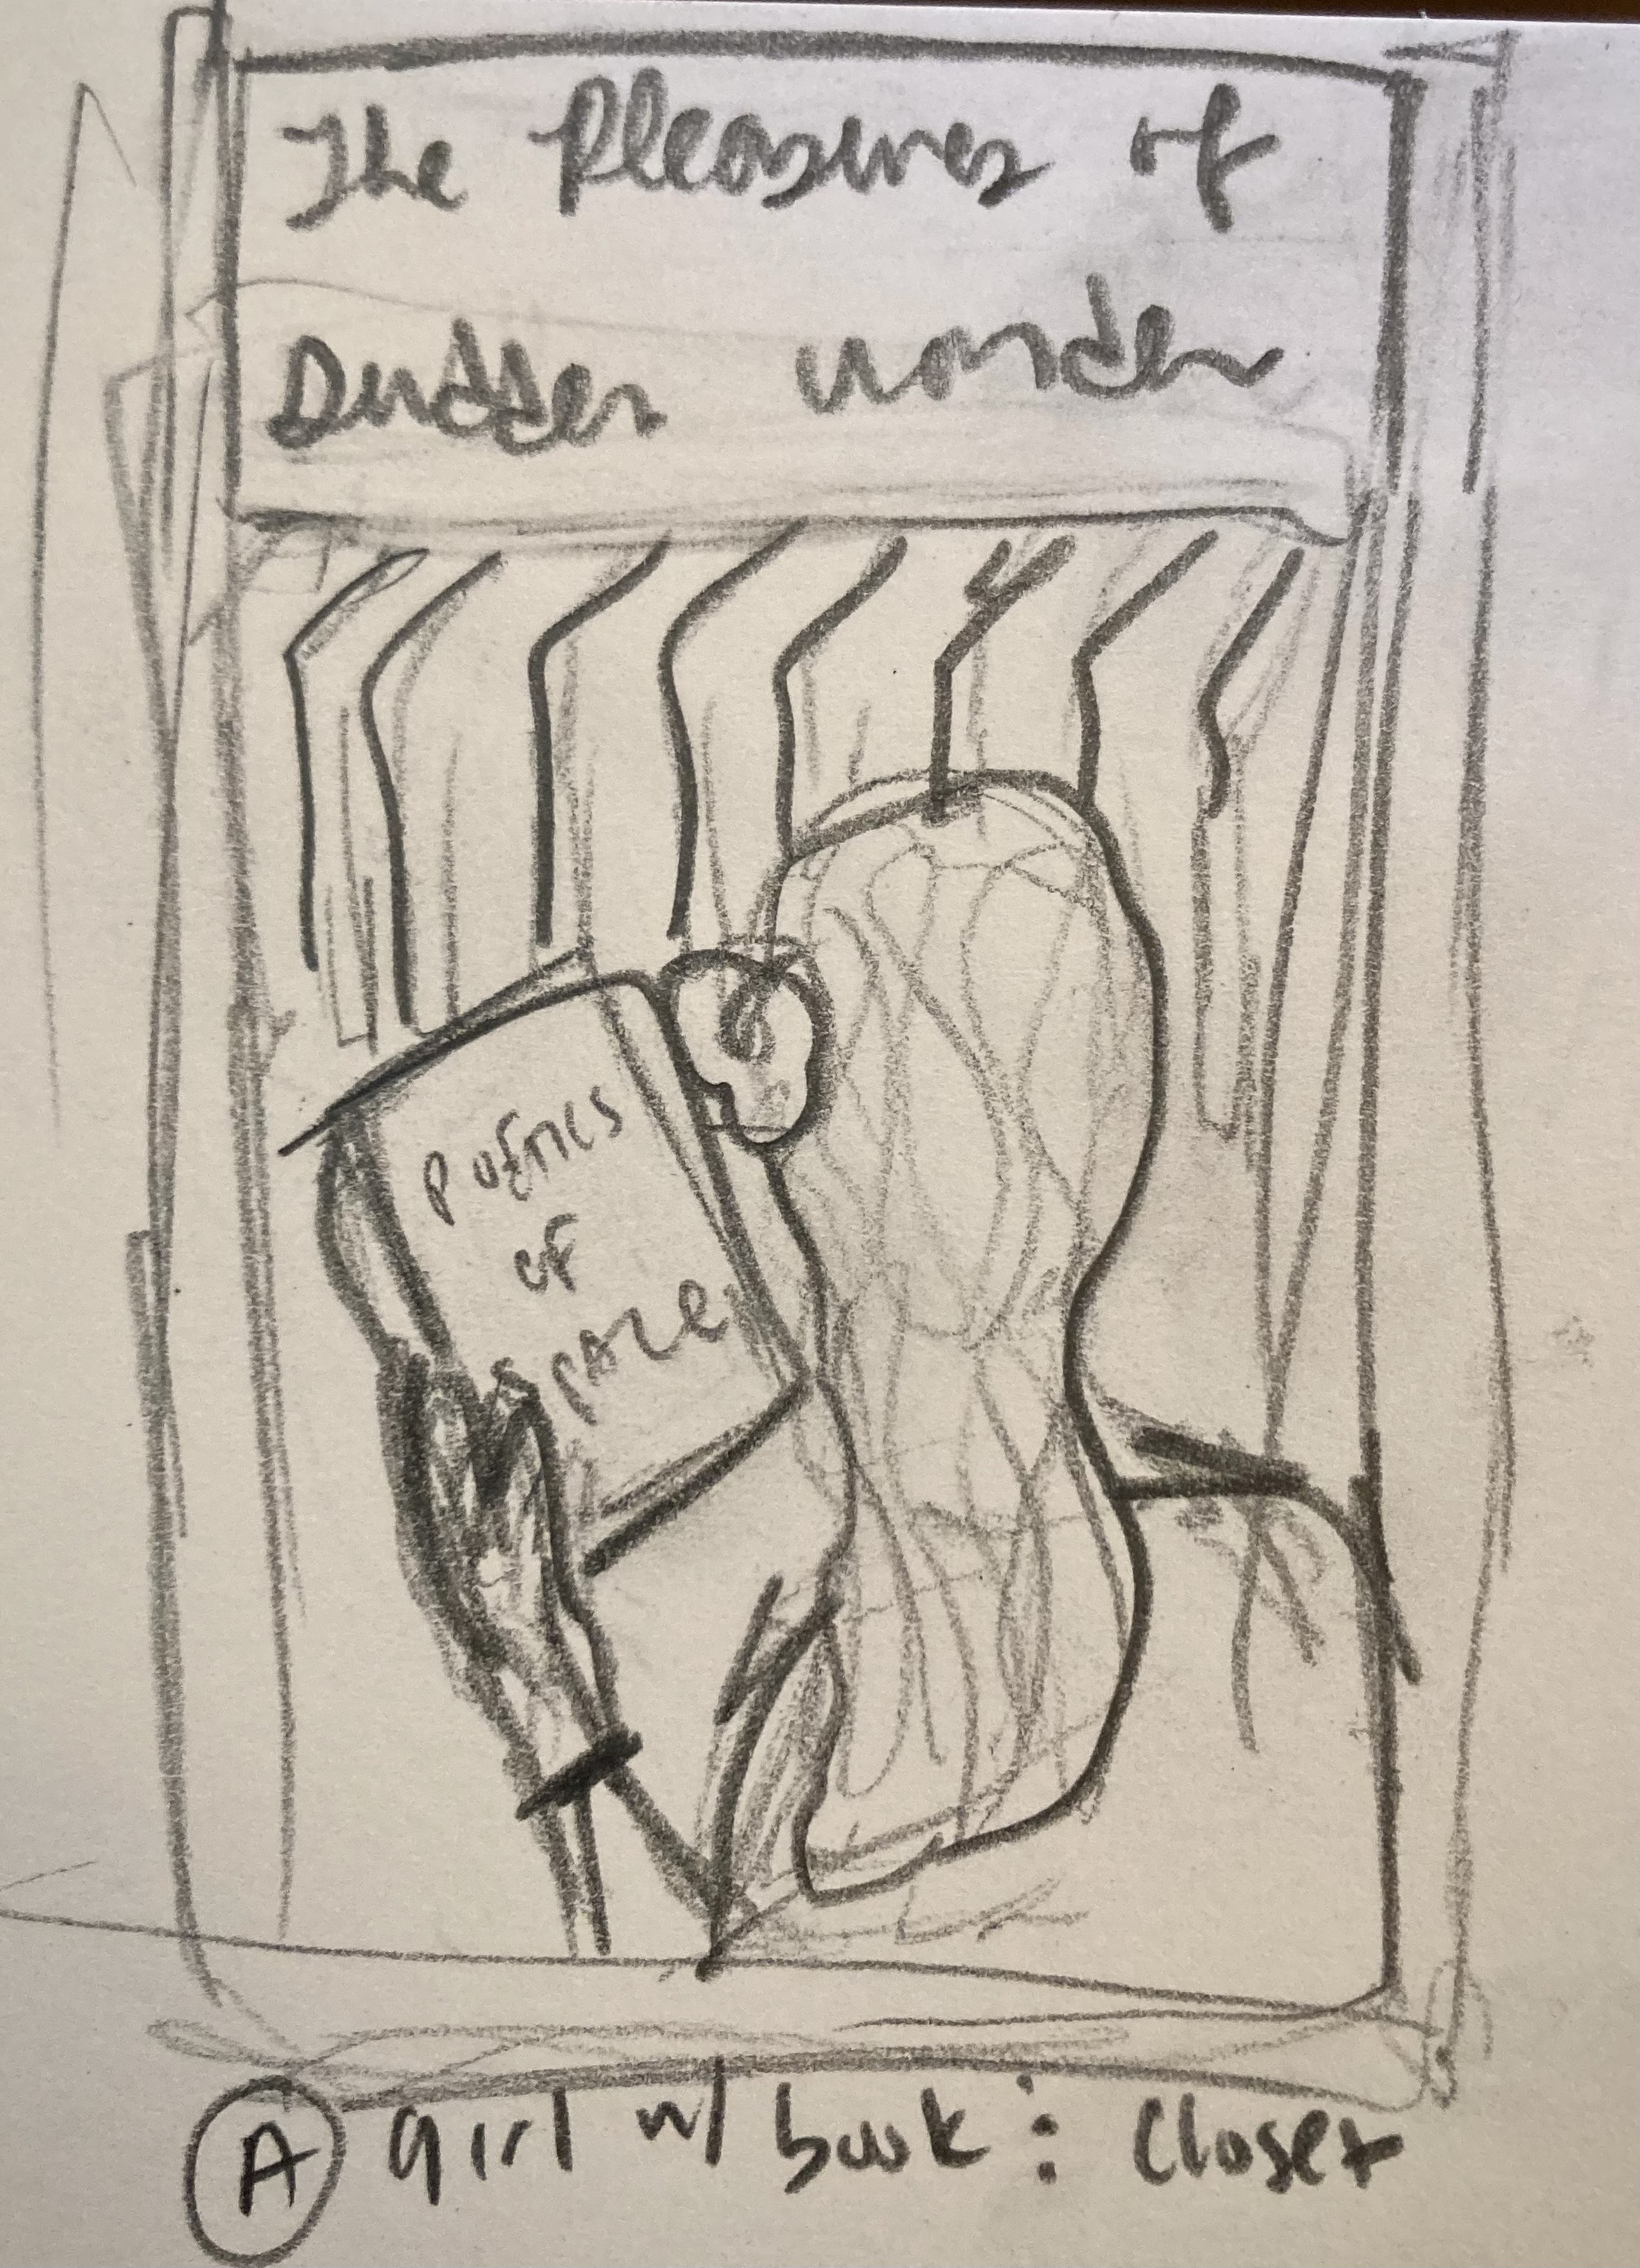
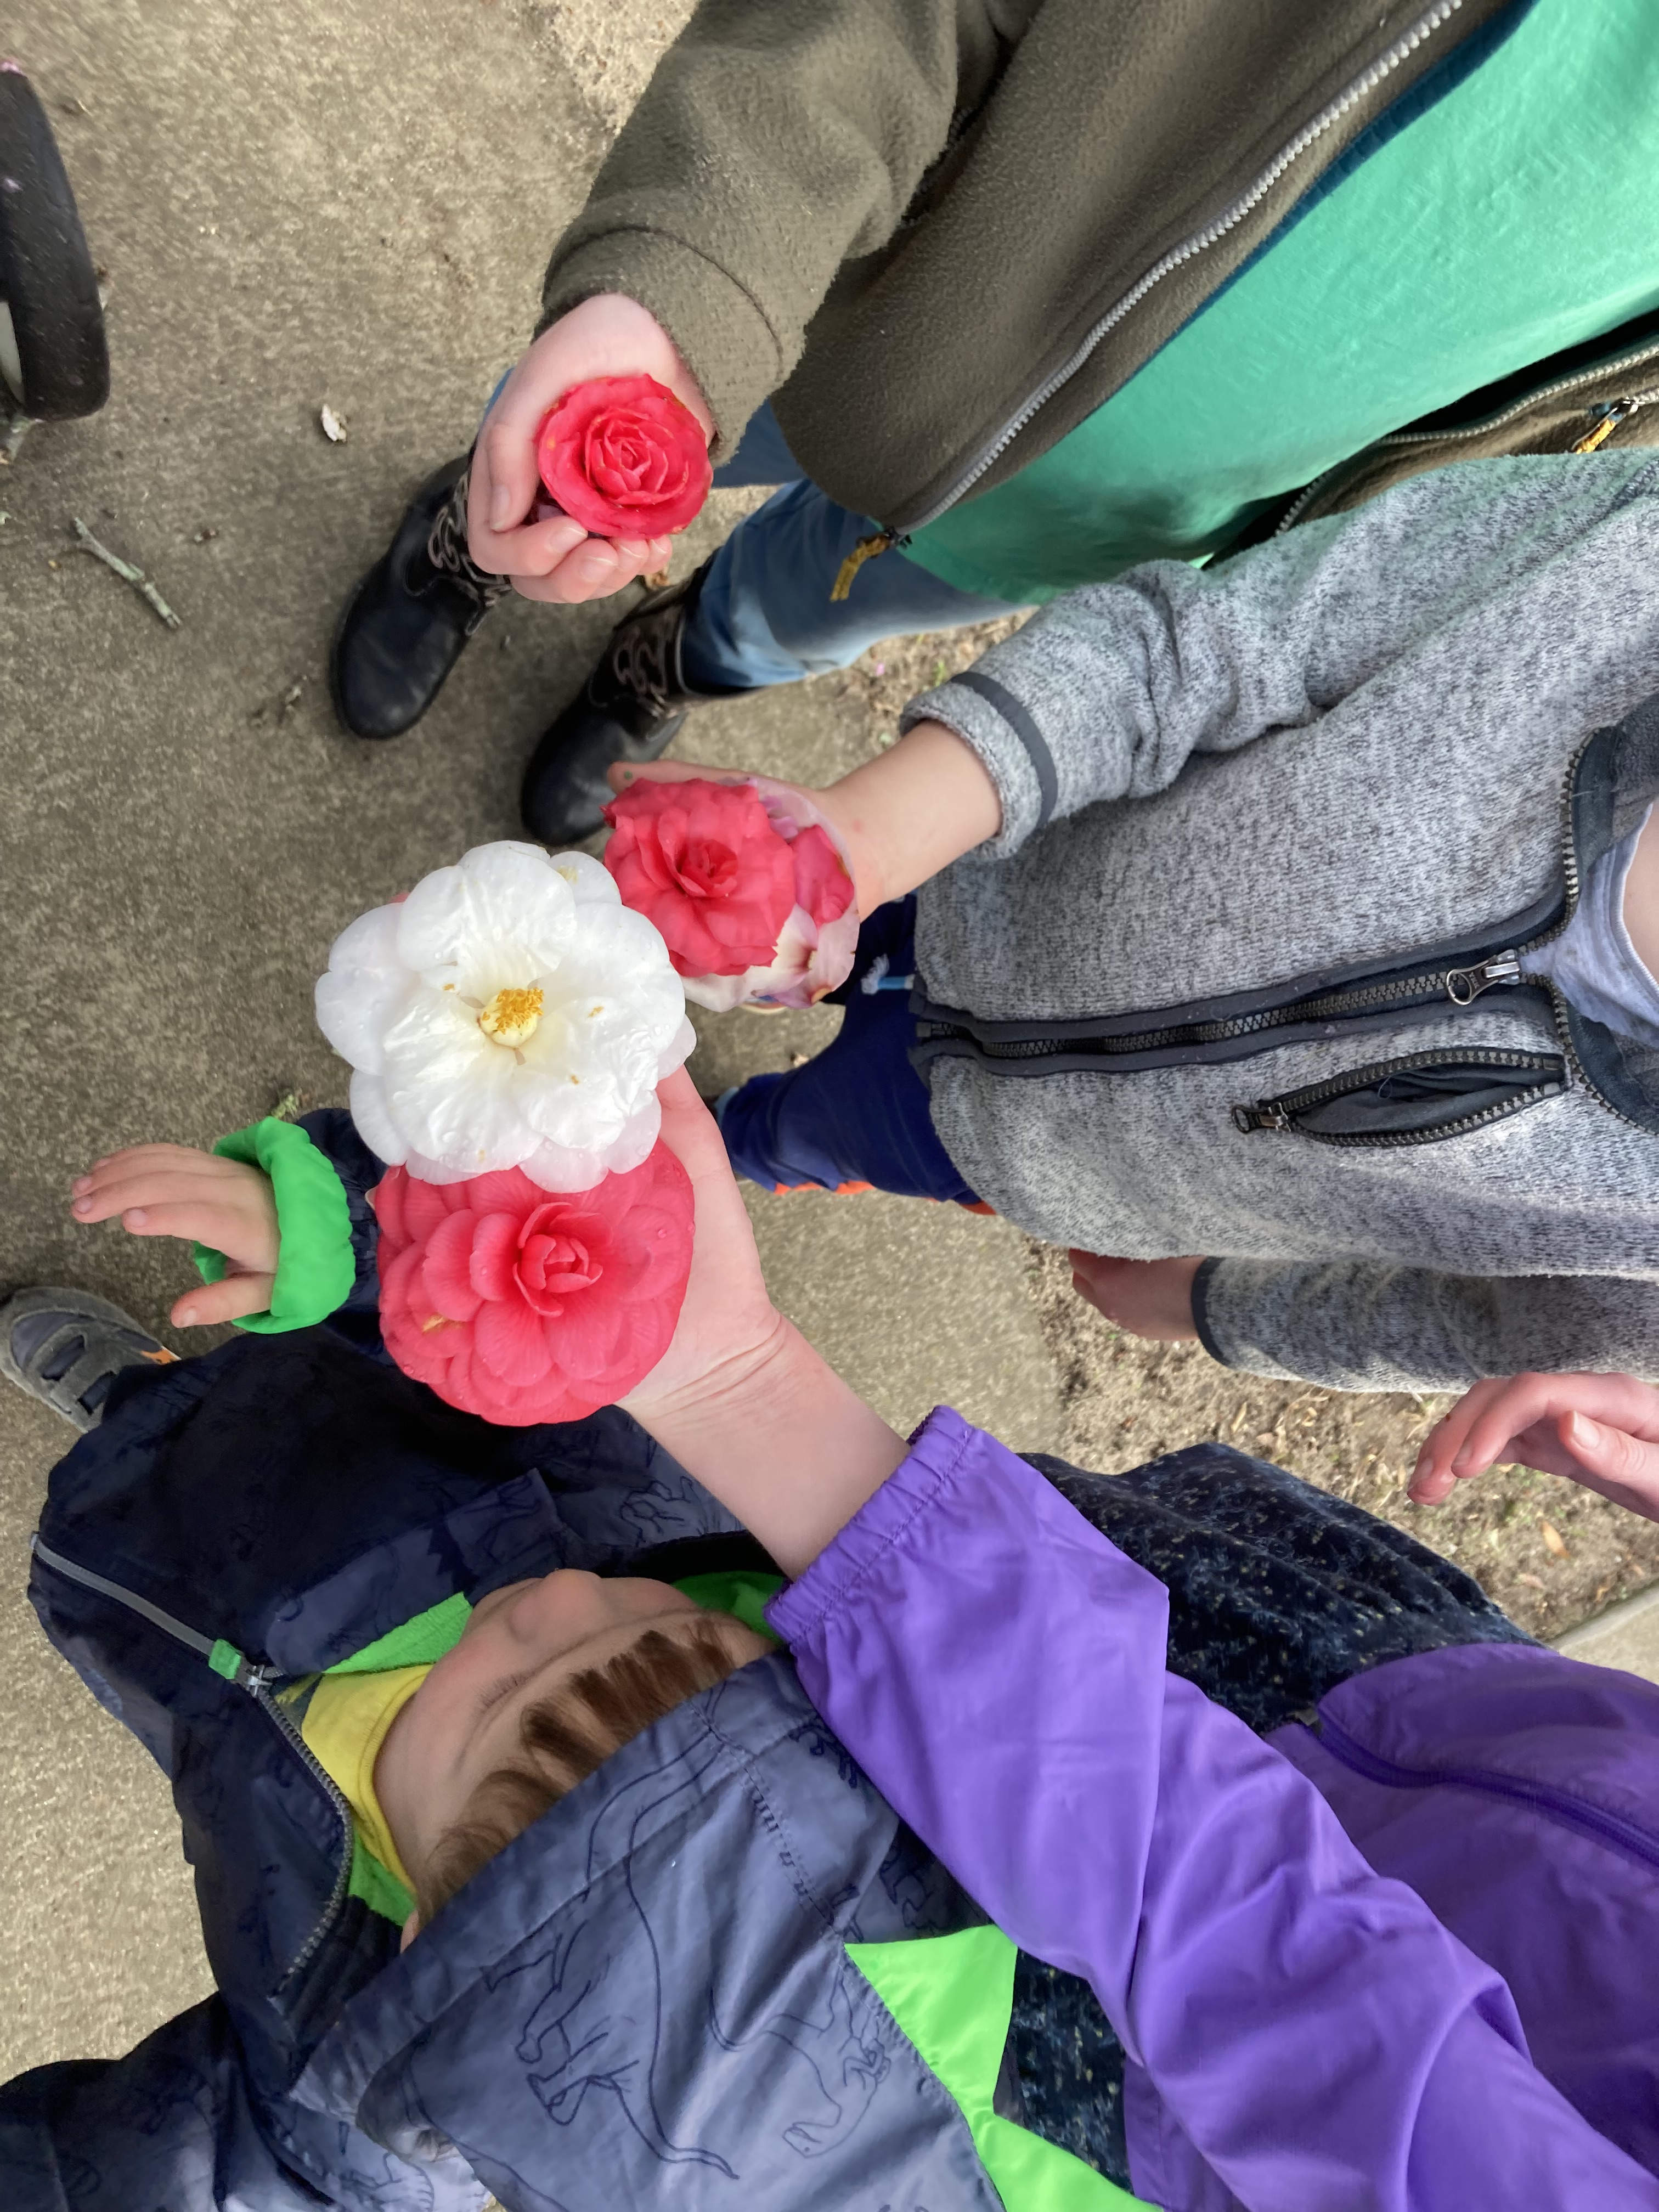
“The Pleasures of Sudden Wonder”
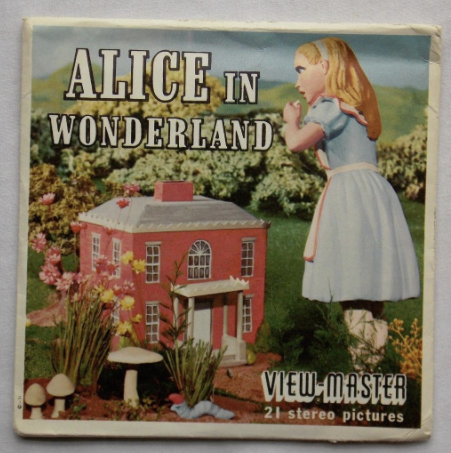
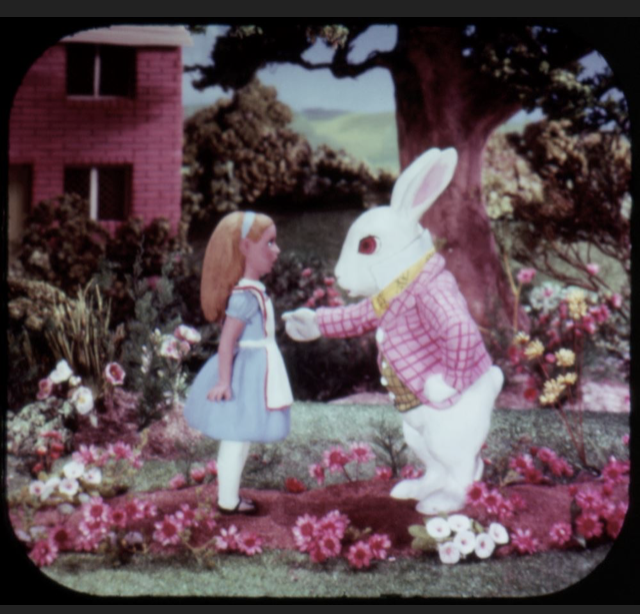
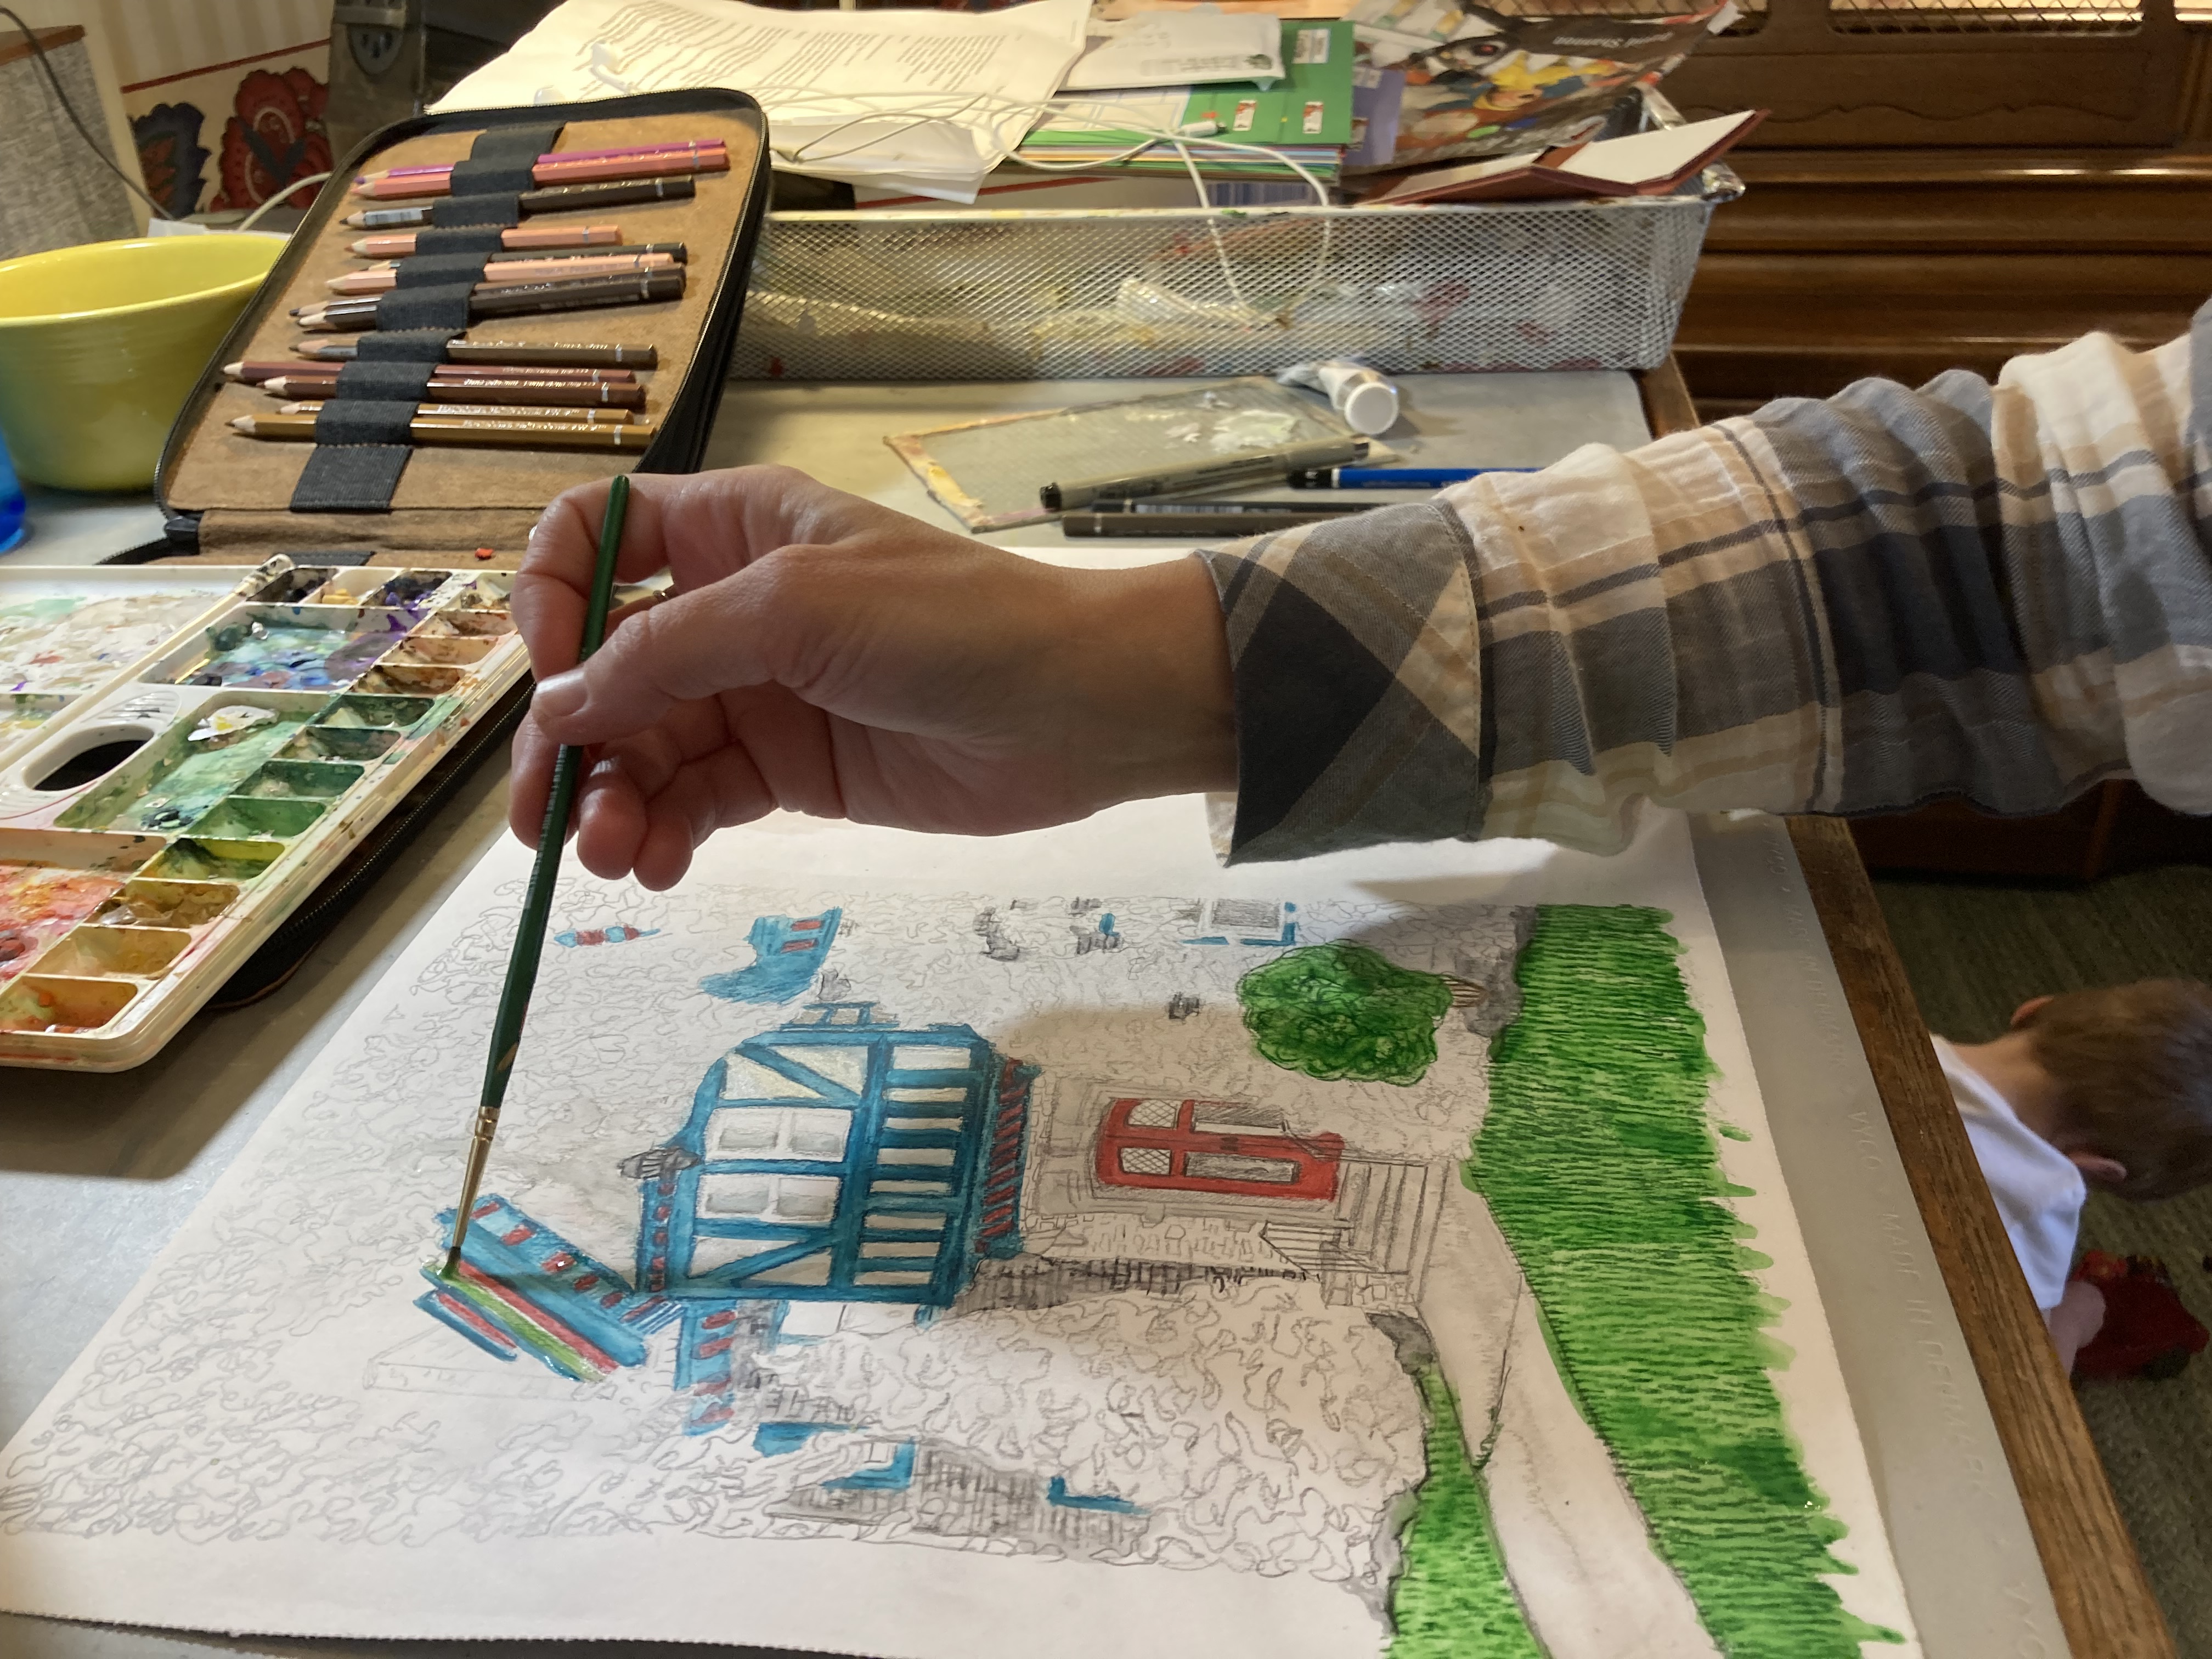
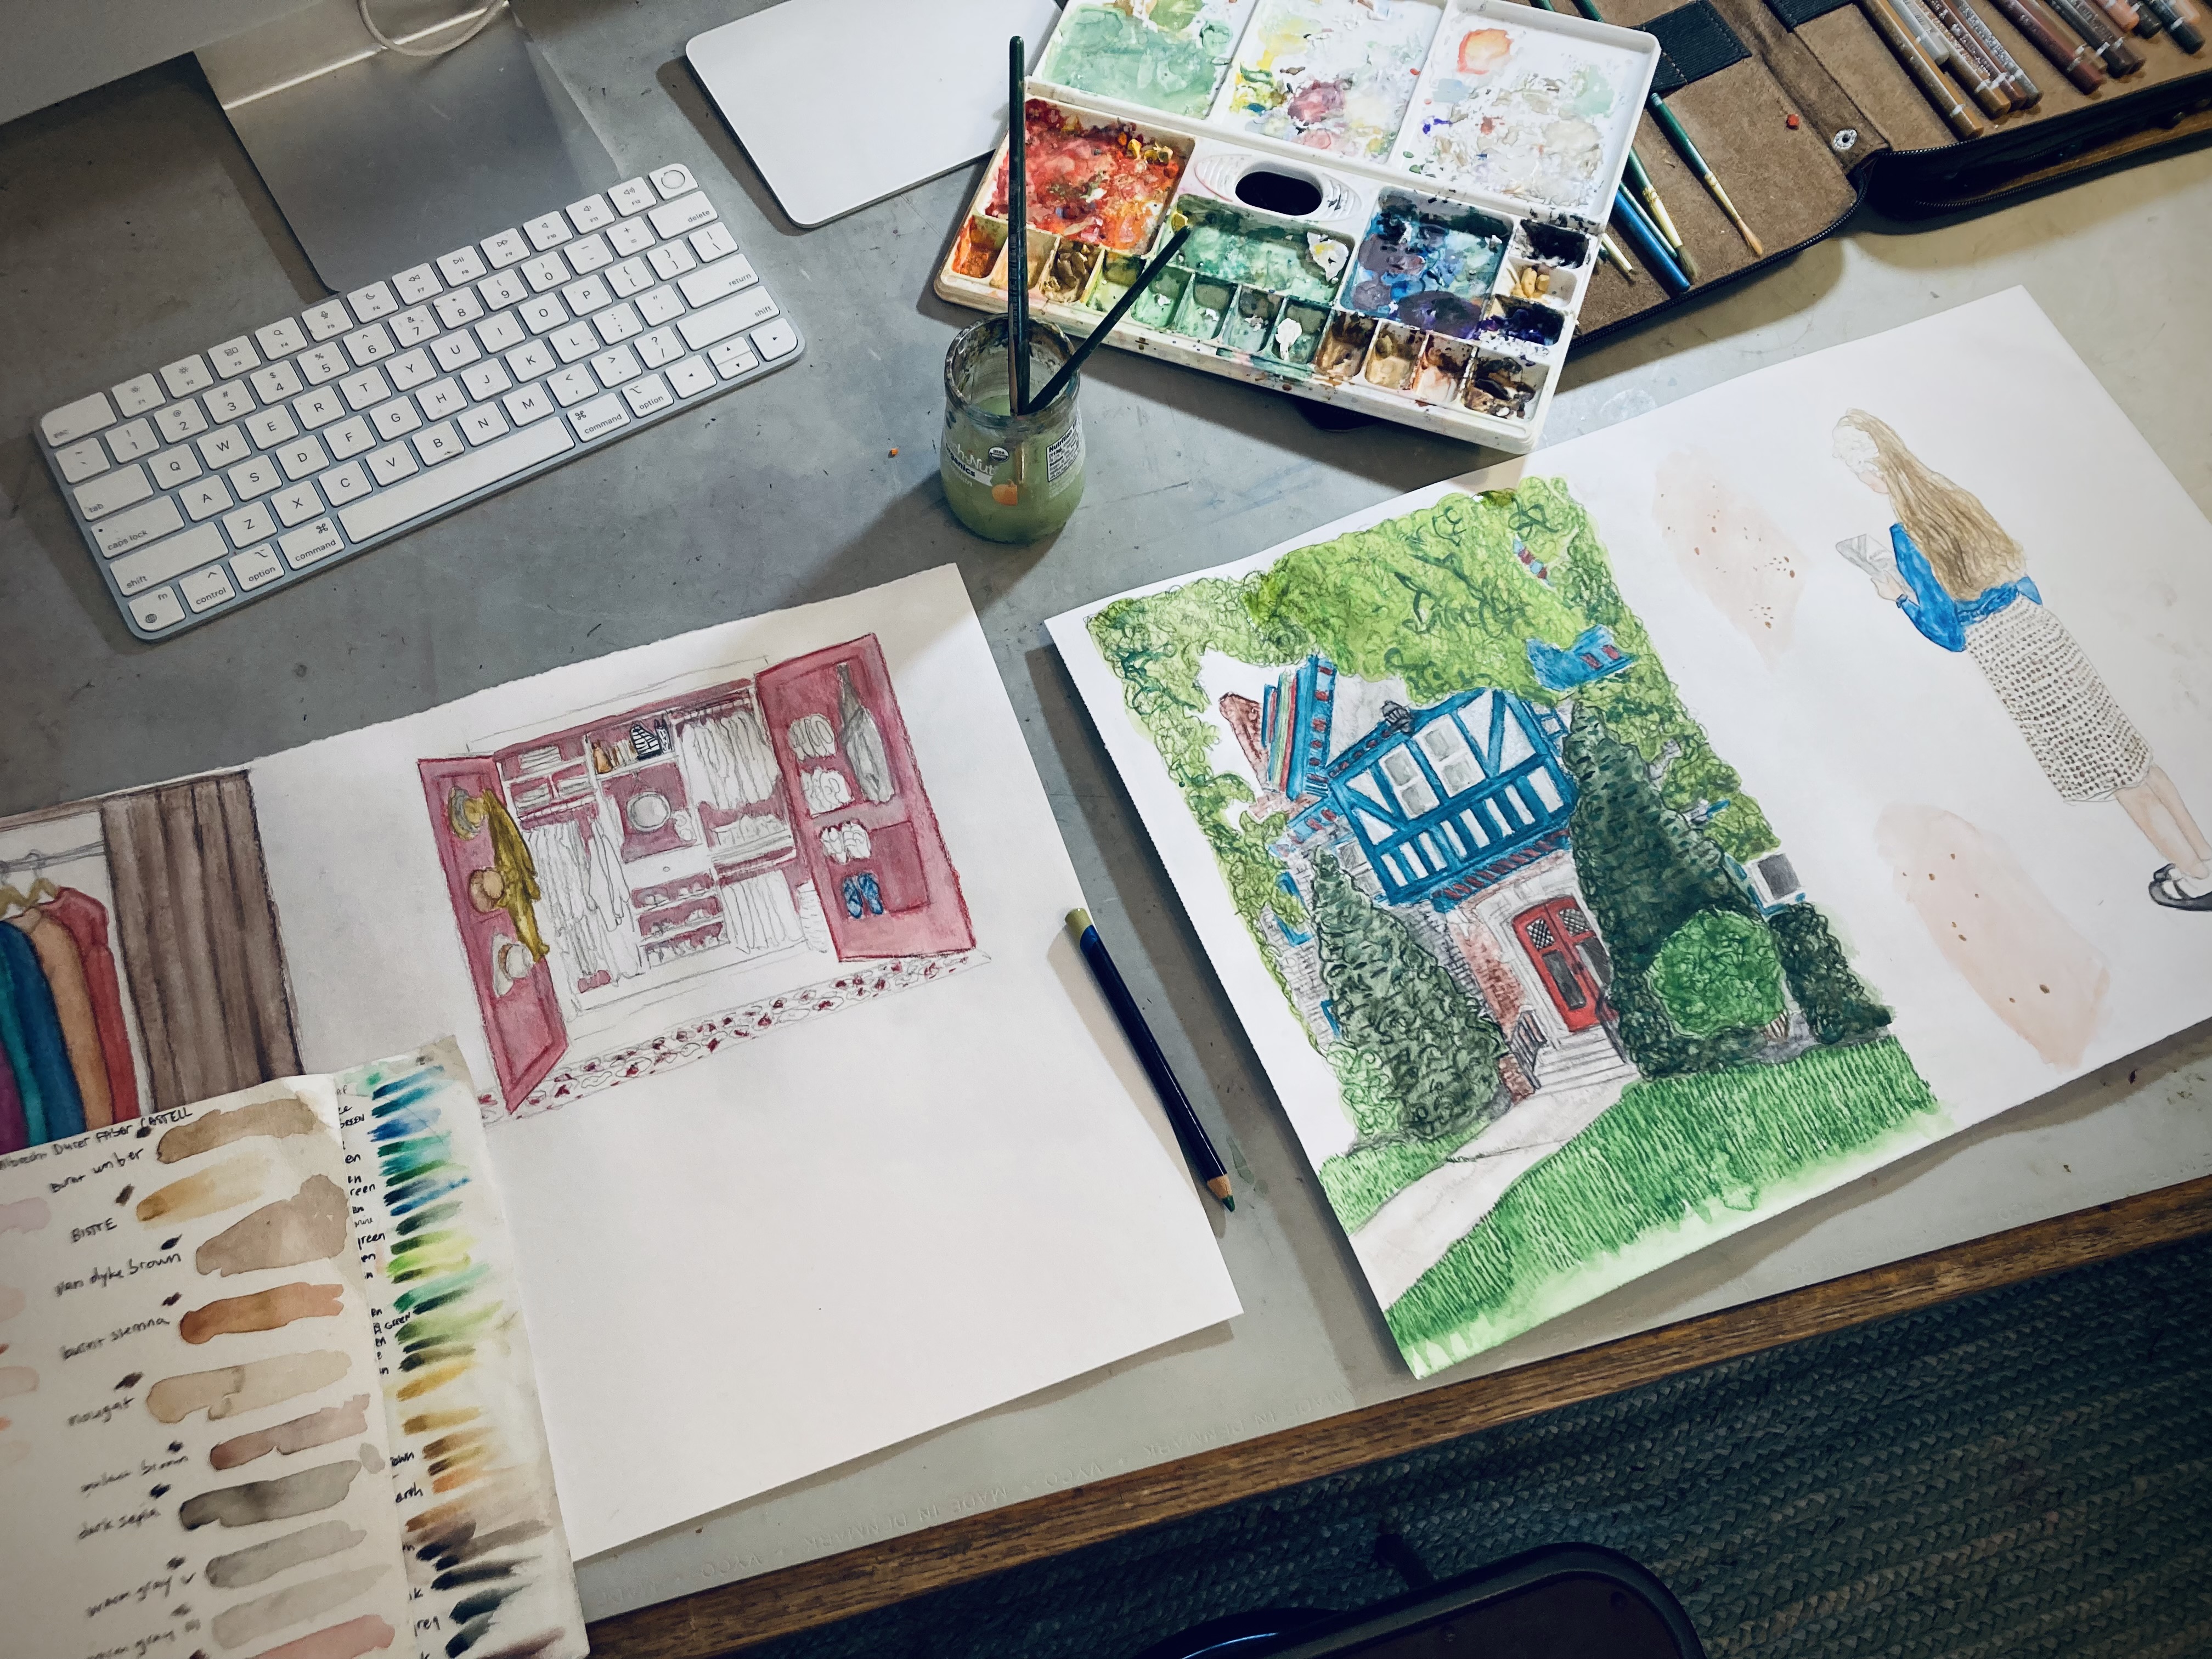
After reading this story, I researched some ideas using the “miniatures” theme. I landed on this super cute Alice in Wonderland old film reels they used to sell in the 1950s to kids as a type of toy story time. I sent the thumbnail sketch ideas to author J. Bradley Minnick, and he wanted me to put sketch A and sketch D as one image. So, the (giant) girl standing in front of (miniature) house reading the book with the flower in her hair would also be looking towards the sweaters in her closet.
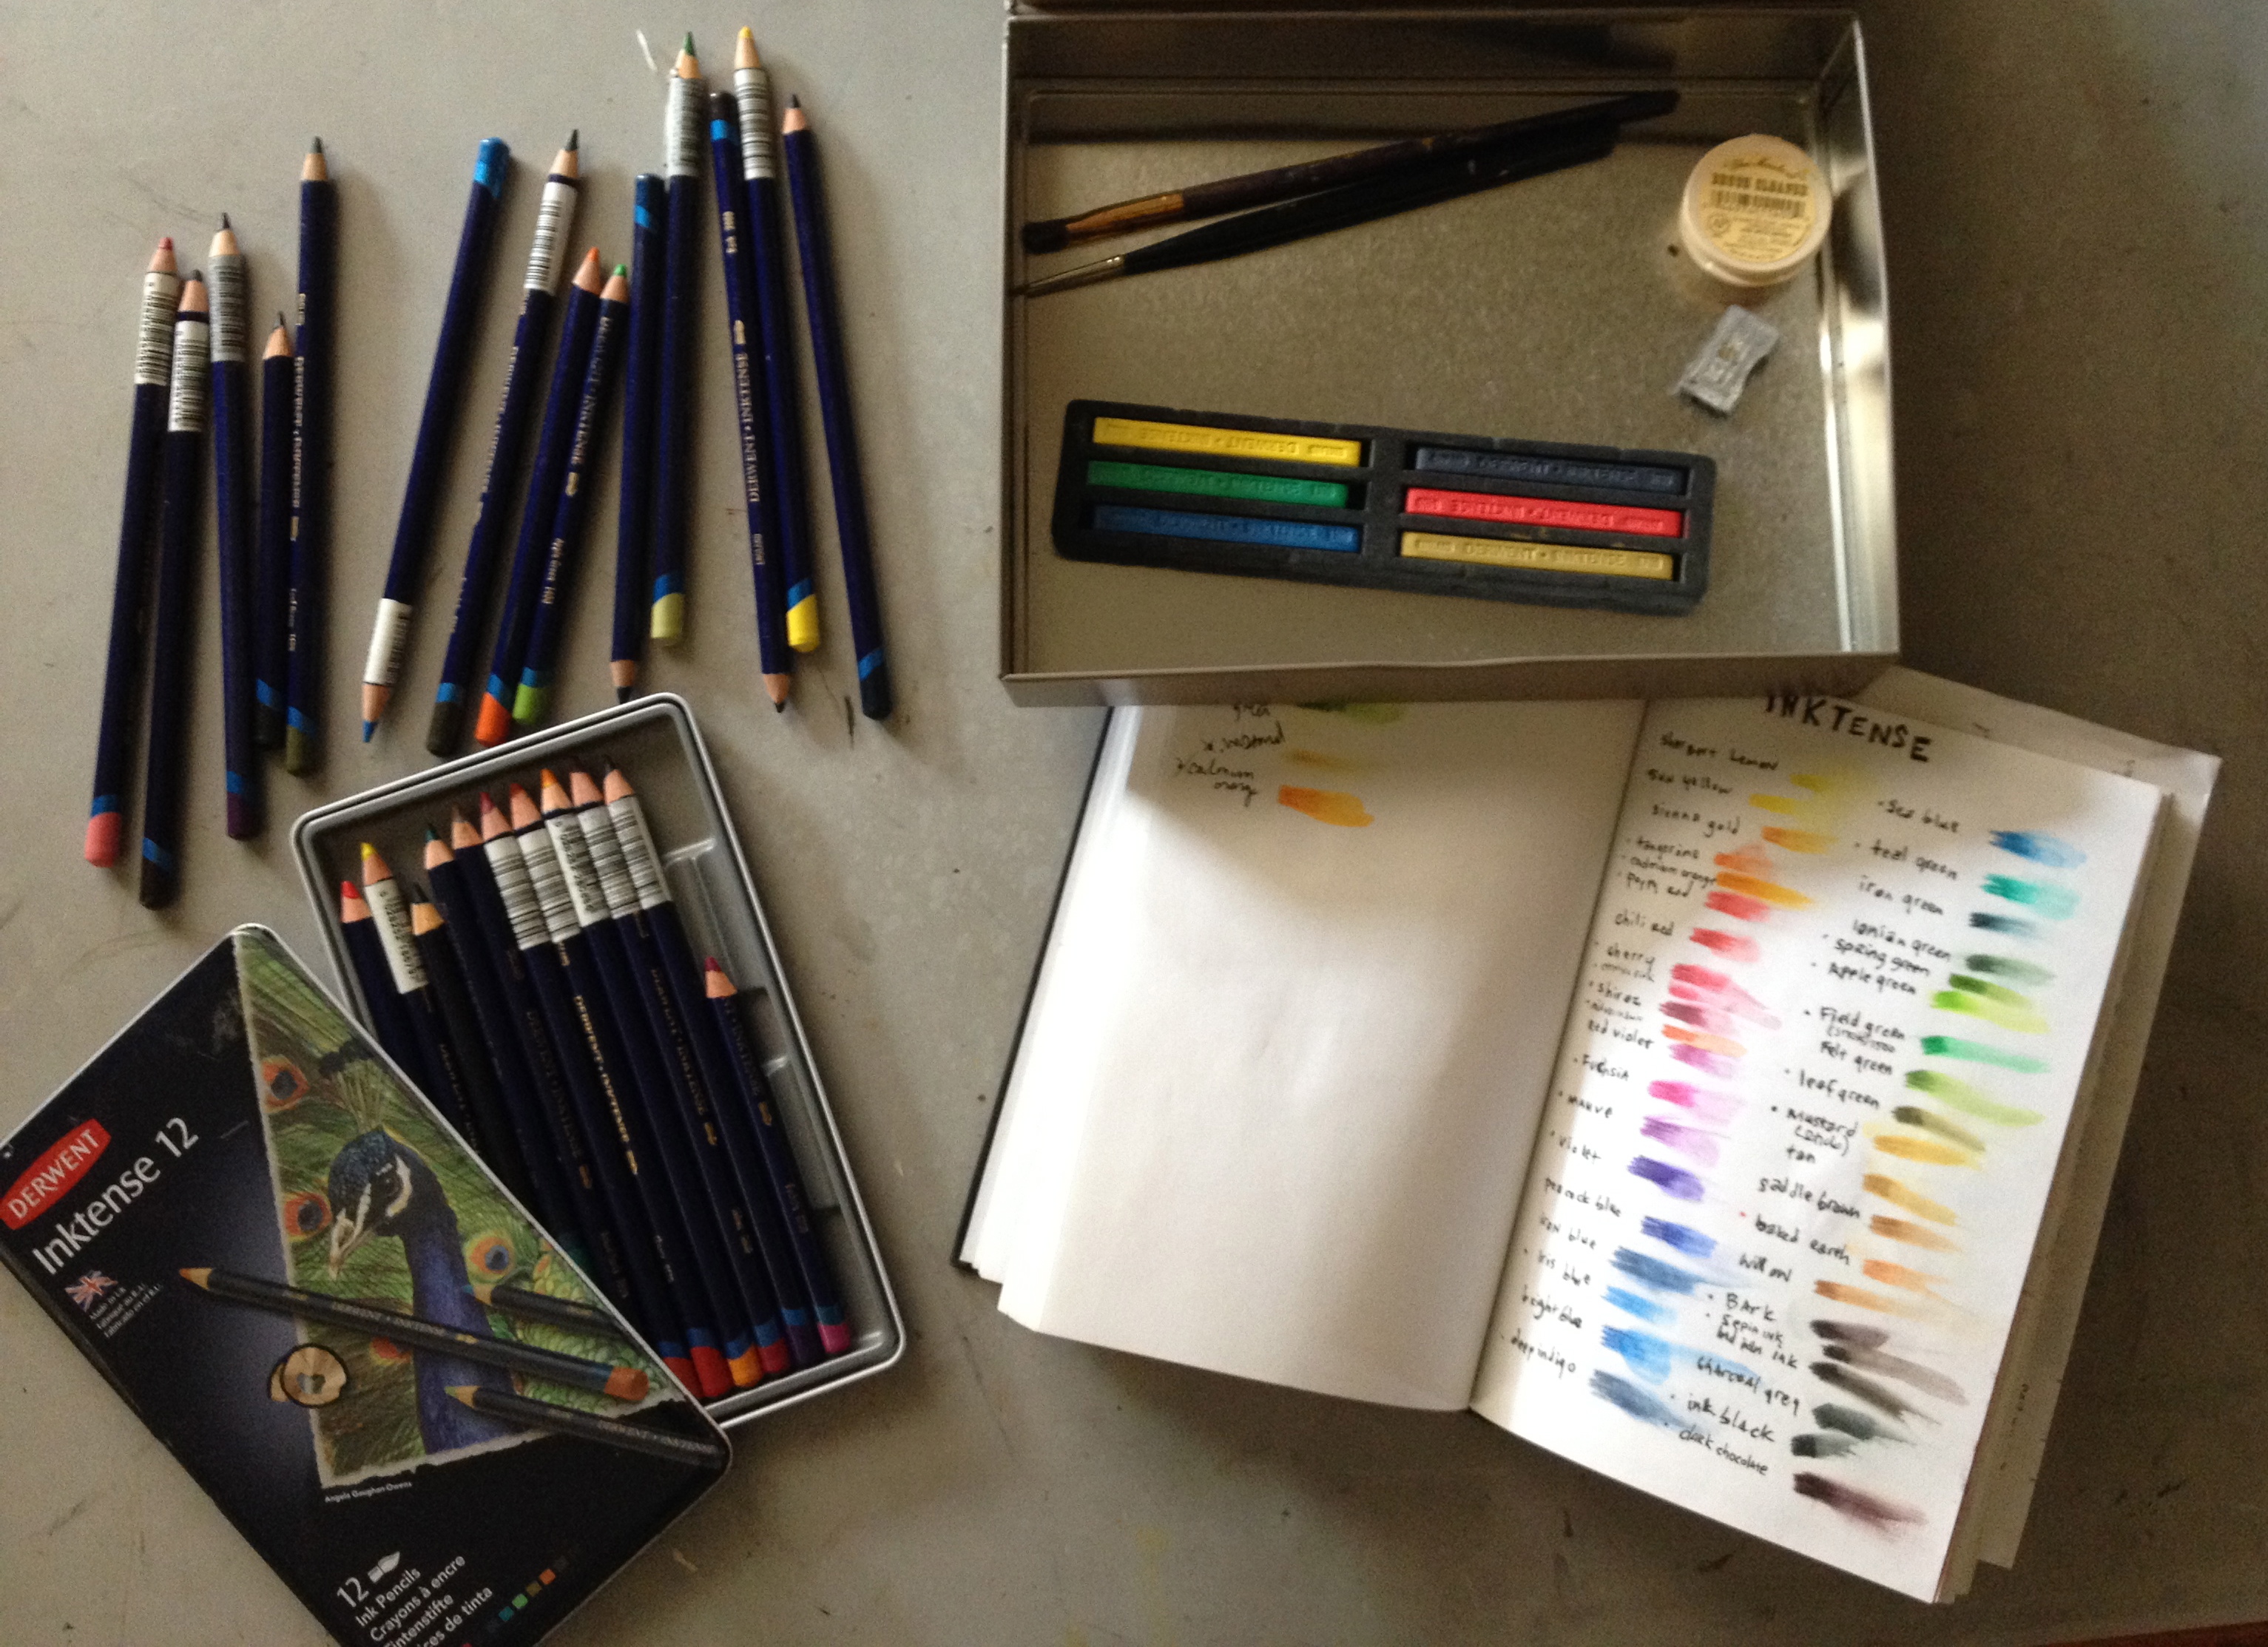
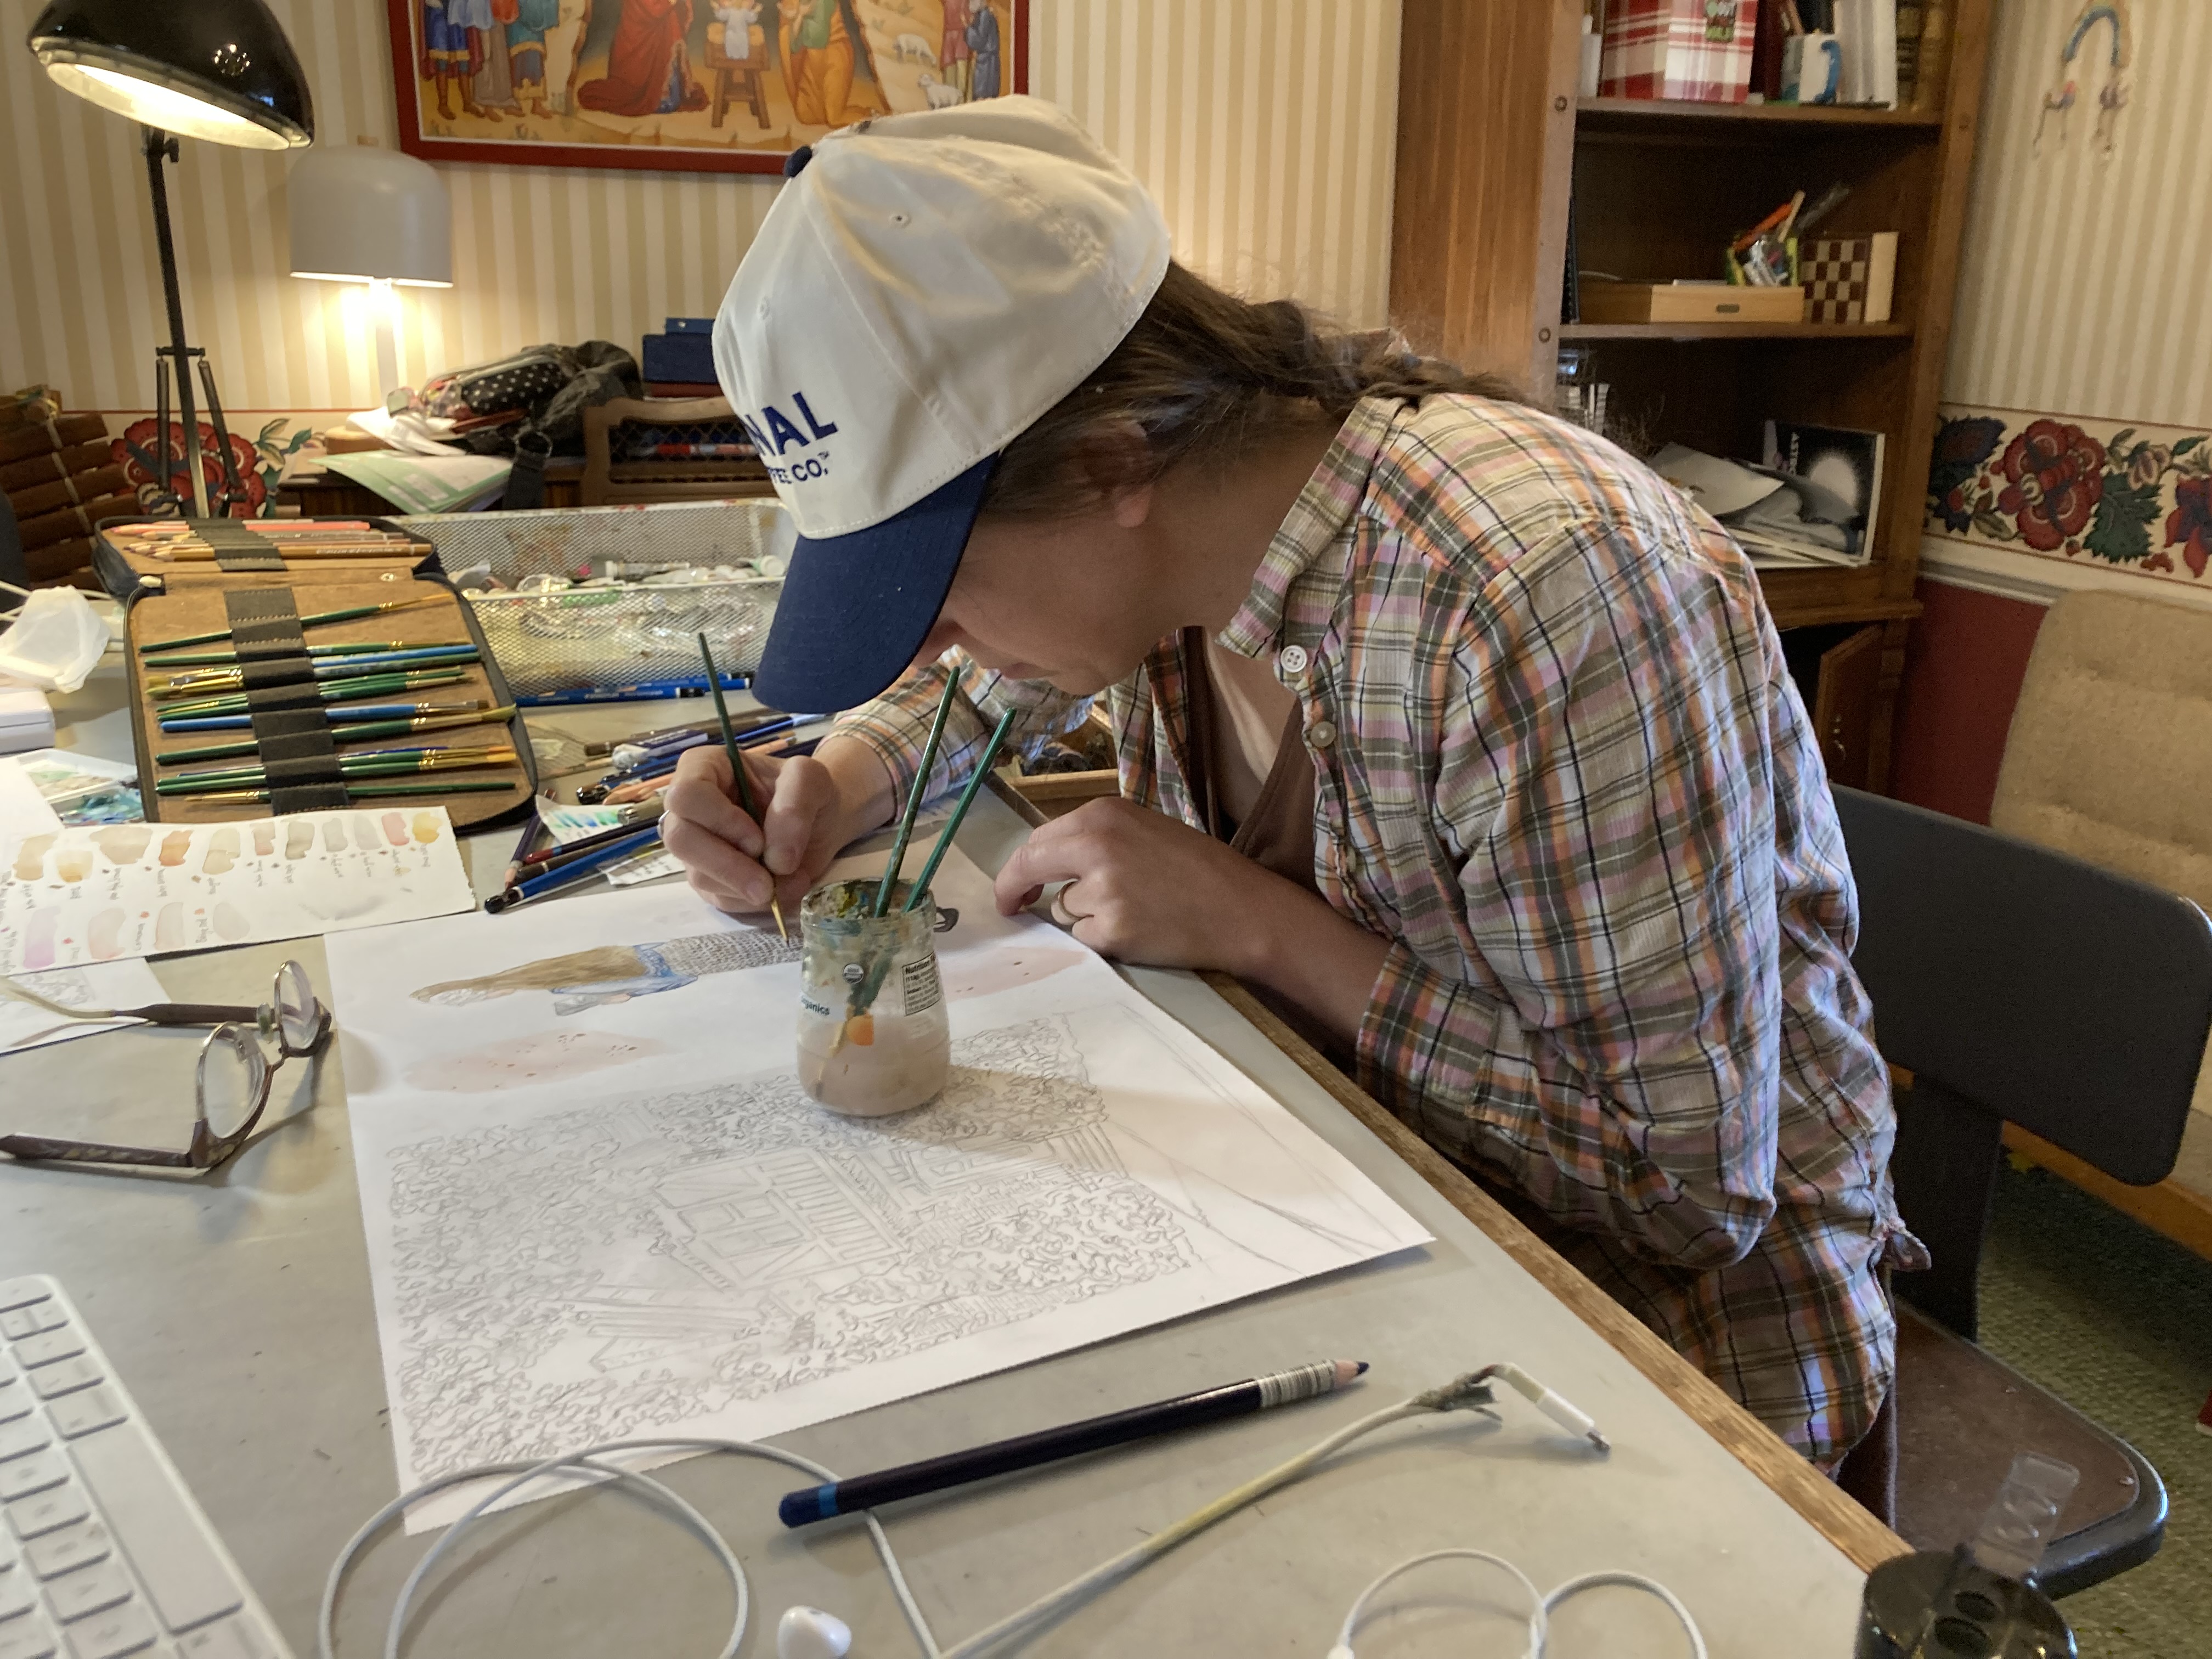
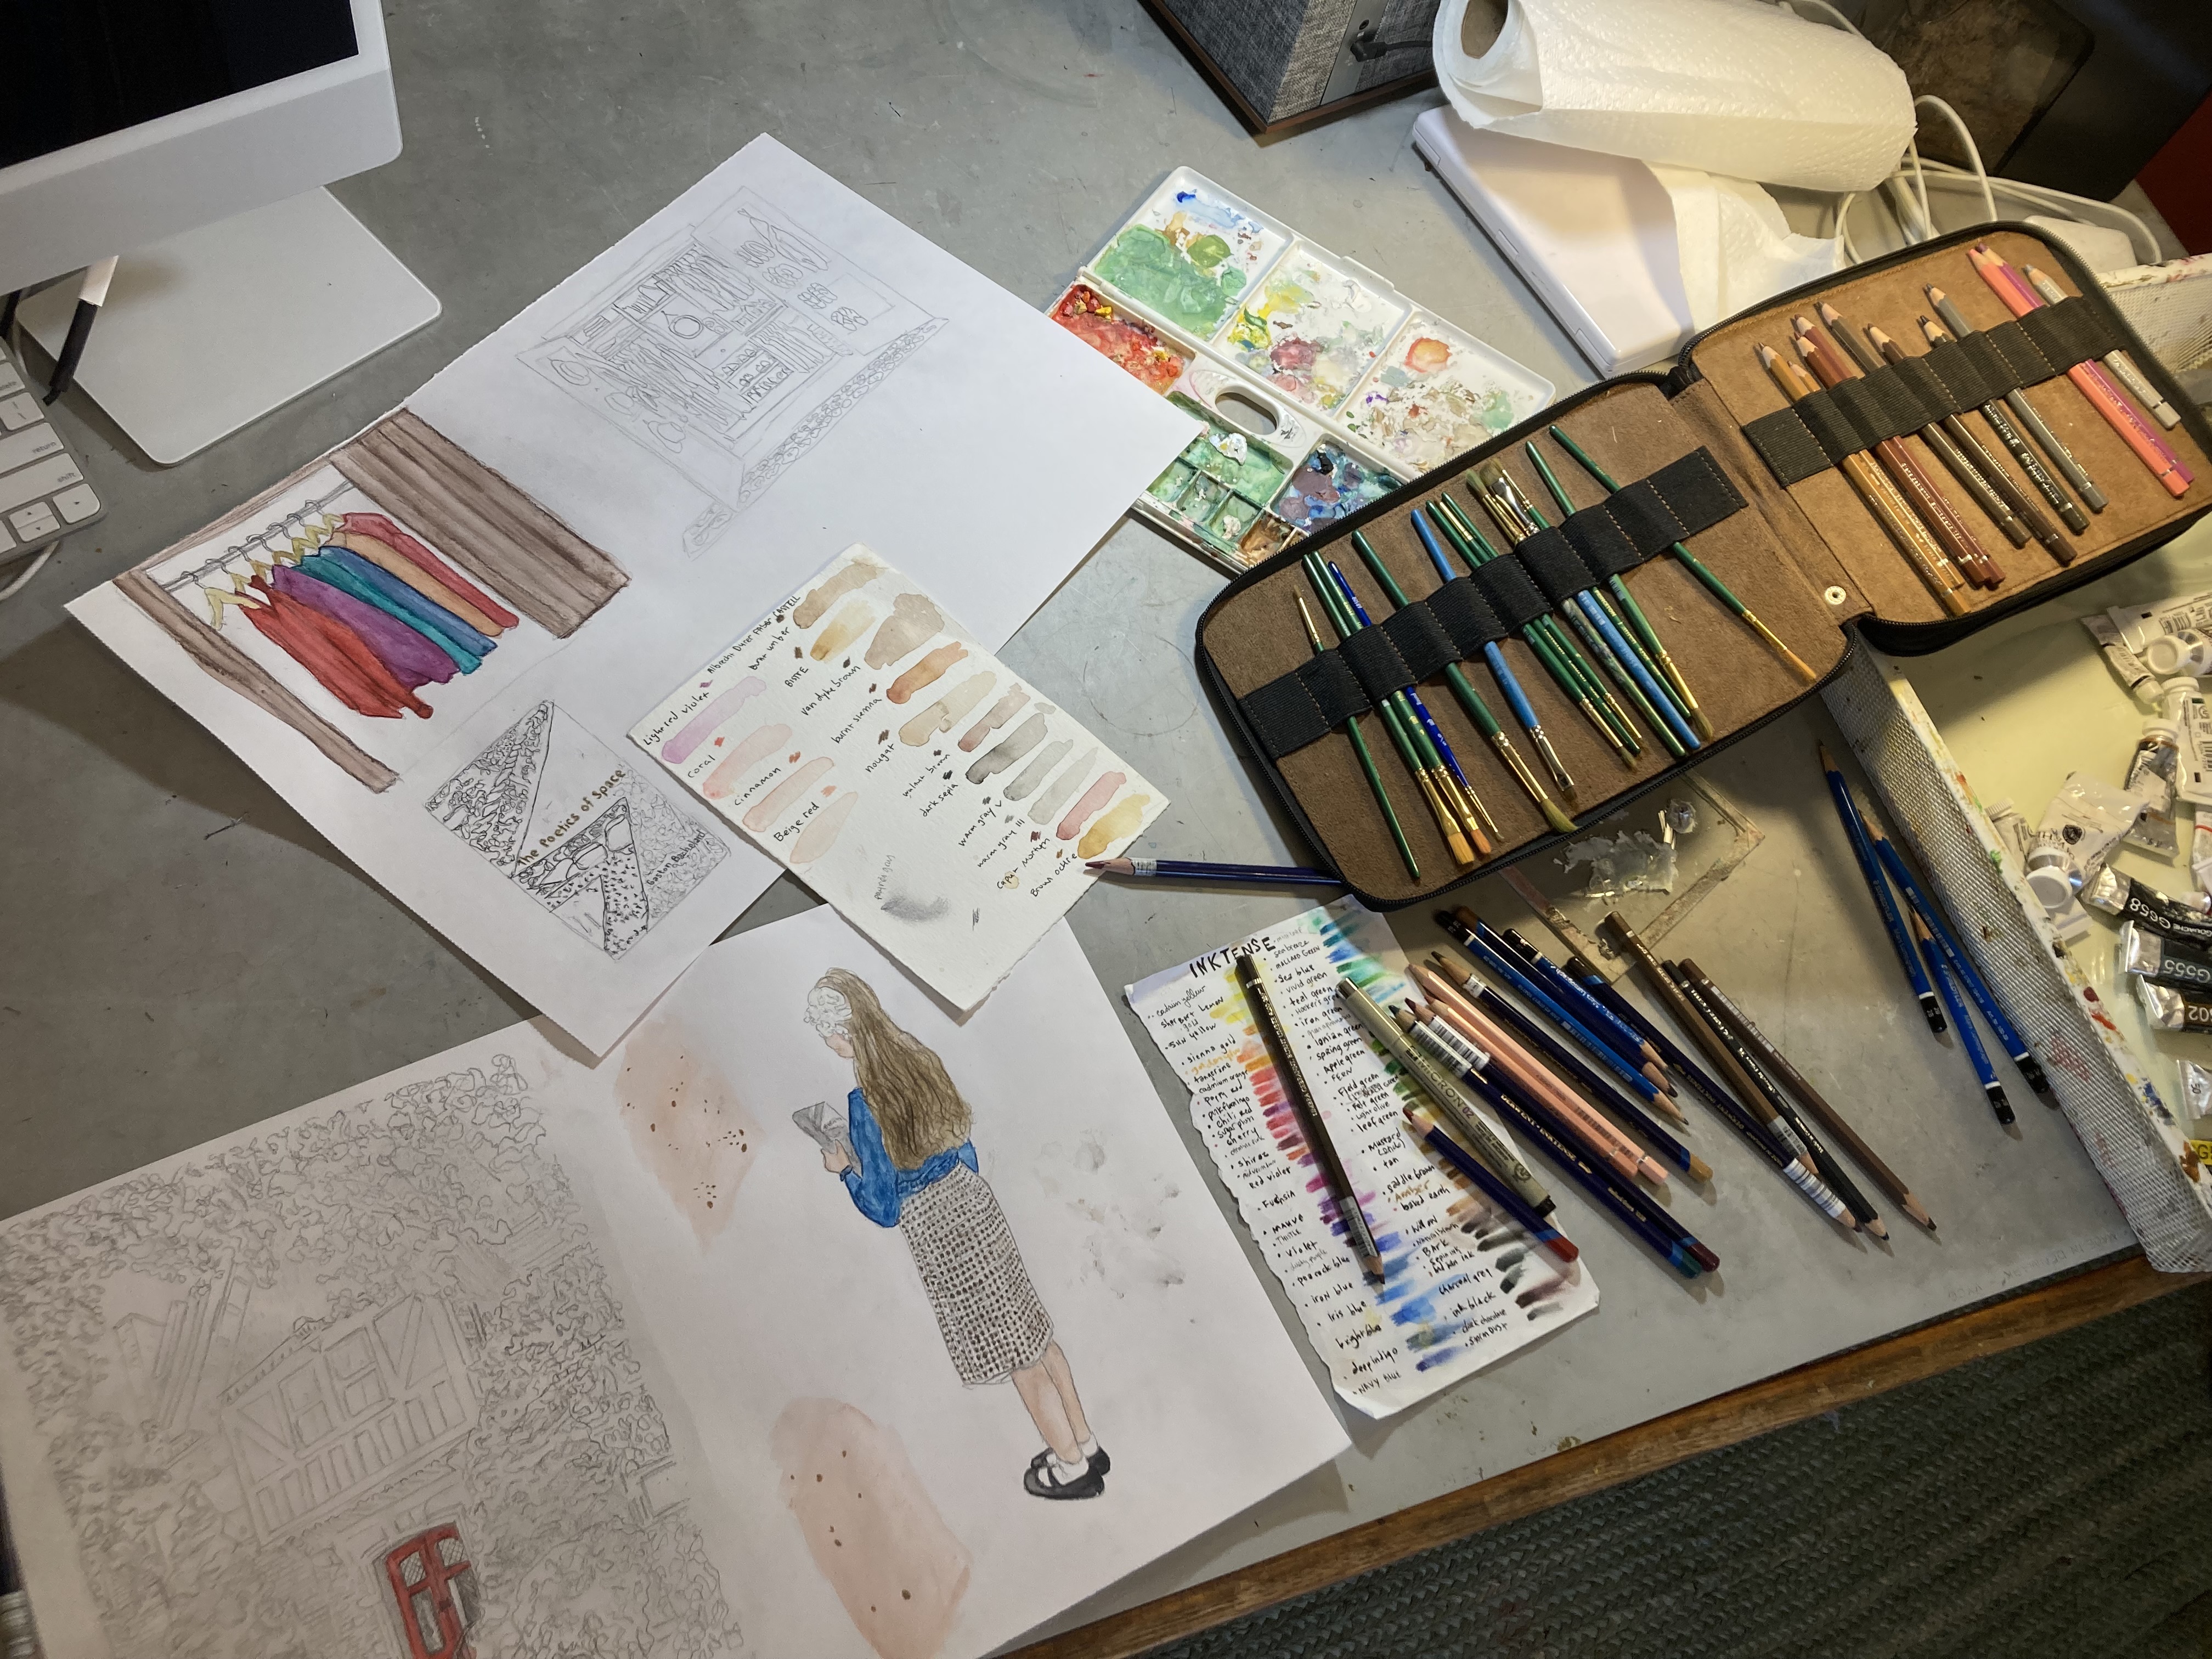
I worked in the studio – drawing, painting, scanning, and putting it all together. I use staedtler 2B pencils on either 400 series Strathmore Bristol or 1264 Fabriano Mix Media Multi-Technique. For color, I use inktense pencils, Faber Castell watercolor pencils, and winsor and Newton Designers Gouache and paint with a series of Princeton Lauren brushes. I scan the paintings using an HP OfficeJet Pro 7740 and use the Adobe Creative Suite Photoshop program on an iMac for final composition.

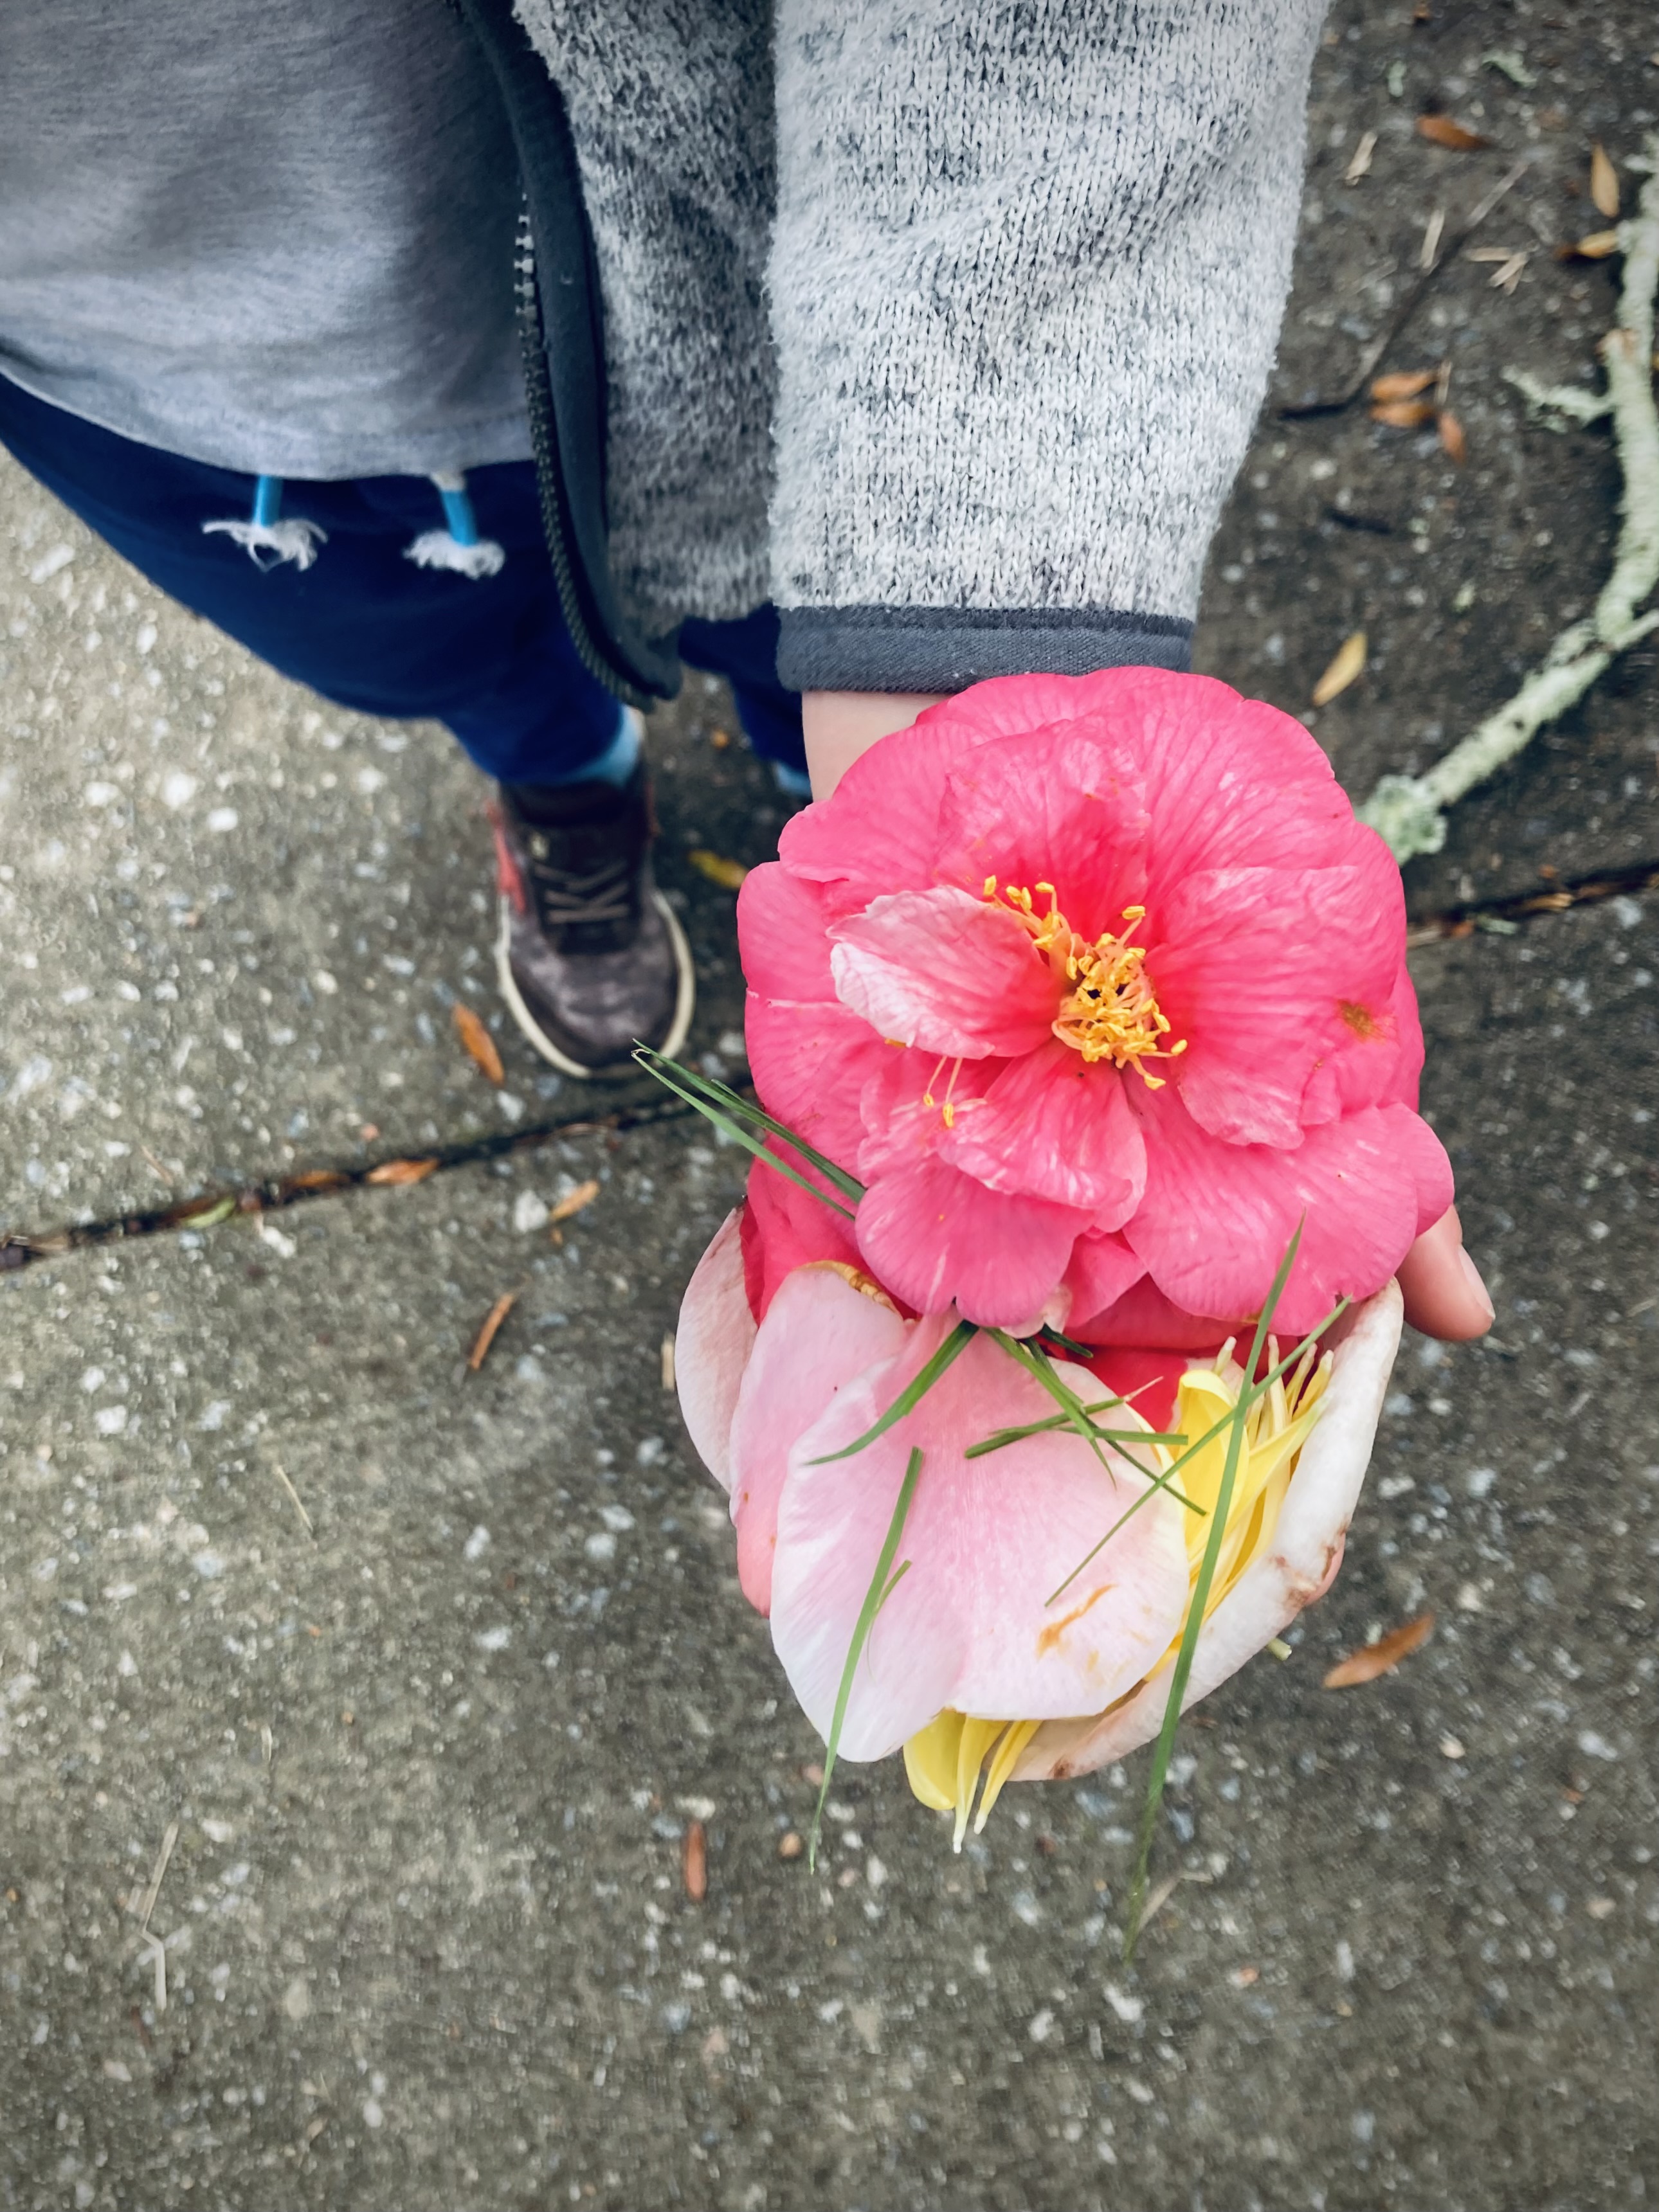
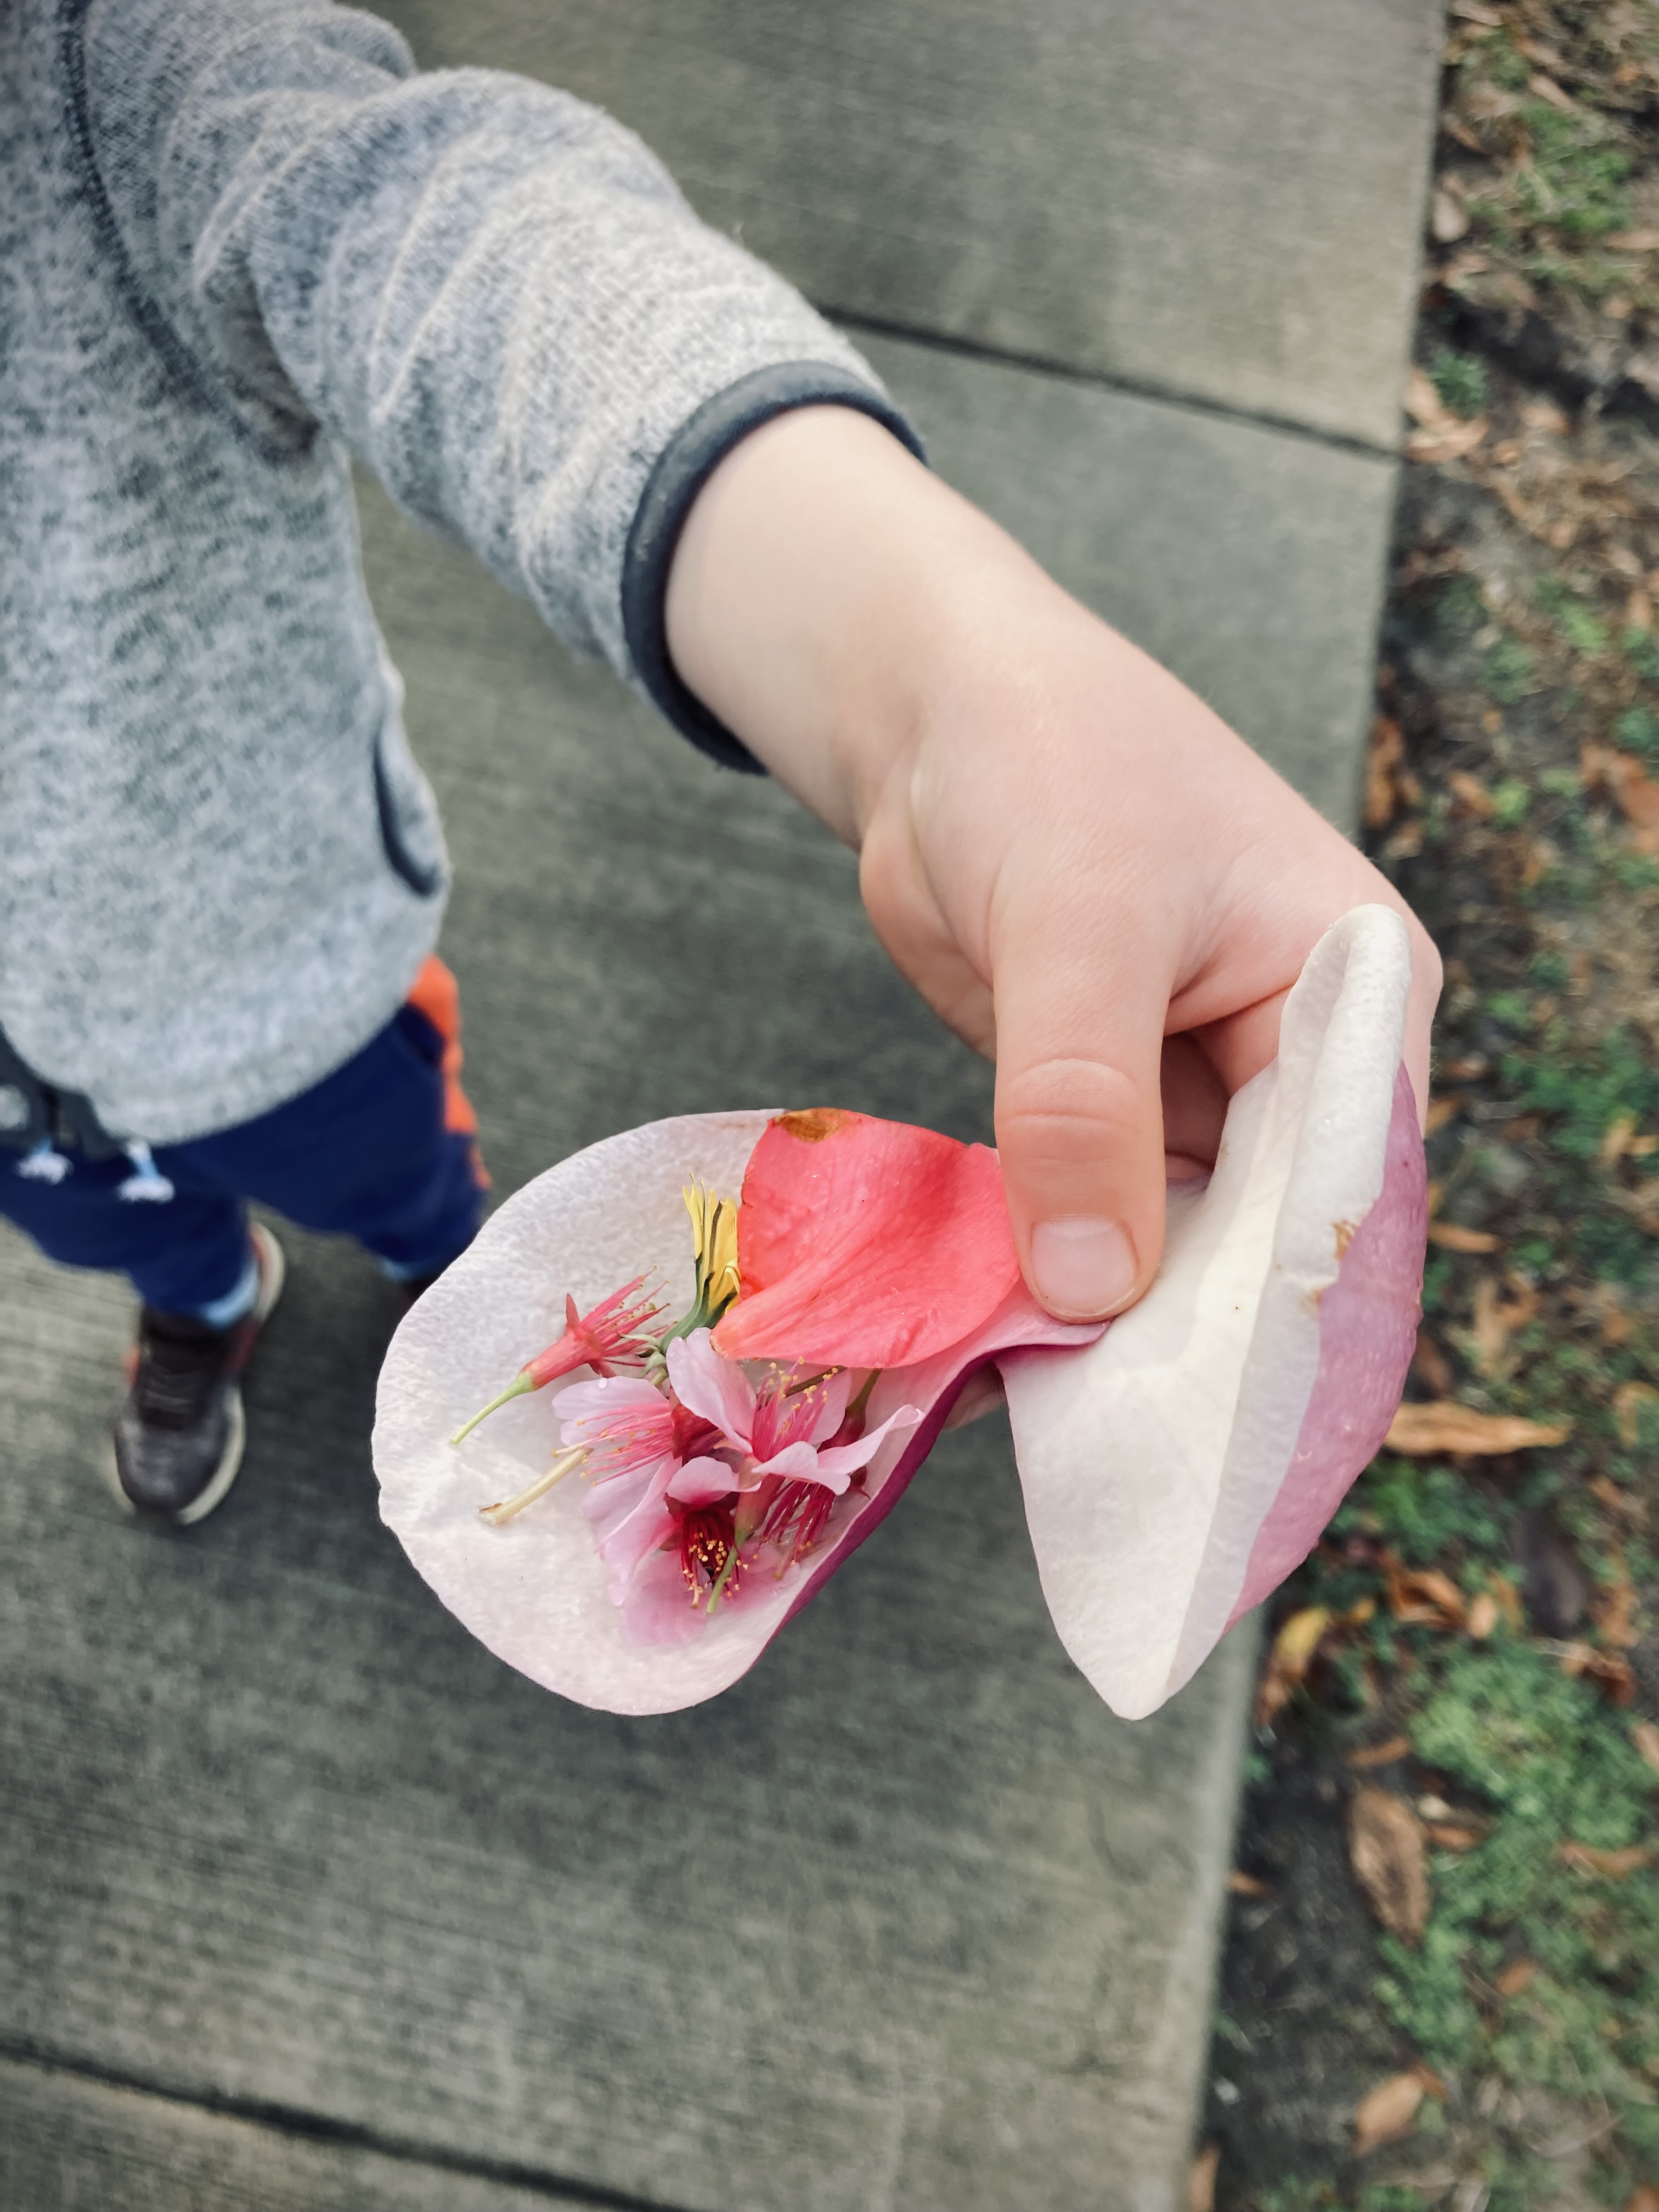
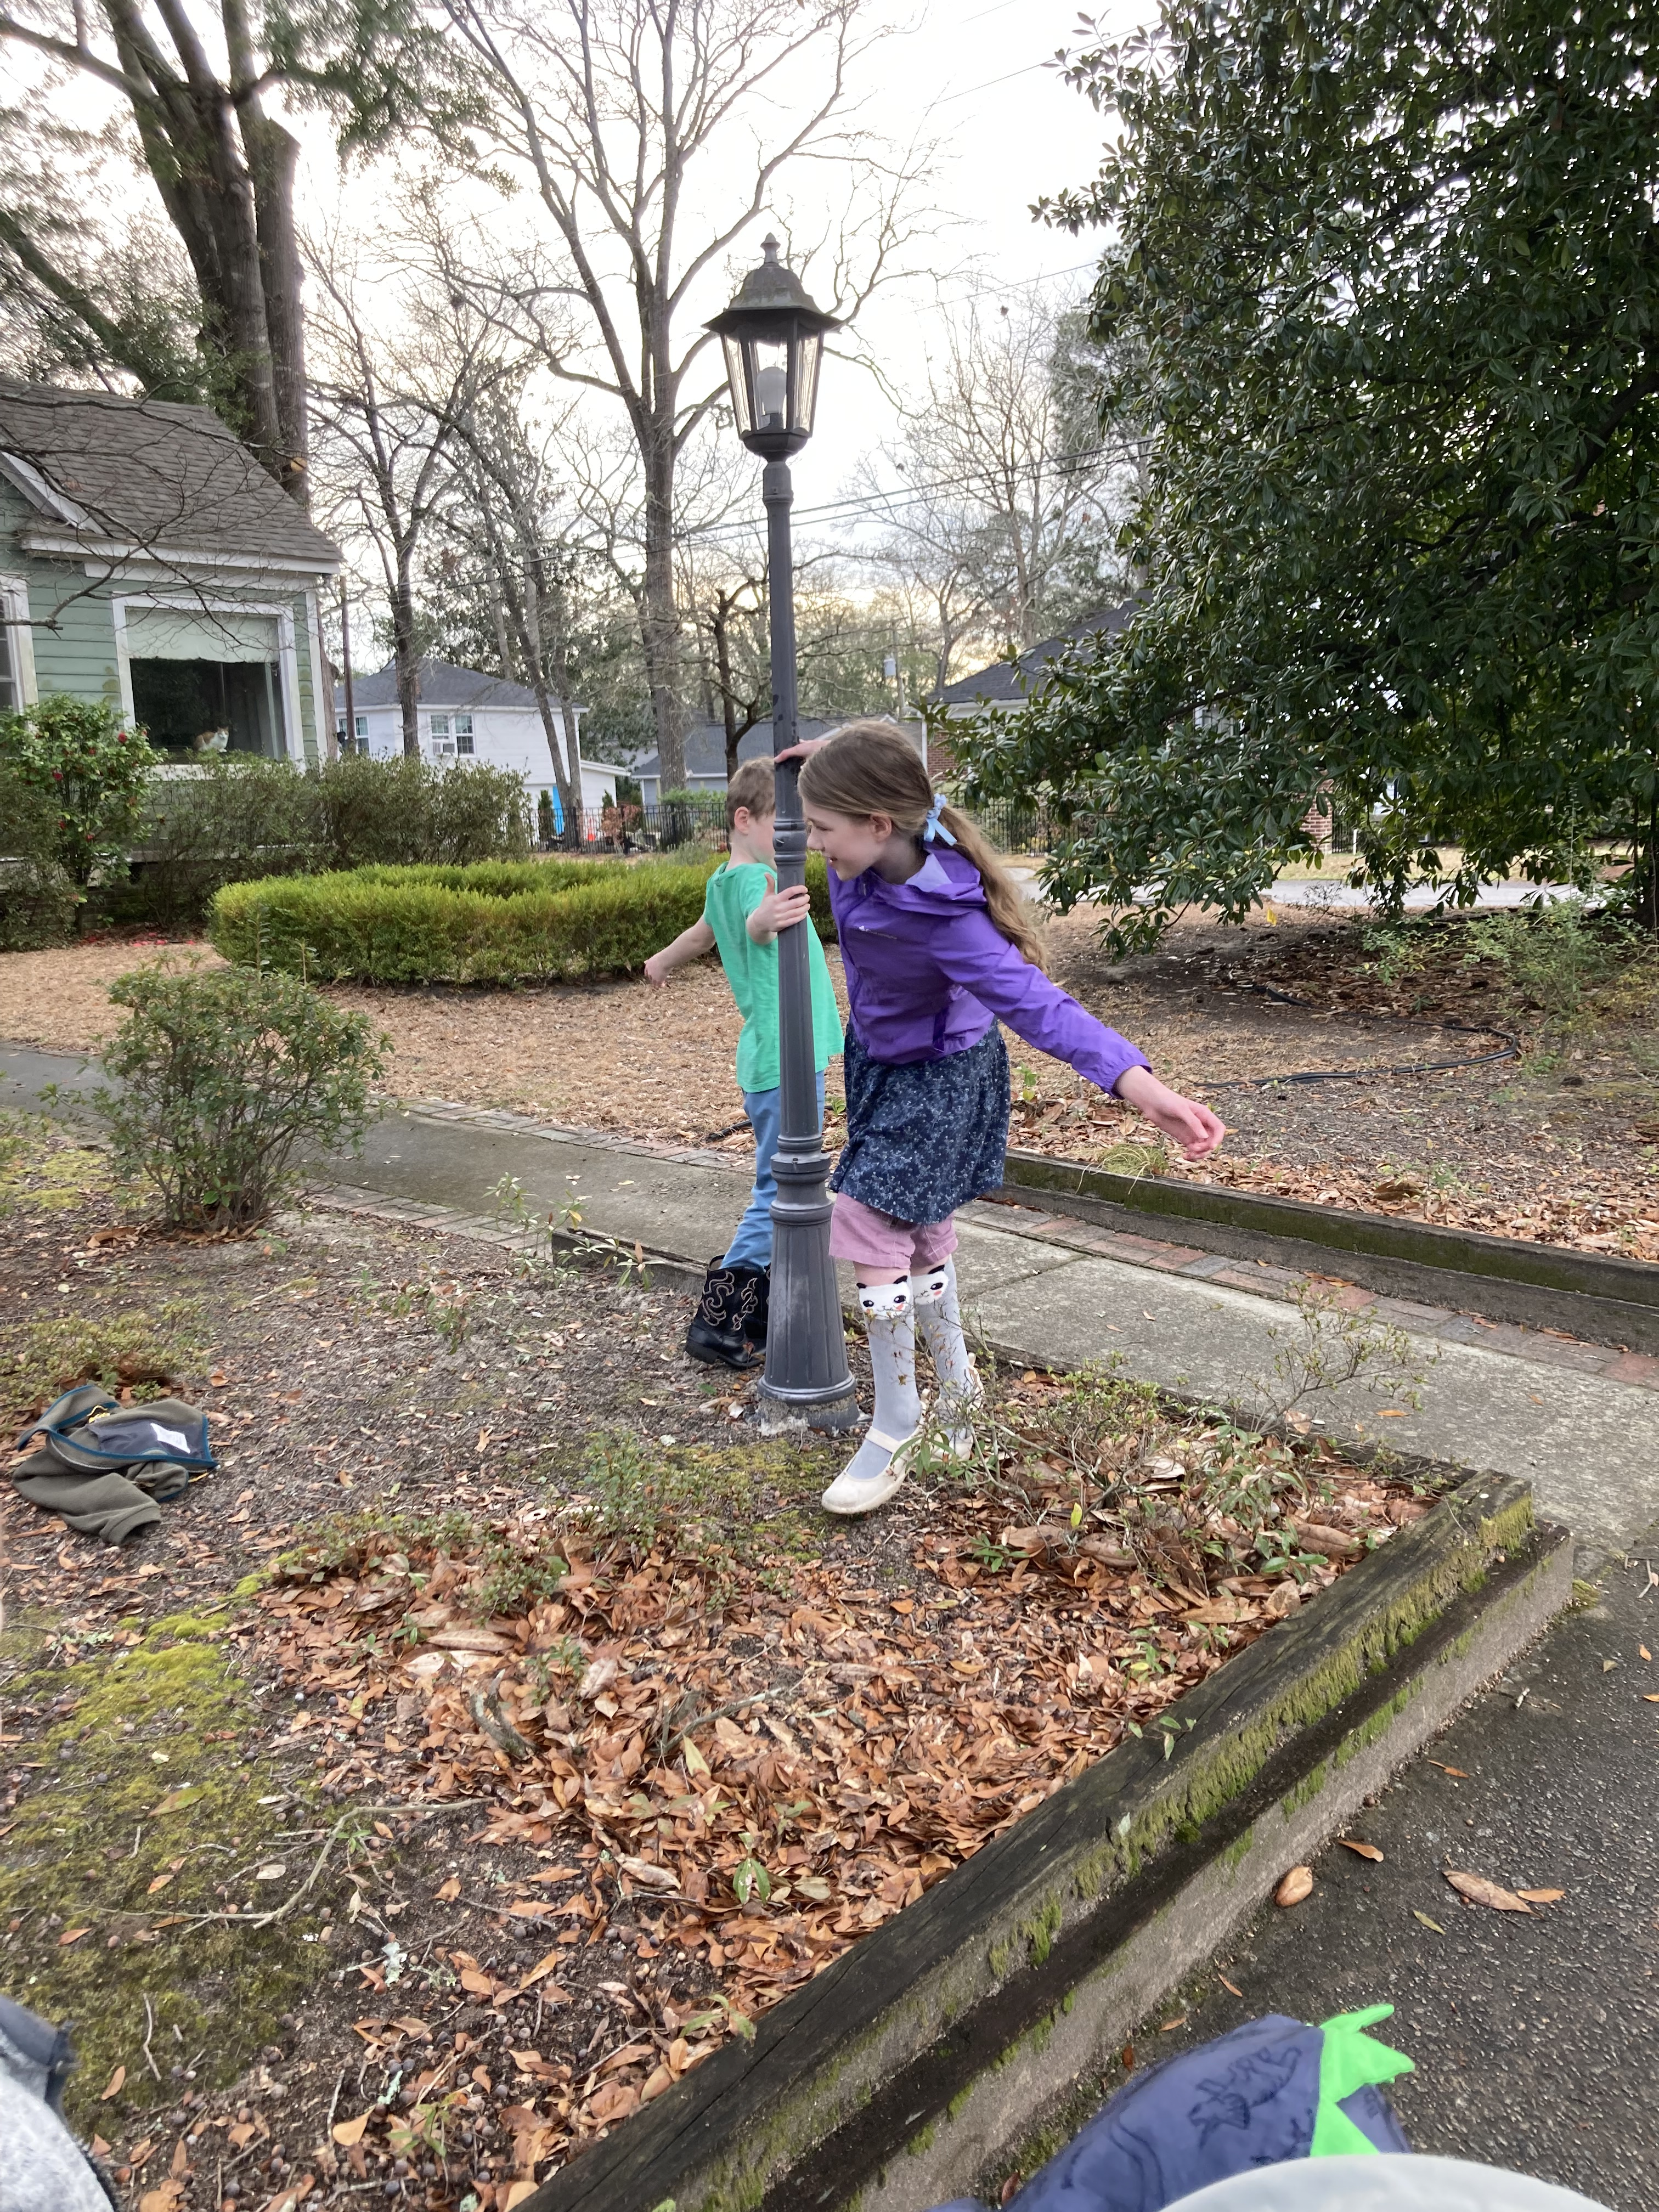
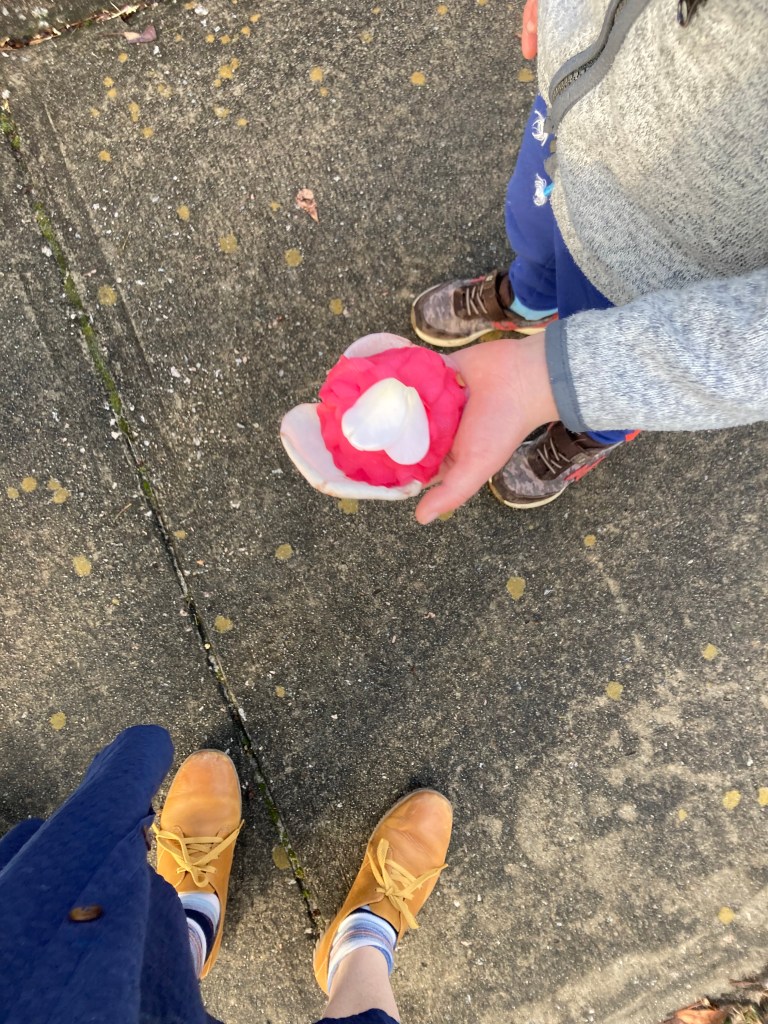
We went out for “The Pleasures of Sudden Wonder” flower walk in a neighborhood near our parish. The kids started picking up flowers and flower petals that had fallen to the ground. J.F.P. was making these really neat sculptures and art out of the petals. I also showed the kids how to swing around the light pole to play “Dizzy Gillespiee” from the story. They thought that was pretty fun.

This story was reviewed by Trenton Lee Stewart, which is so amazing because I used E.K. as a model for this story, and The Mysterious Benedict Society is one of her favorite books! I actually read this book a couple of years after it was first published, and went to an author signing event after the release of the third book in the series at an independent bookstore WordsWorth Books to meet Mr. Stewart. I sent the signed copy to my cousin, who was around E.K.’s age at the time, who also loved mysteries and the book series. I can’t know if he saw the illustrations I made or just read the story, but it still feels very fancy to have something one has had a creative hand in to be reviewed by a favorite author!

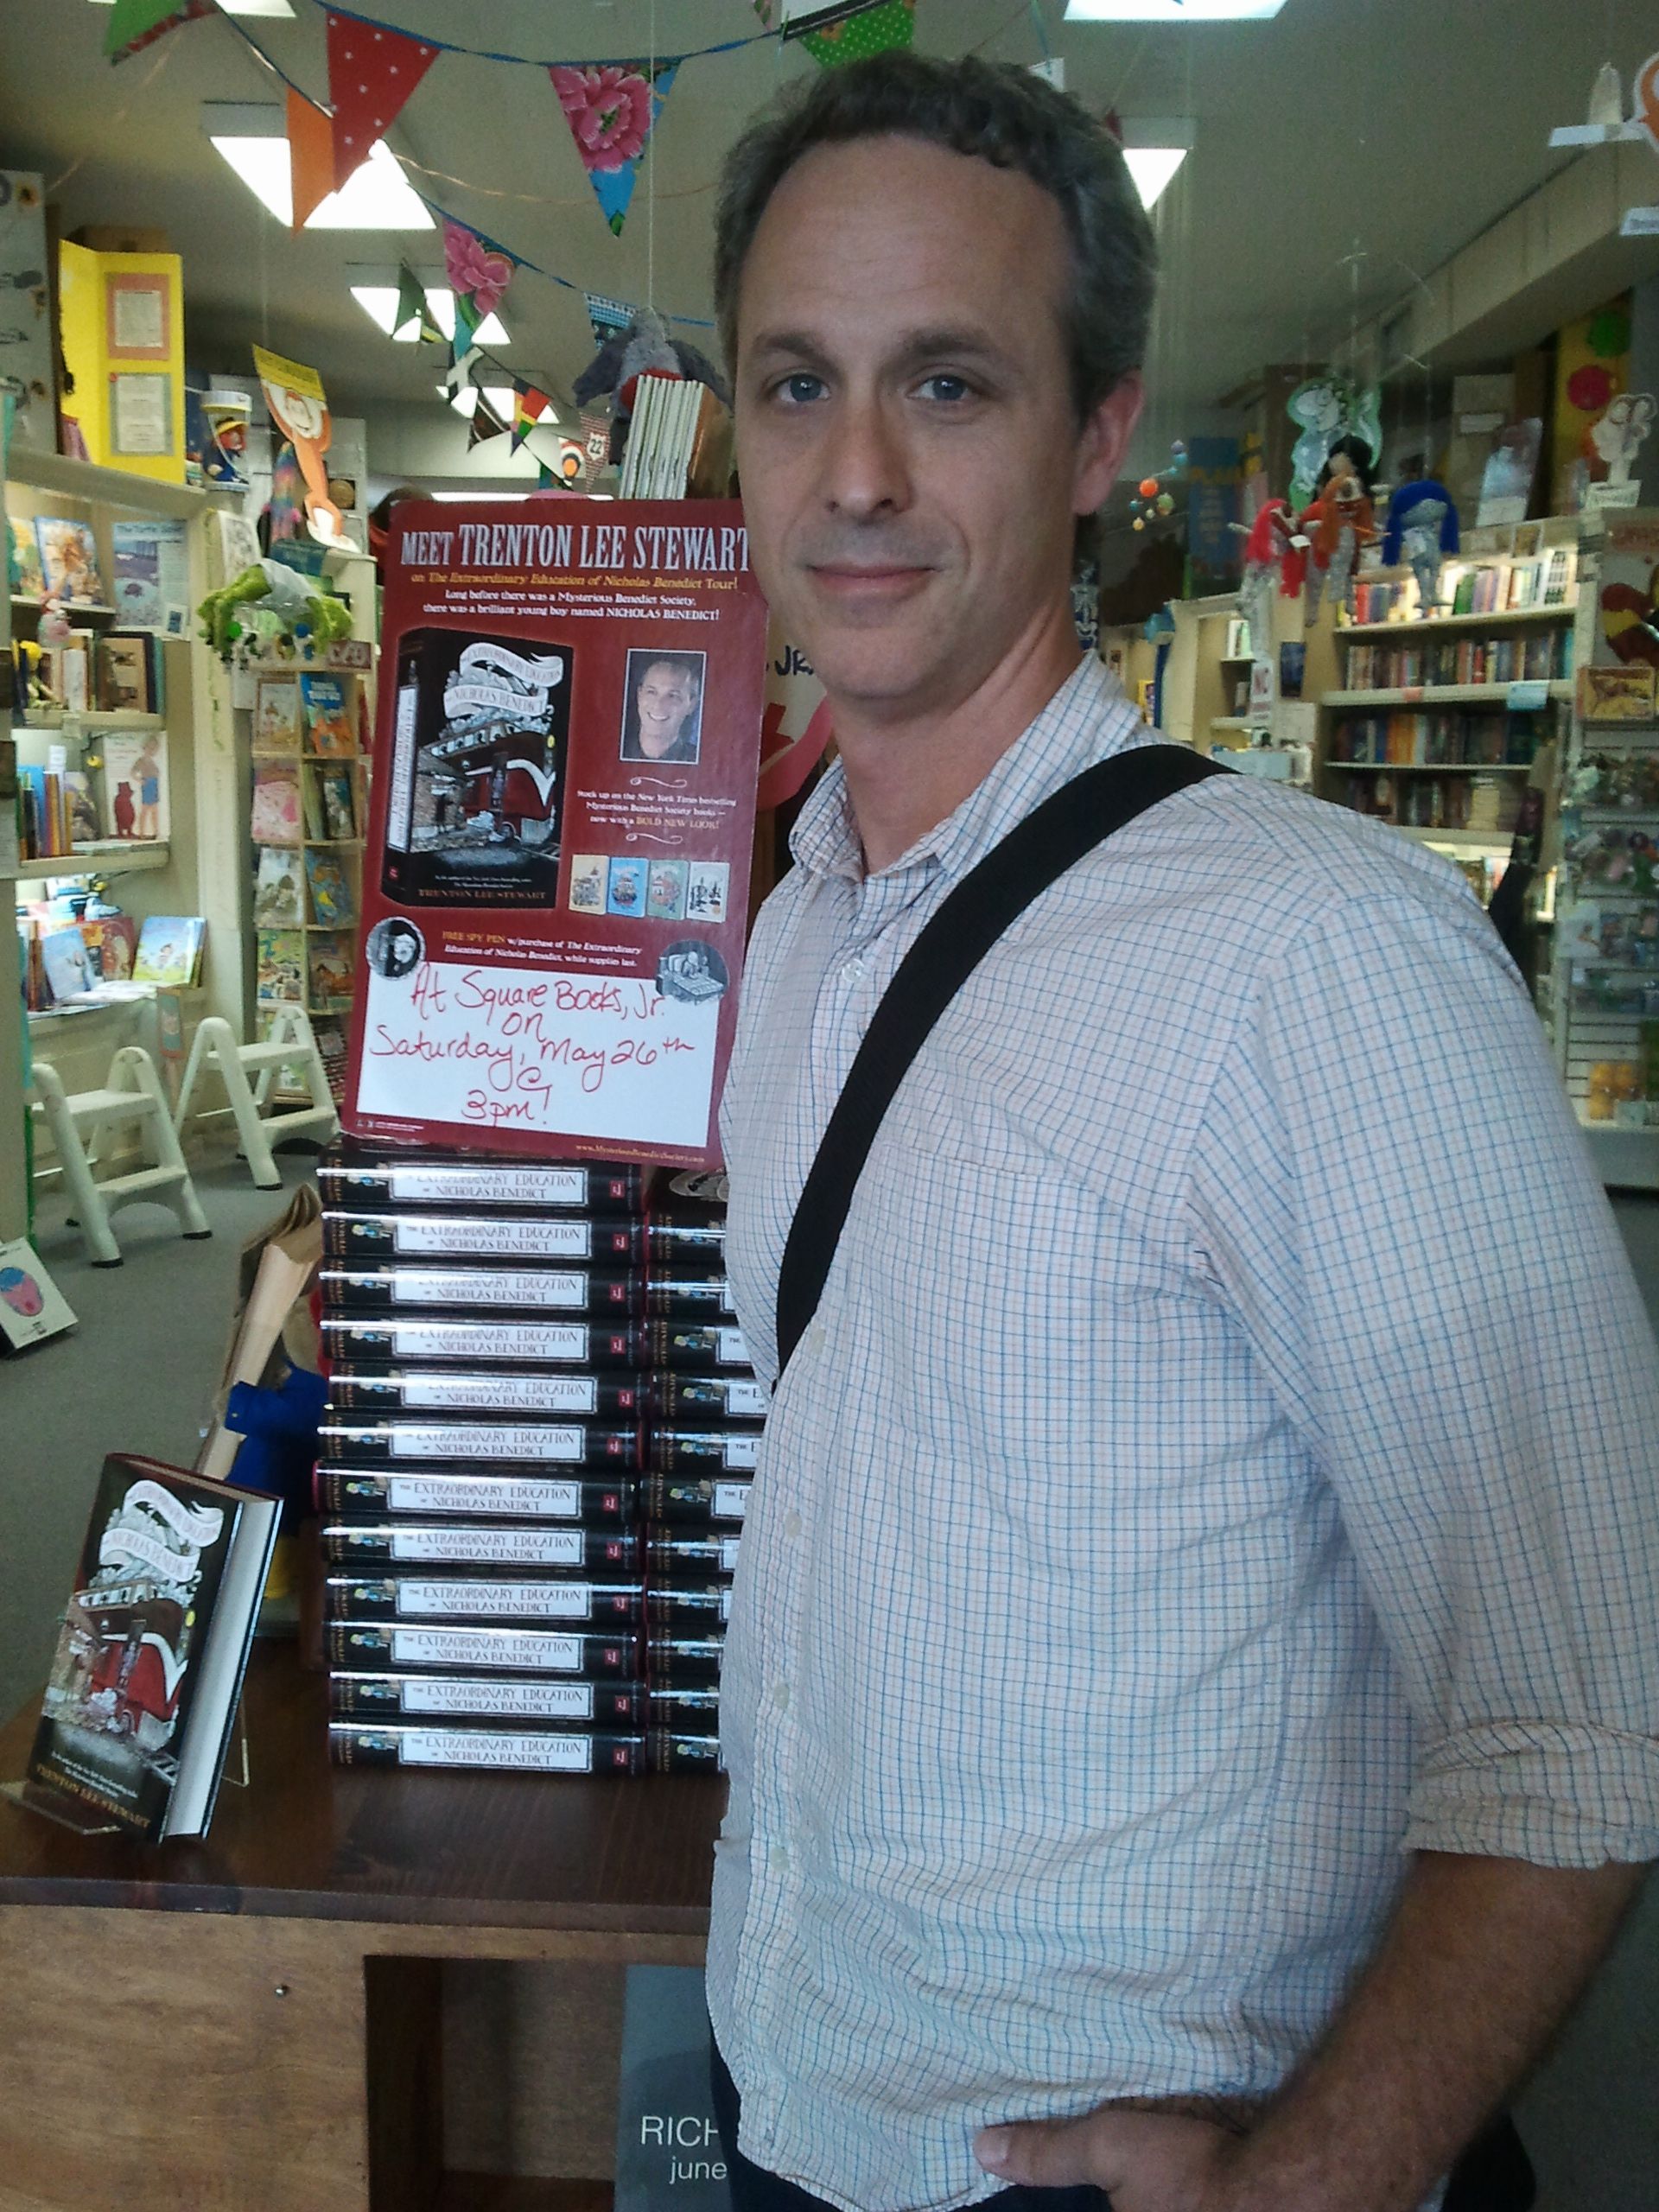
Here is THE review by Trent Lee Stewart on “The Pleasures of Sudden Wonder”
“There is an air of mystery in everything J. Bradley Minnick writes. His prose and his characters—and even the neighborhoods and towns his characters inhabit—are in ceaseless search of the human soul. With a smiling, gentle sadness they offer abundant evidence of both its existence and its ungraspable nature. “The Pleasures of Sudden Wonder” is a glowing example of what makes Minnick such a special writer; like the houses that line its streets, this story will speak to you.”
I’m grateful for being a part of this project, and I hope YOU purchase the book, and enjoy it for years to come.