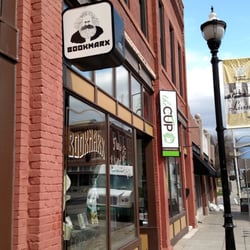
In December 2016, I went into Bookmarx – this little locally owned bookstore on Walnut Street – with a friend. I noticed they had a gallery space in the back that was surprisingly large. I started talking with the owner Aubrey. She told me to send her an email with some samples of my work. I did send her some samples and she liked them. She said an artist had backed out for March, and I said that would be great to show then.
I went by about a month before set up and measured the space. I like to know which pieces will fit in the space in advance. I drew up a diagram of the space and was able to fit almost the entire show in it.


I took the unframed pieces to Gallery Gal. I really wanted the frames to match and knew they could get the job done! Matthew was able to match the exact wood (soft maple).


In the meantime, I sent Aubrey info (including a picture of the exhibition postcard, artist bio and the artist statement) for the Springfield Regional Arts Council promotional information for the First Friday Art Walk.


As is always the case, time flew by and it was already time to go set up the show. M offered to take the paintings to Bookmarx for me and as he’s been pretty active at Royal Barbell these days, he had no problem loading and unloading all 13 pieces for me. Then after calling Gallery Gal for some help with hanging the artwork I put my show-hanging bag together and my work boots on and headed out.

This is my process of how I hang an art show:
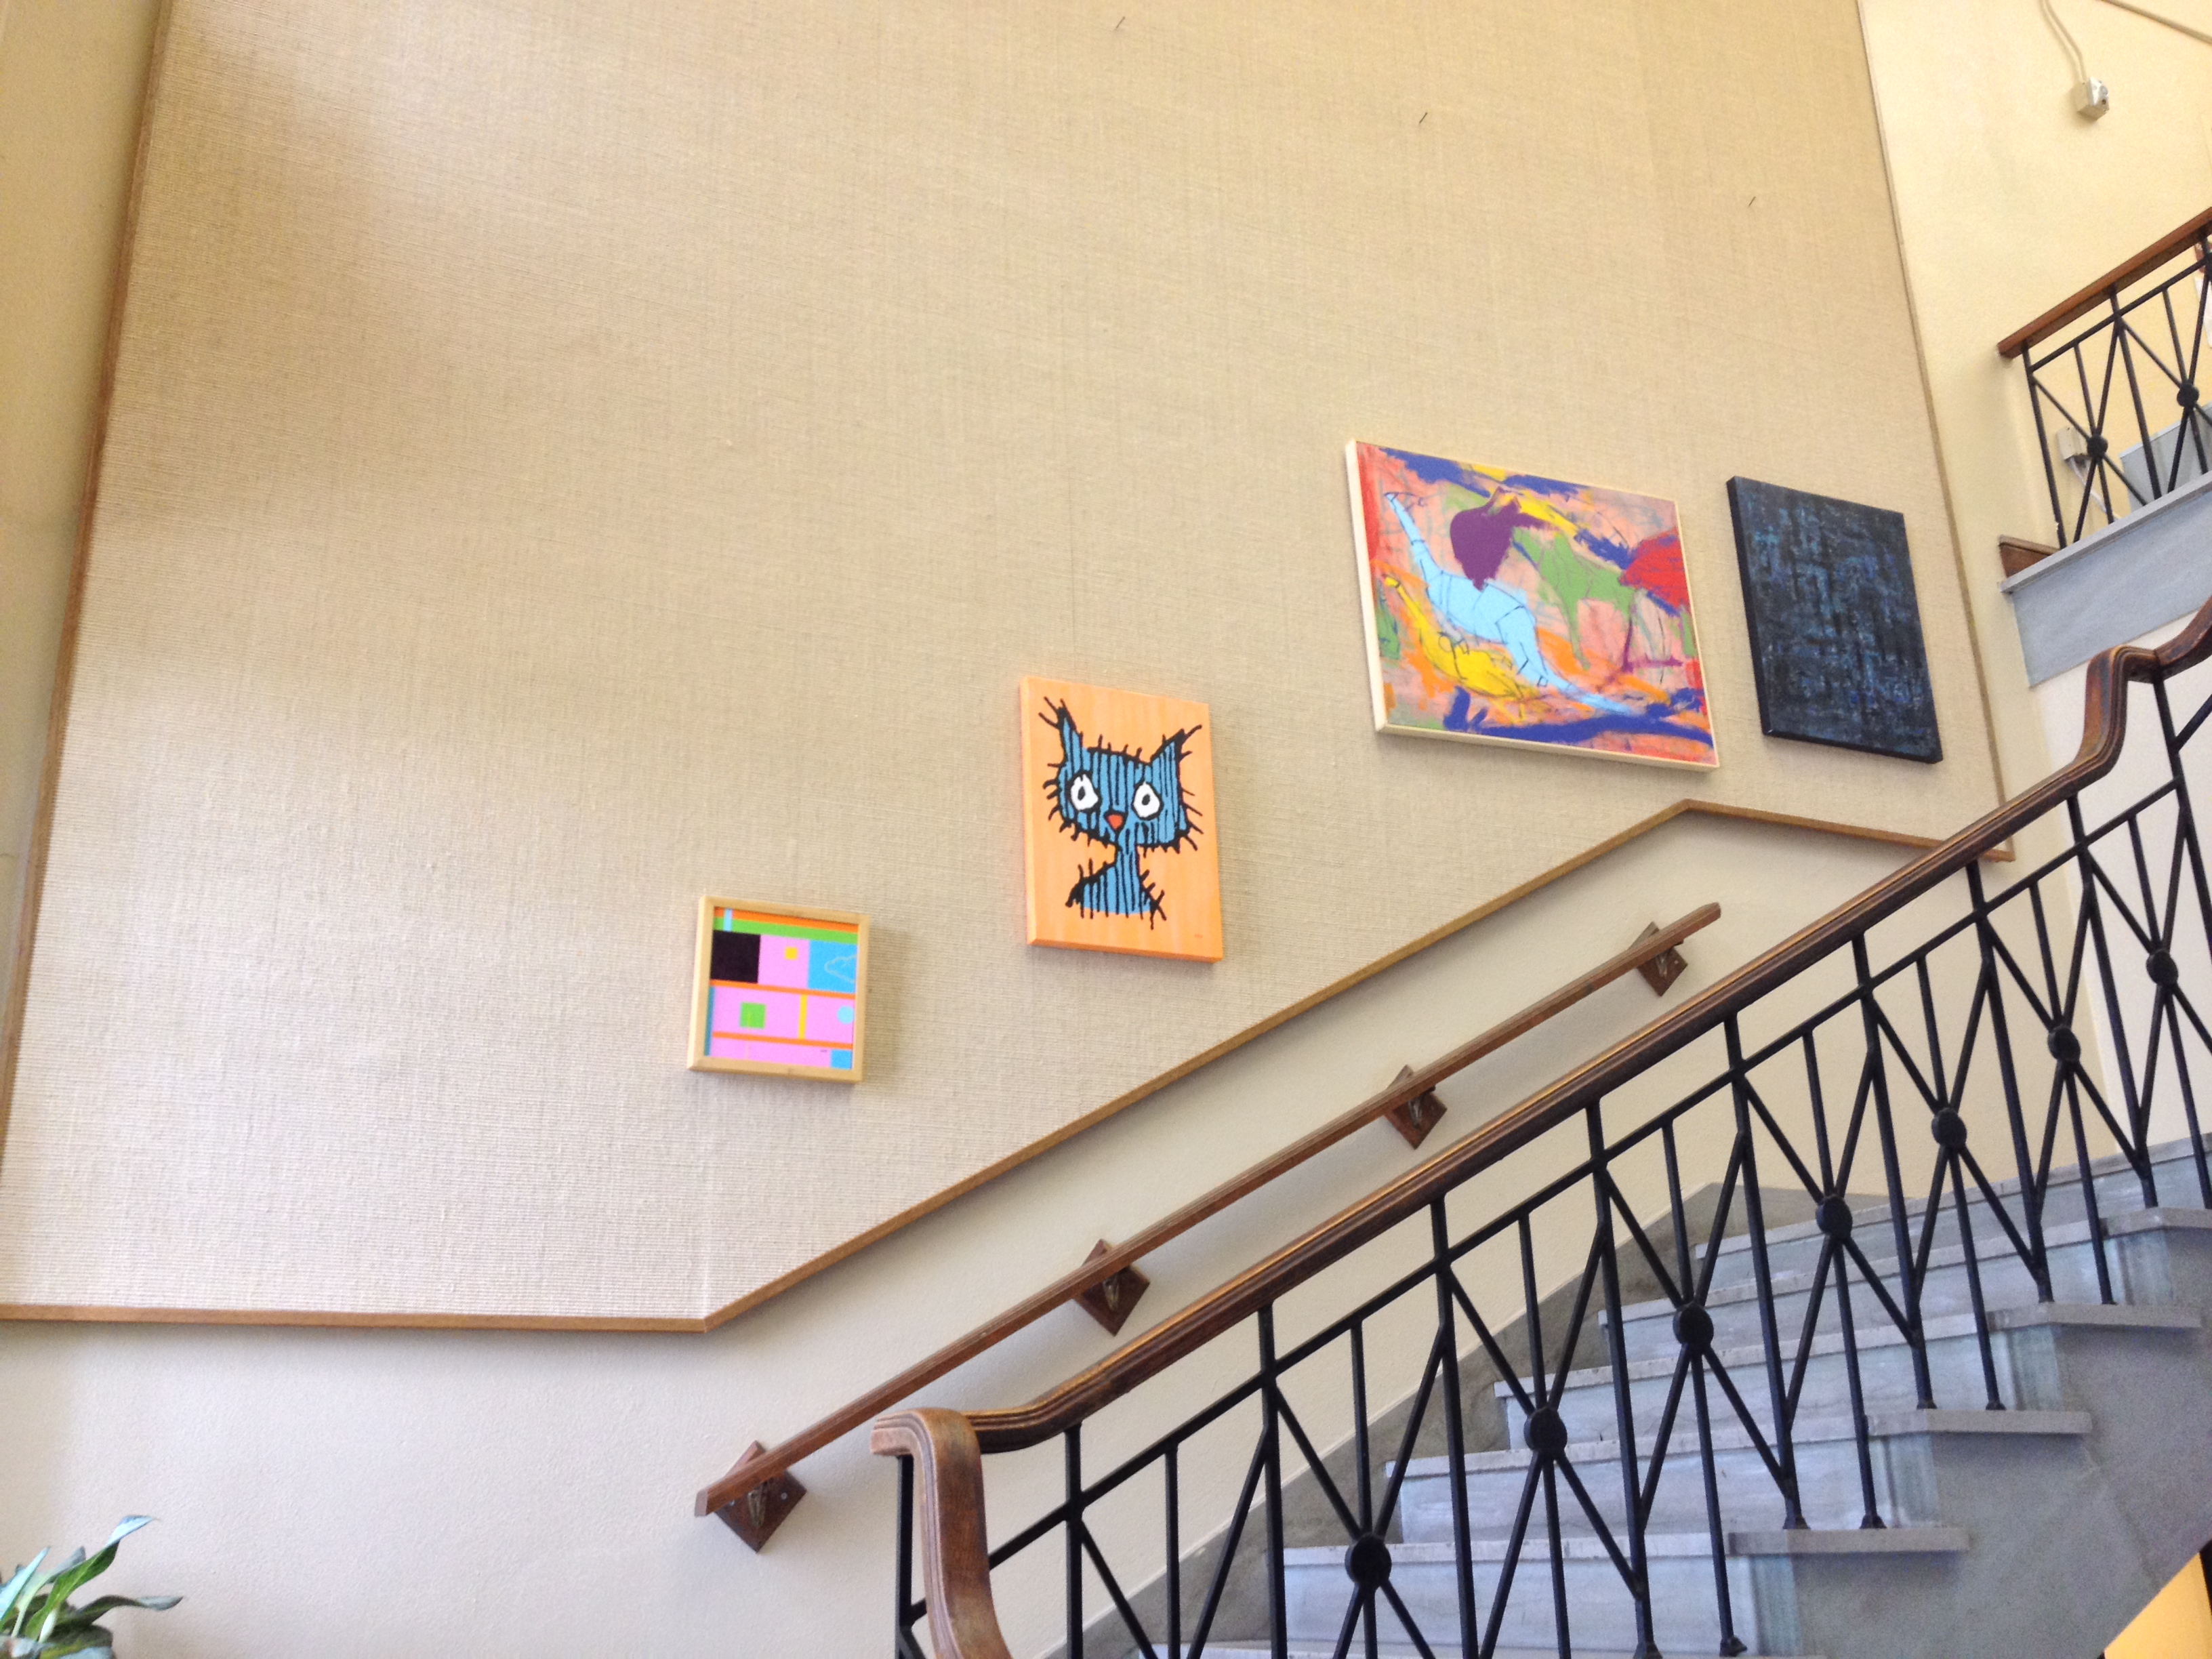
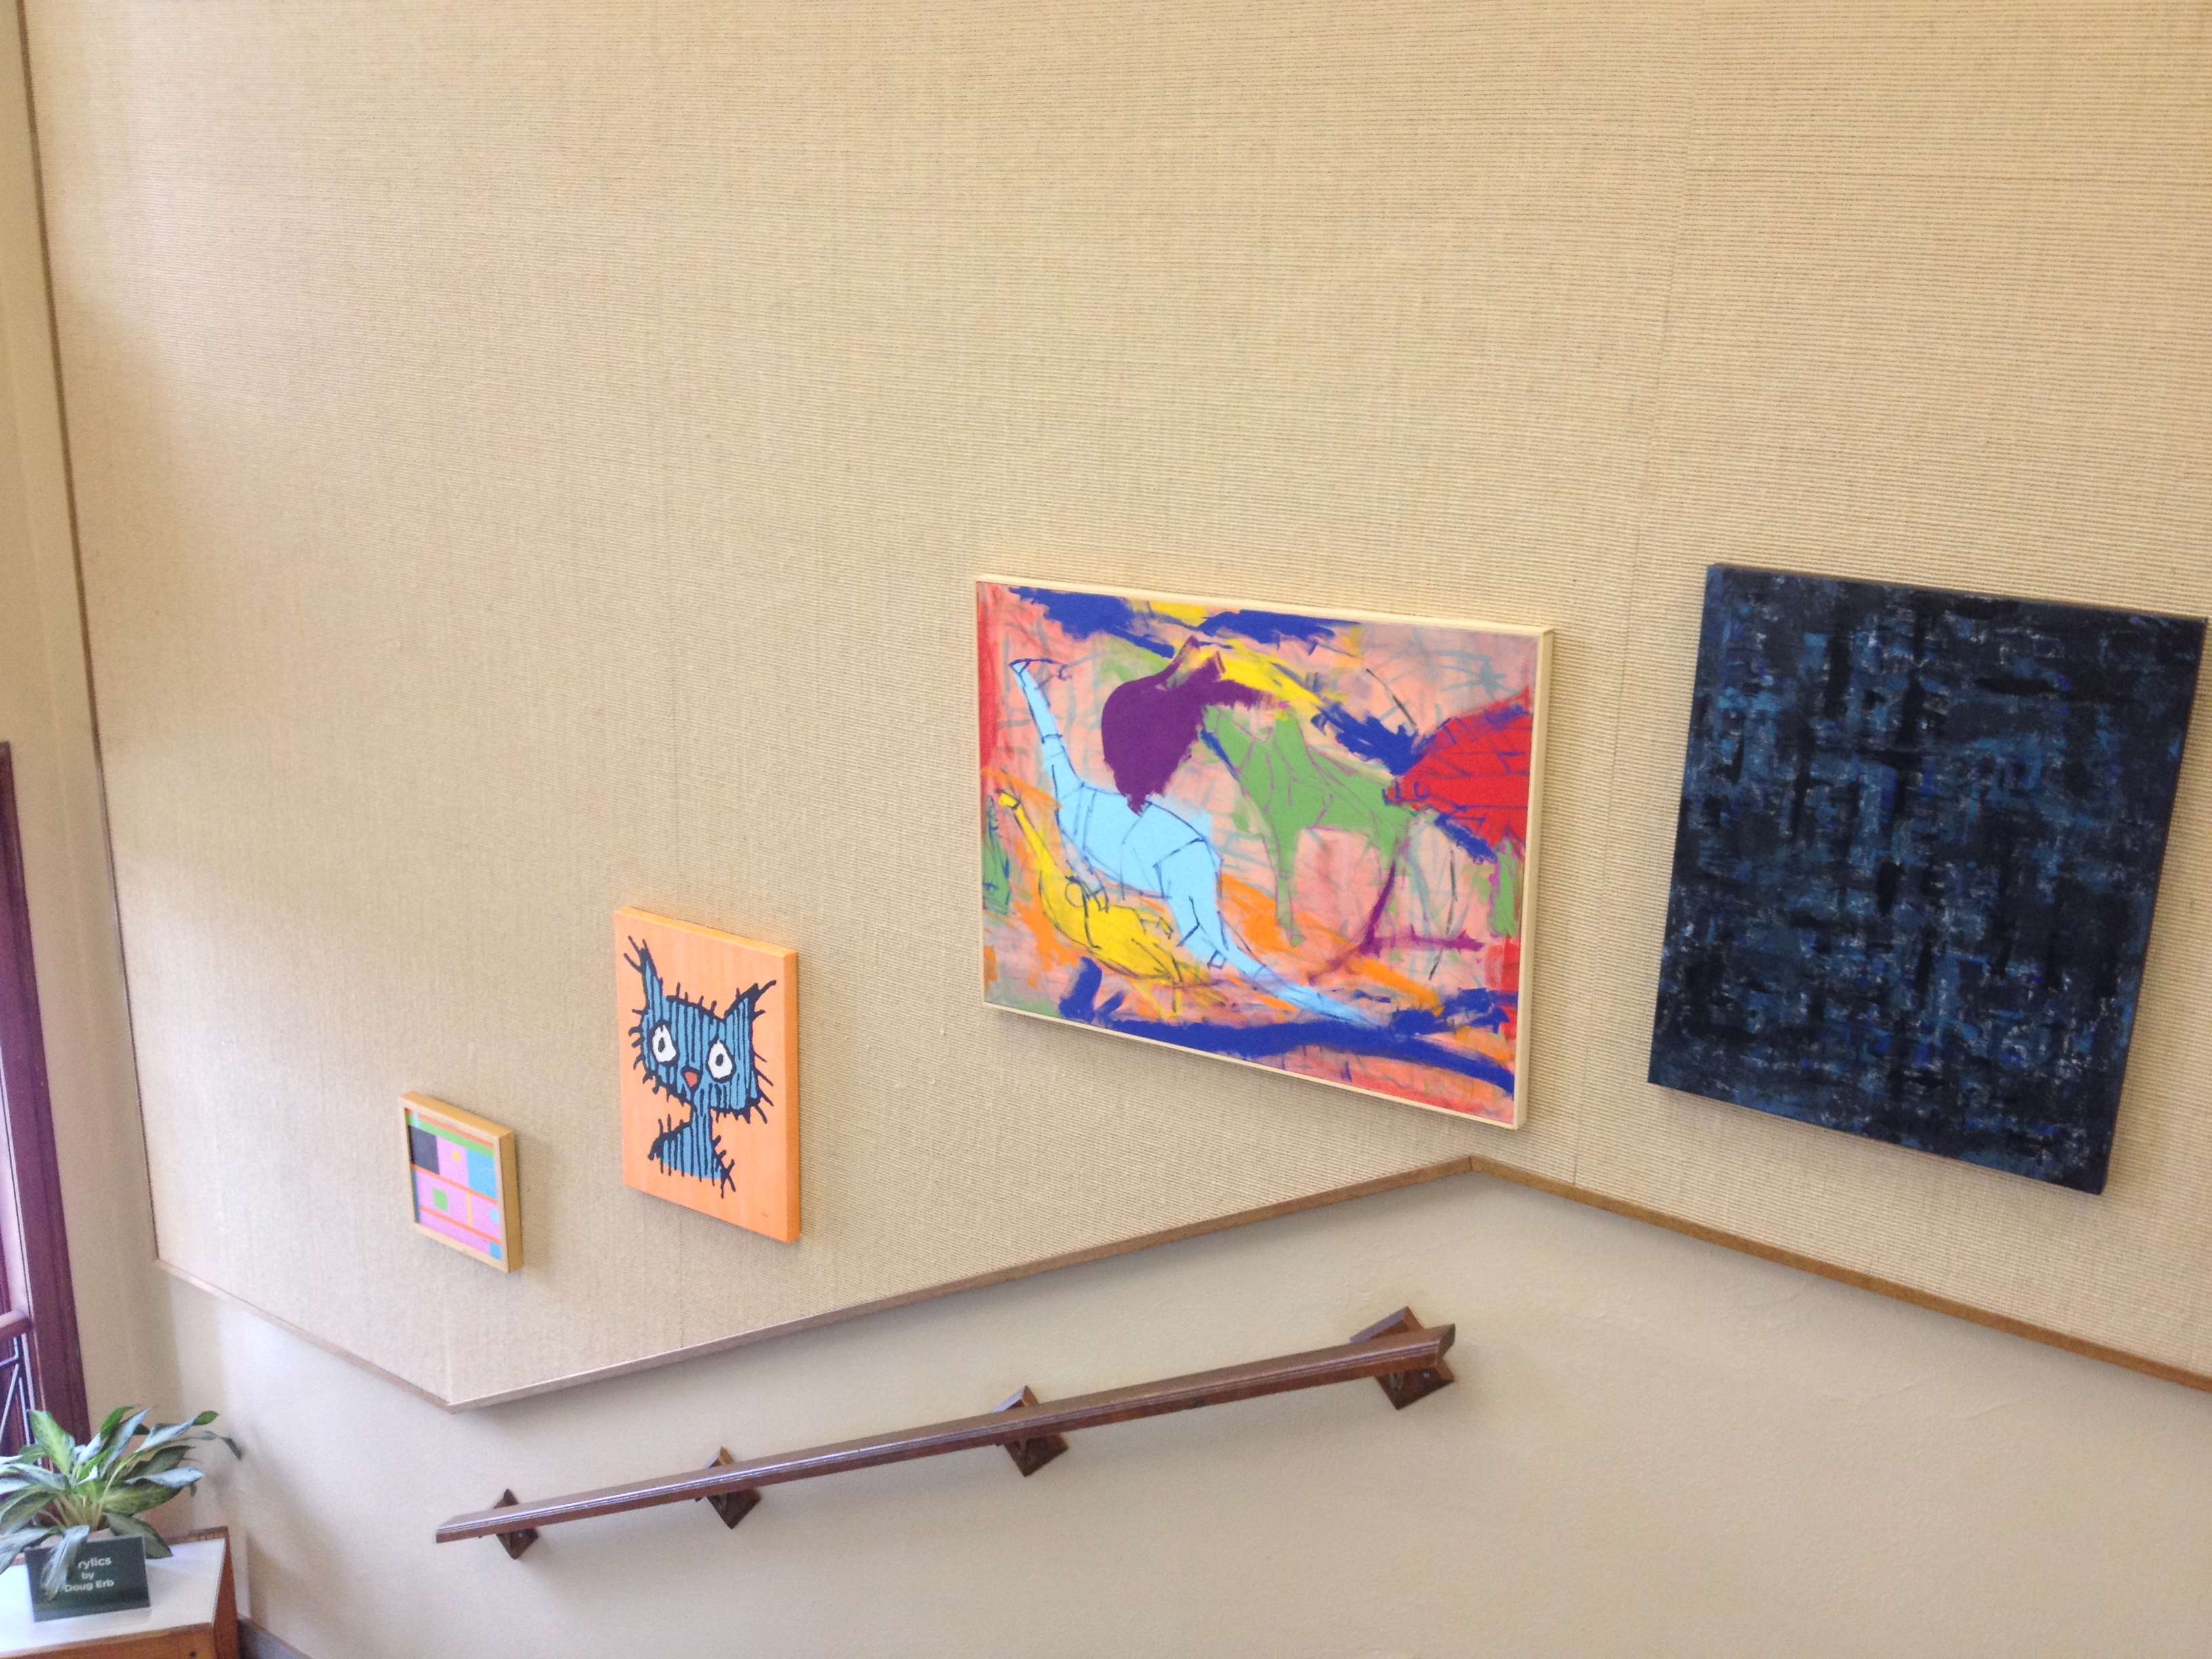
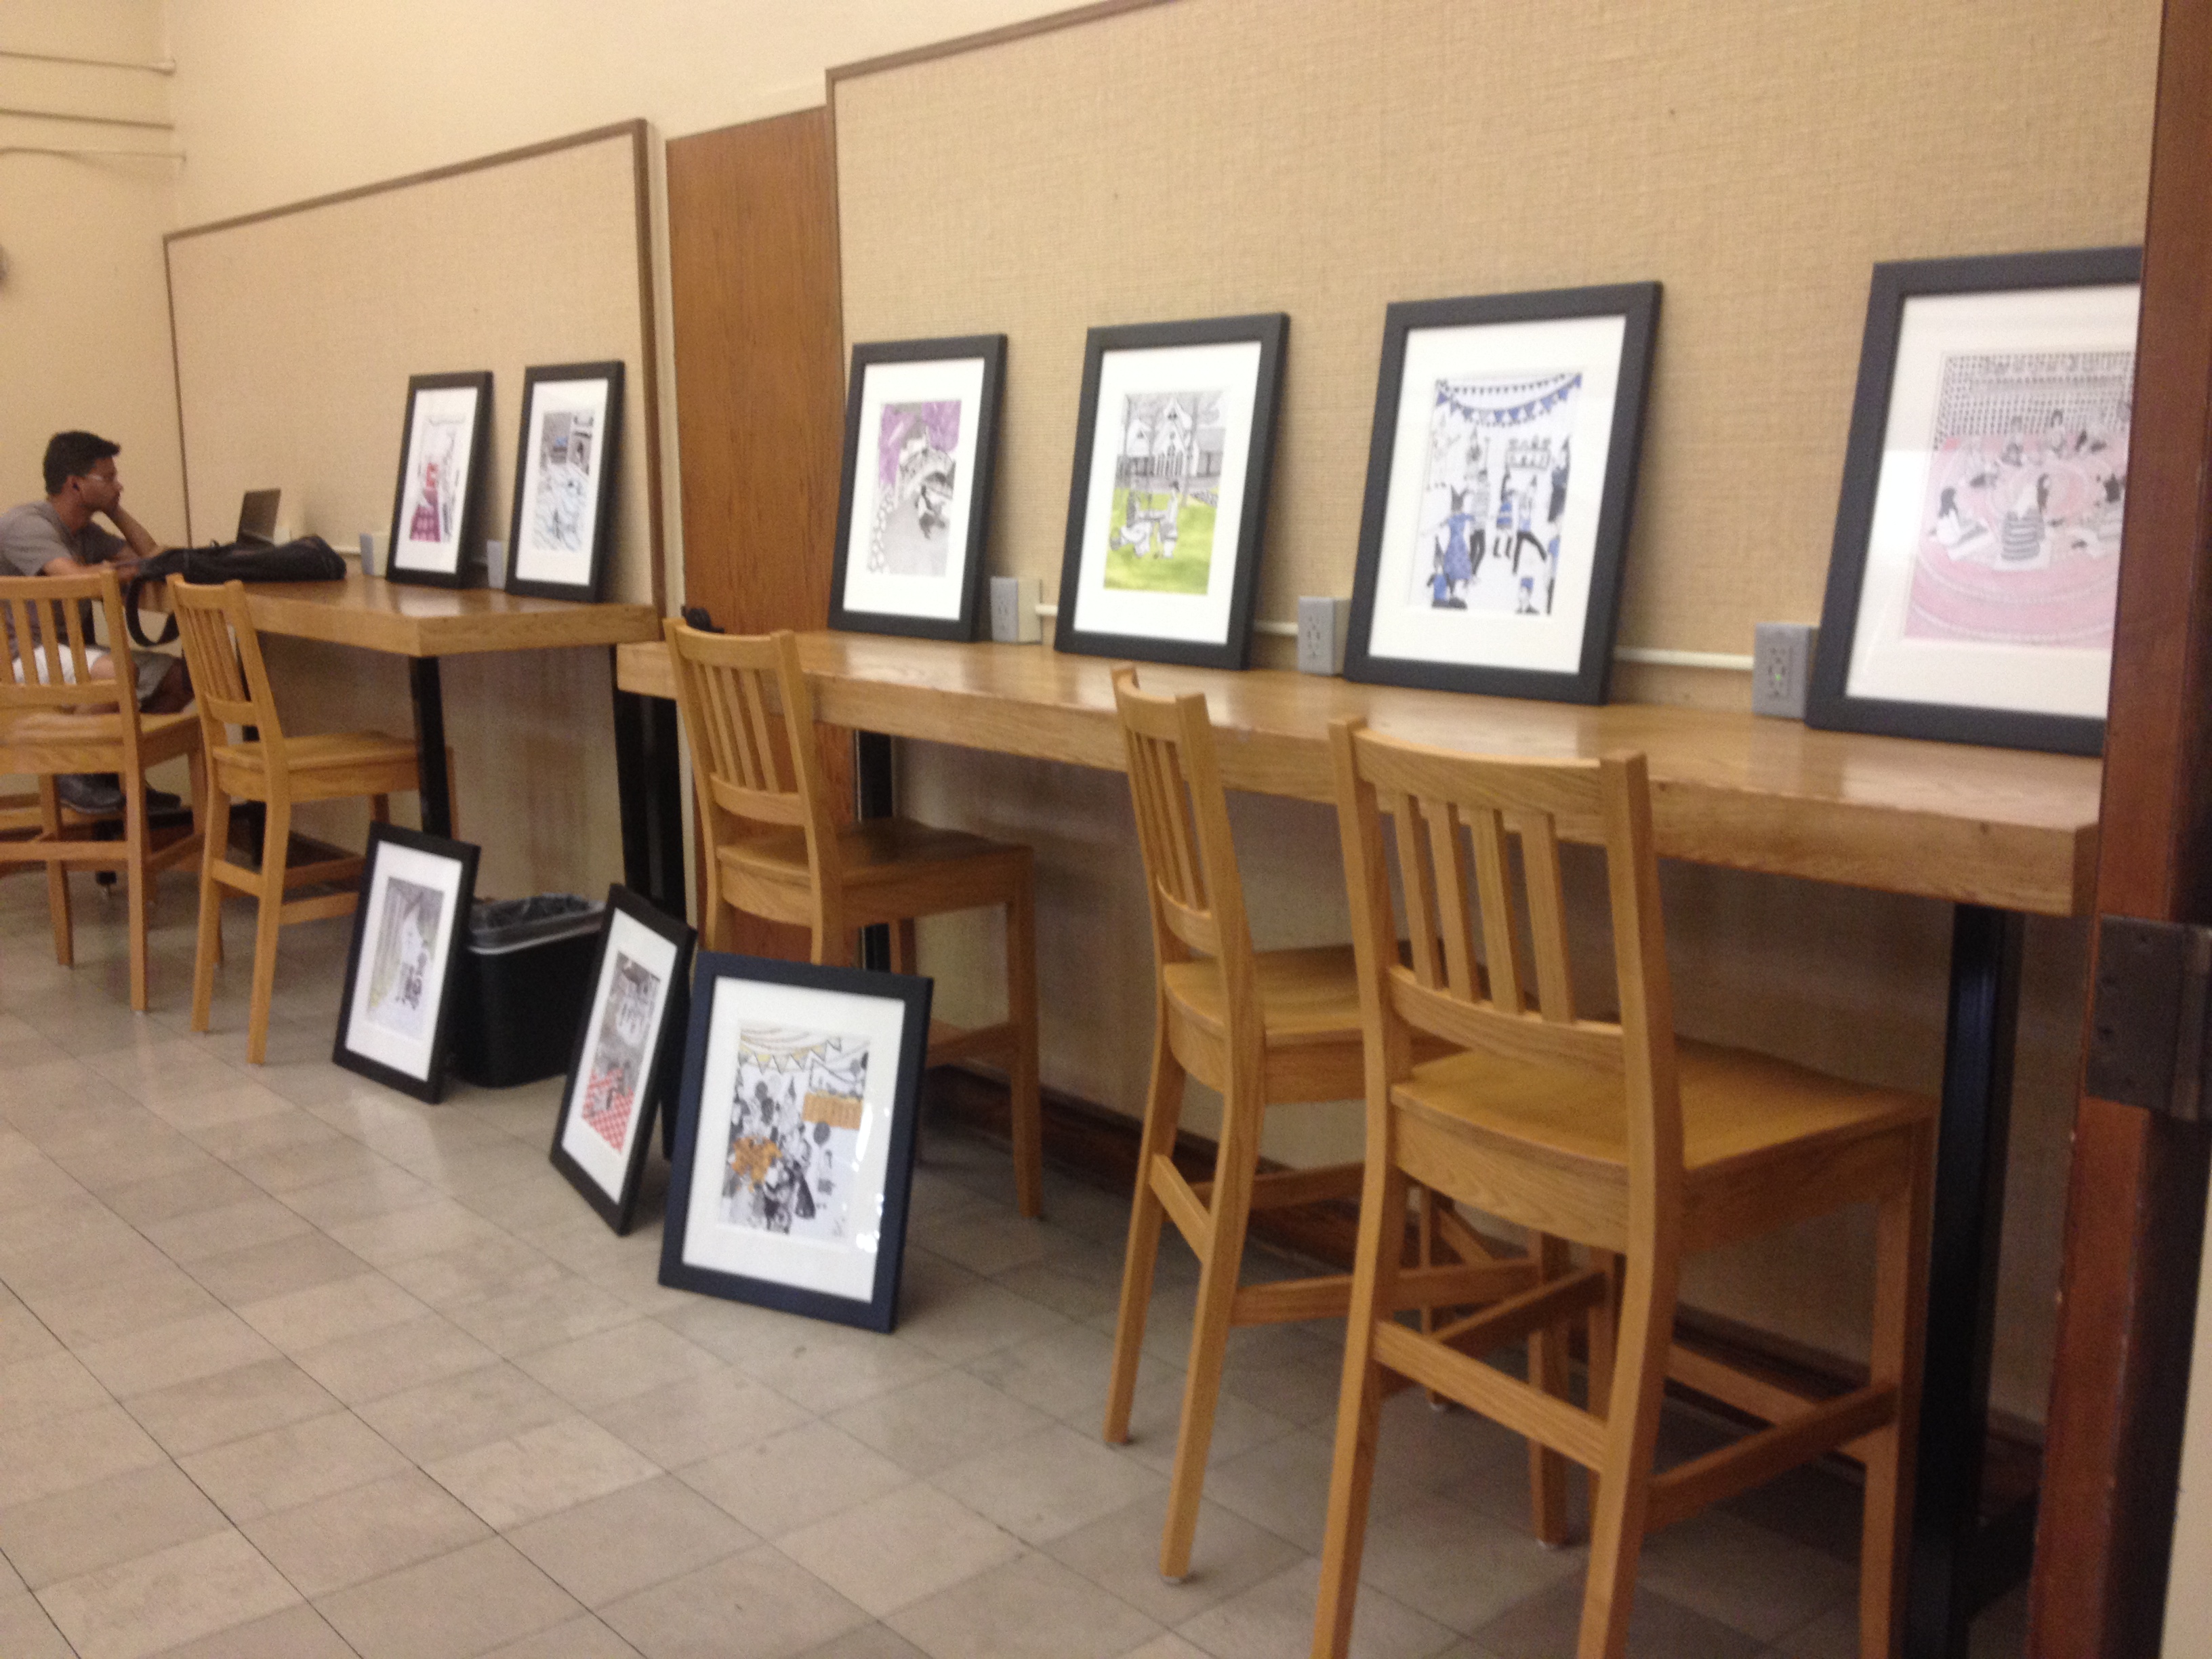
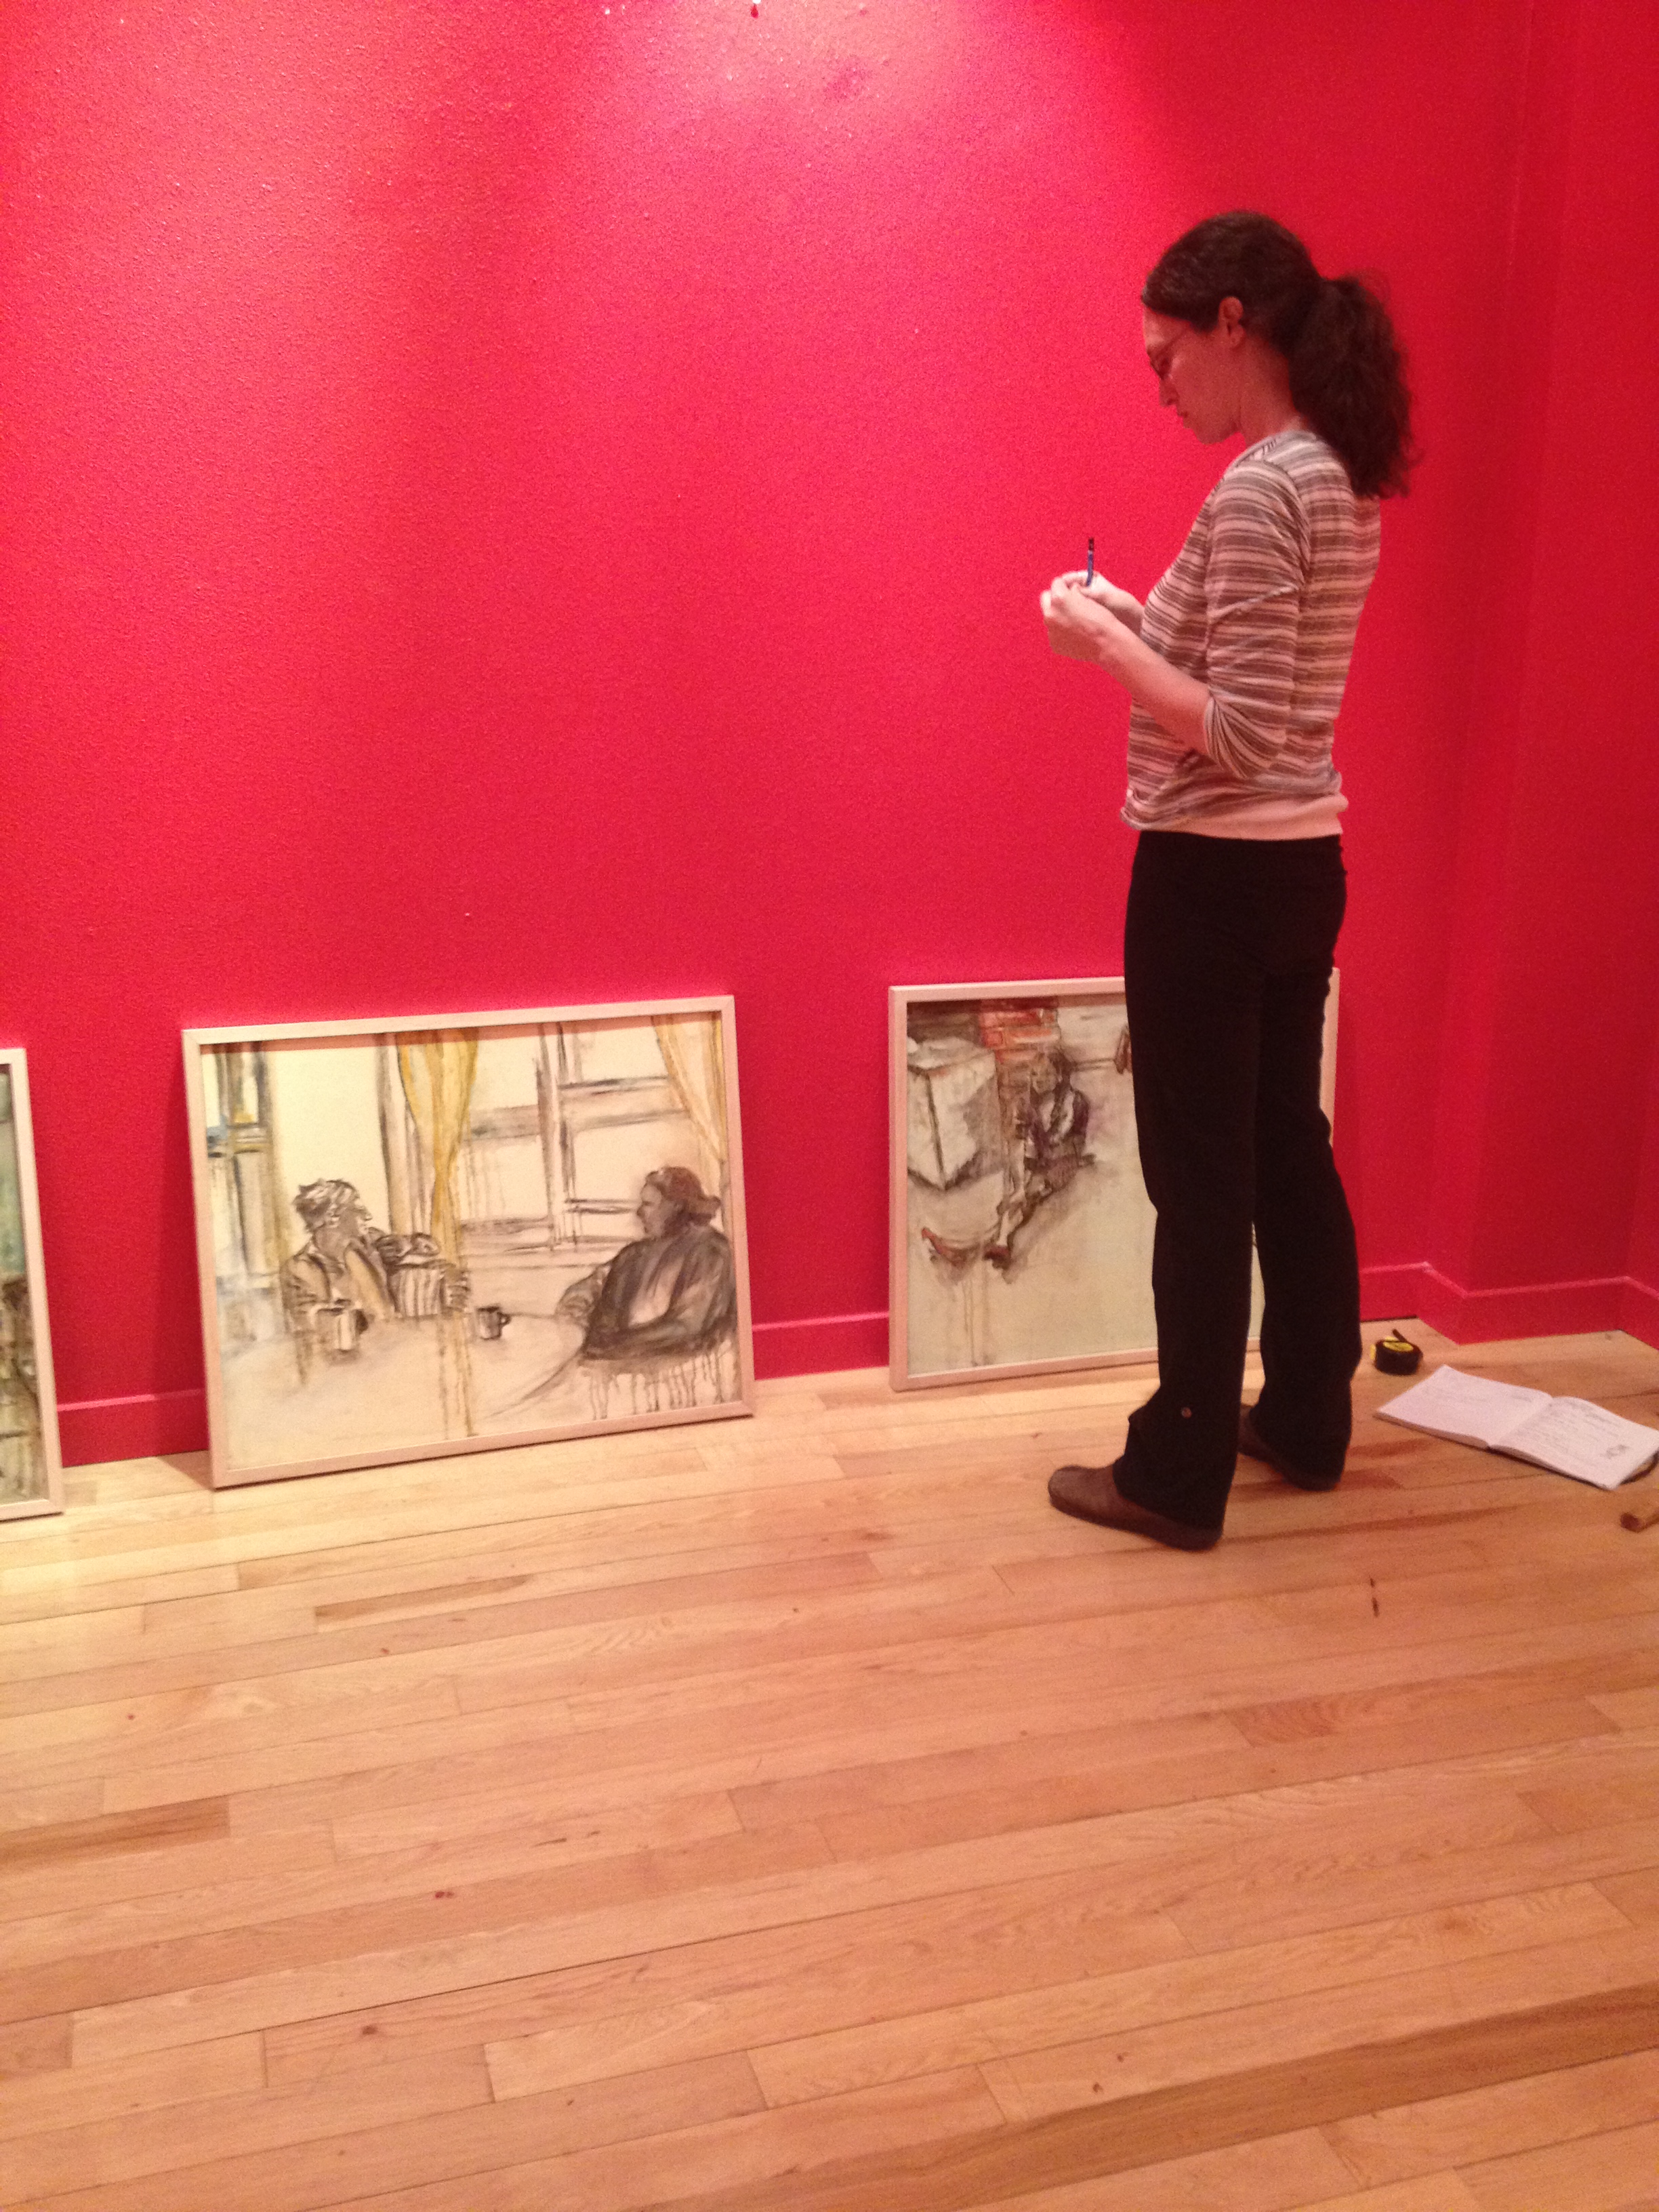
#1 Once the paintings are in the space I organize them – leaning them against the wall. This way I can get a pretty good idea of how they will look in the space and with each other.


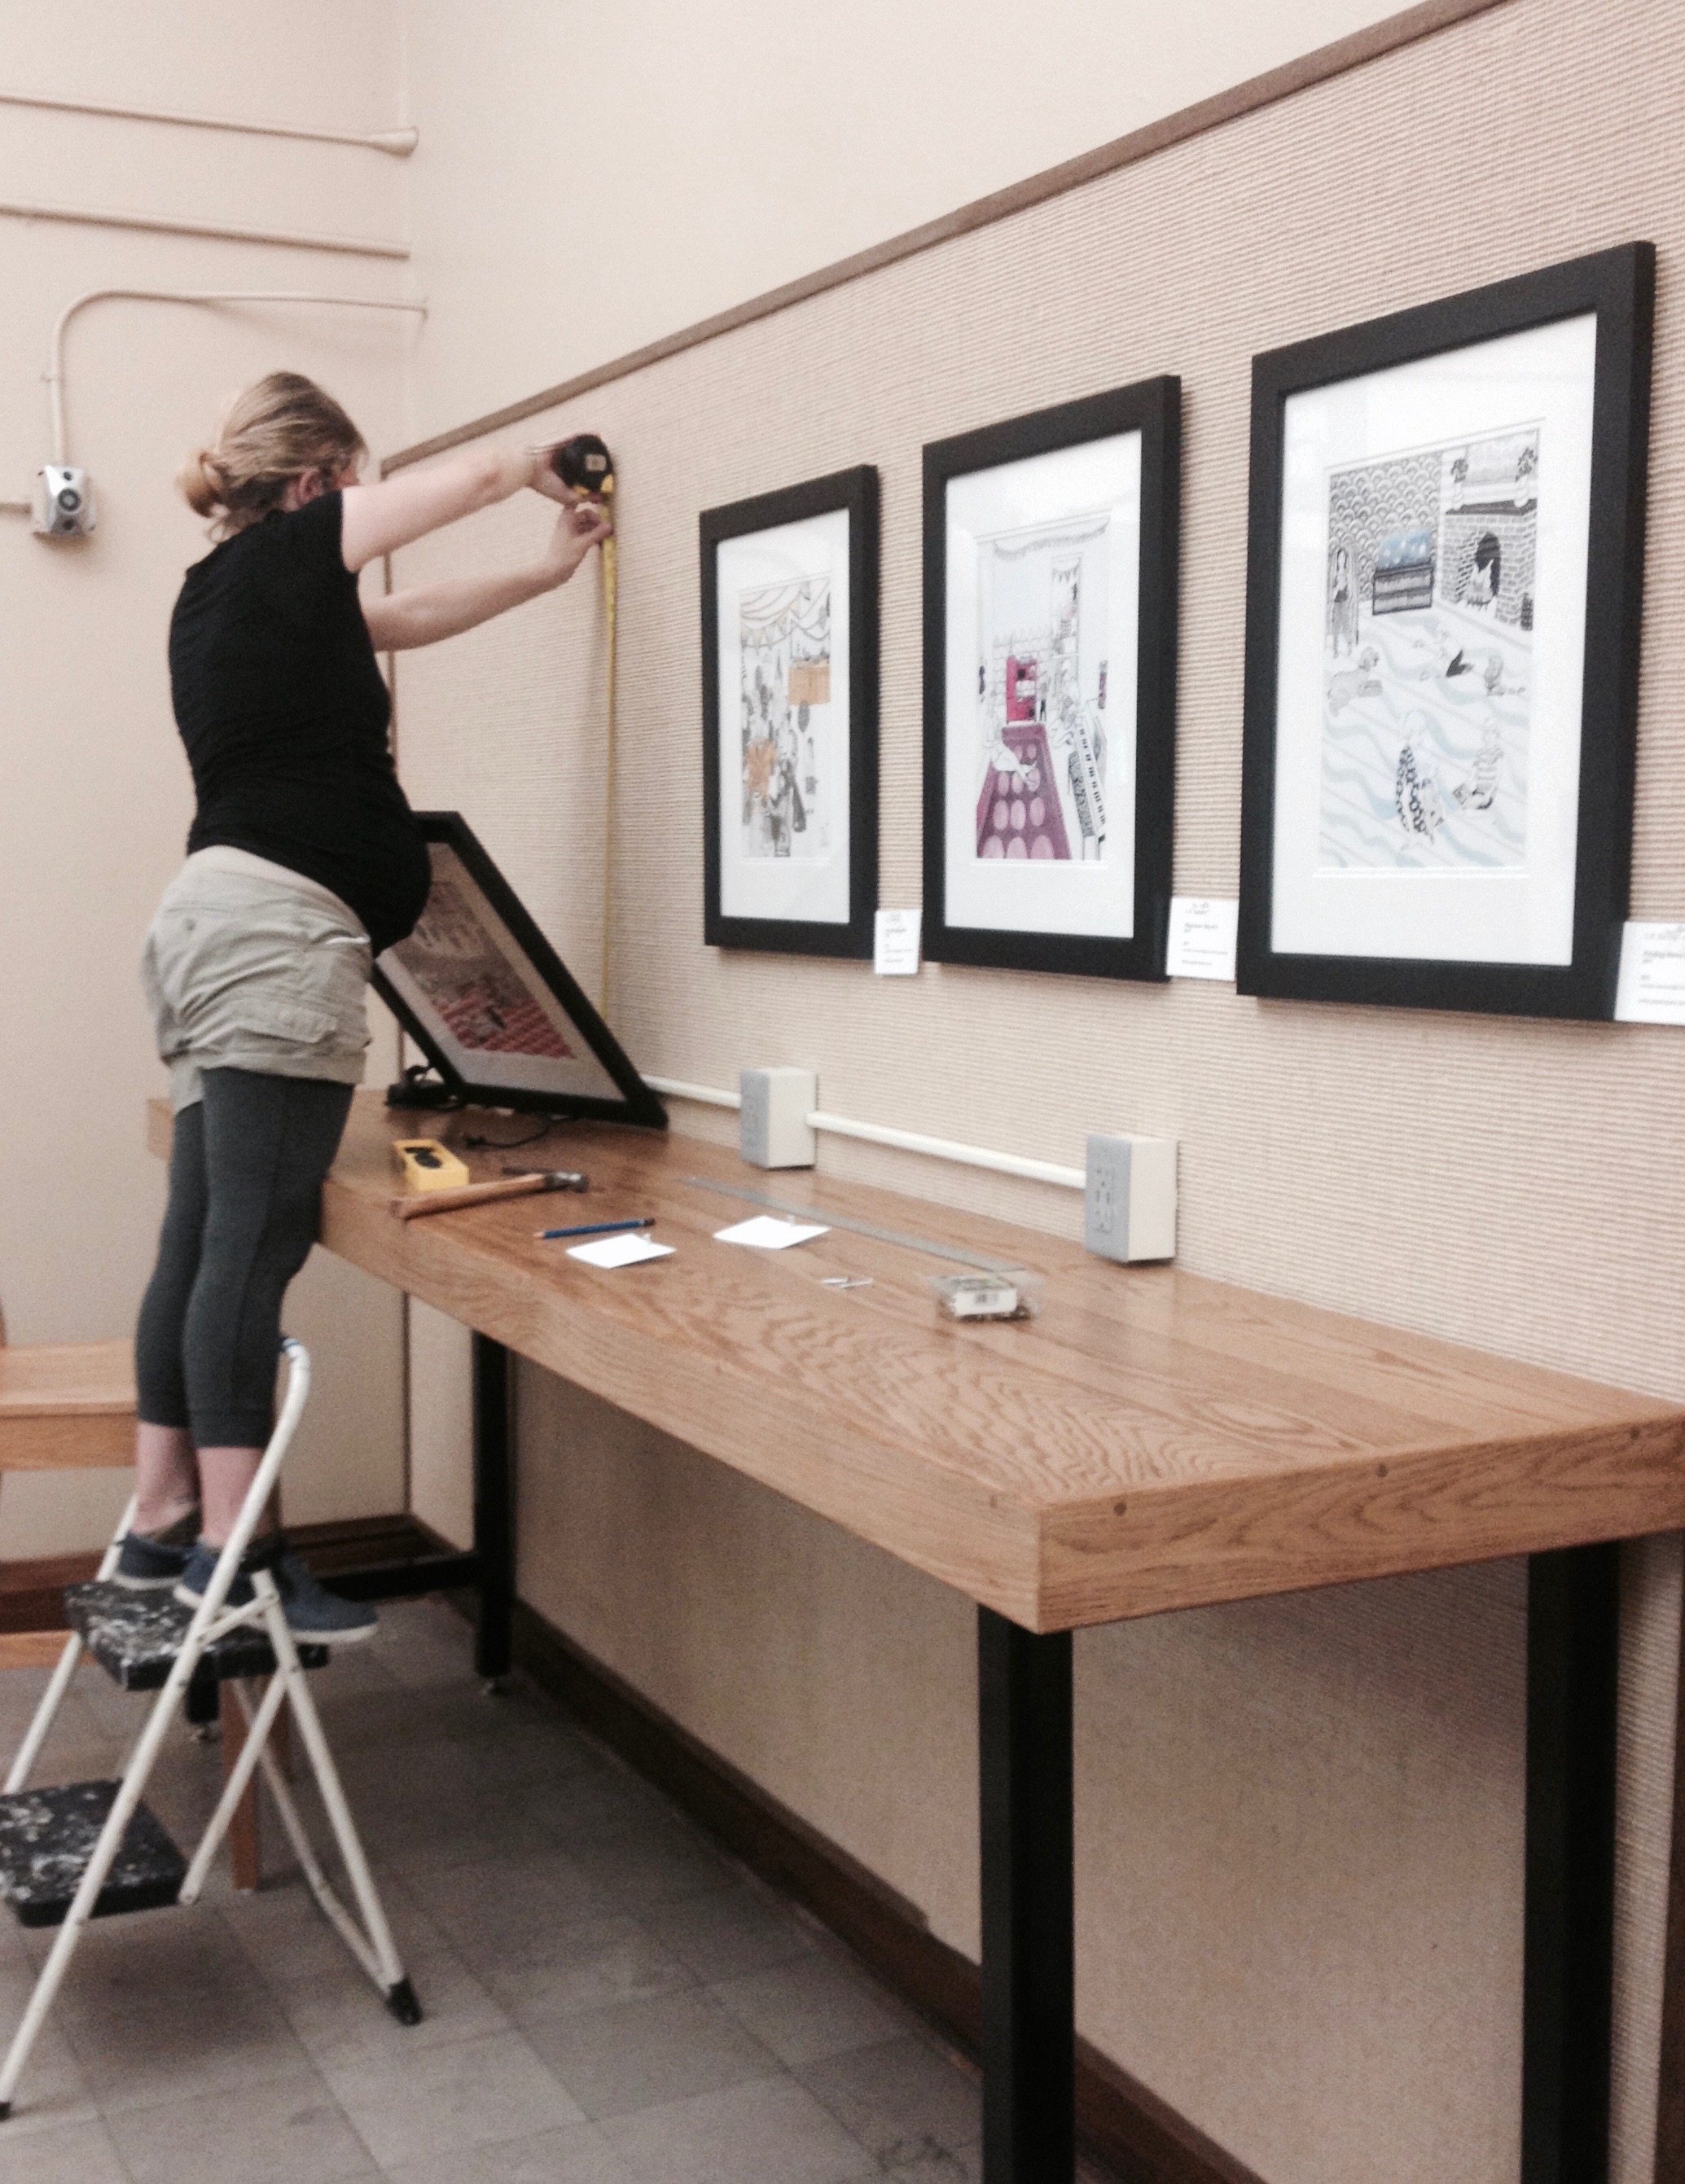
#2 I unload the contents of my show-hanging bag which includes: hammer, picture hangers (50 lbs), blue painters tape, white artist tape, pencil, pencil sharpener, eraser, art labels (in a recycled stationary box), notebook (with secret formula), tape measure, ruler, level, writing pen, and micron ink pens. It’s also practical to bring a step ladder to these kind of things.

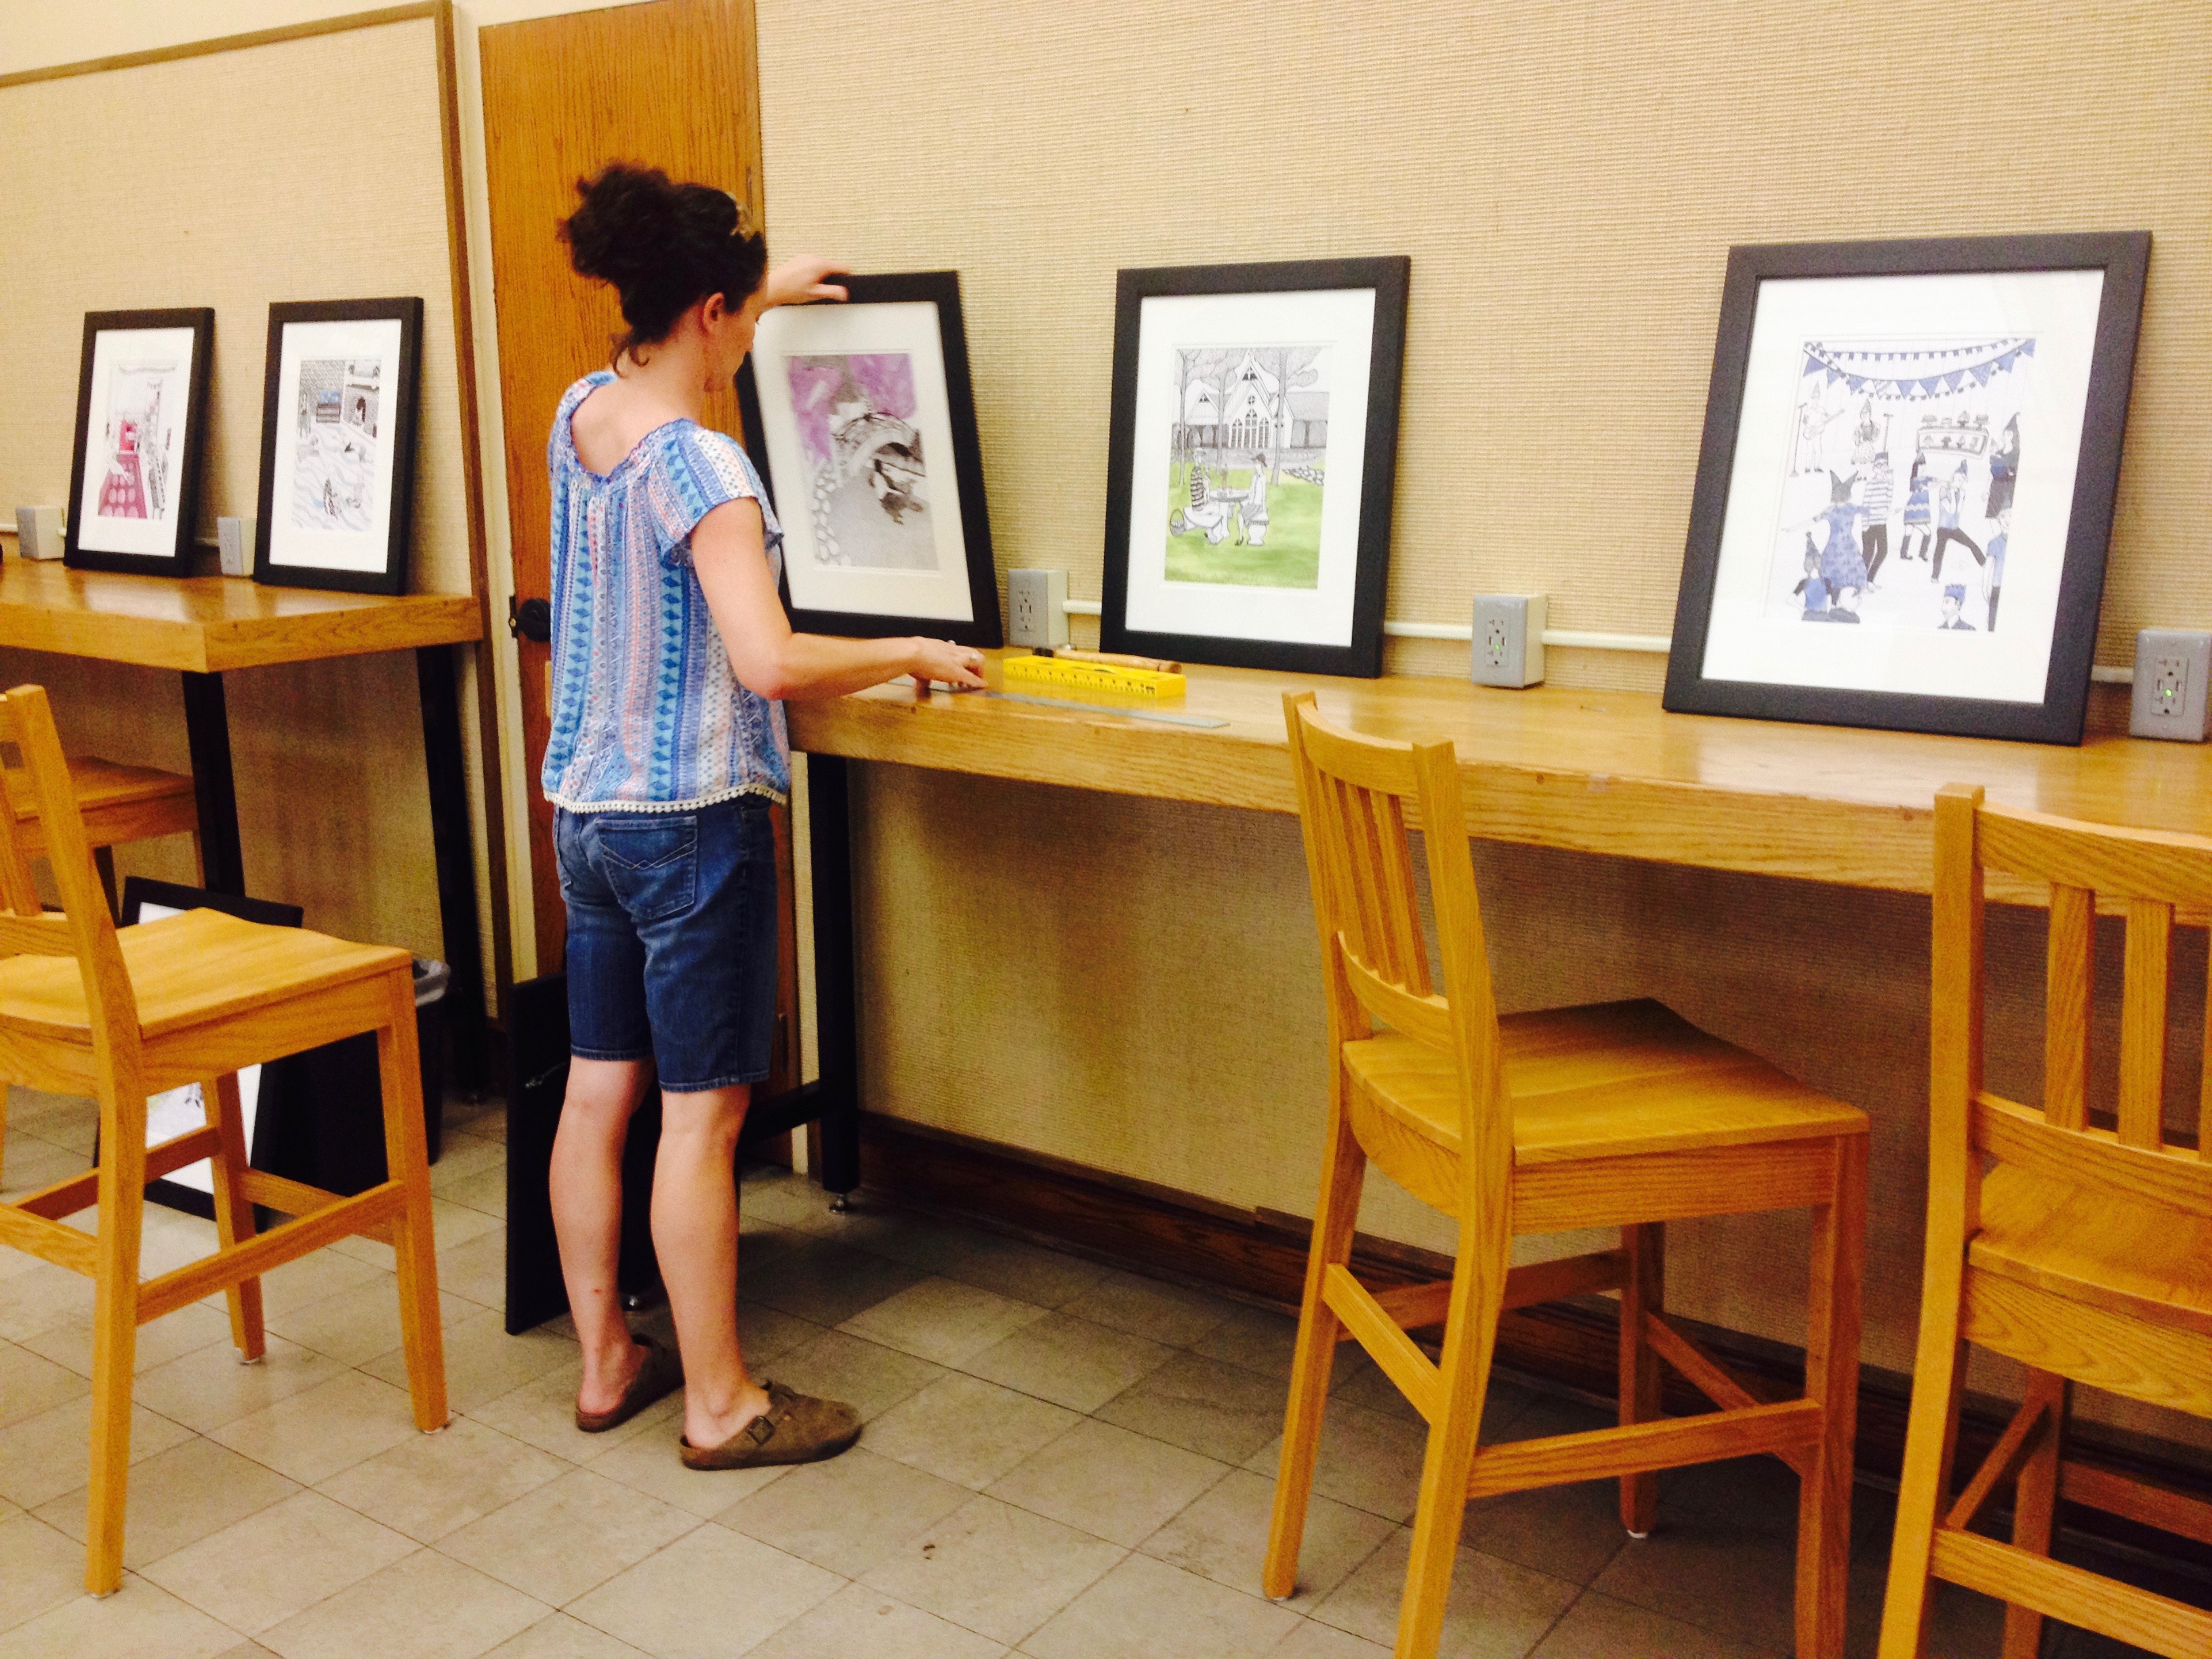
#3 I measure the space between the wall edges and the paintings, so that they are all even.

#4 I work out the eye level for each piece by using the secret formula. Because the whole reason I have made this blog was to share with you my artist process, I am going to share the secret formula! Make sure to include the frame for all measurements. Also, if you are getting numbers like “.185” just round up to quarters (.25, .5, .75).
THE SECRET FORMULA FOR HANGING ART
Measure the Length (up and down) and divide it by 2 = x
Measure the Length (up and down) from the highest point of the picture hanger (when pulling up on it) and the top of the painting = y
Subtract x from y and add 56. x-y+56=z (The standard eye level is 56-58, but I’m a bit on the short side, so I favor the 56.)
Place the tape measure on the floor in the center of the painting and pull up all the way to whatever number z was and mark a dot in pencil on the wall. That is where you will put your picture hanger.
Example: 50.5 ÷ 2 = 25.25 (x) – 10.5 (y) + 56 = 70.75 (z)
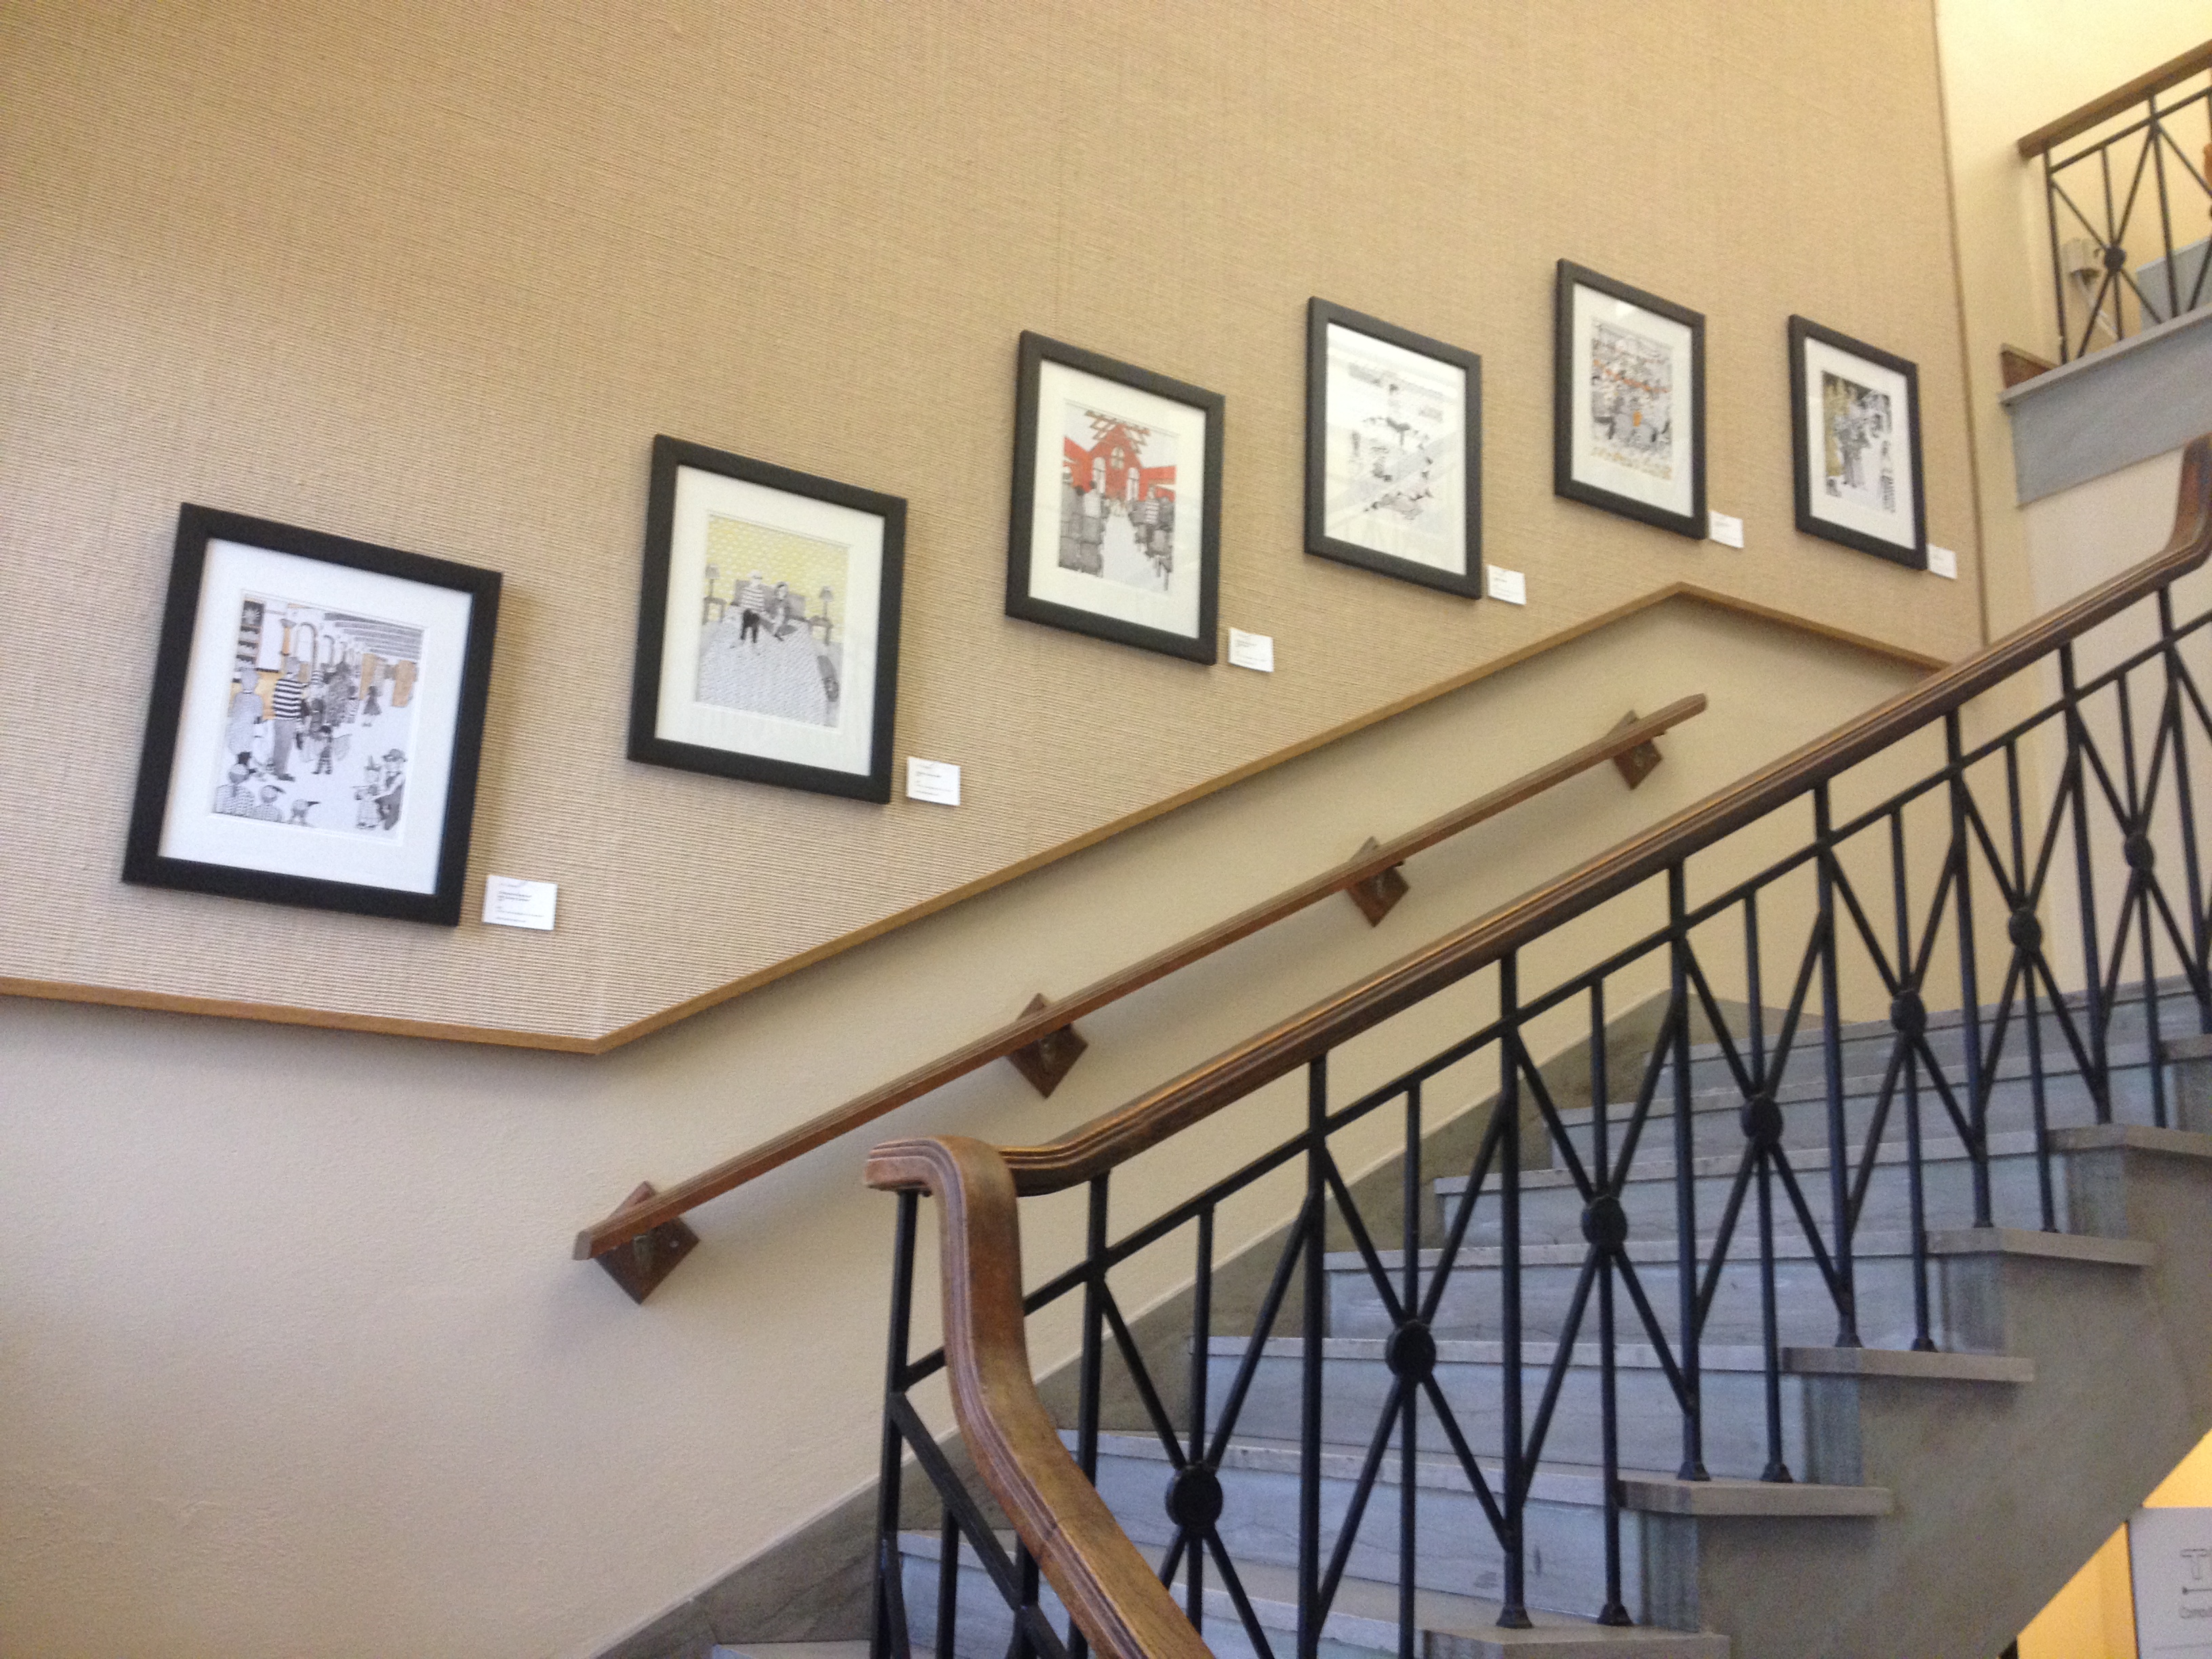
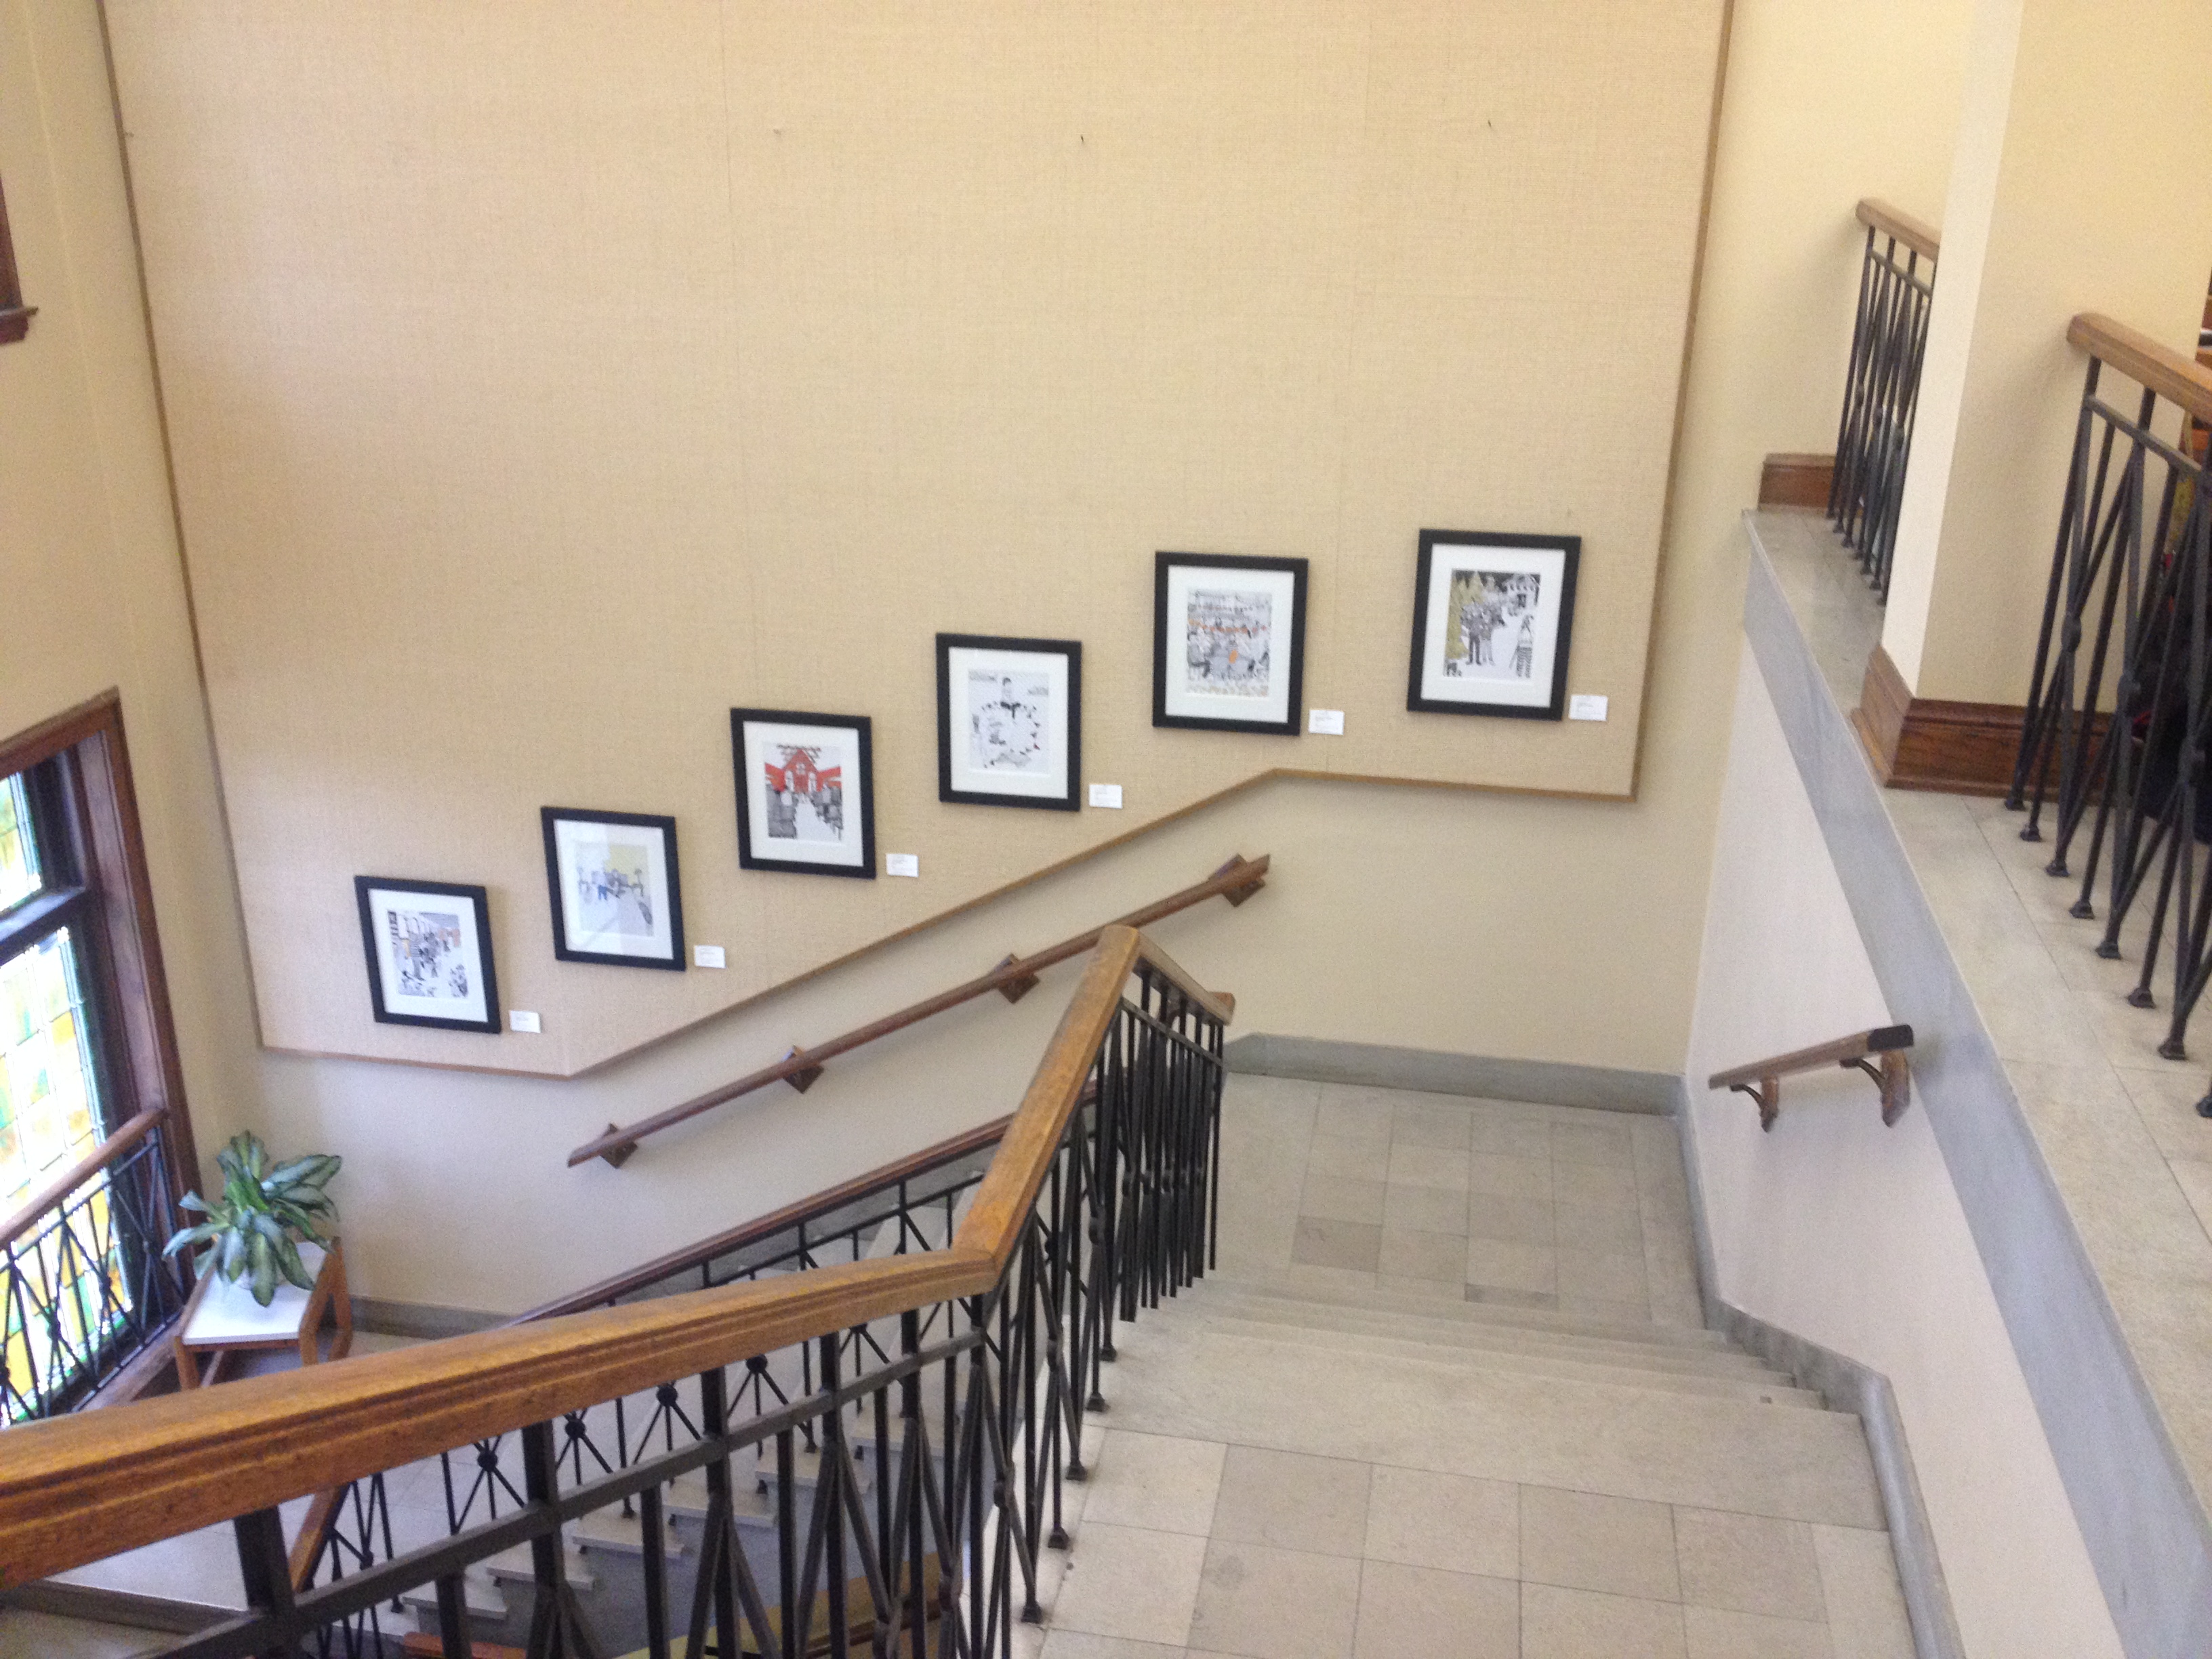
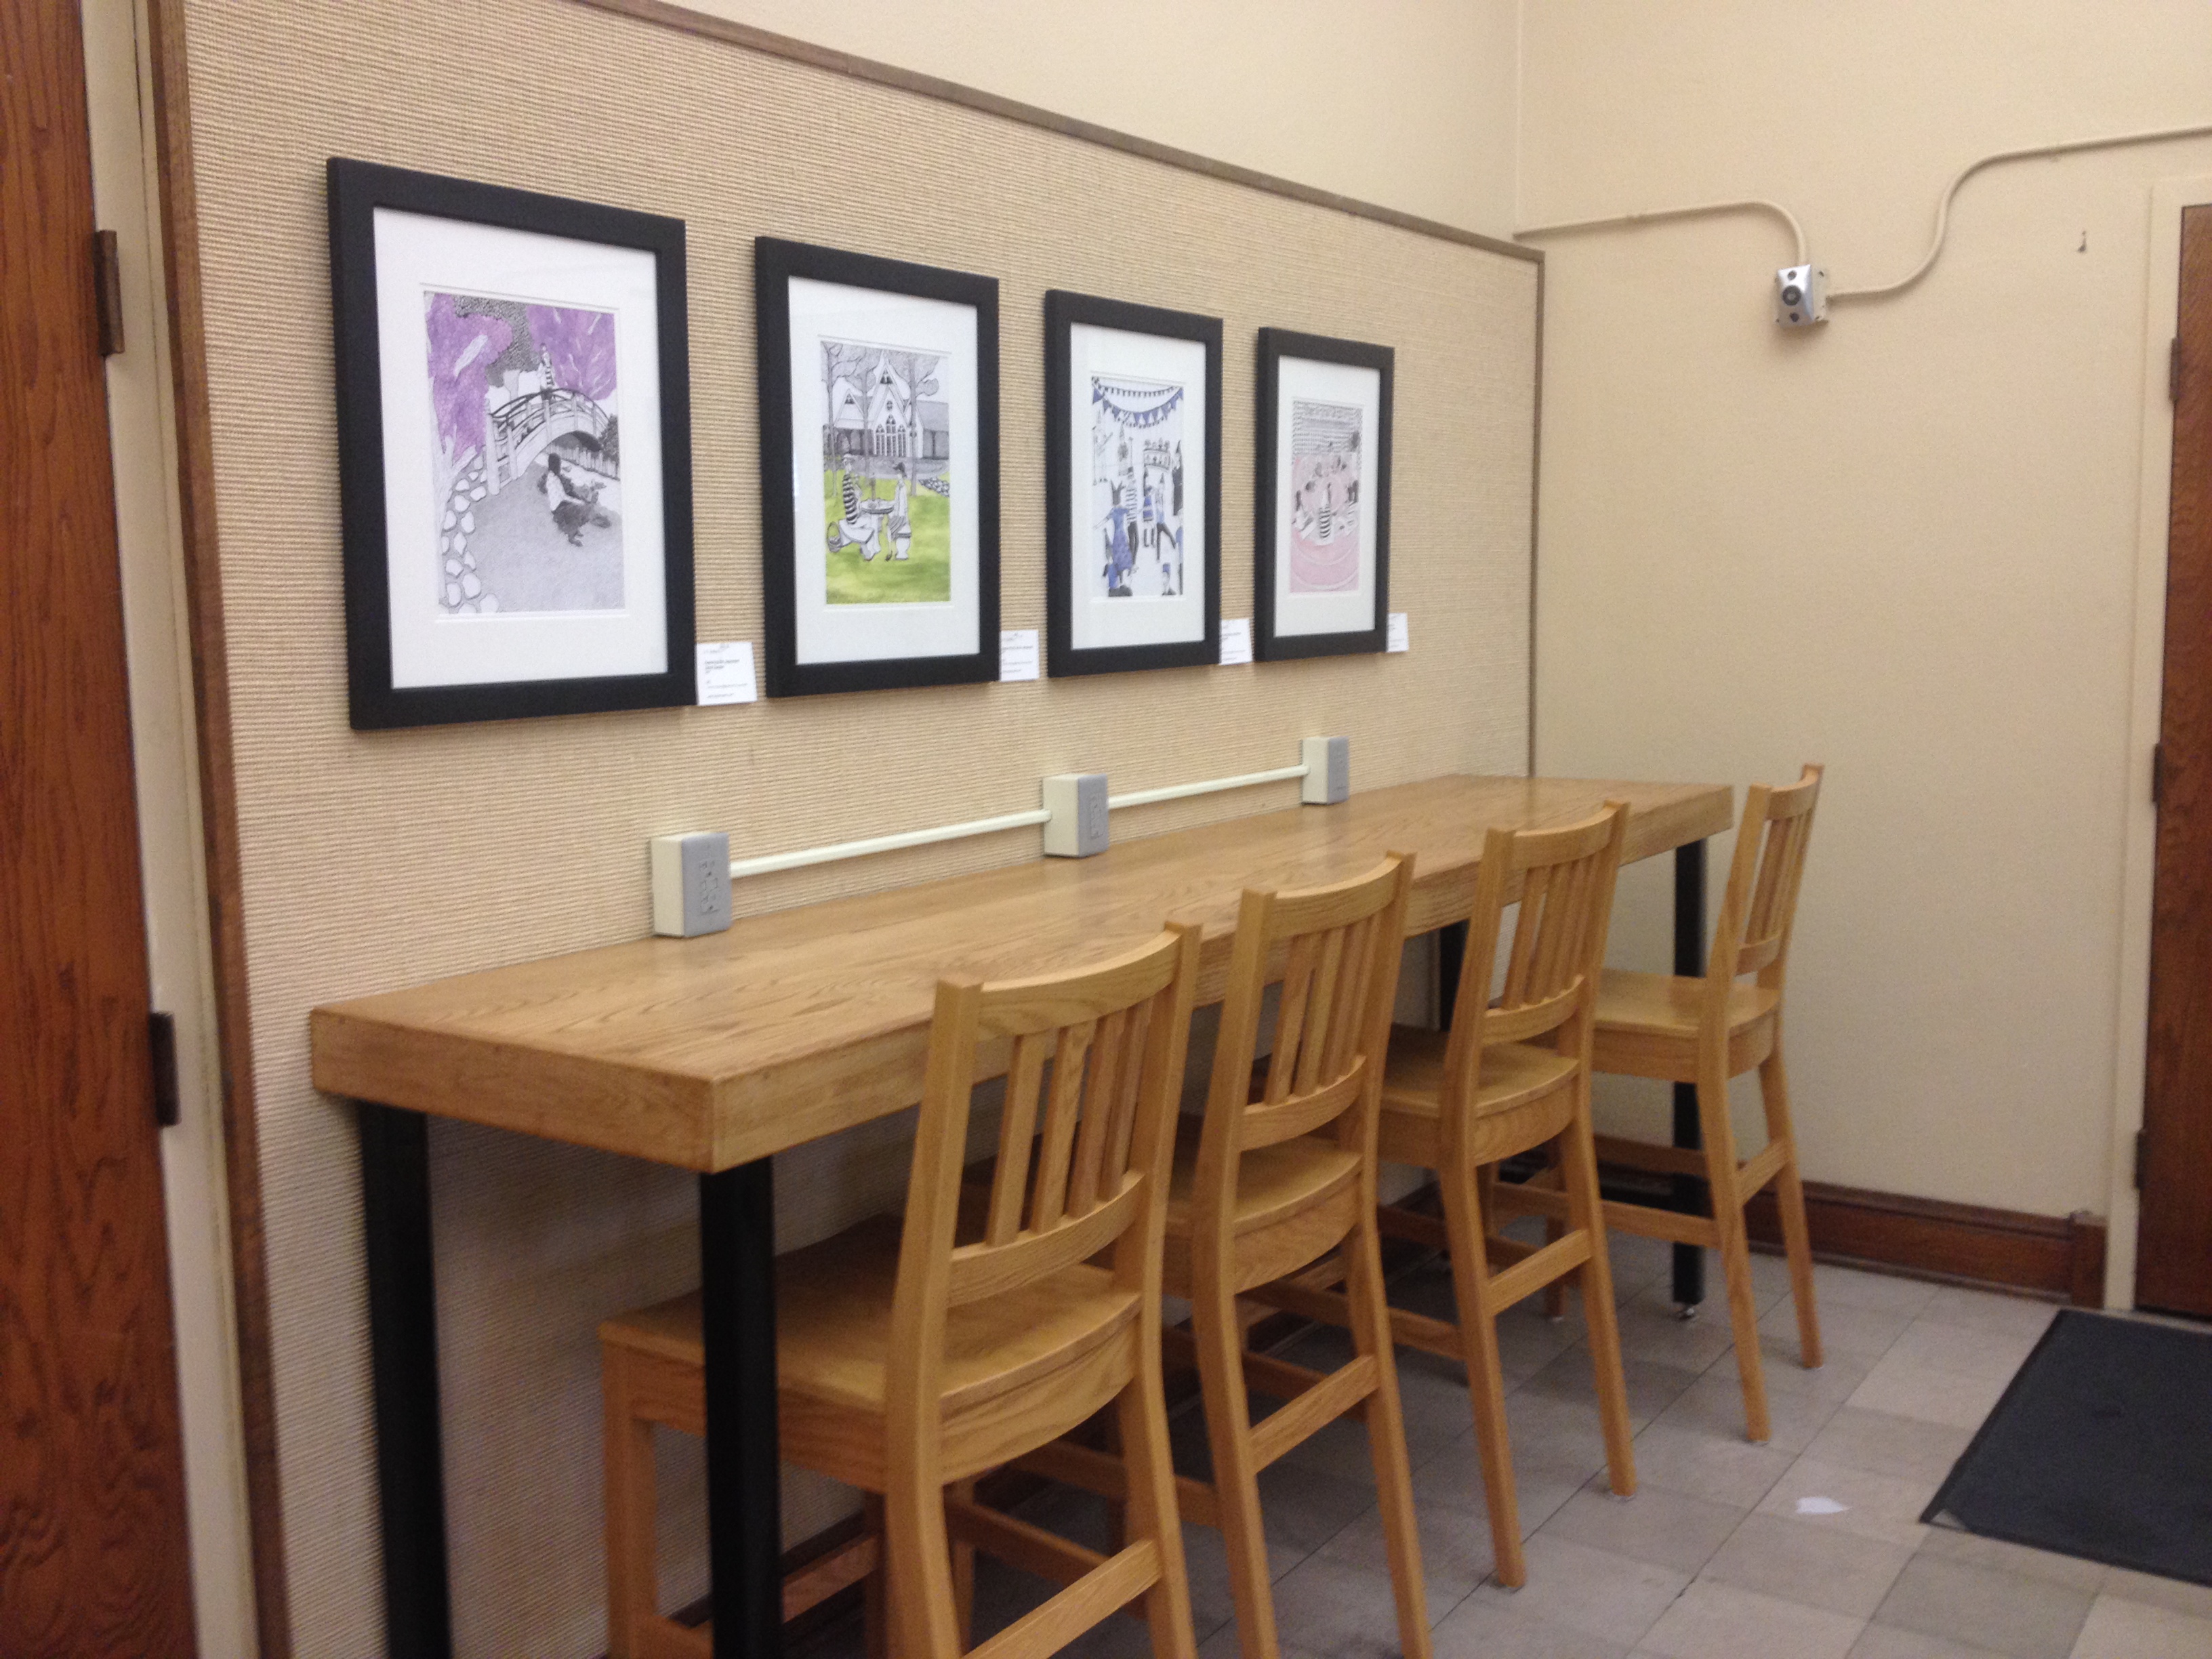
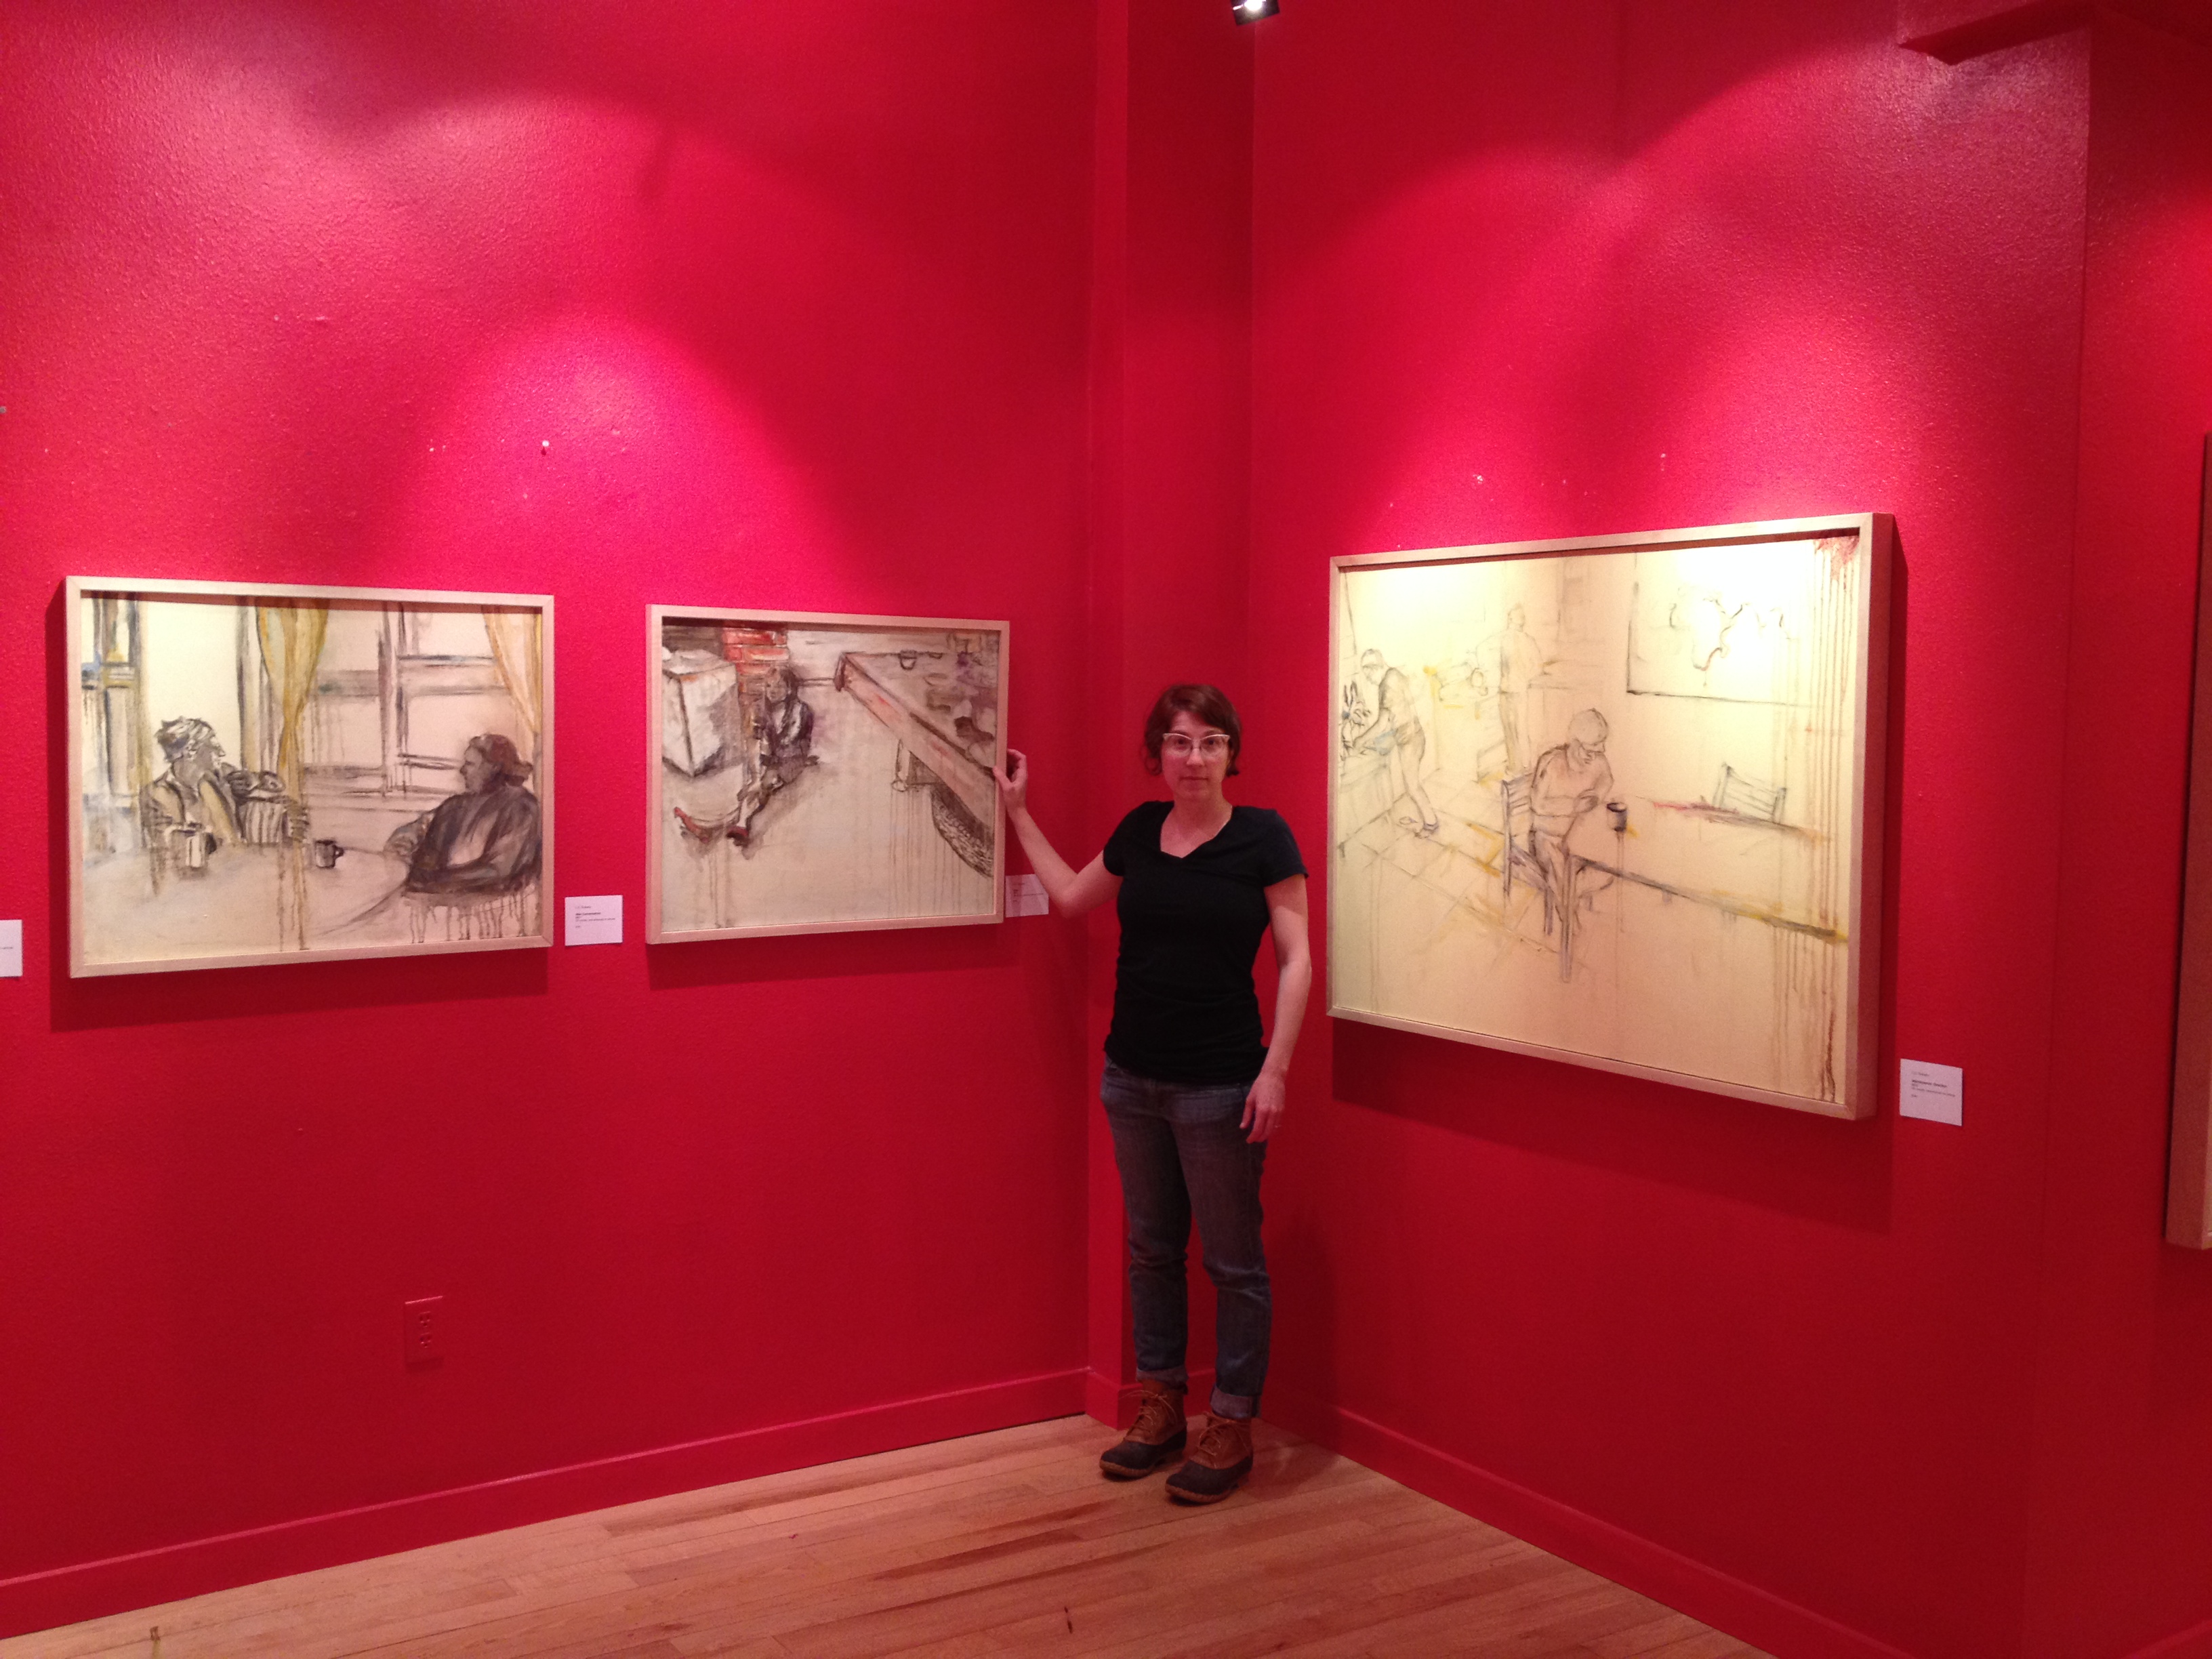
#5 Hang work and use the level tool (a level is a tool to make sure the painting is not hanging crooked). Place piece of painters tape or artist tape on the back of the art labels and place next to the piece wherever it looks good – usually on the bottom right about an inch or so from the artwork. I also use tape to mount my artist statement, which I have printed on large, shiny foam board.


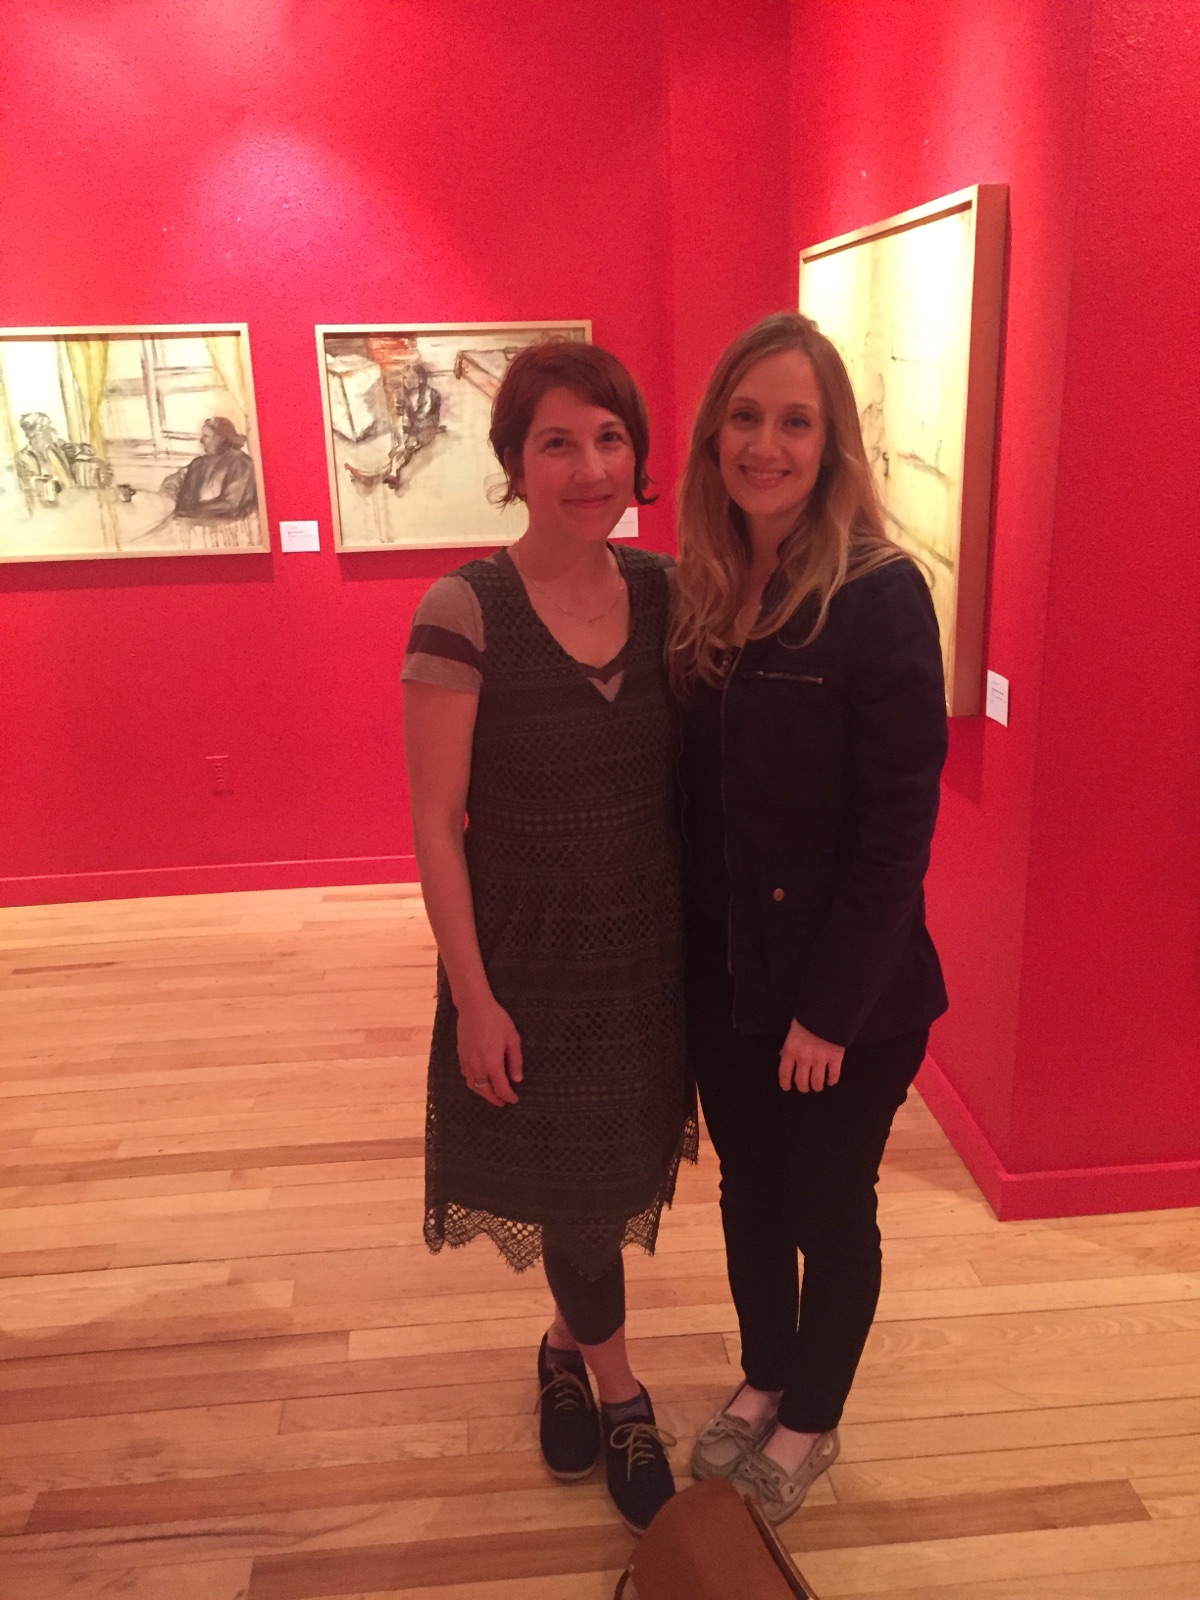
The art opening was the next day. The art opening is typically when the artist is present at their show. It may be a time for them to meet and maybe make some fans too.


There was a pretty good turnout – a lot of my friends came out. Thanks friends!