The Bankrupt Circus and Other Misadventures

The Bankrupt Circus and Other Misadventures by J. Bradley Minnick has been published! You can buy a copy through Amazon, Barnes & Noble, or Bookshop.org.

The book is a compilation of short stories “Together, the stories form a portrait of America at its edges-where working-class rituals, childhood games, and neighborhood legends are transformed into metaphors for endurance.”

I worked on five of the story cover illustrations including “Notes from Tennis Camp,” “Fly Stand, Inquire Herein,” “Innocently to Amuse the Imagination in this Dream of Life is Wisdom,” “The Twisted S,” “The Last Telegraph,” and the dedication. Some of the stories that have links, you can read on East of the Web website.

I was working on story illustrations for J. Bradley Minnick prior to this project. His publisher suggested we collaborate on more, and that I be added to the book. I worked on these for about two months to meet the publication deadline. It was a very exciting time.

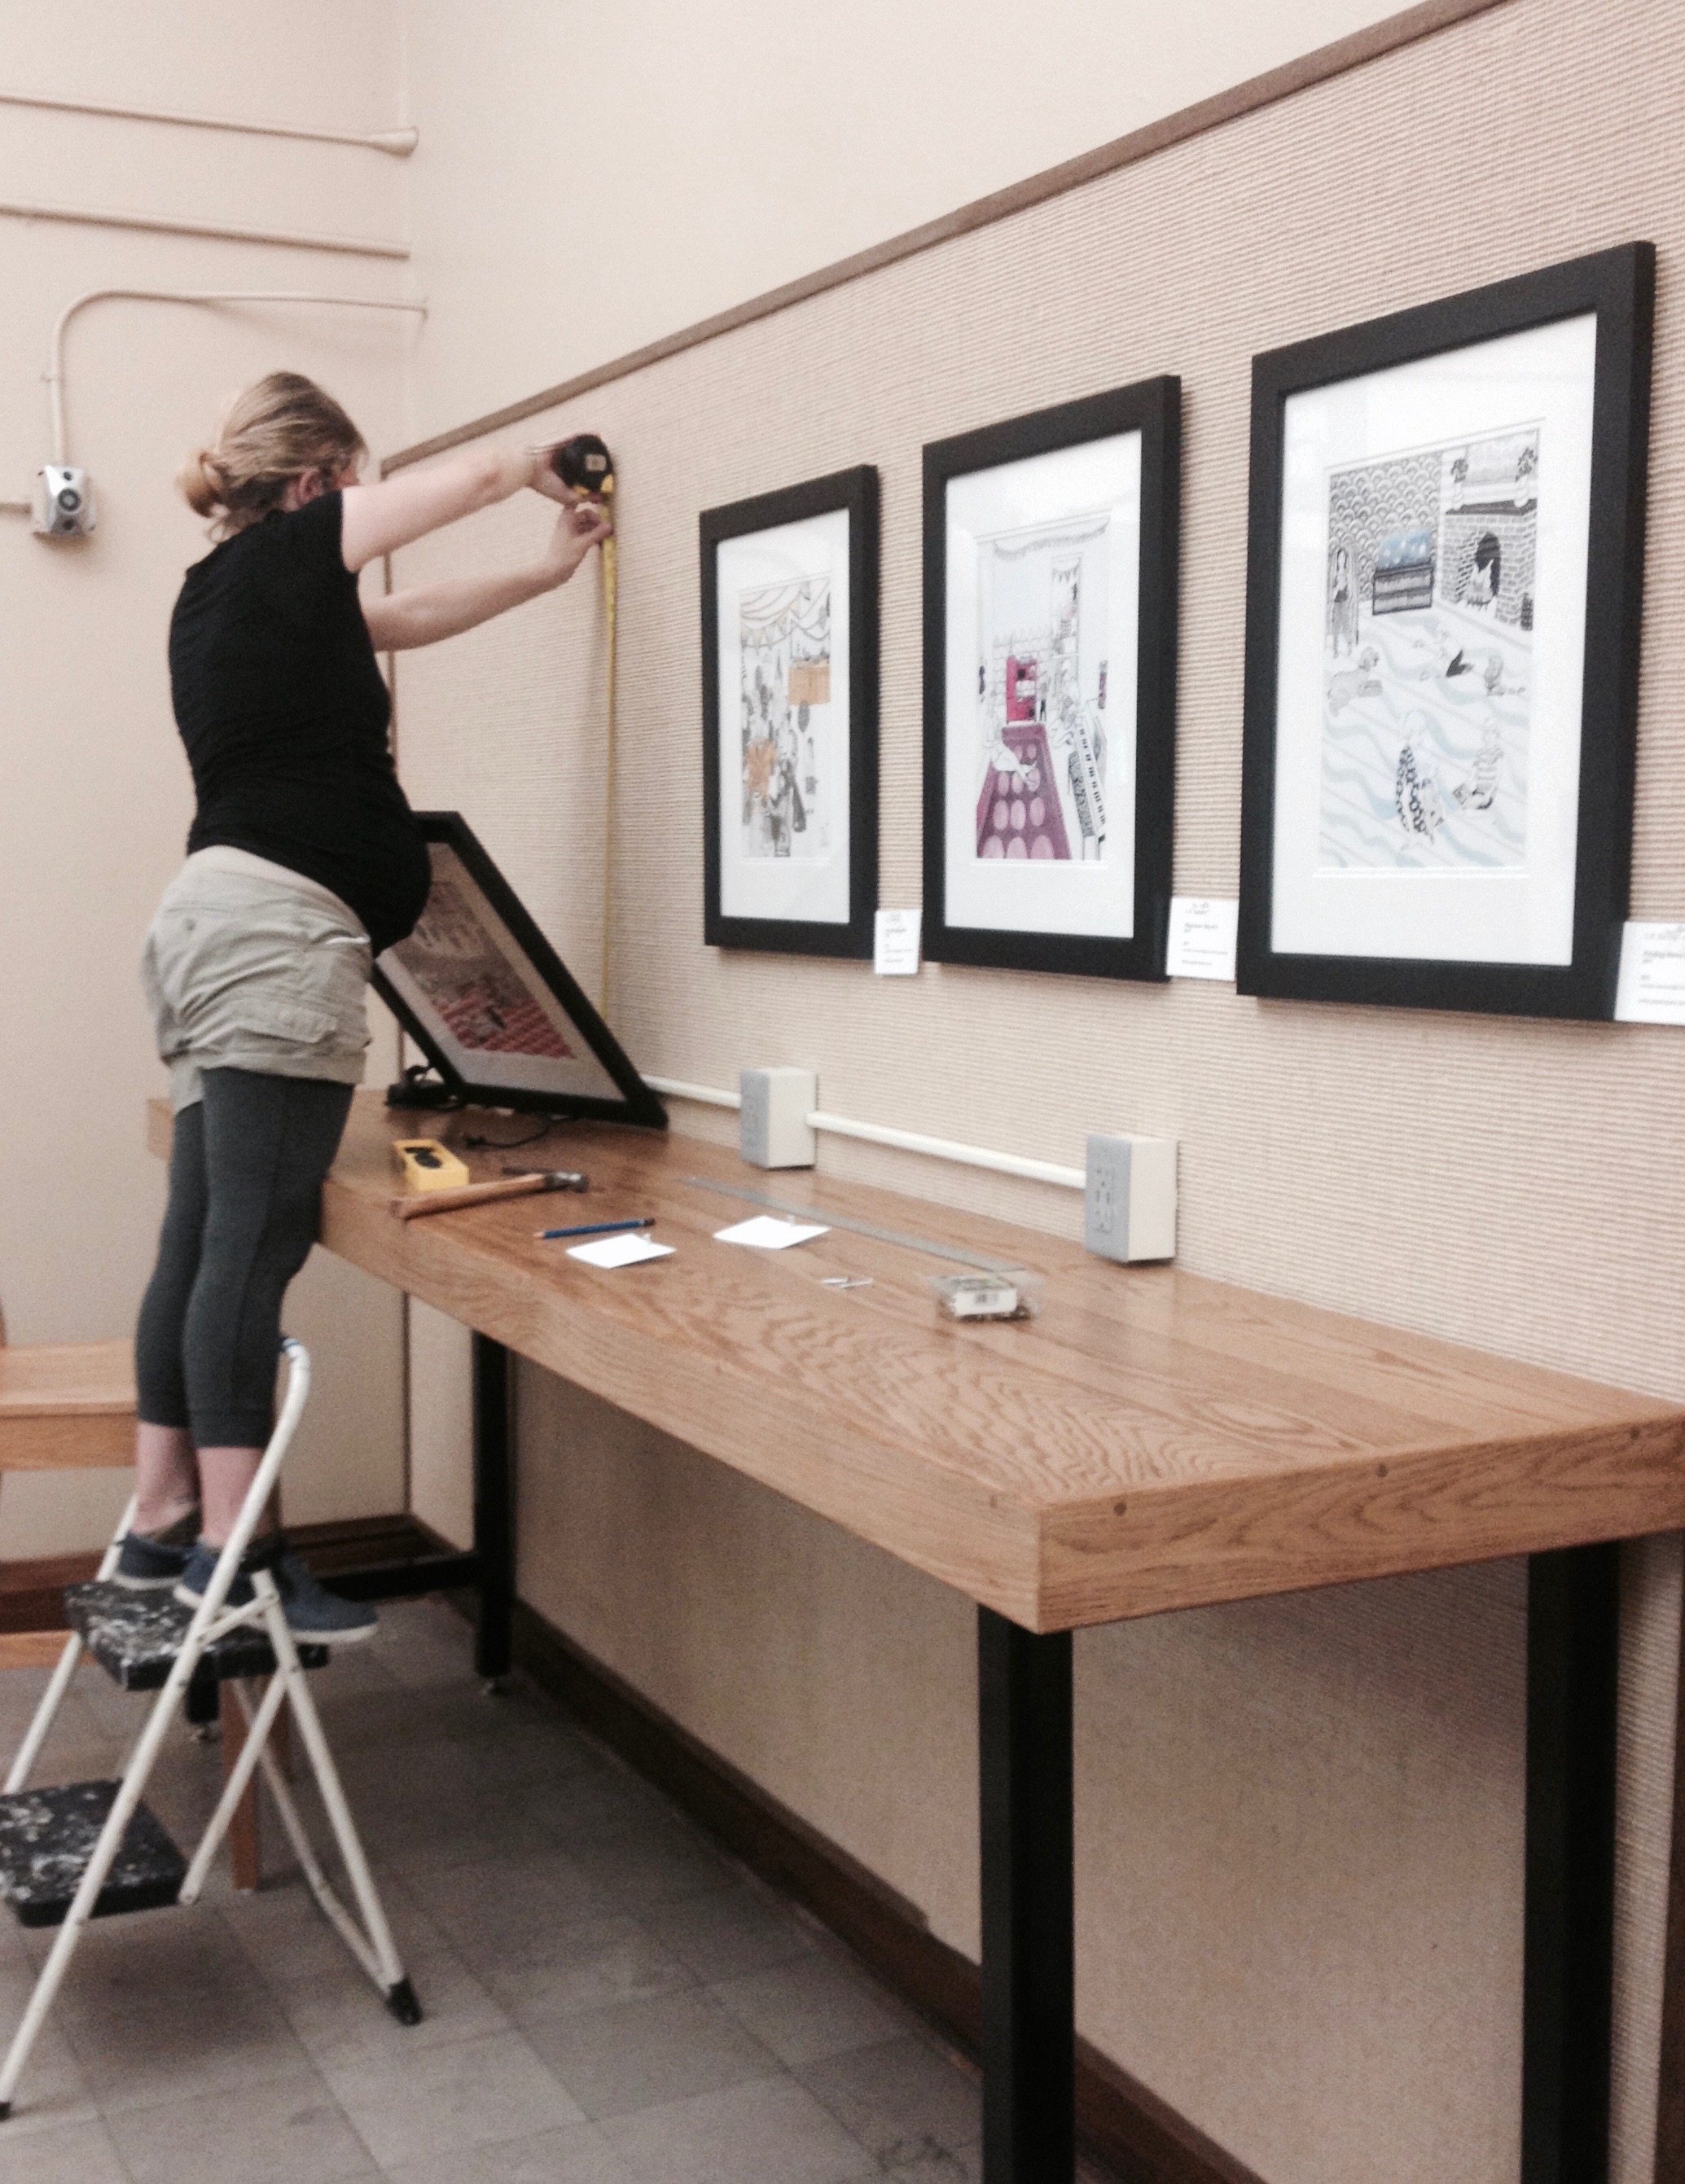
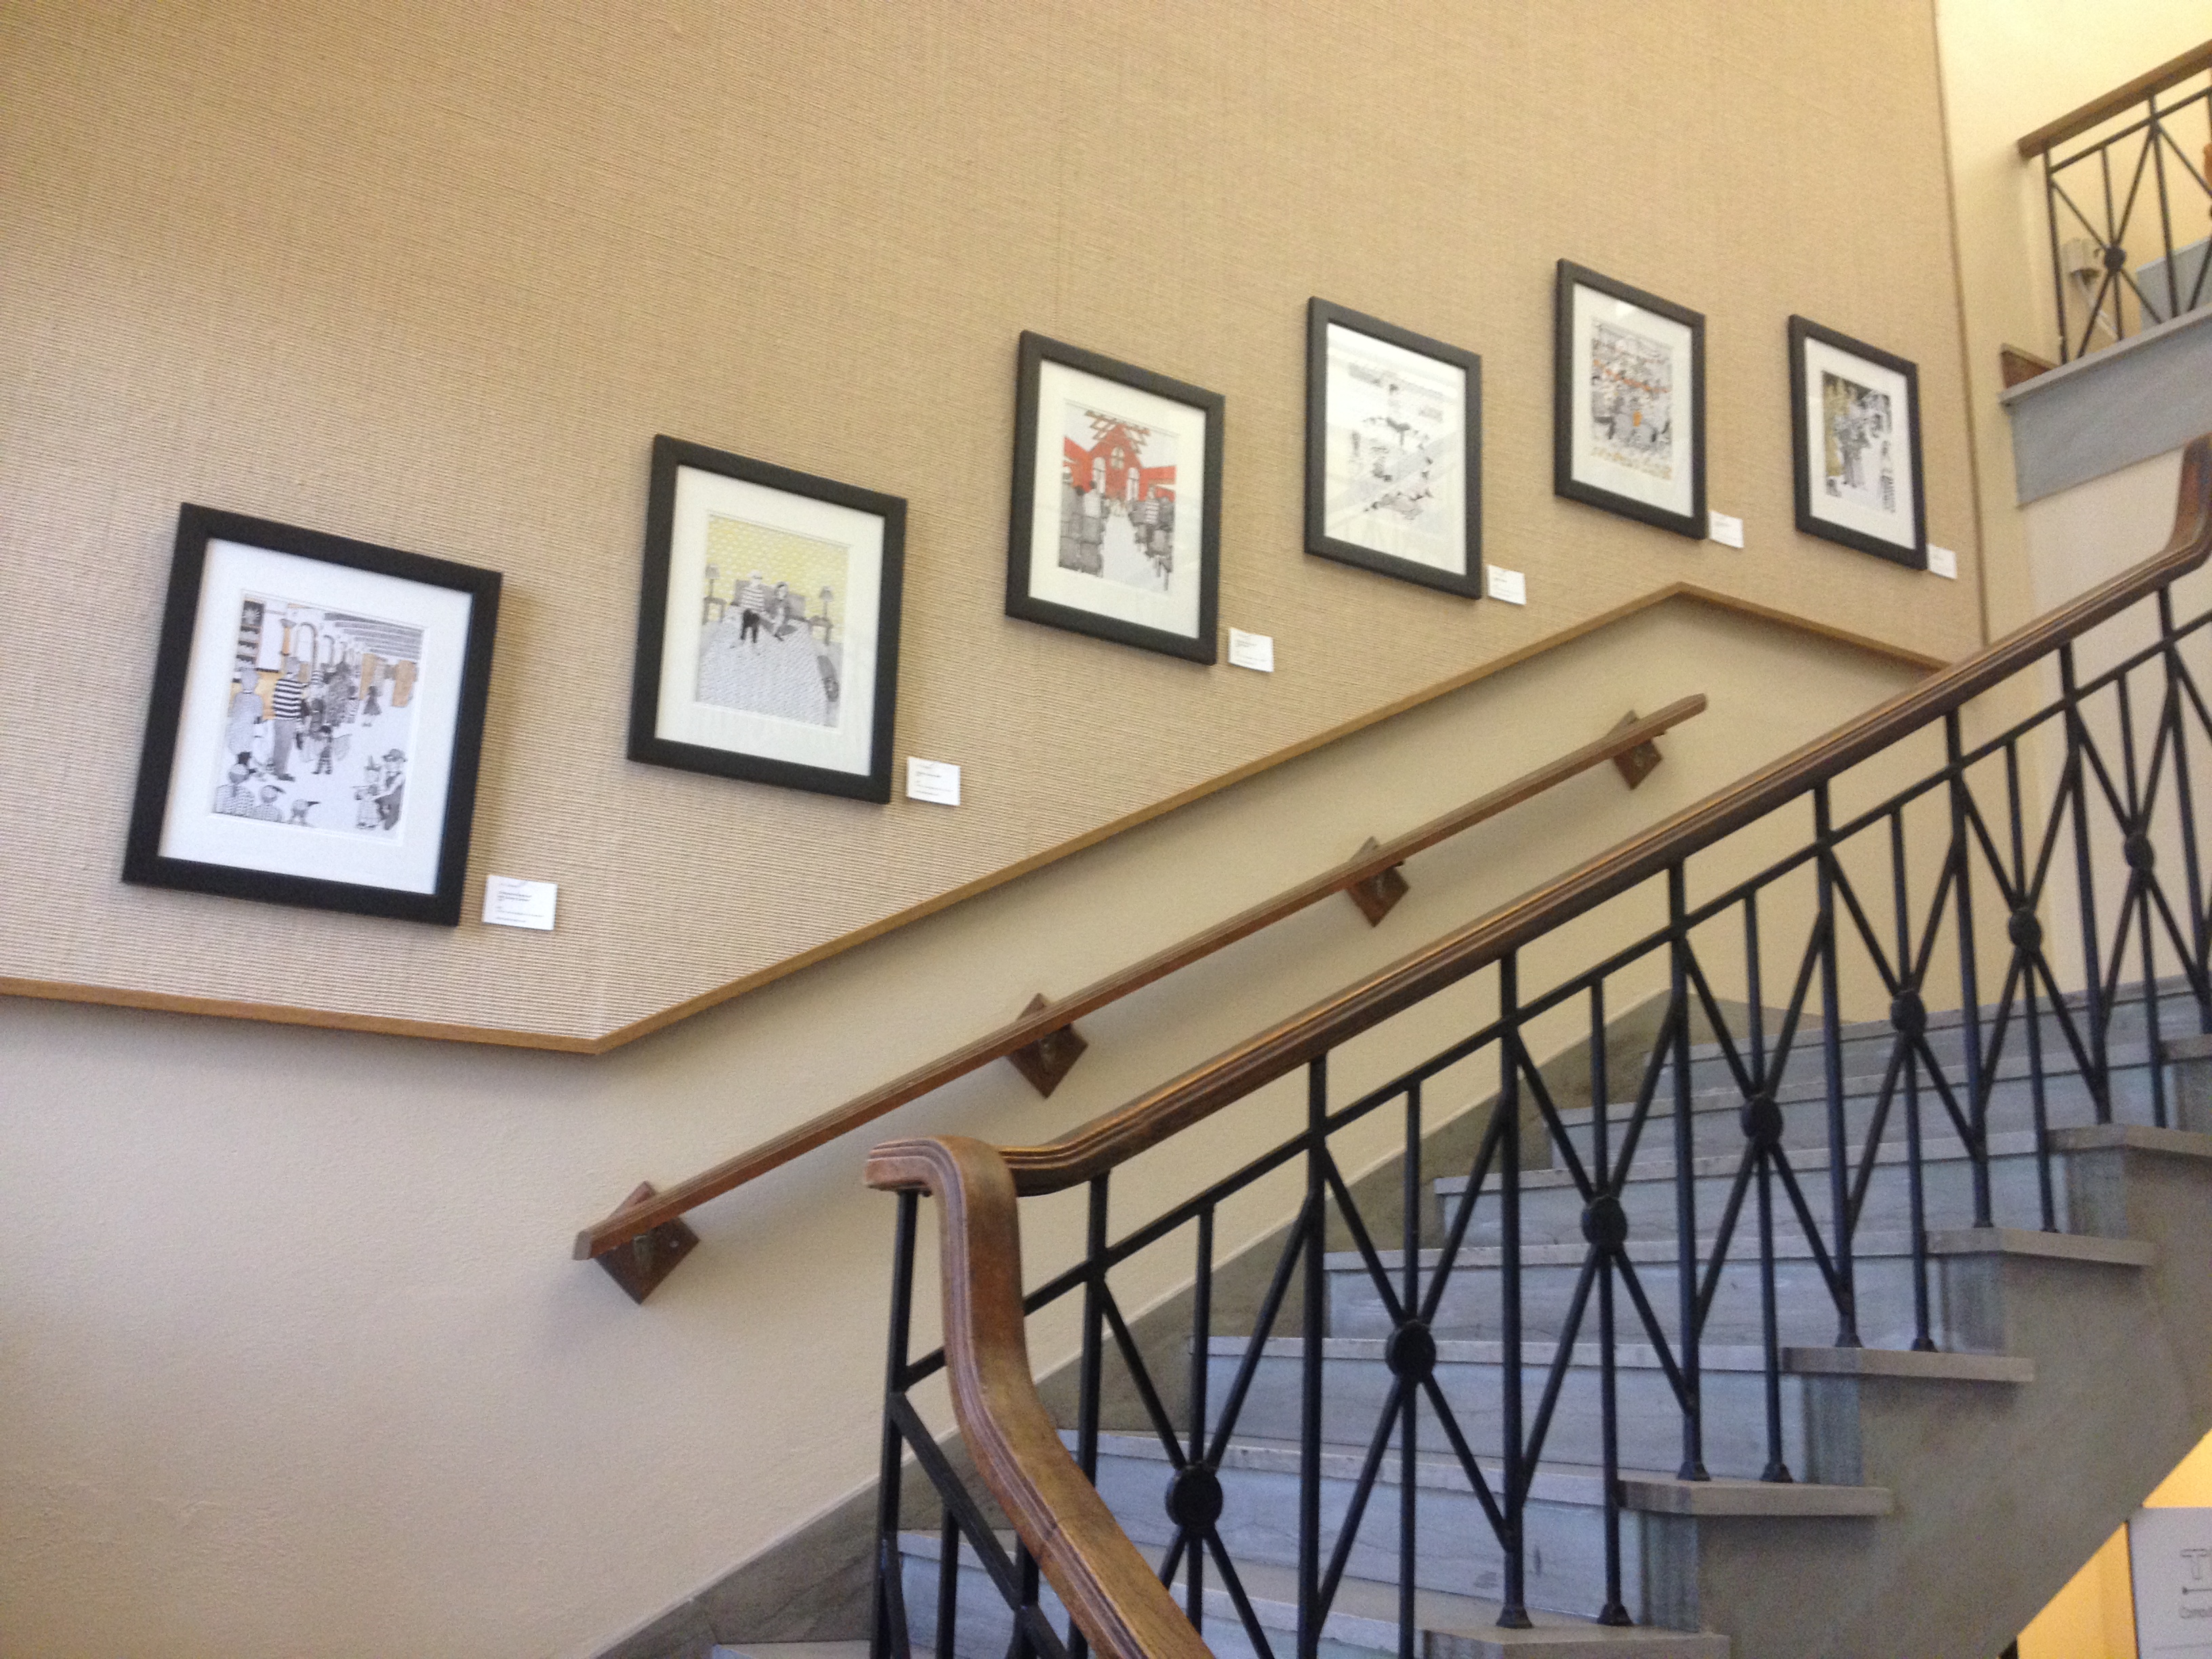
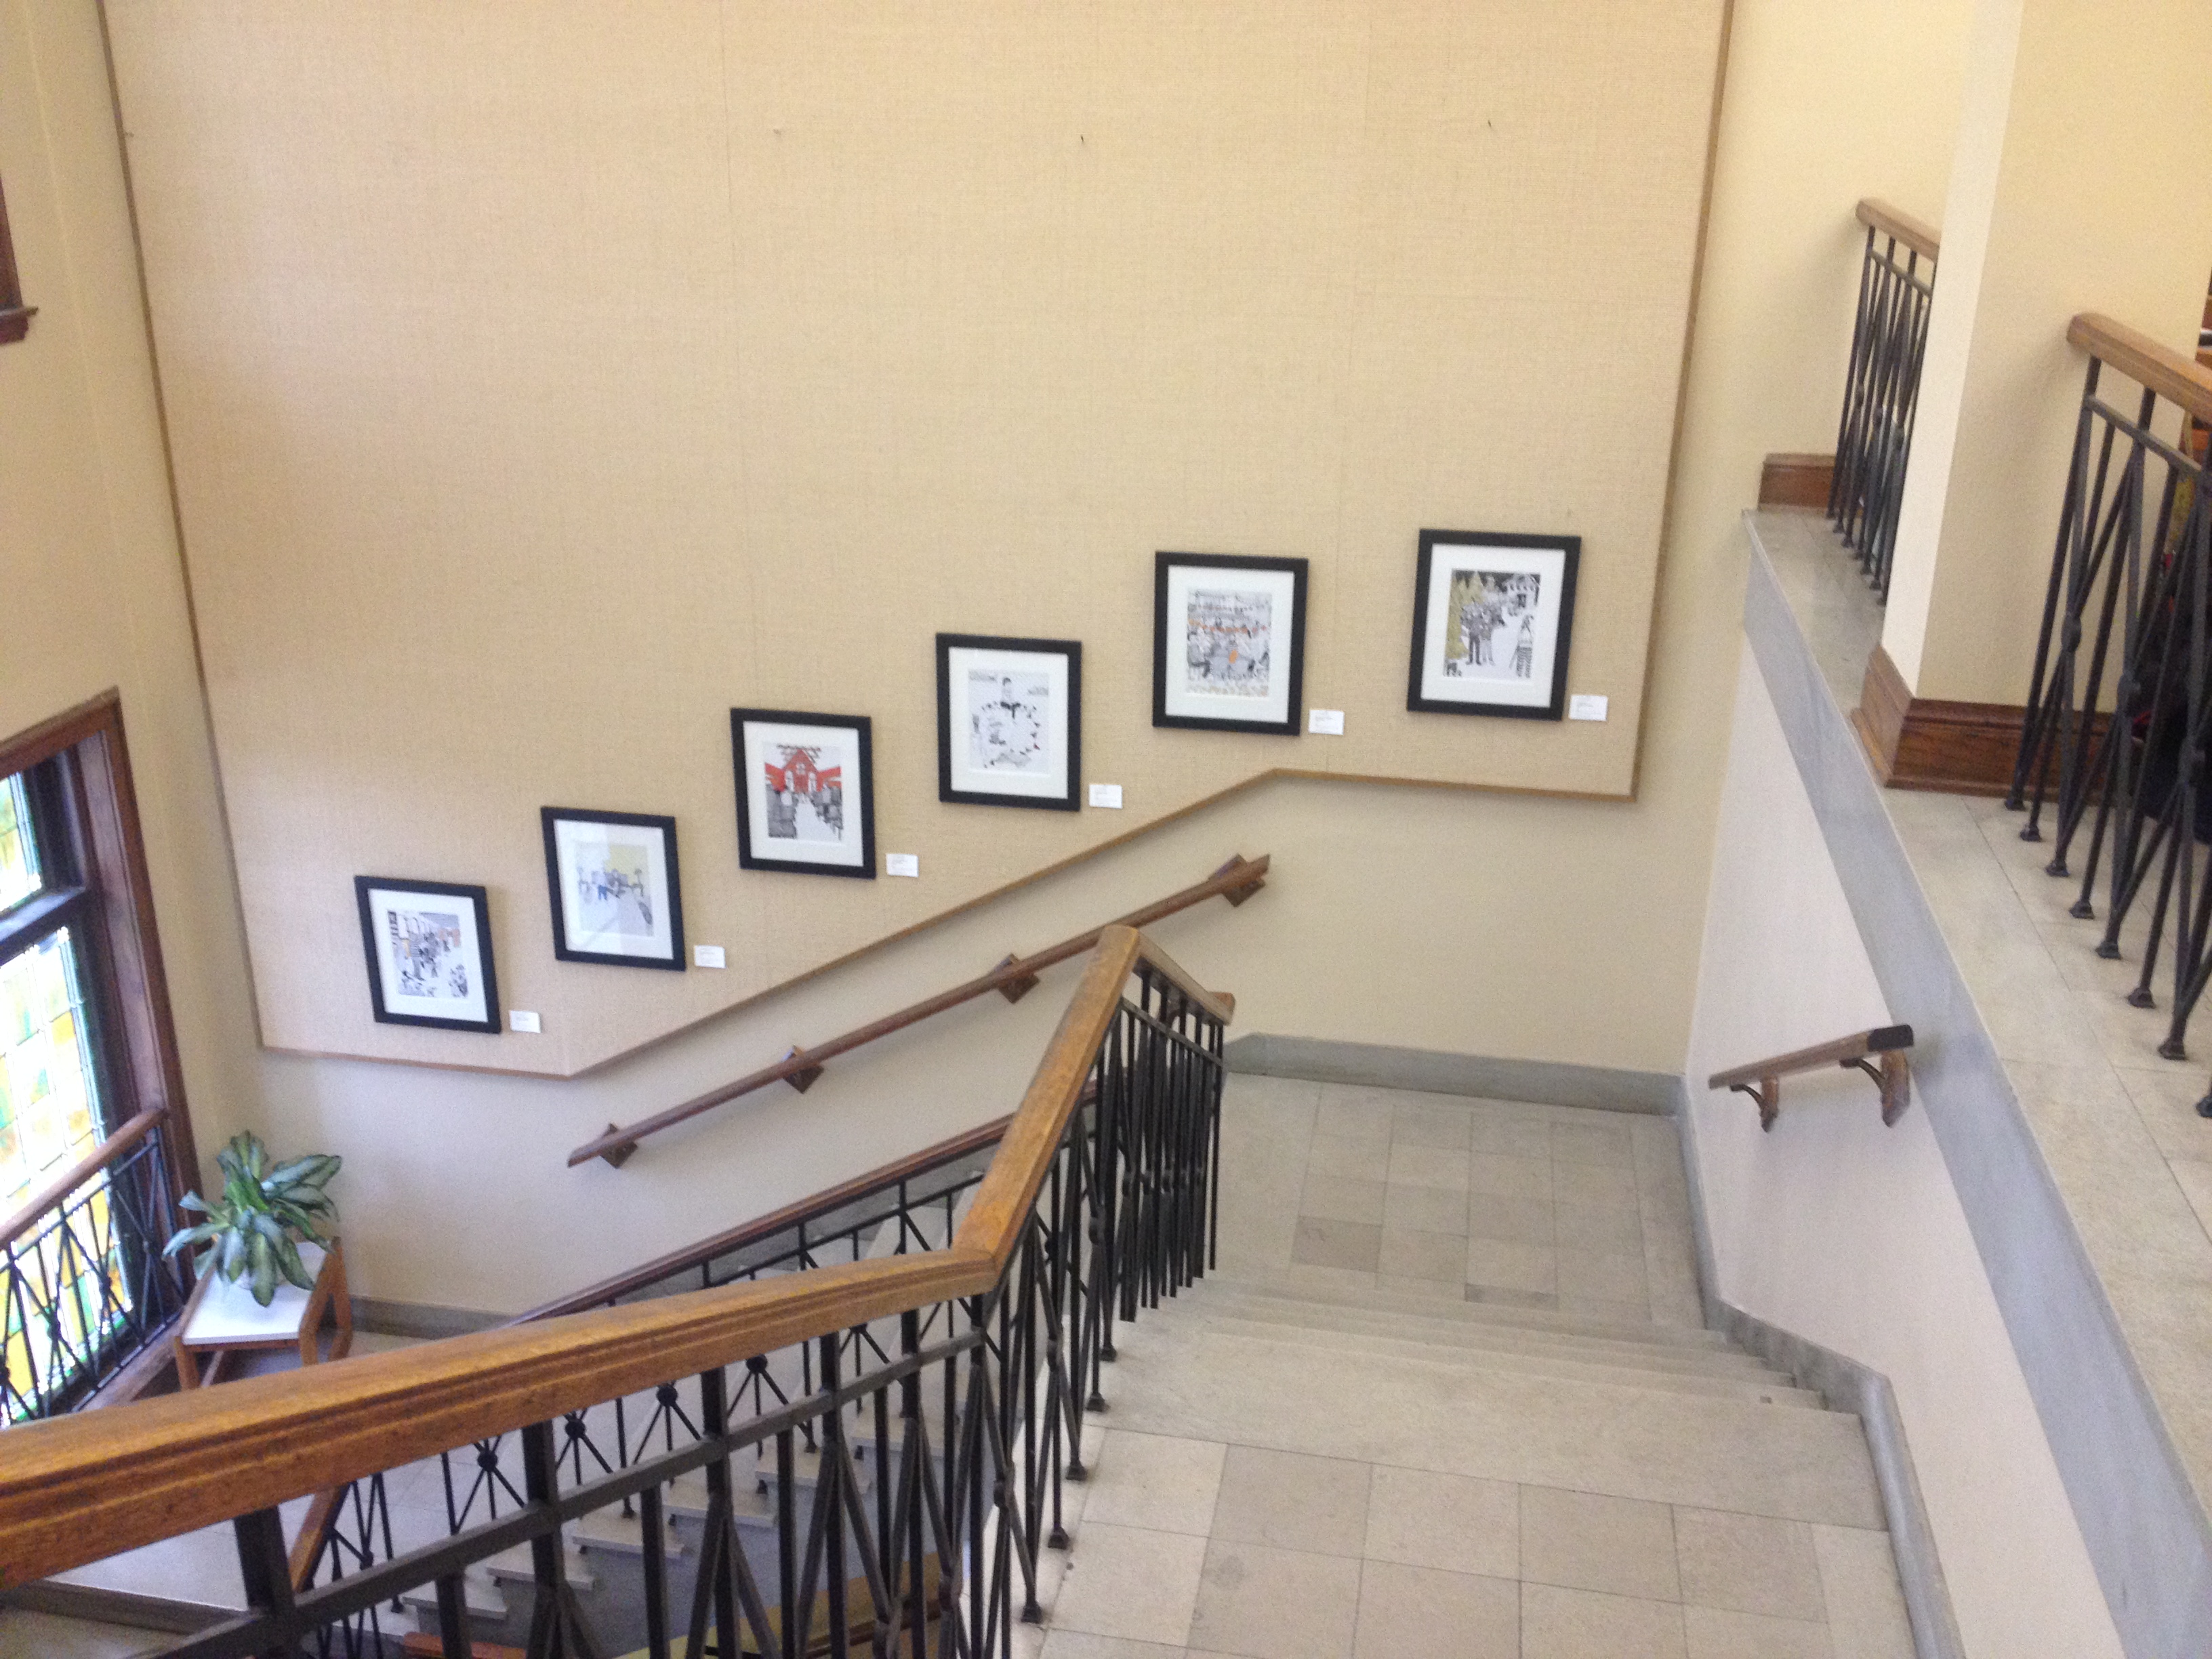
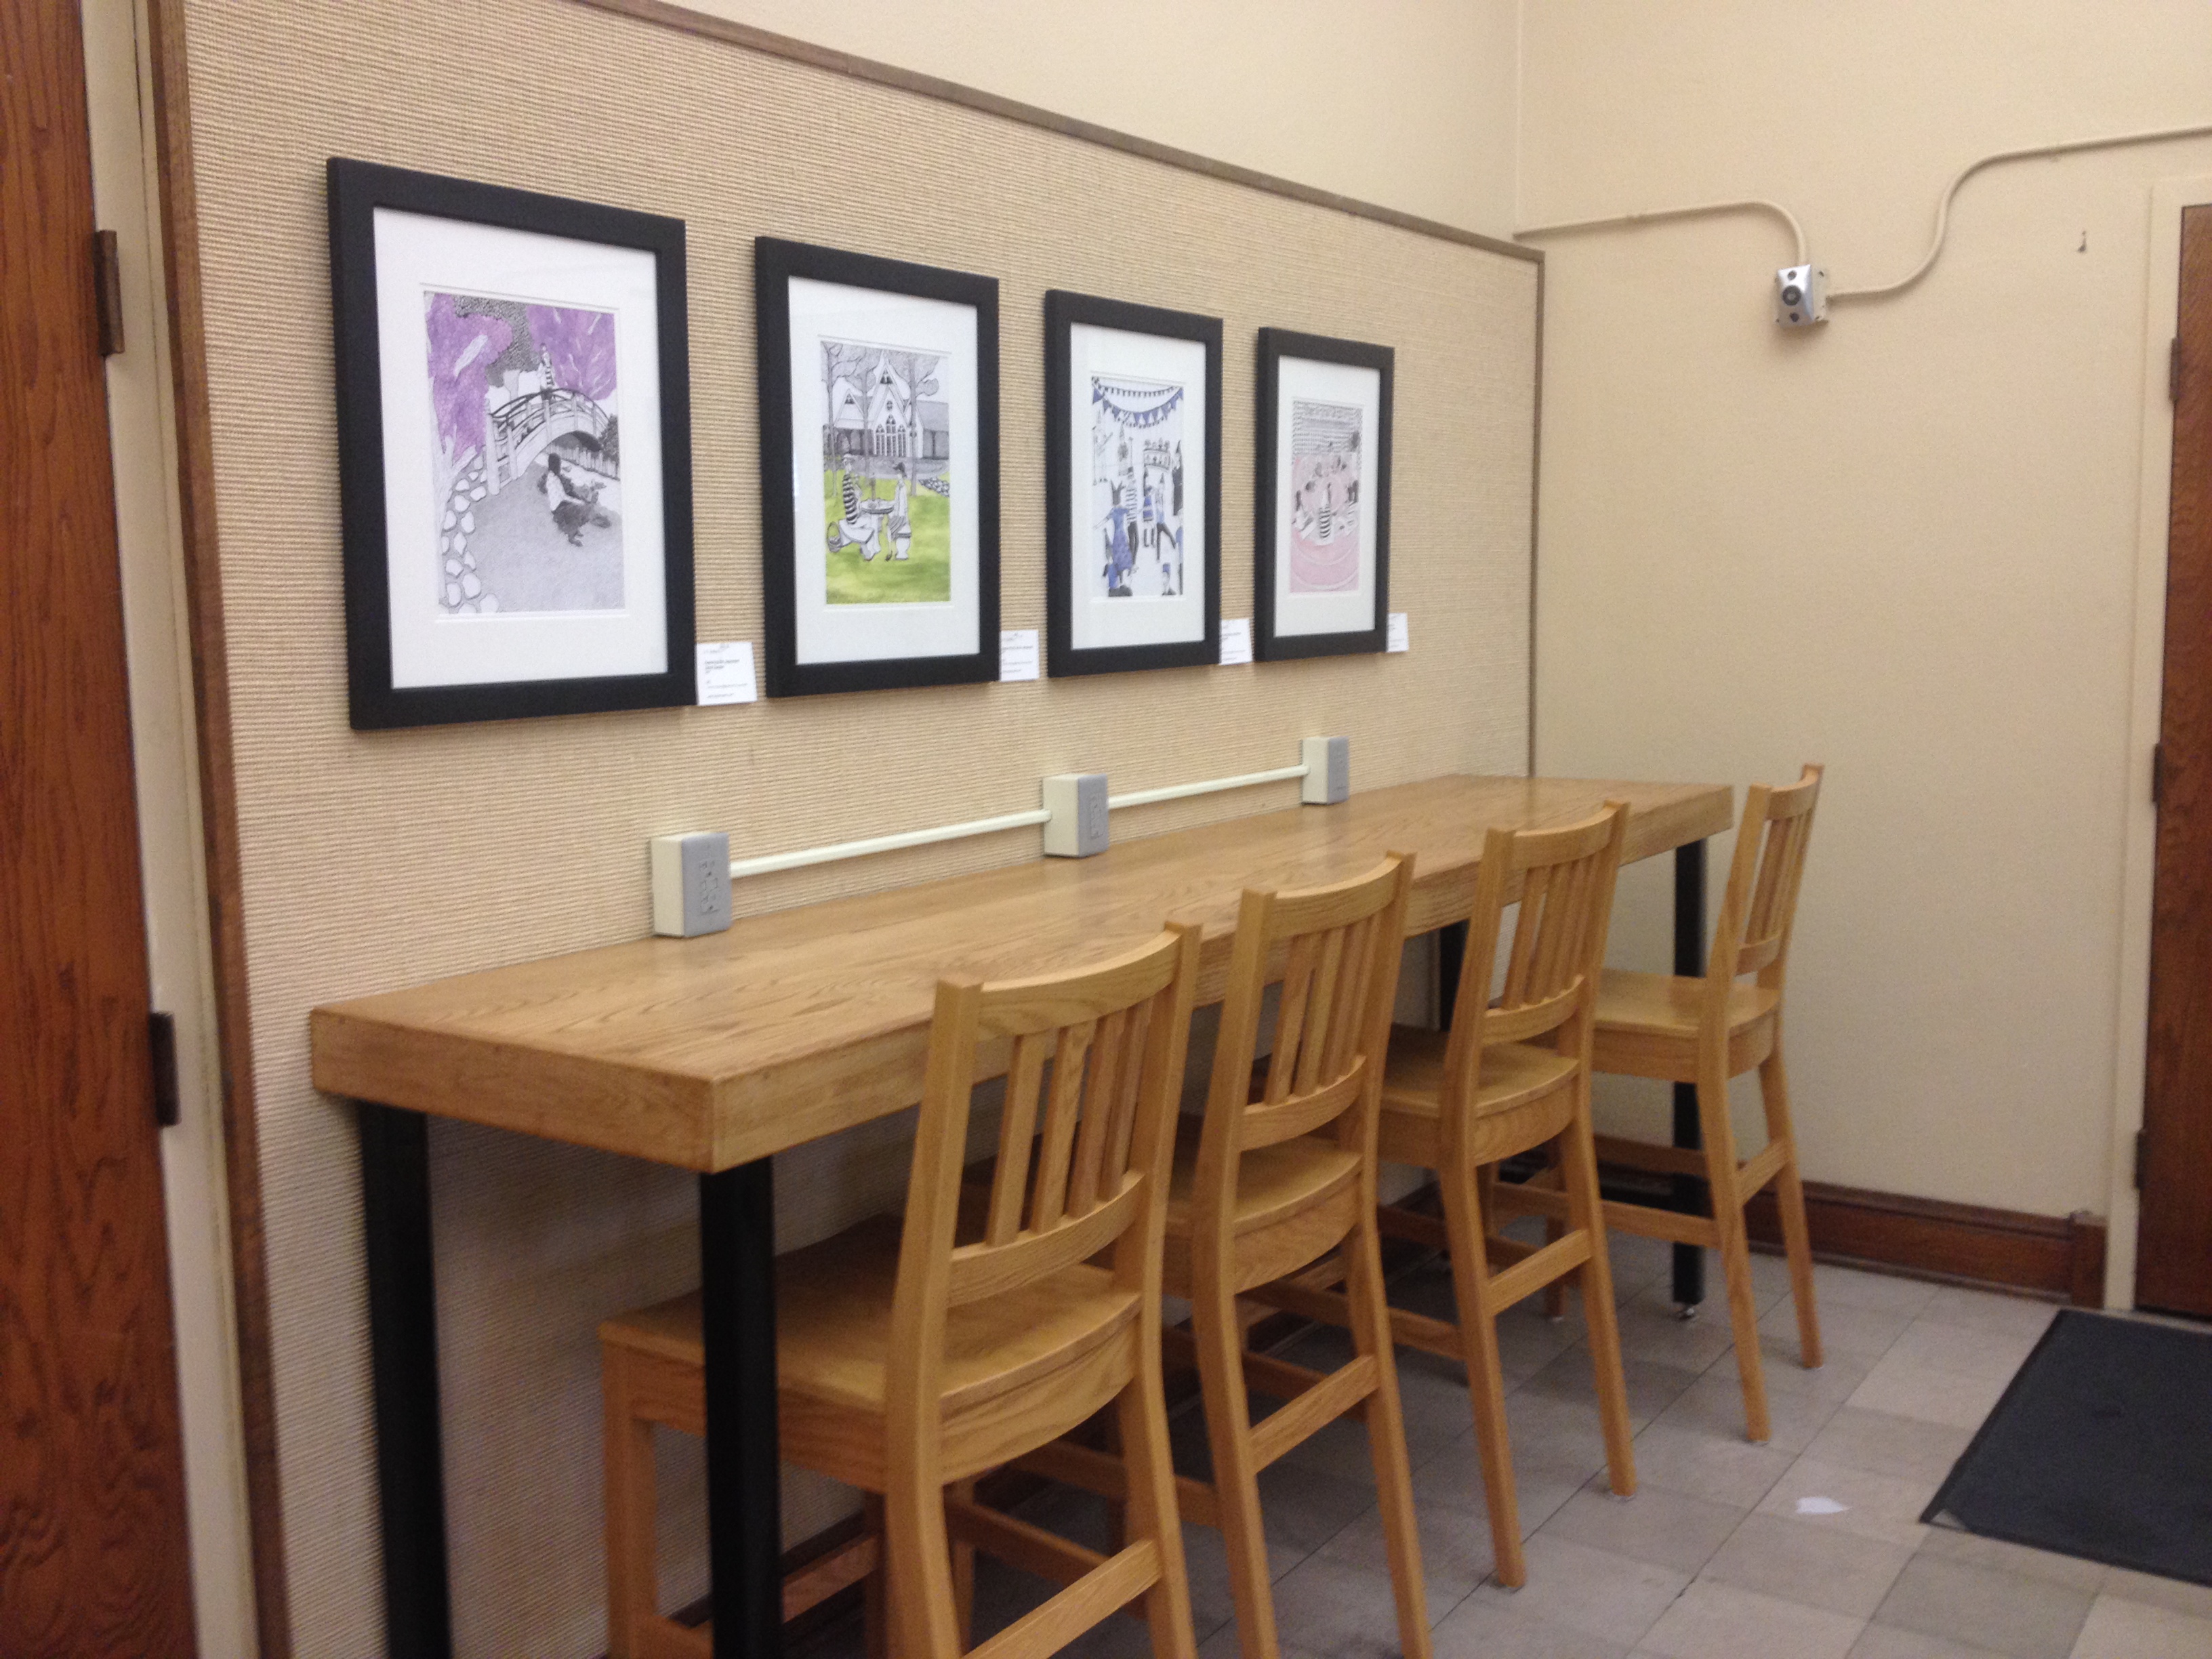
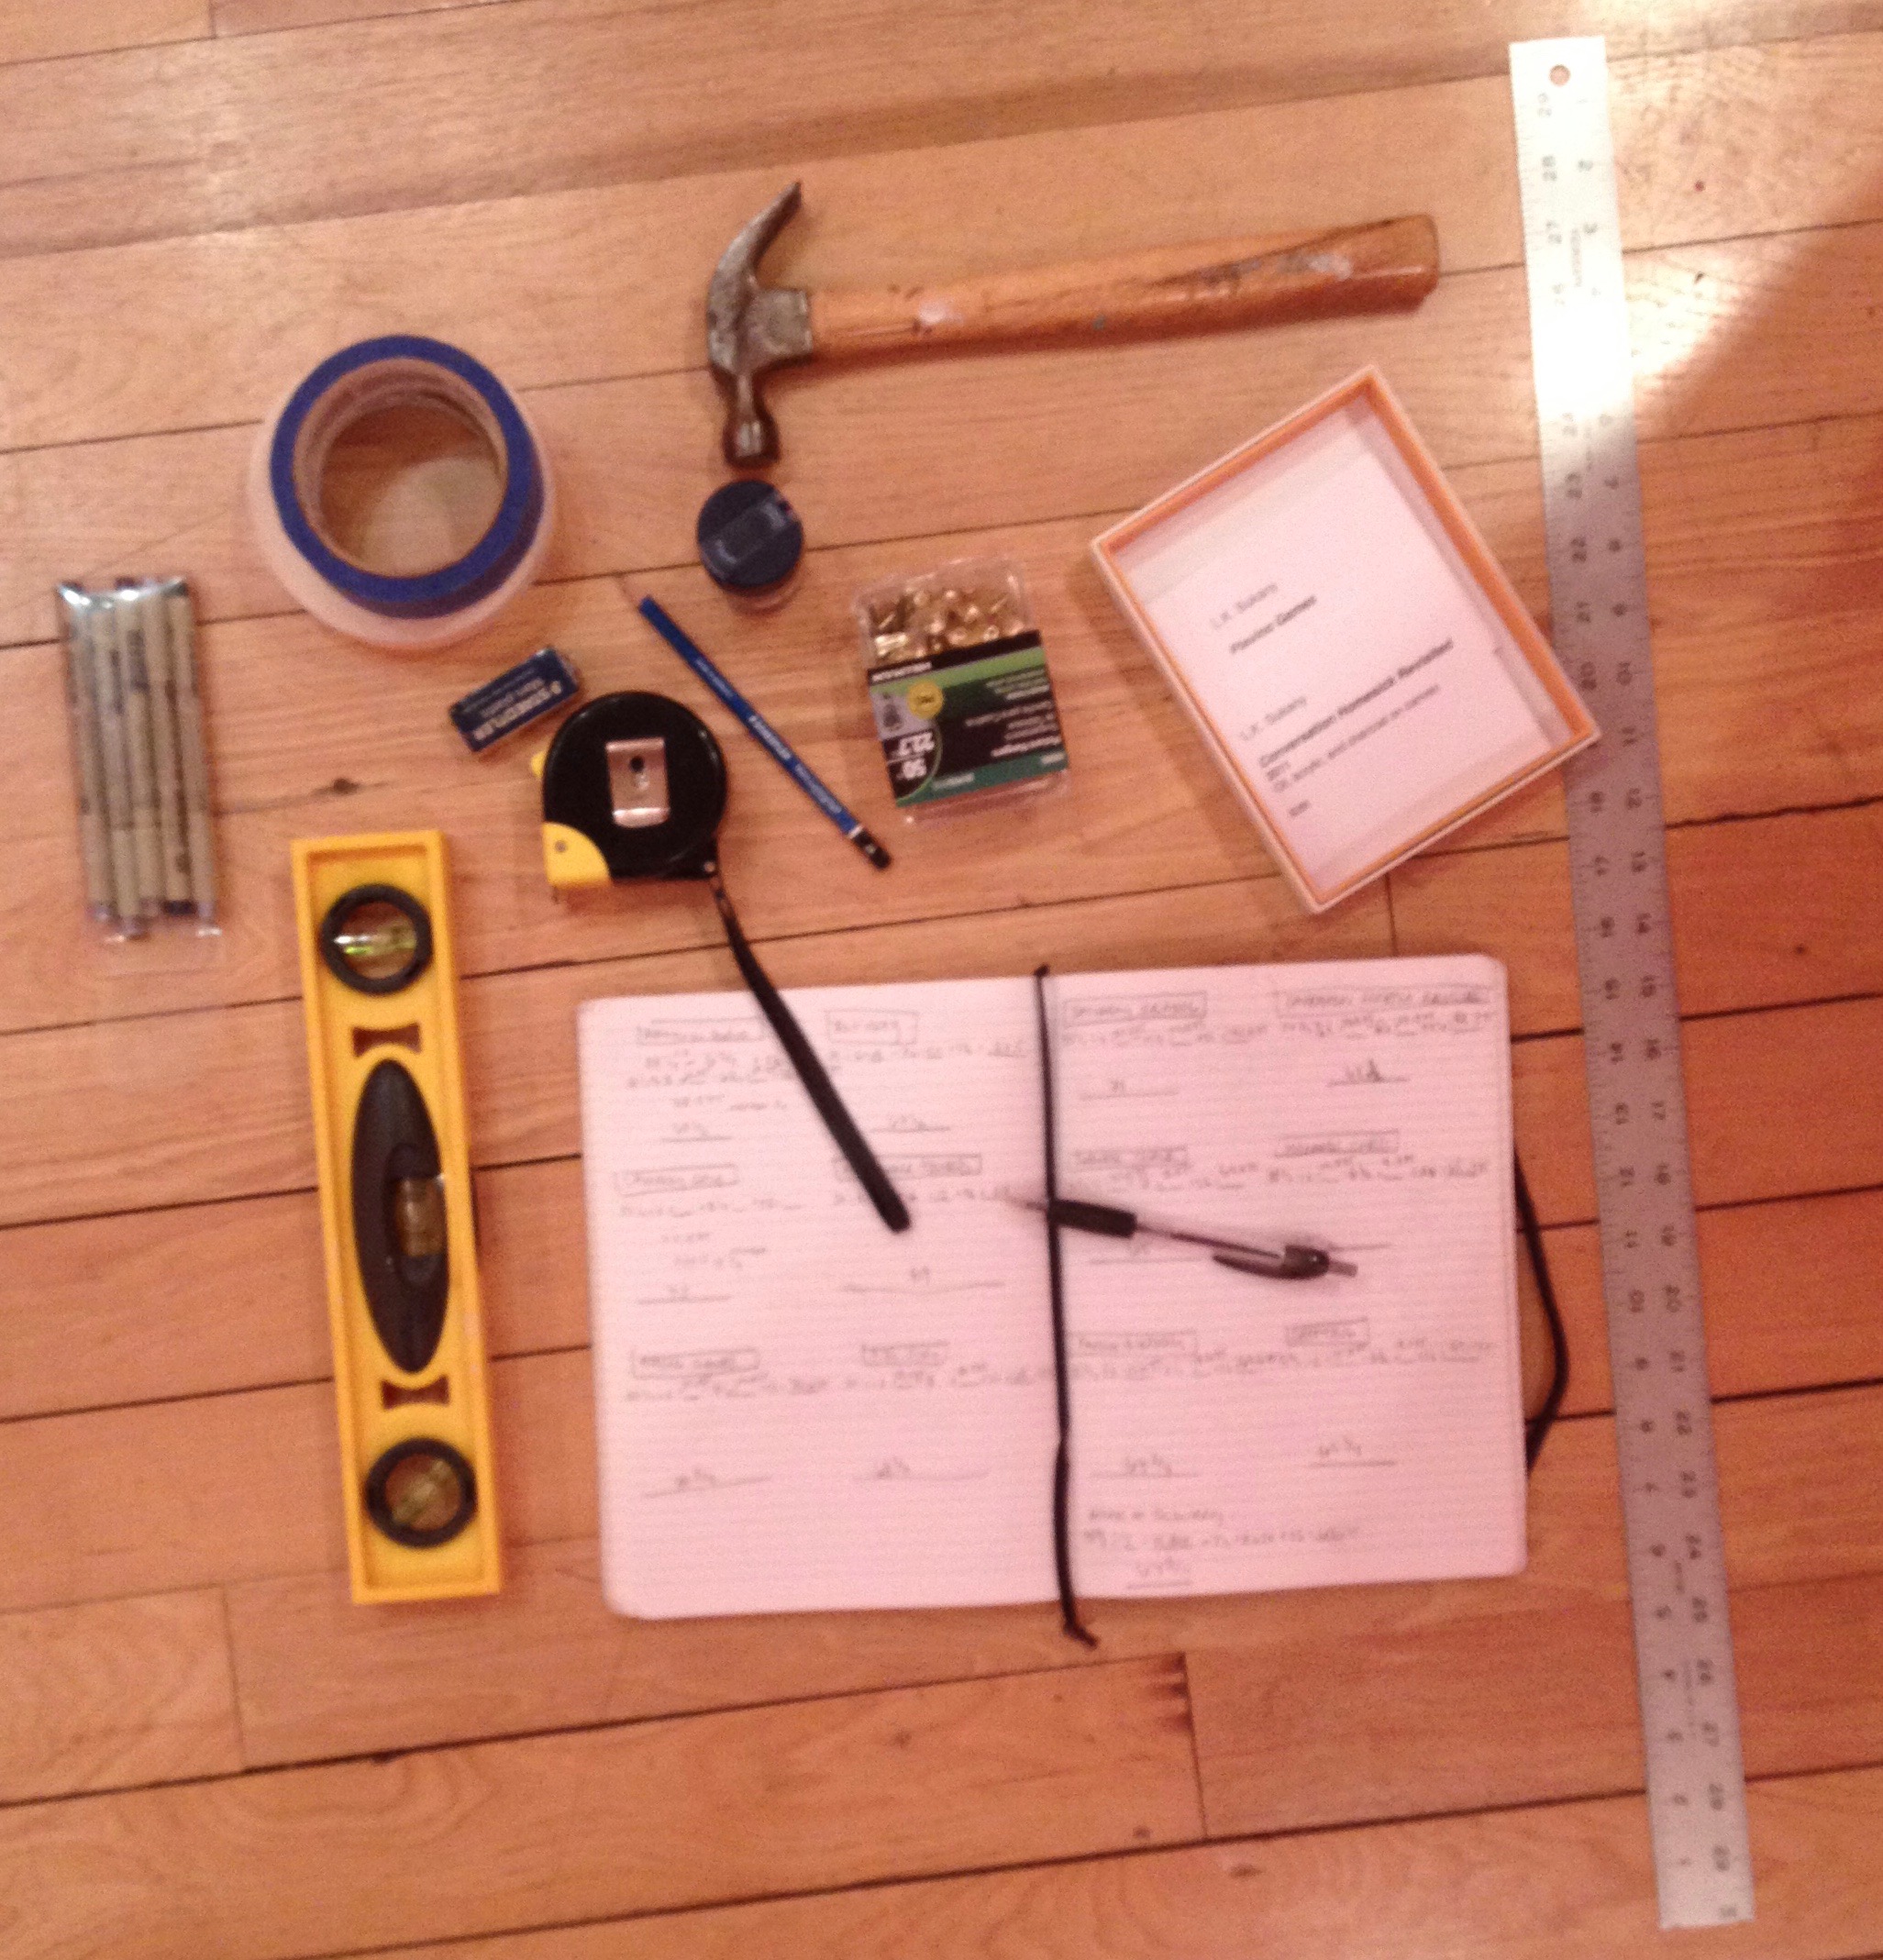
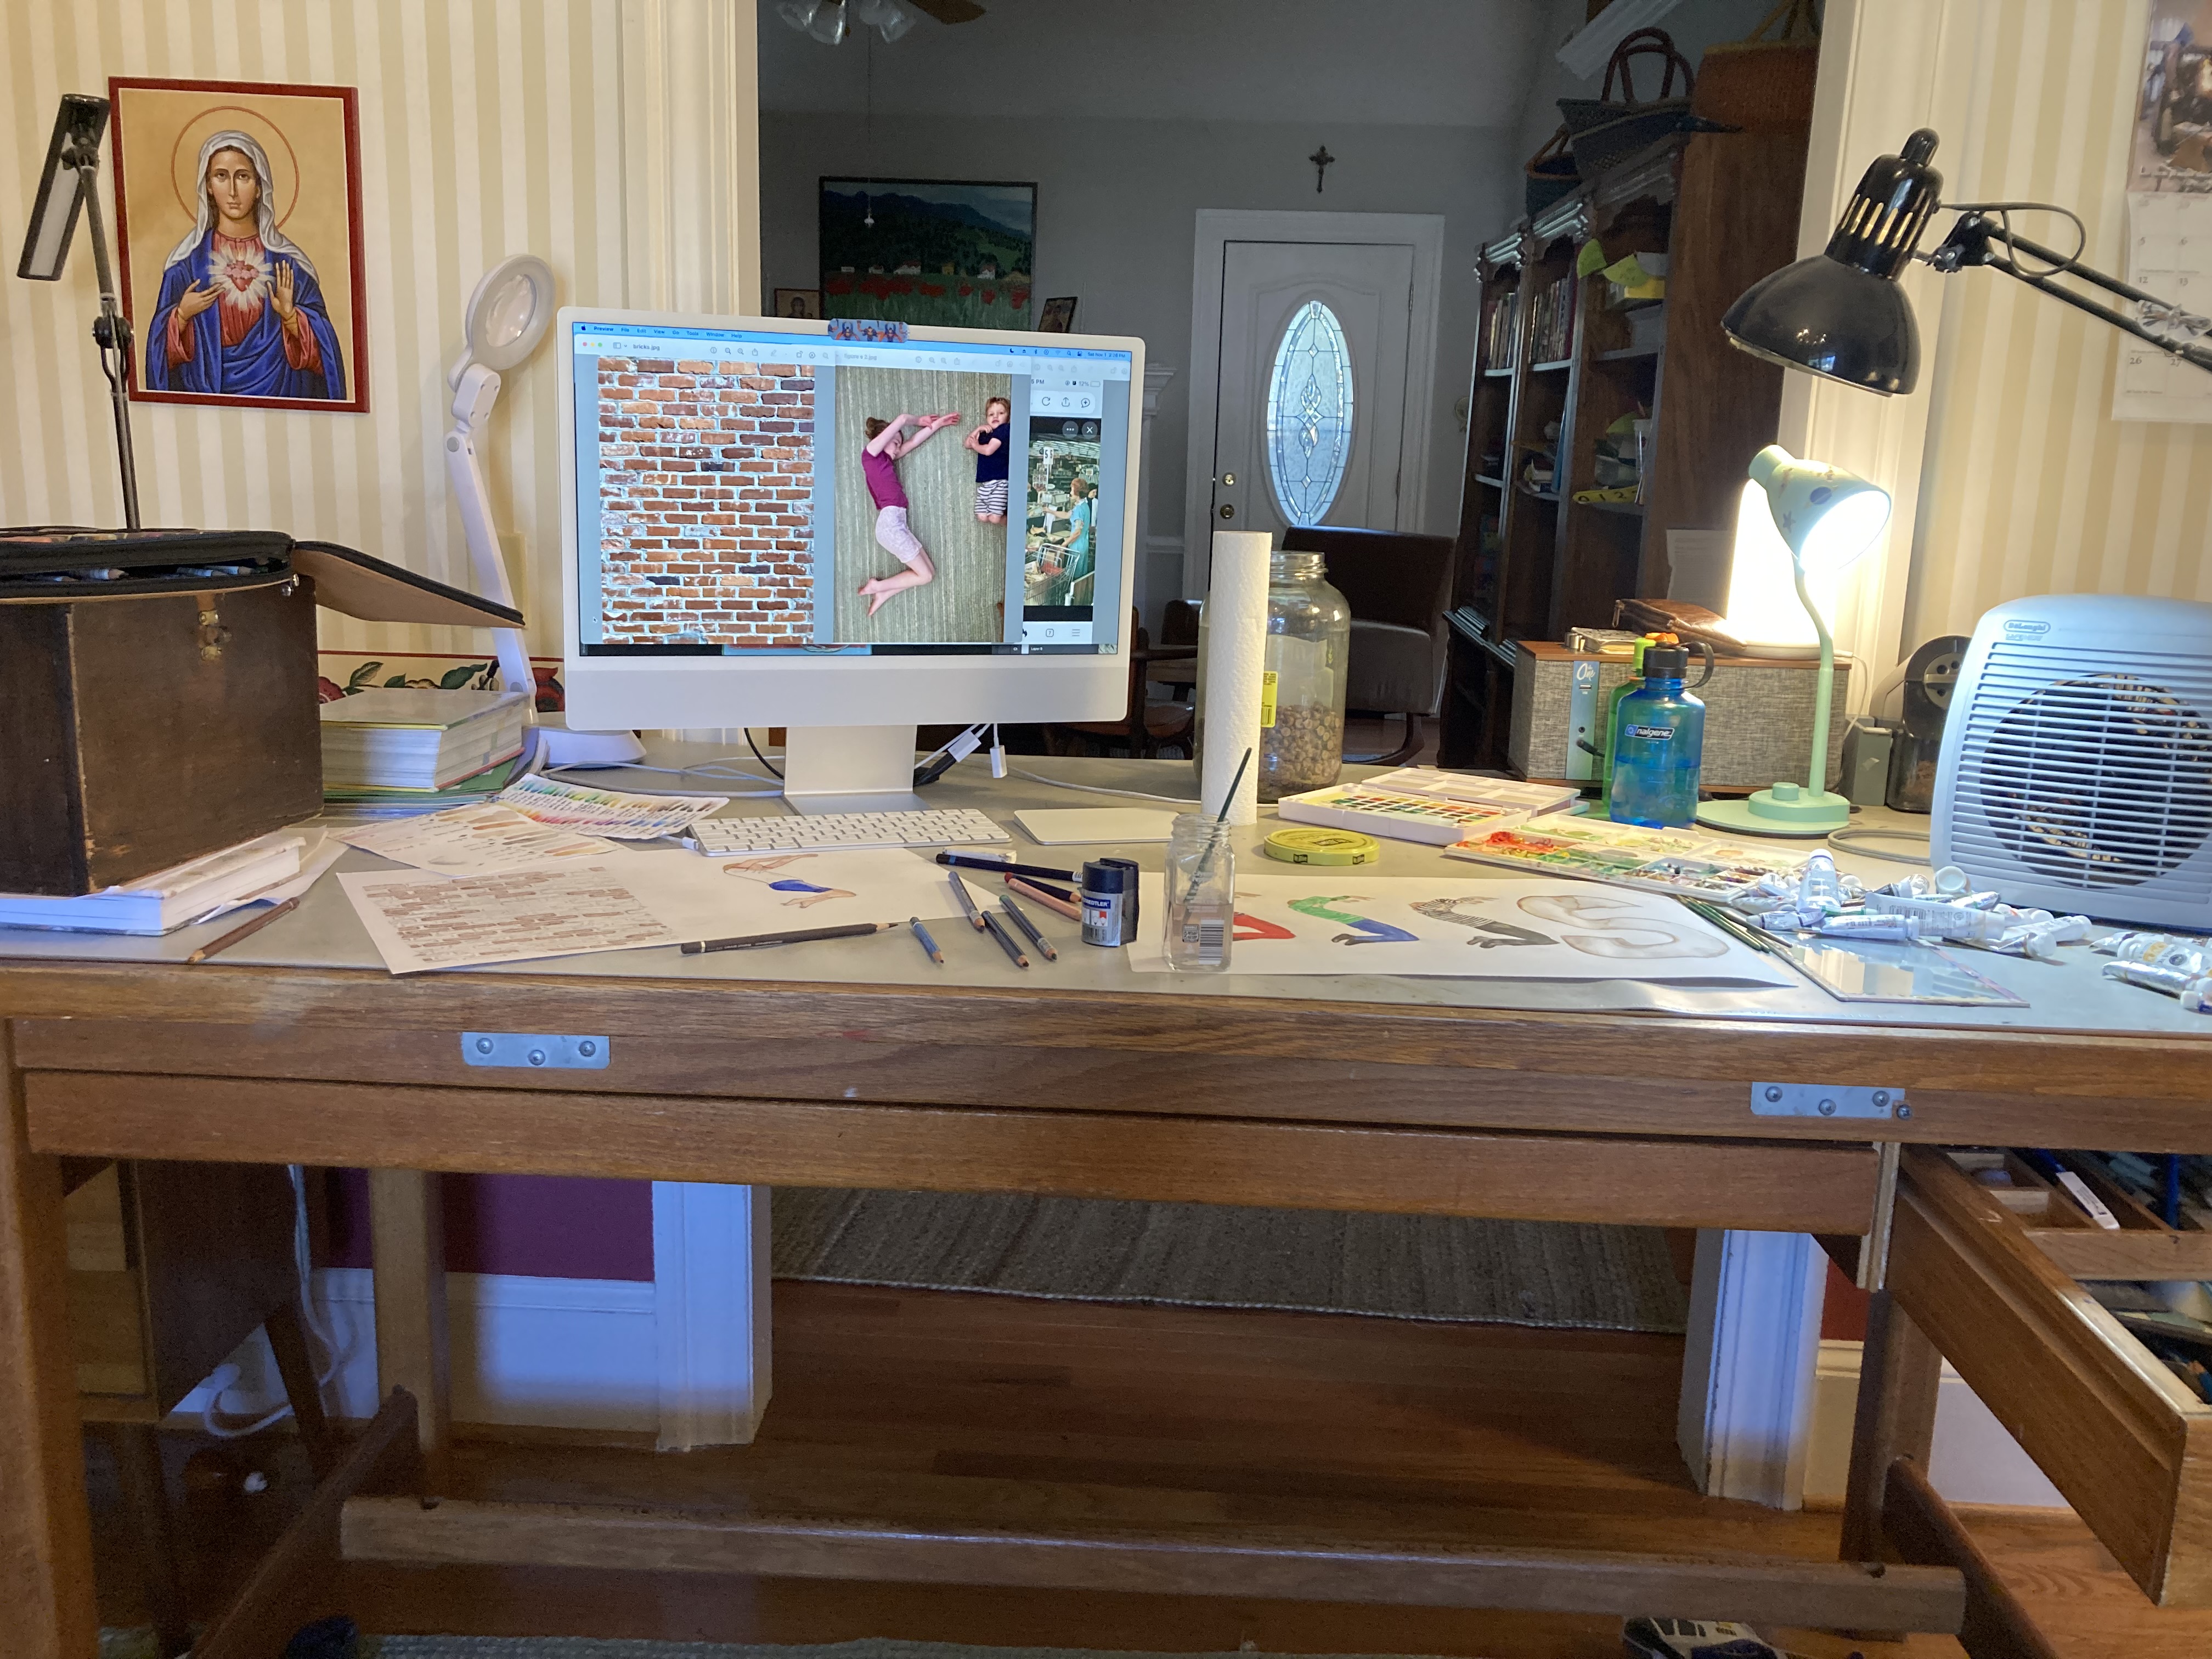
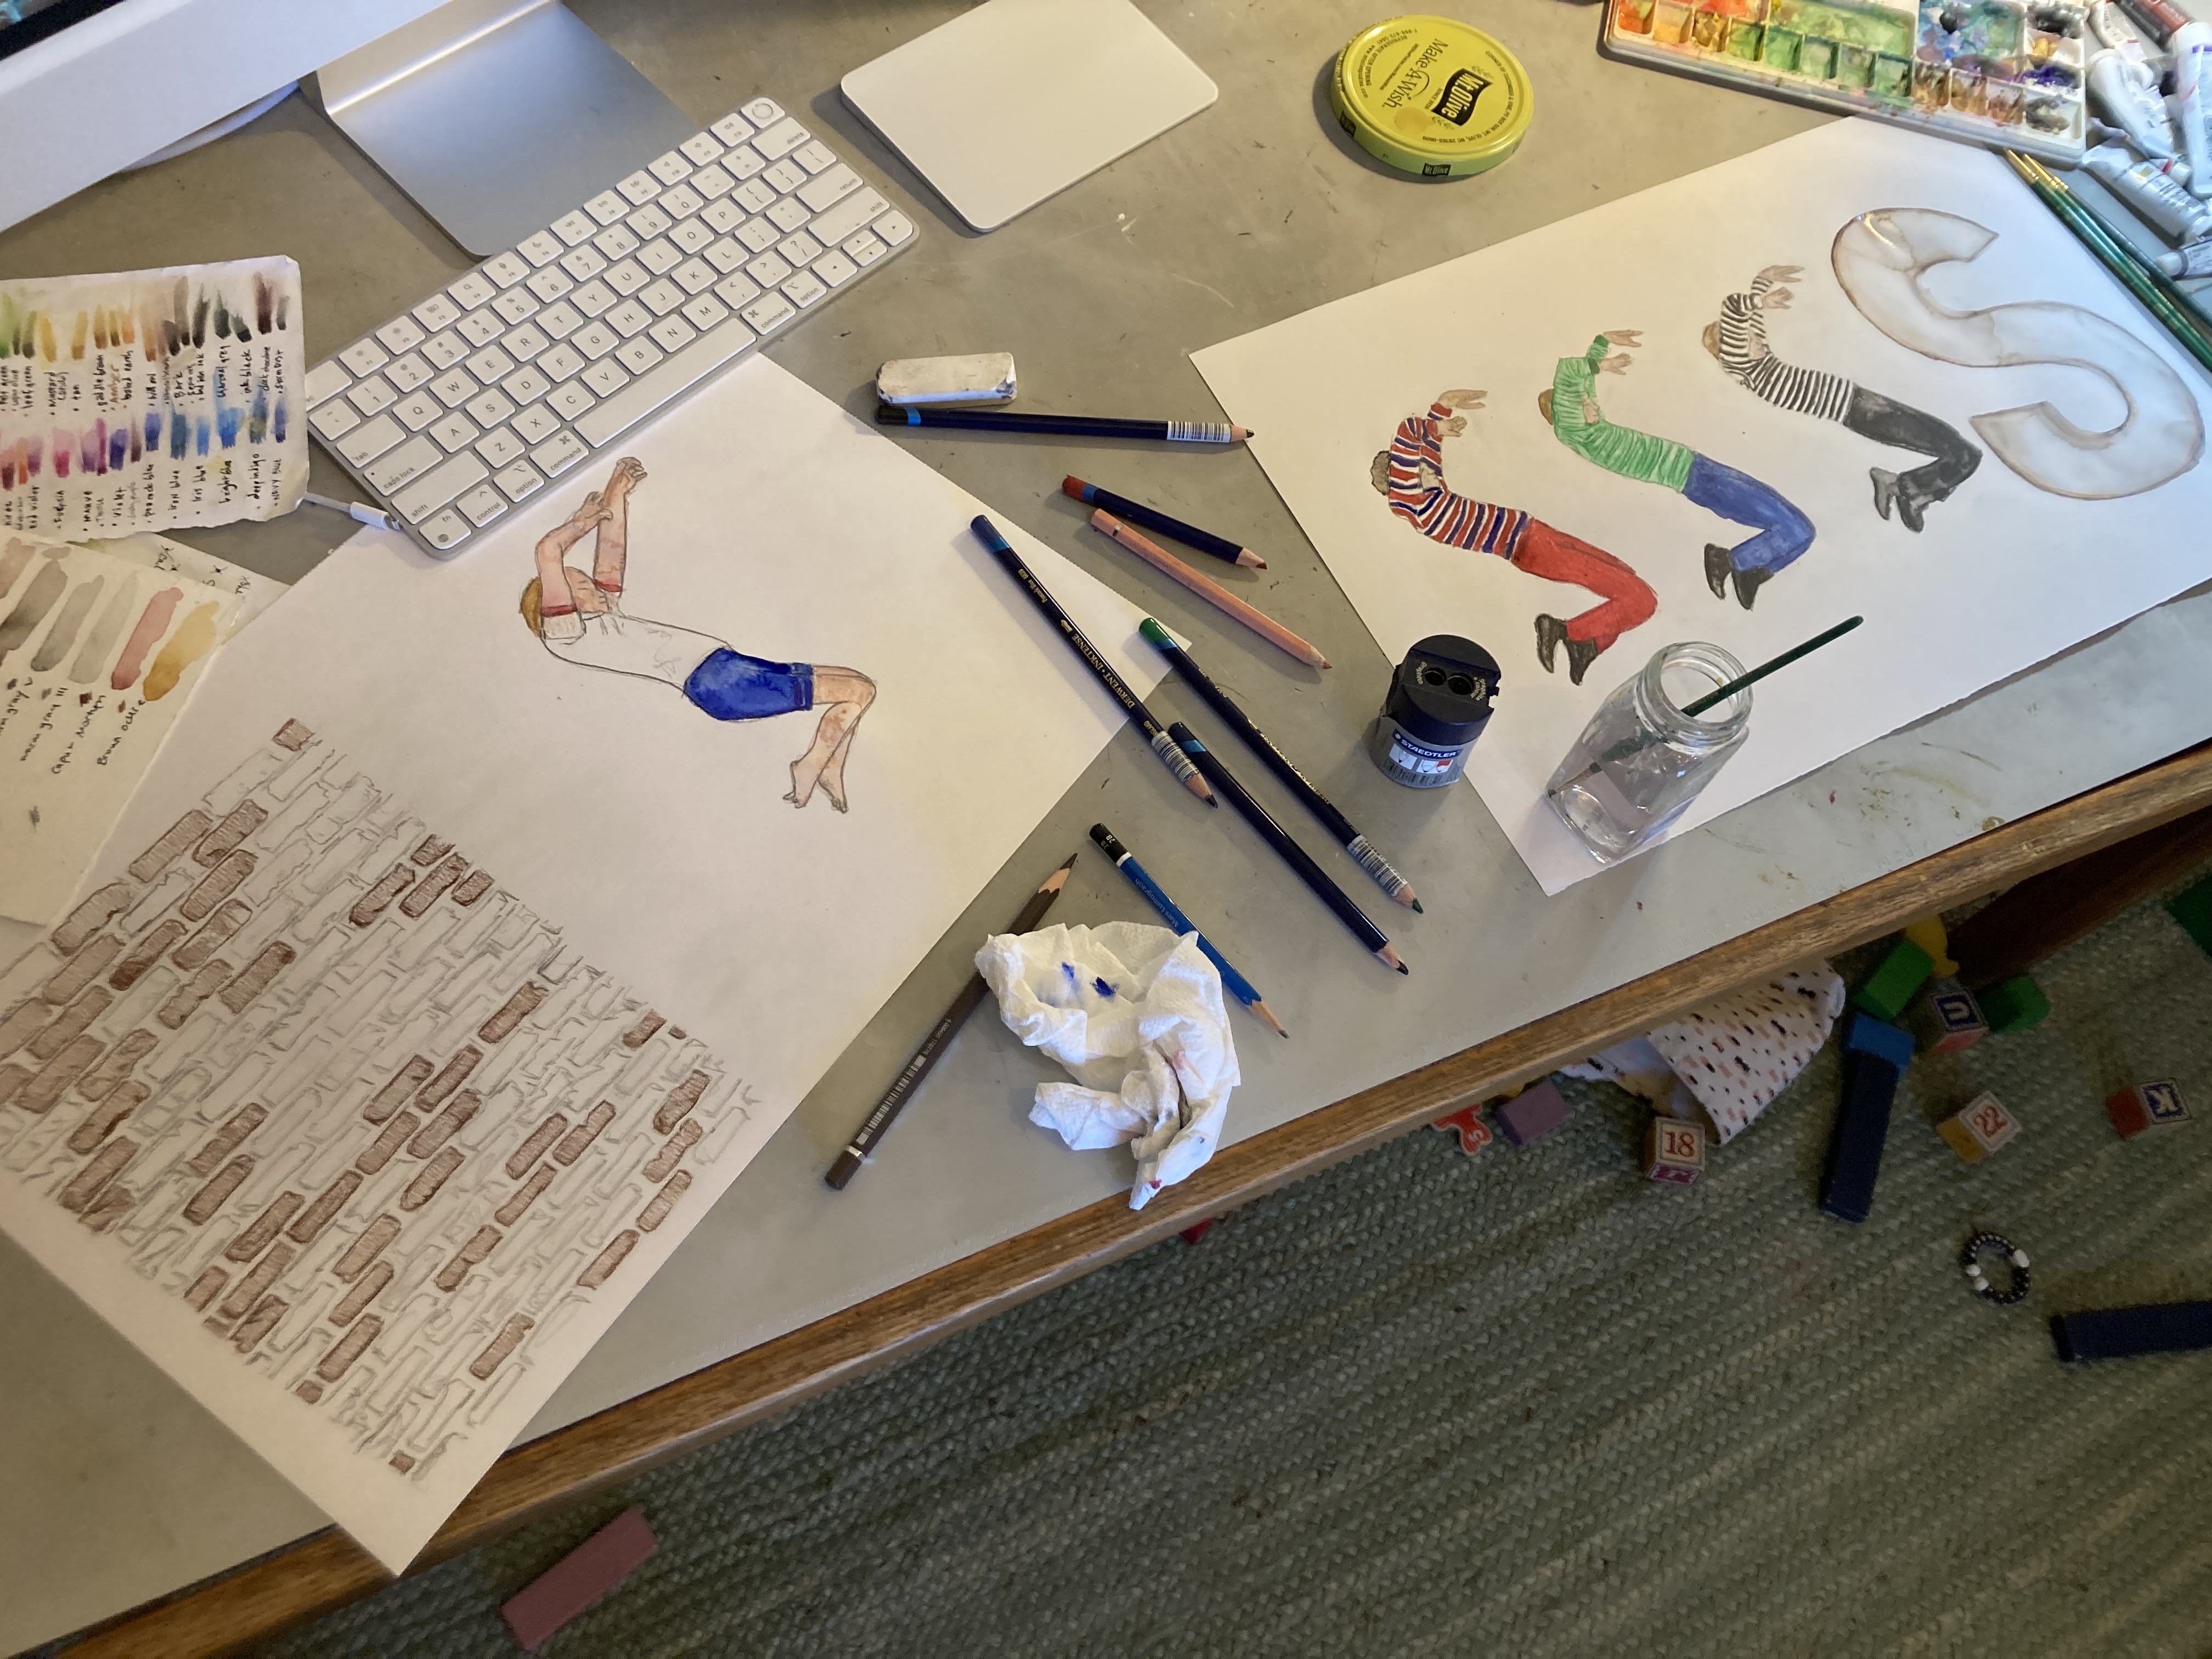
Here are a few studio pictures of the project!
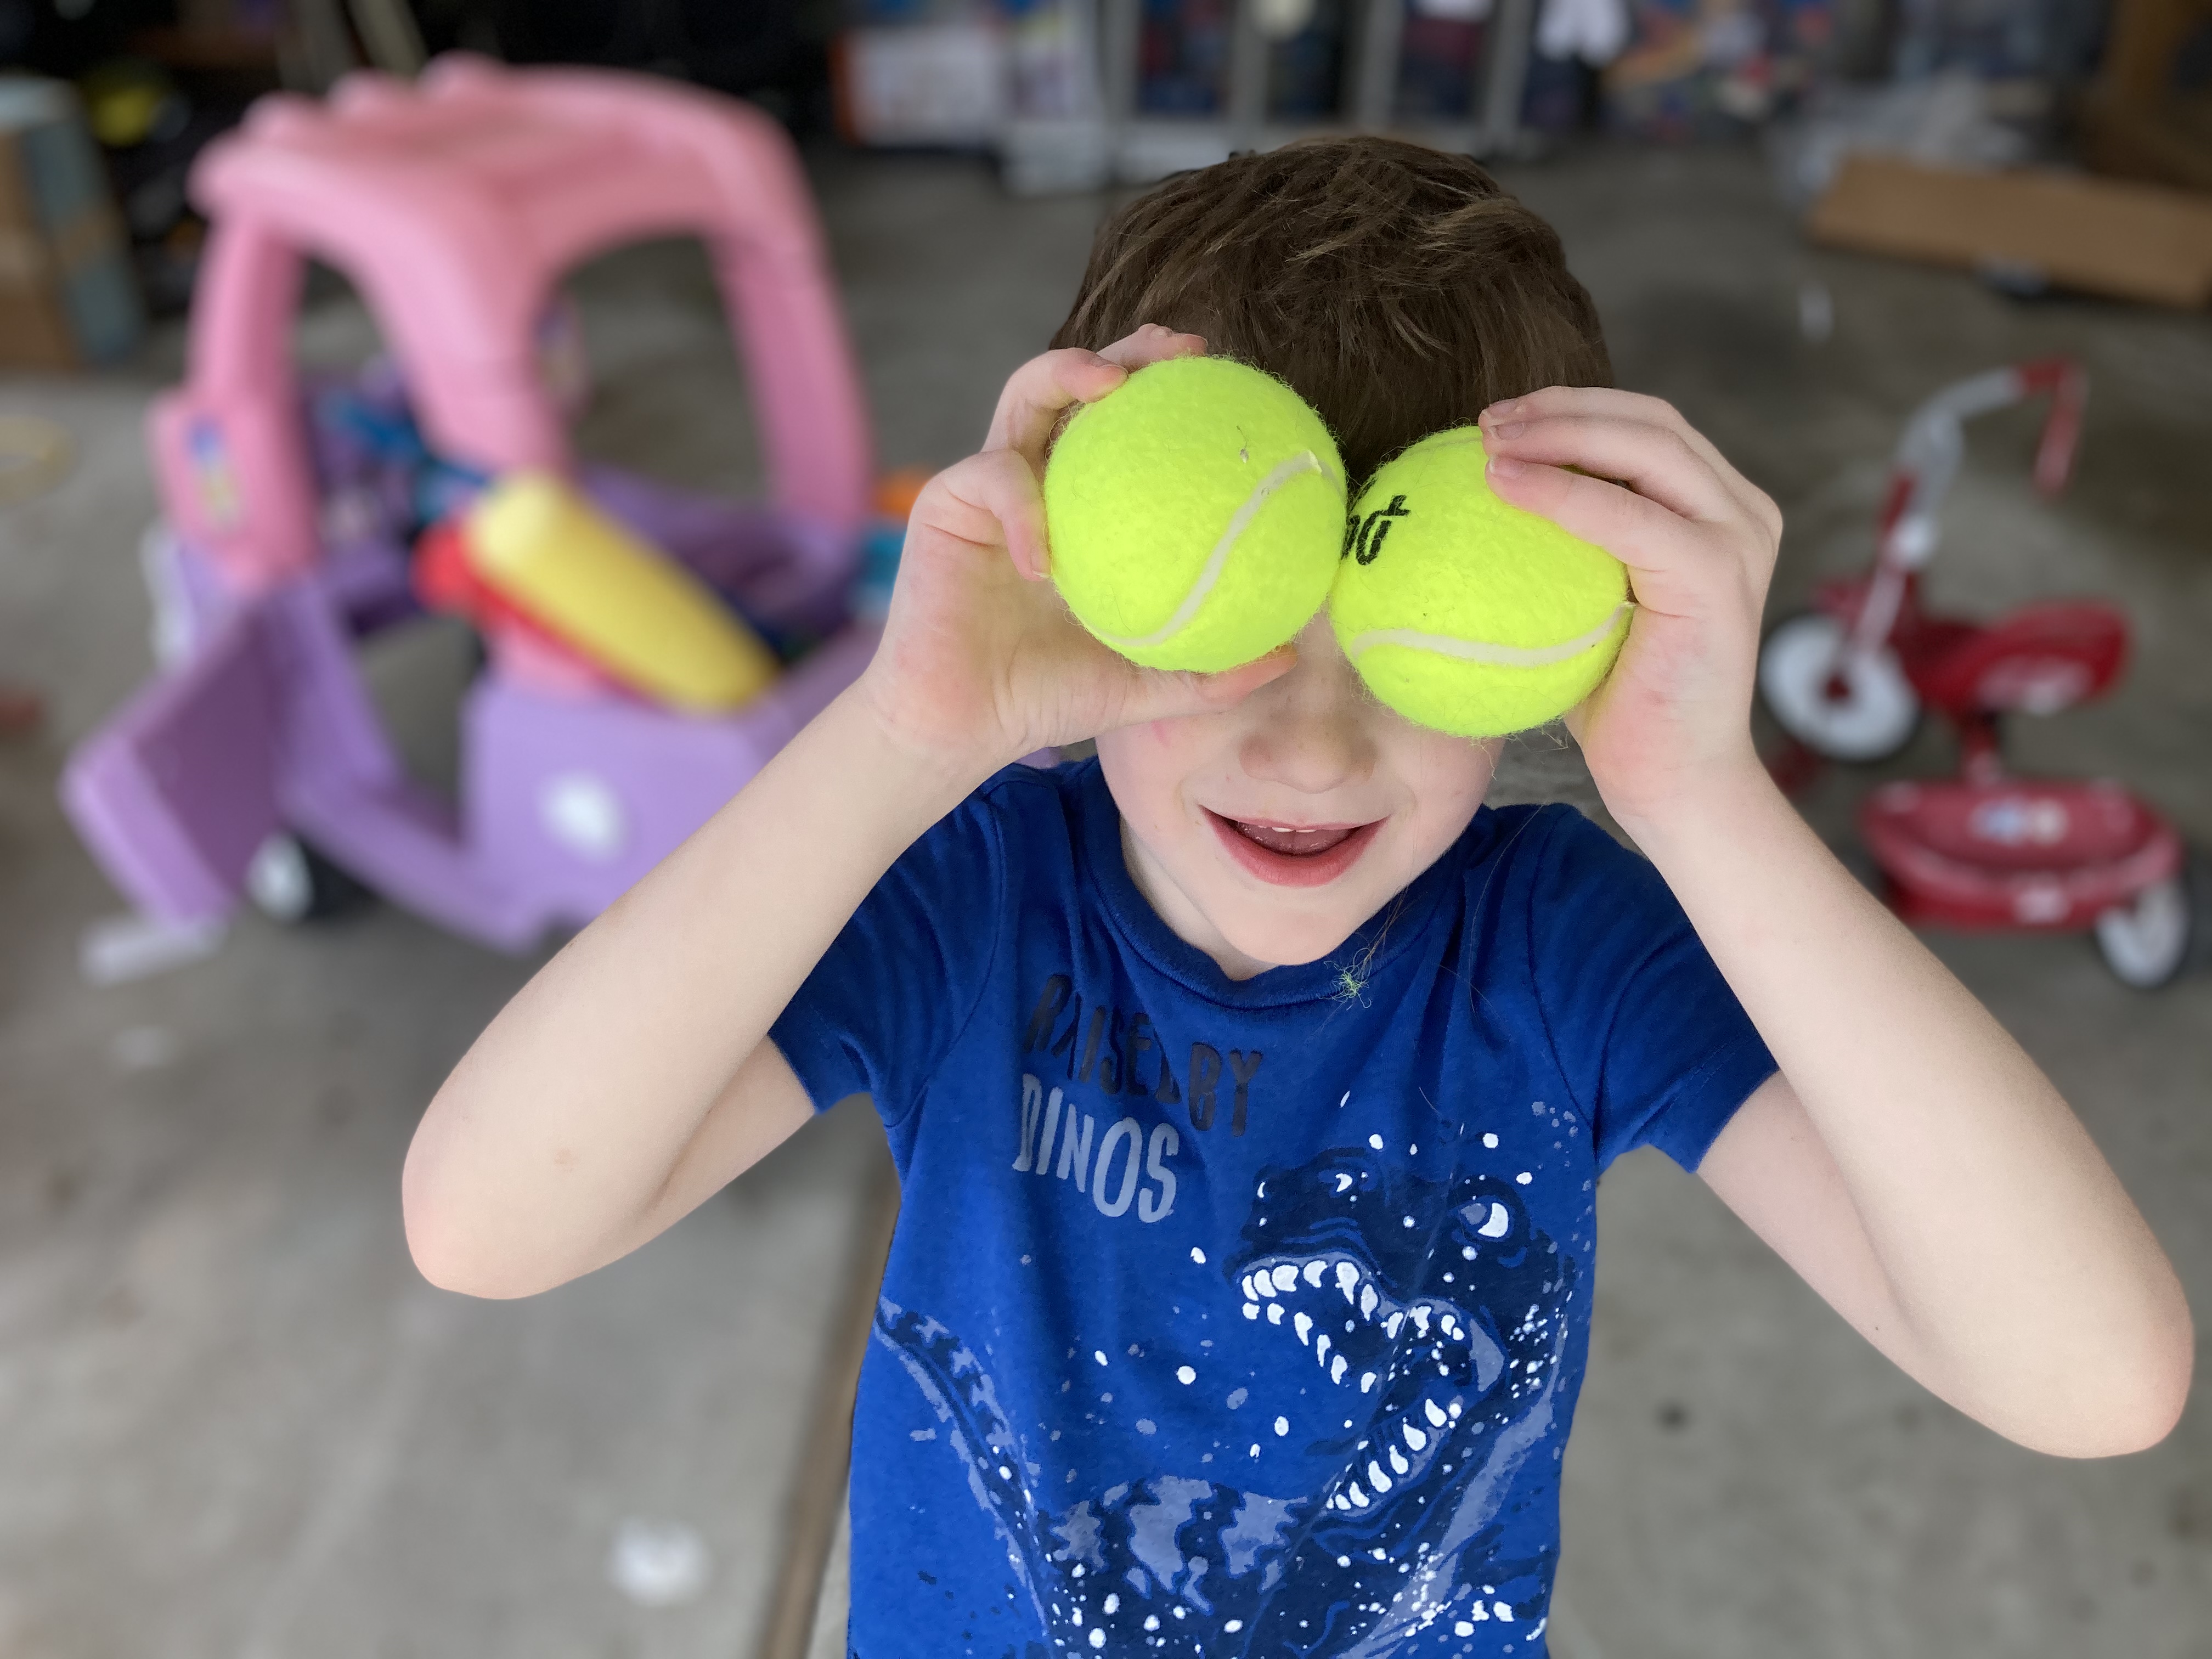
Notes from Tennis Camp” was a really fun illustration because it was interactive. We purchased a tennis racket and tennis balls to get a feel for the story. The kids got to play tennis and we ended up with a really nice image on that one because of it.

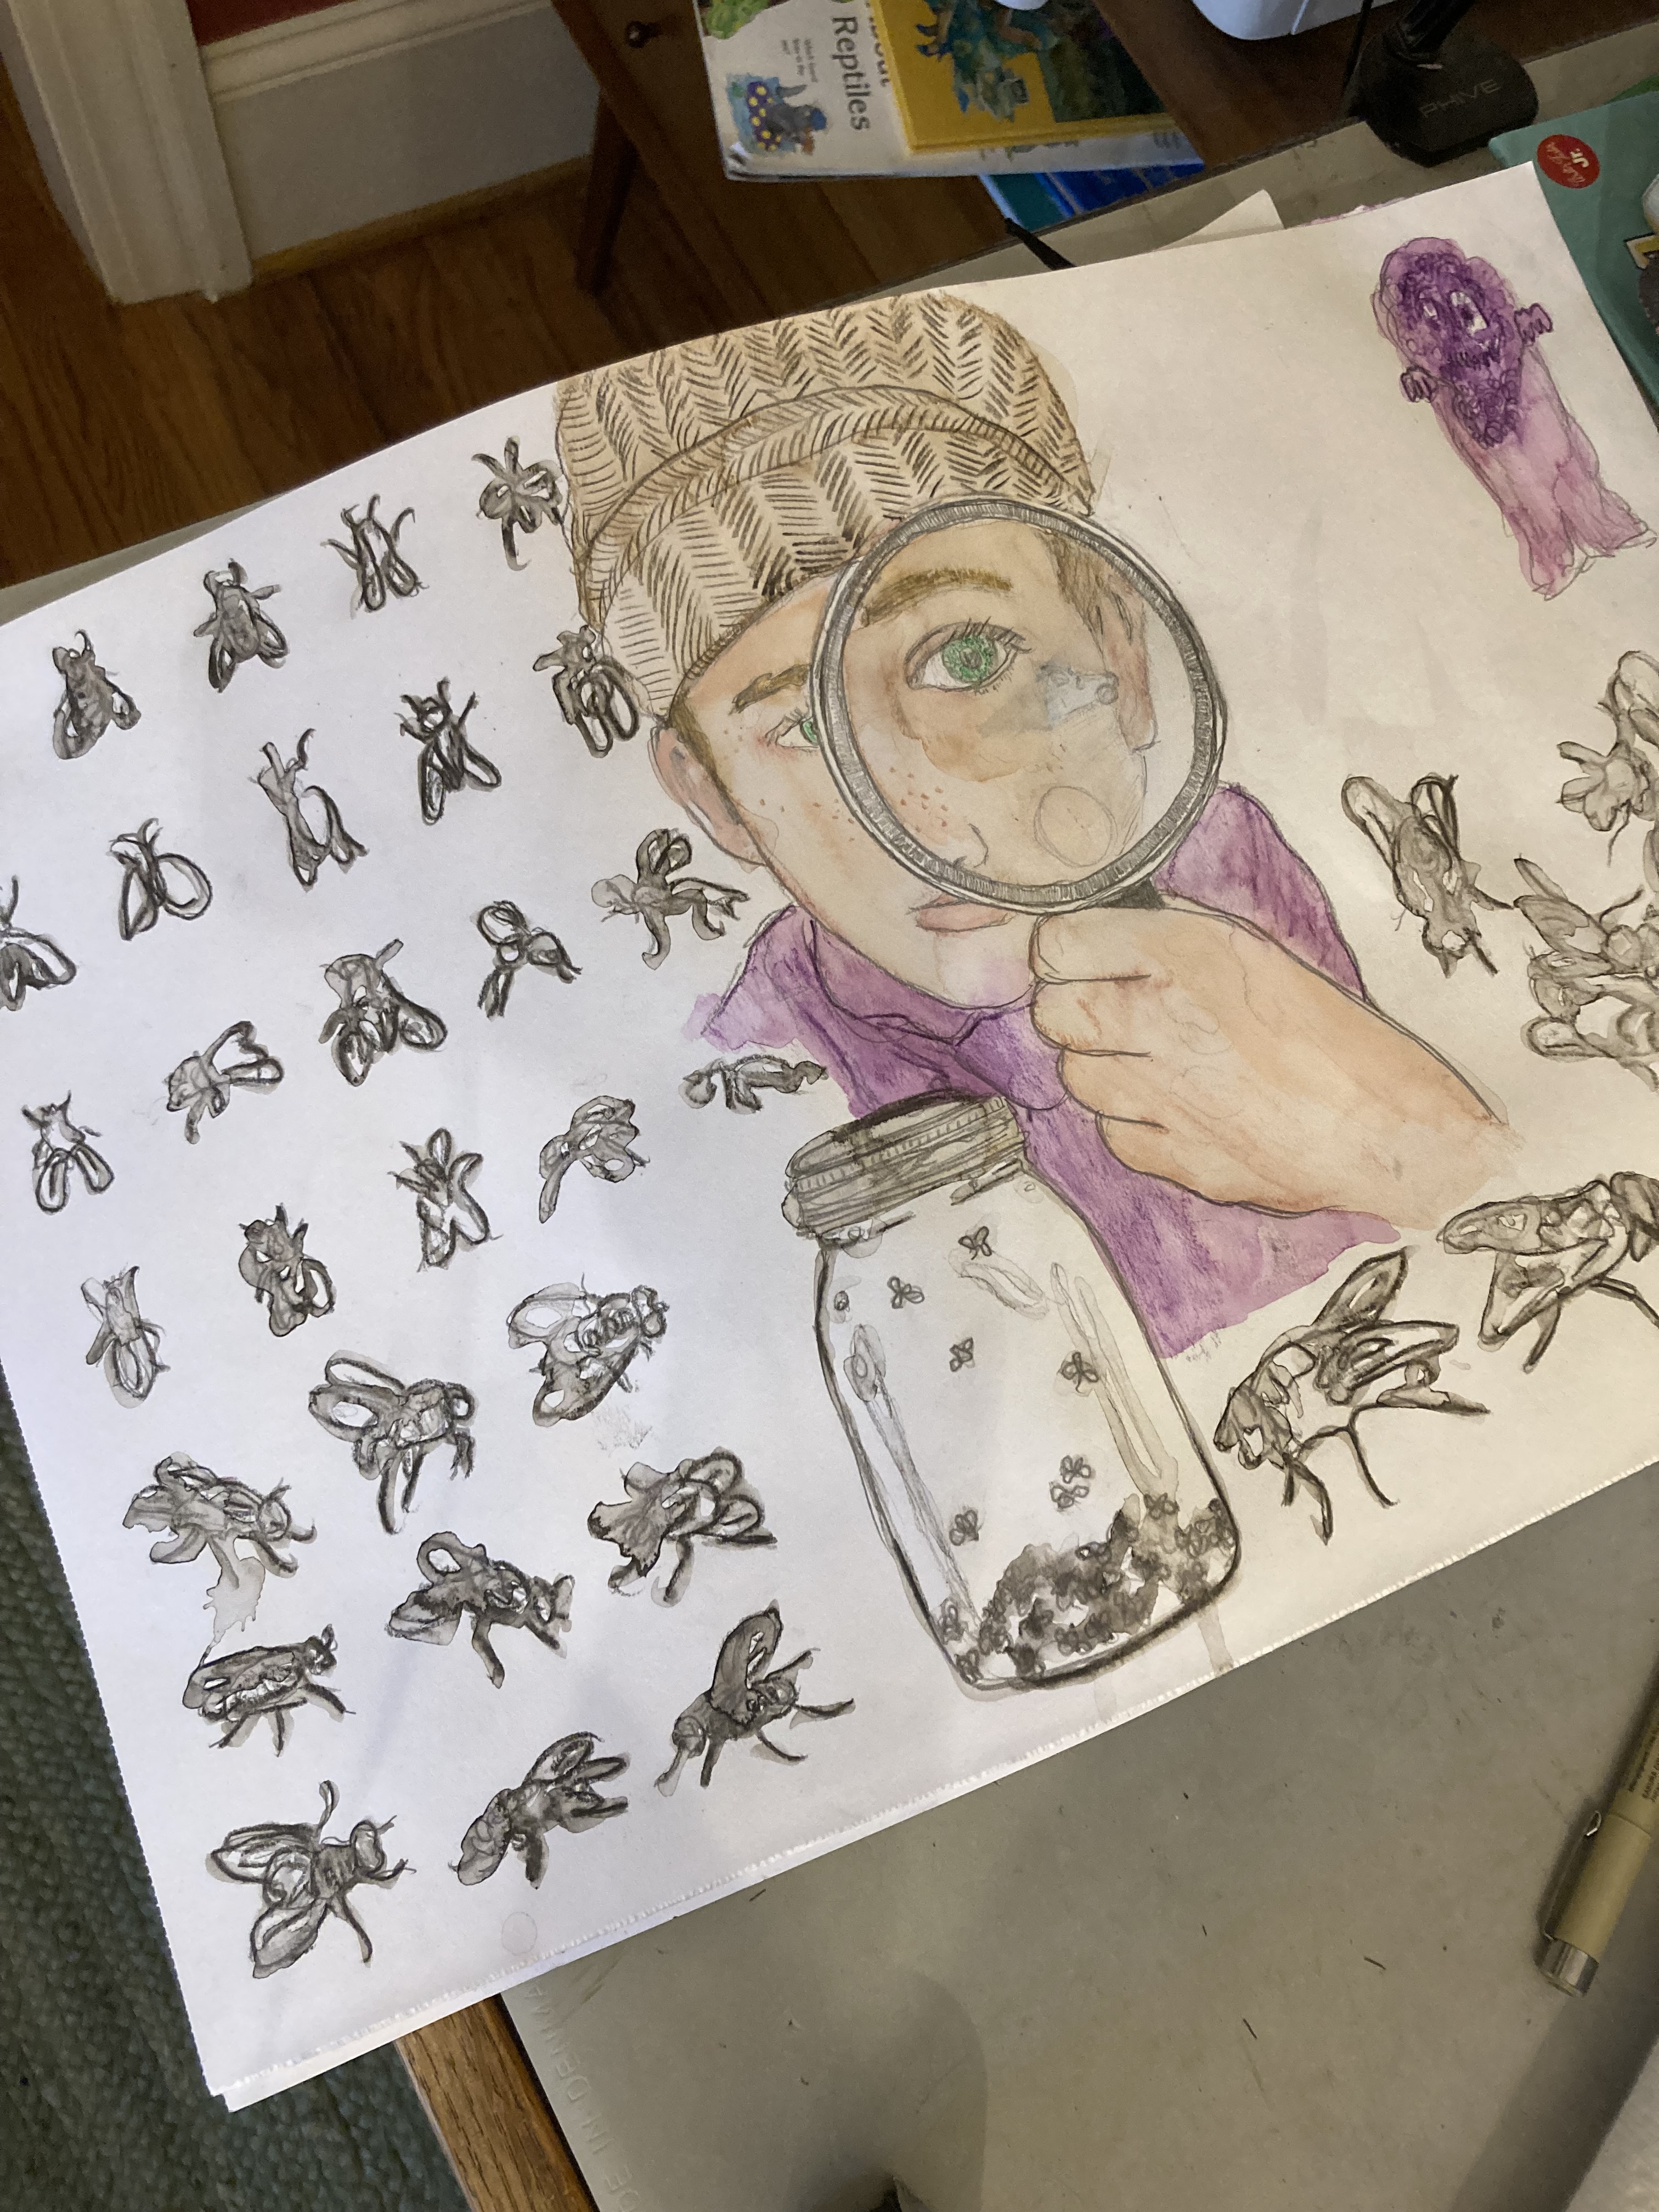
“Fly Stand, Inquire Herein” was the grossest illustration to work on because of the pictures of flies and rats. I was trying to look without looking while I was painting.
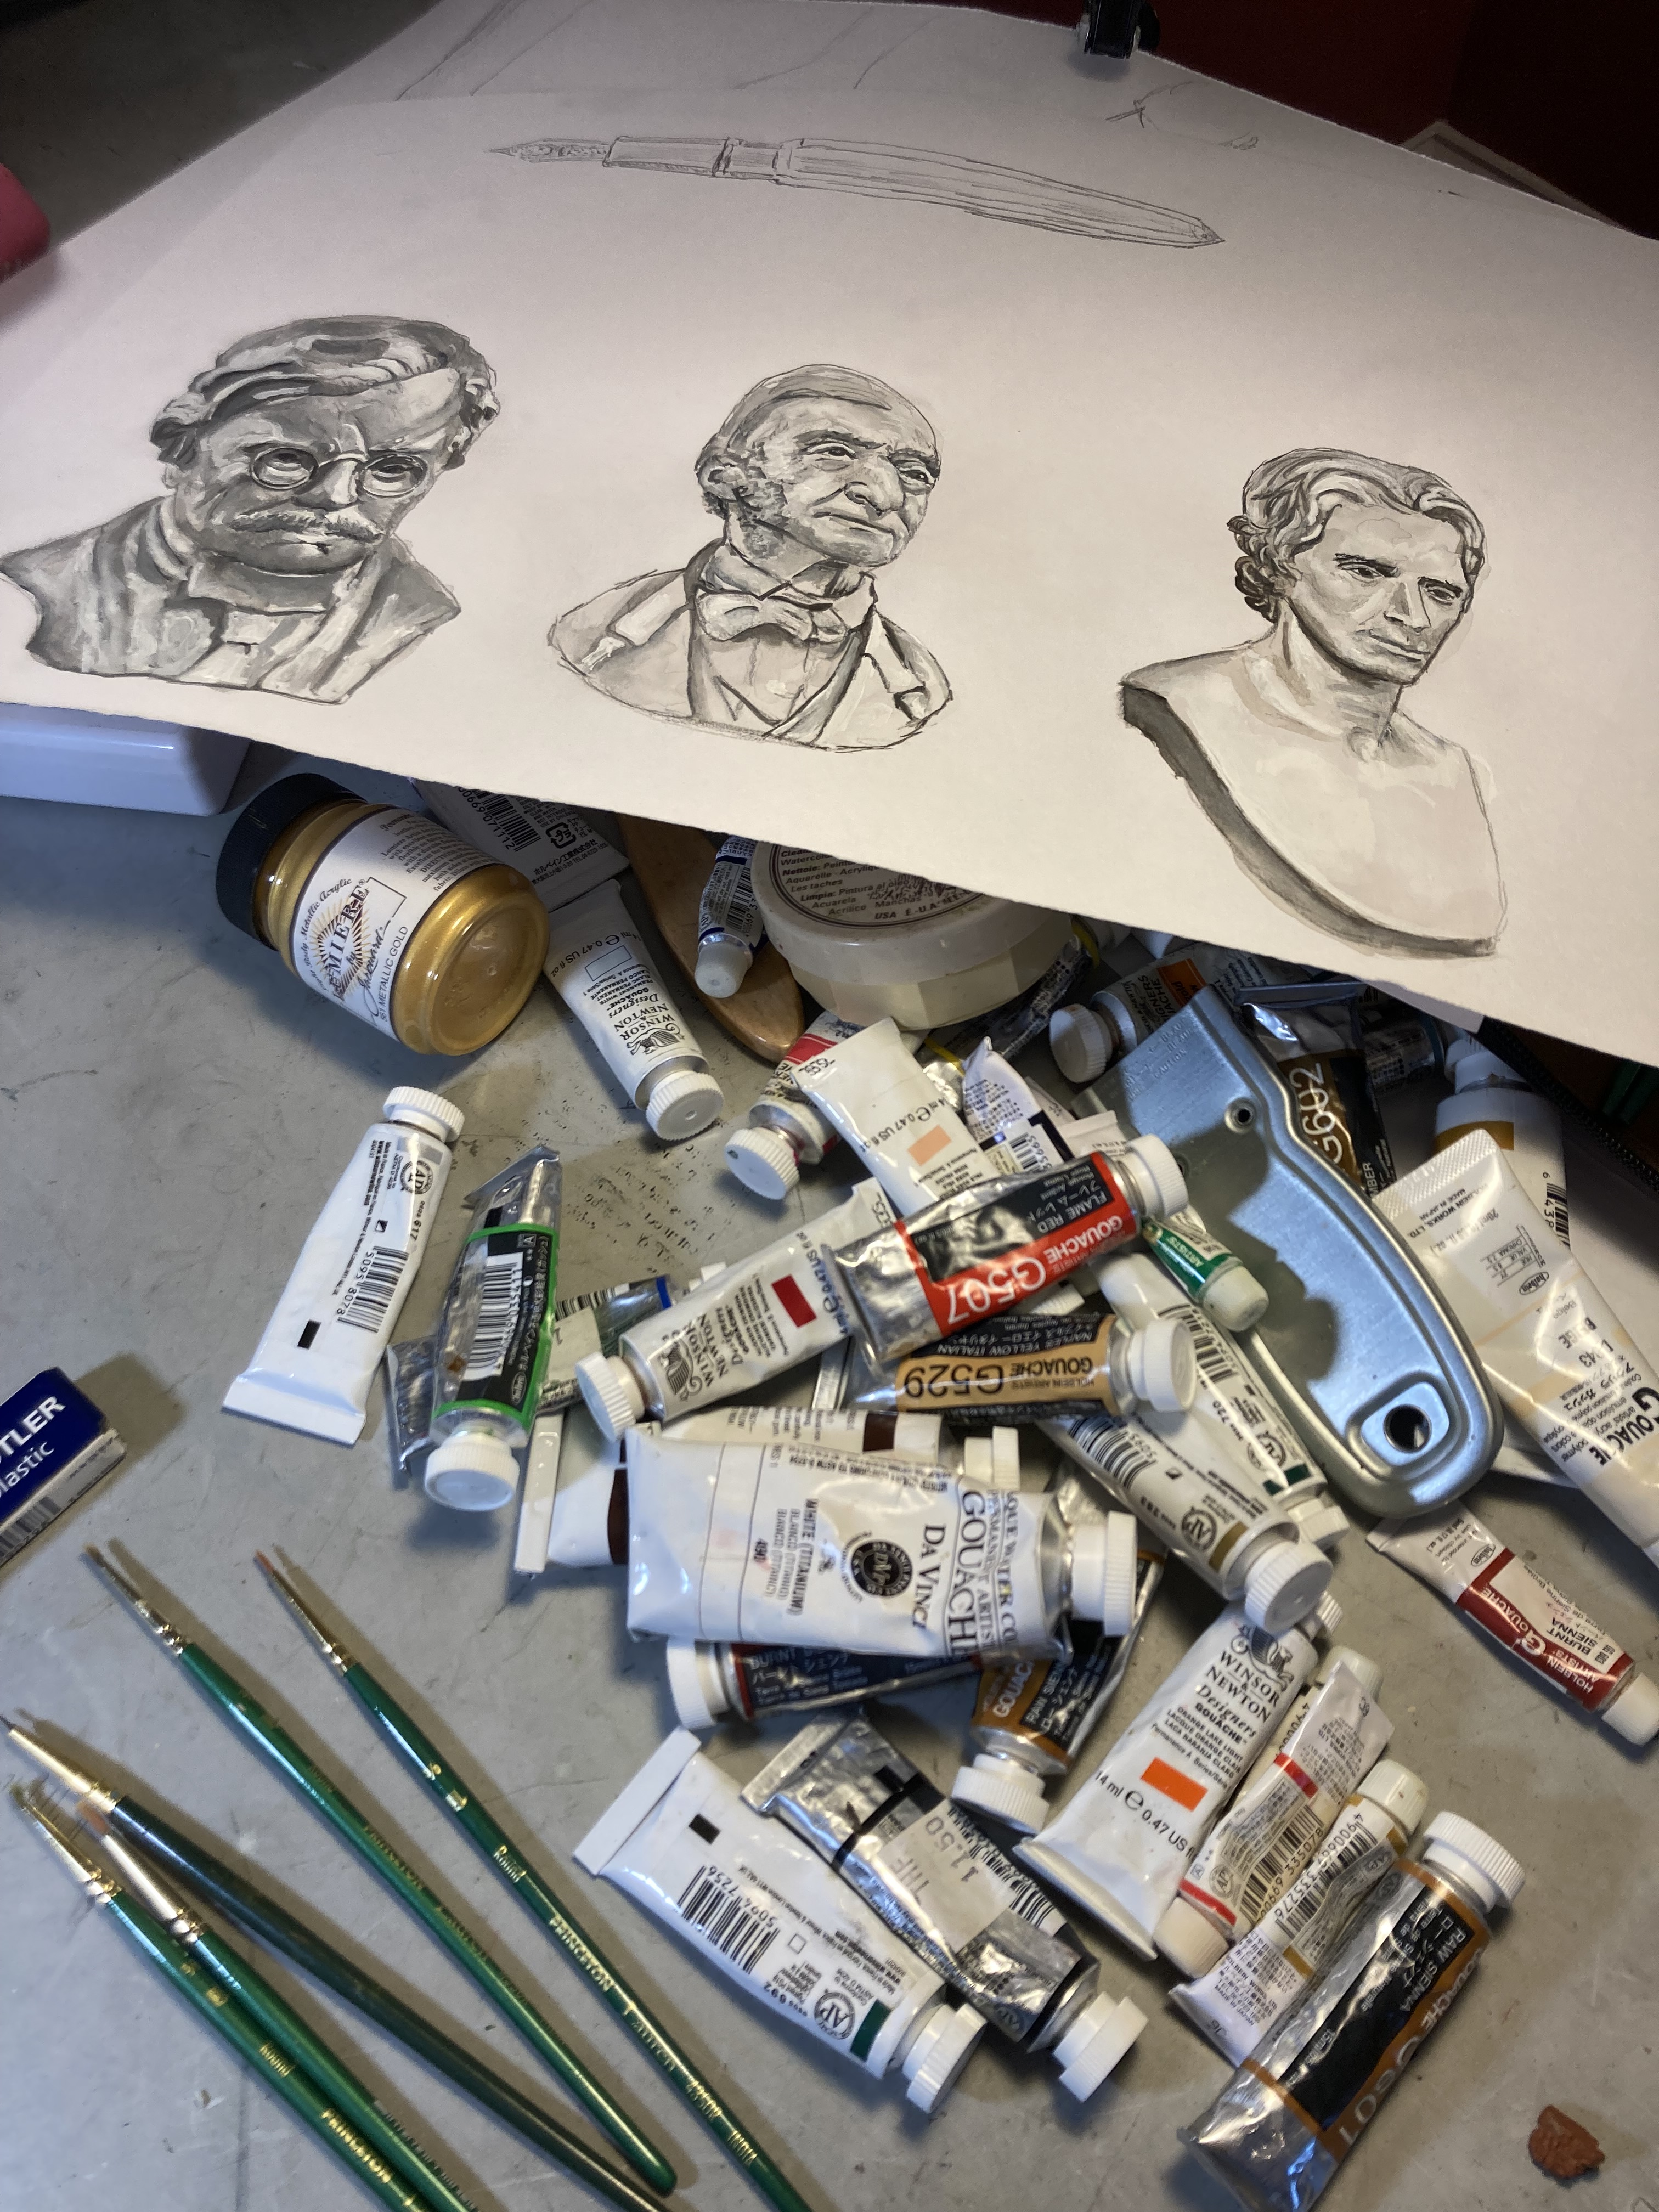
Innocently to Amuse the Imagination in this Dream of Life is Wisdom” was a bit of a puzzle for me because I wanted it to look very classic. There are a lot of writers referenced in this story, and at first I was thinking of making their portraits, but landed on their head busts instead to further accentuate the old wisdom in literature. I also had to ask my mom to send me the title in her fancy cursive. I think she liked helping on this one.

“The Twisted S” was a seemingly simple illustration, but all of the components had to fit together just right for this one to work well. I got E.K. to model this one for me because she was the most flexible of the kids.

“The Last Telegraph” illustration was very much finished in my imagination after reading the story, so it was only a matter of painting all of the pieces. This small sketch is what I sent J. Bradley Minnick, so you can see that he’s very trusting of my imagination!

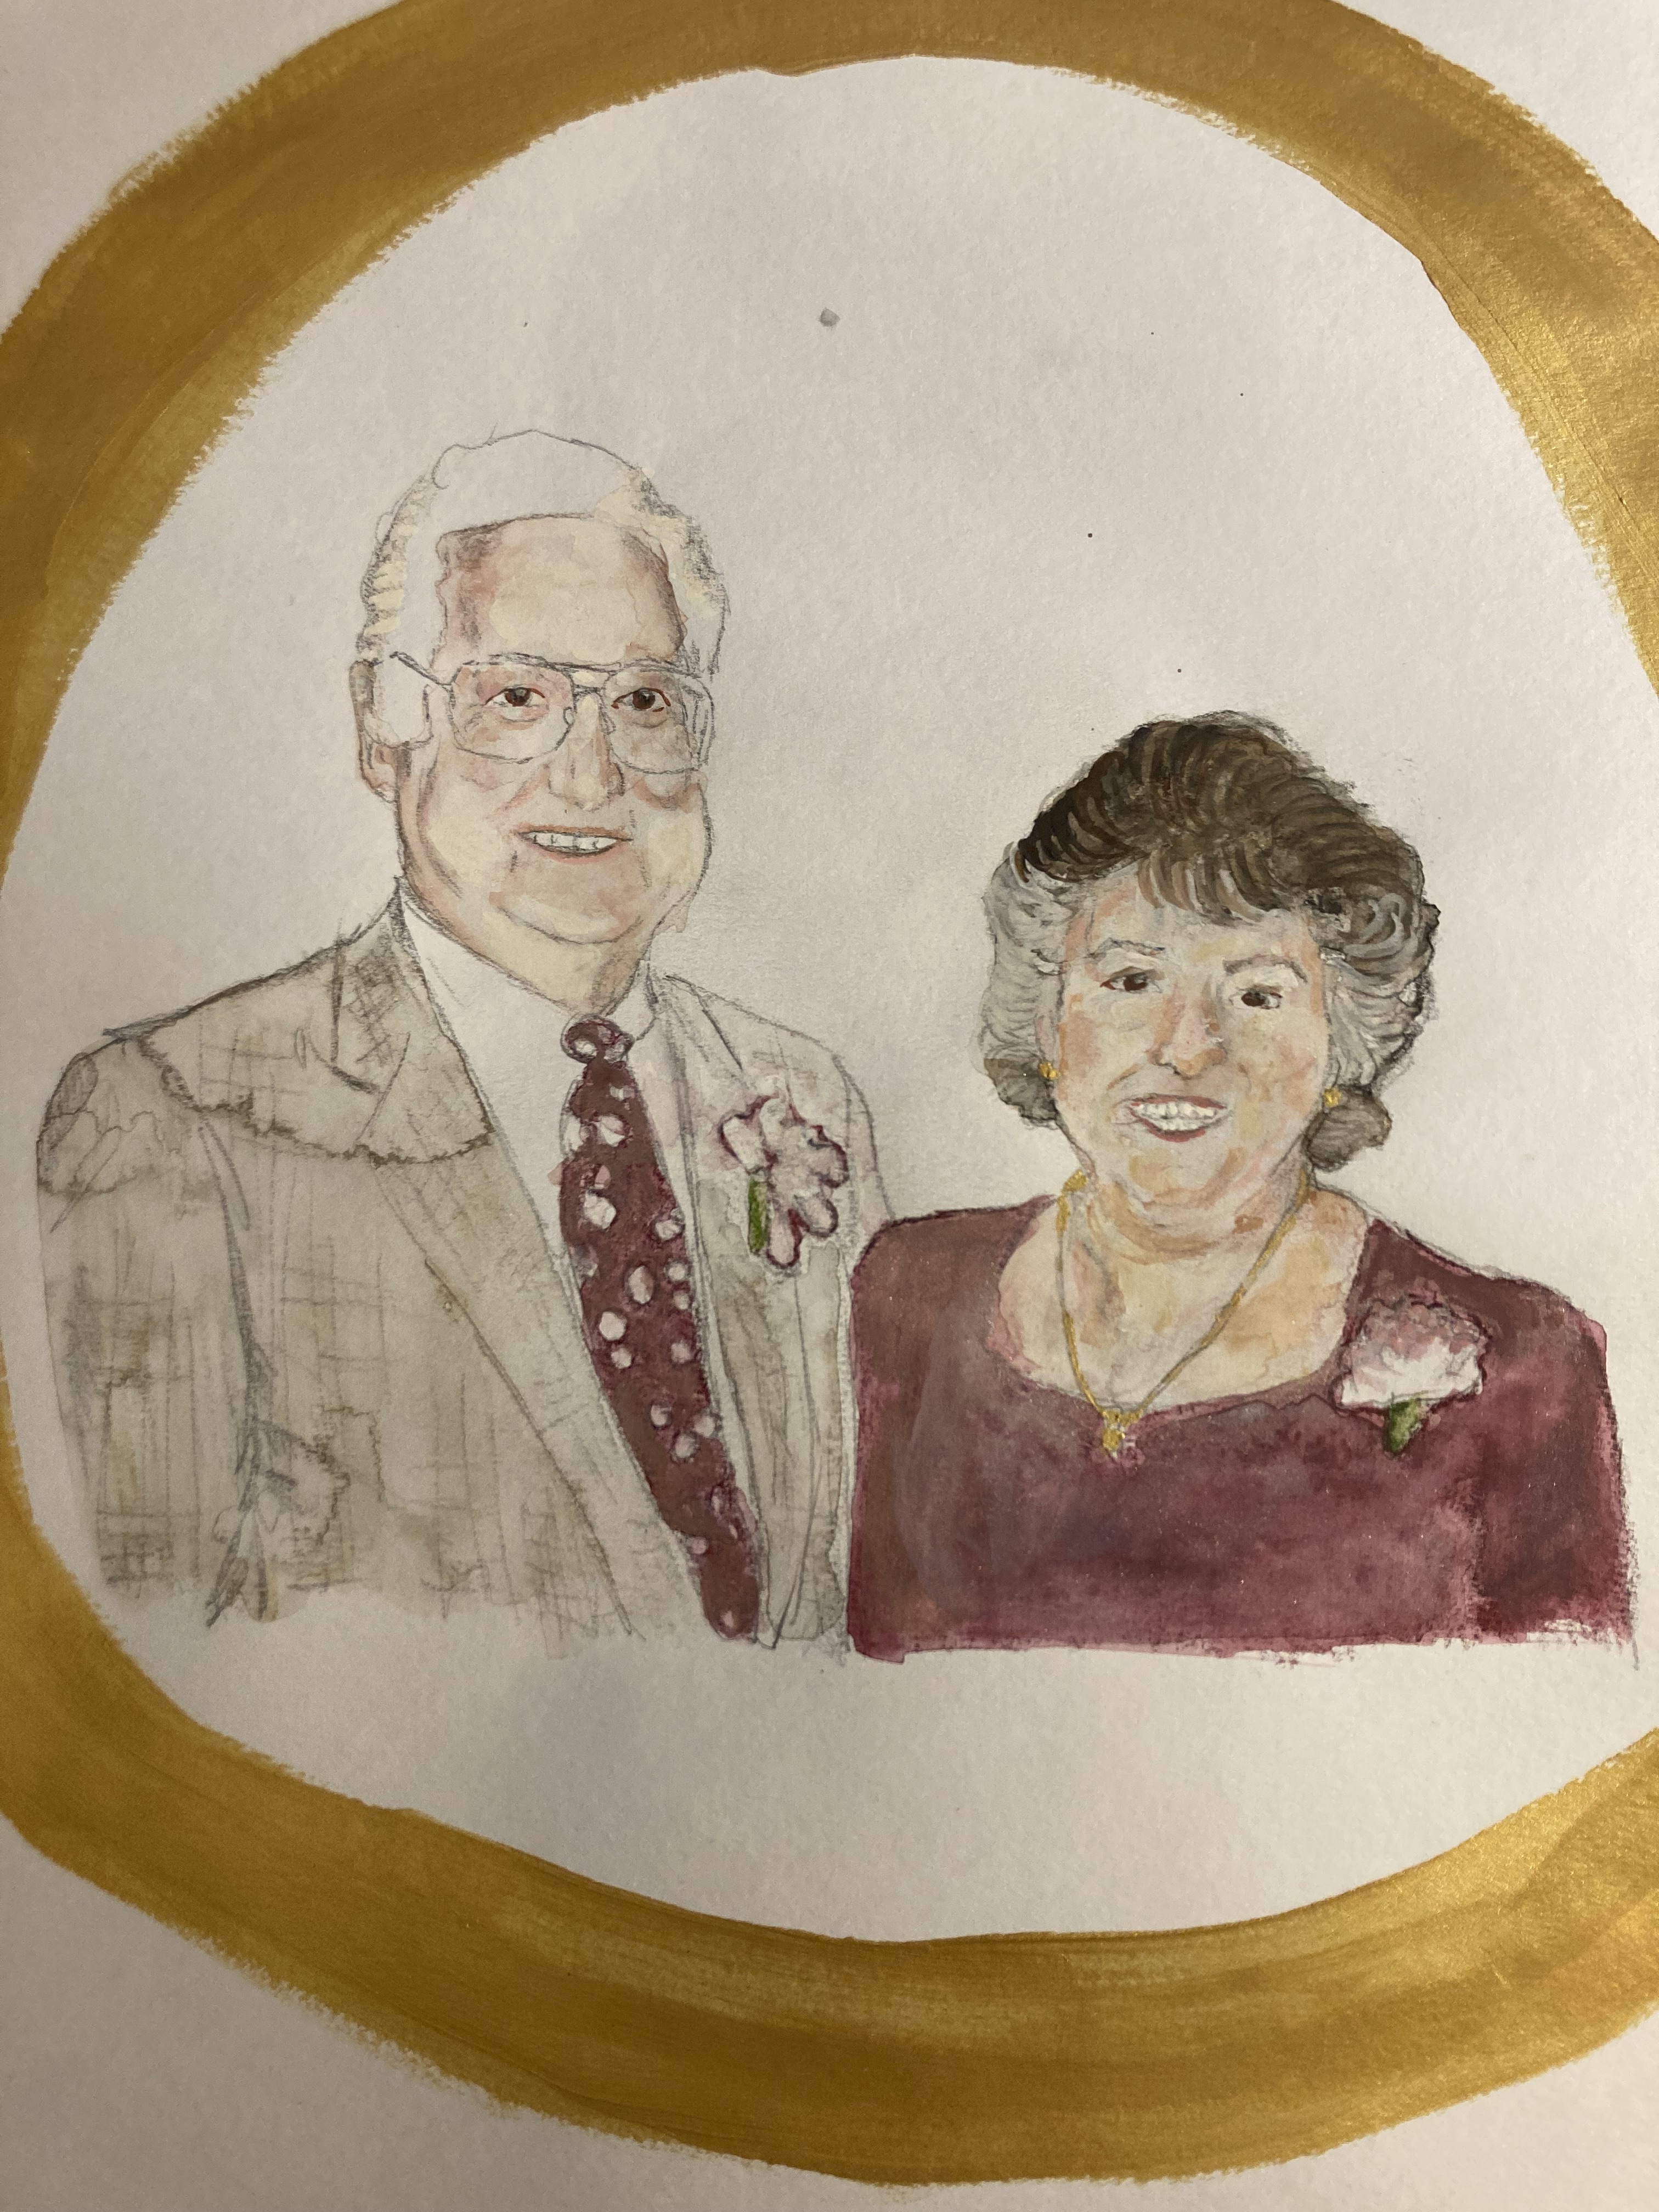
The Dedication illustration was inspired from my own family portraits wall.

I’m so thankful I got to work on this great project.

Book of Songs: Twinkle Twinkle Emo

“The Damsels in Distress: Book of Songs” is a Paper Opera project to include all of The Damsels in Distress songs. Each page will include song lyrics and an accompanying illustrated image of each song.

Album: The Family Album

Twinkle Twinkle Emo

Twinkle, twinkle little star.
How I wonder what you are.
Up above the world so high.
Like a diamond in the sky.
Twinkle twinkle little star.
How I wonder what you are.

Starlight, star bright, the first star I see tonight.
I wish I may, I wish I might.
Have this wish I wish tonight.

I won’t go to school today.
I’ve got a paper route (I I won’t go to work today).
That’s what I’ll say (I’ve got a root canal).
That’s what I’ll say.

I’m going to climb that tree.
The one in the middle of the ball park.
I’m going to climb that tree.
The one they say cannot be climbed.

SONY DSC

Book of Songs: Mom

“The Damsels in Distress: Book of Songs” is a Paper Opera project to include all of The Damsels in Distress songs. Each page will include song lyrics and an accompanying illustrated image of each song.

Album: The Family Album

Mom

Mom, be good to me. You never smile at anything I’ve ever done.
Mom, be good to me. Don’t be the only one you see. My life here has been my friend.
Mom, be good to me. You’re the only one I’ve seen since before I was born.
Mom, be good to me. Tell me what is eating you. I’m older now, and I can be your friend.
Mom, be good to me. Tell me that you like my hair even though you told me not to dye it.
Mom, be good to me. And I’ll be good to you, and then good to my daughter. Mom.

SONY DSC

Art Show at Midtown Carnegie Branch Library

When we first moved back to Springfield in June last year, I approached the reference librarian at Midtown Carnegie Branch Library, who also happened to book the art shows. I sent her the usual and appropriate materials via email and she liked what I sent. We booked a show for September 2017. I went and took pictures of the space to decide what show and sizes would work well.

I decided that the “Family Life Illustration” series at 11×14″ in 16×20″ frames would work well in this community space visually and conceptually. M helped me carry in all of the work and art hanging supplies. I set the pieces against the wall to decide on placement.

Gallery Gal showed up to help me hang the work.

We measured, hammered, and hung. When finished hanging, we leveled, placed the exhibition labels next to each piece, and put up the artist statement. I have a “The Process of Hanging an Art Show” post to reference of more specific show hanging details.


The “Family Life Illustrations” exhibit will be at the Midtown Carnegie Branch Library through the end of November 2017.


The Process of Hanging an Art Show

This is an informative post about the general process that I use to hang an art show. Of course, different spaces require different solutions, but this is basically what I do when approaching hanging an art show.

This is my process of how I hang an art show:
#1 Once the paintings are in the space I organize them – leaning them against the wall. This way I can get a pretty good idea of how they will look in the space and with each other.

#2 I unload the contents of my show-hanging bag which includes: hammer, picture hangers (50 lbs), blue painters tape, white artist tape, pencil, pencil sharpener, eraser, art labels (in a recycled stationary box), notebook (with secret formula), tape measure, ruler, level, writing pen, and micron ink pens. It’s also practical to bring a step ladder to these kind of things.

#3 I measure the space between the wall edges and the paintings, so that they are all even.

#4 I work out the eye level for each piece by using the secret formula. Because the whole reason I have made this blog was to share with you my artist process, I am going to share the secret formula! Make sure to include the frame for all measurements. Also, if you are getting numbers like “.185” just round up to quarters (.25, .5, .75).

THE SECRET FORMULA FOR HANGING ART
Measure the Length (up and down) and divide it by 2 = x
Measure the Length (up and down) from the highest point of the picture hanger (when pulling up on it) and the top of the painting = y
Subtract x from y and add 56. x-y+56=z (The standard eye level is 56-58, but I’m a bit on the short side, so I favor the 56.)
Place the tape measure on the floor in the center of the painting and pull up all the way to whatever number z was and mark a dot in pencil on the wall. That is where you will put your picture hanger.
Example: 50.5 ÷ 2 = 25.25 (x) – 10.5 (y) + 56 = 70.75 (z)

#5 Hang work and use the level tool (a level is a tool to make sure the painting is not hanging crooked). Place piece of painters tape or artist tape on the back of the art labels and place next to the piece wherever it looks good – usually on the bottom right about an inch or so from the artwork. I also use tape to mount my artist statement.